
Wild garlic in abundance


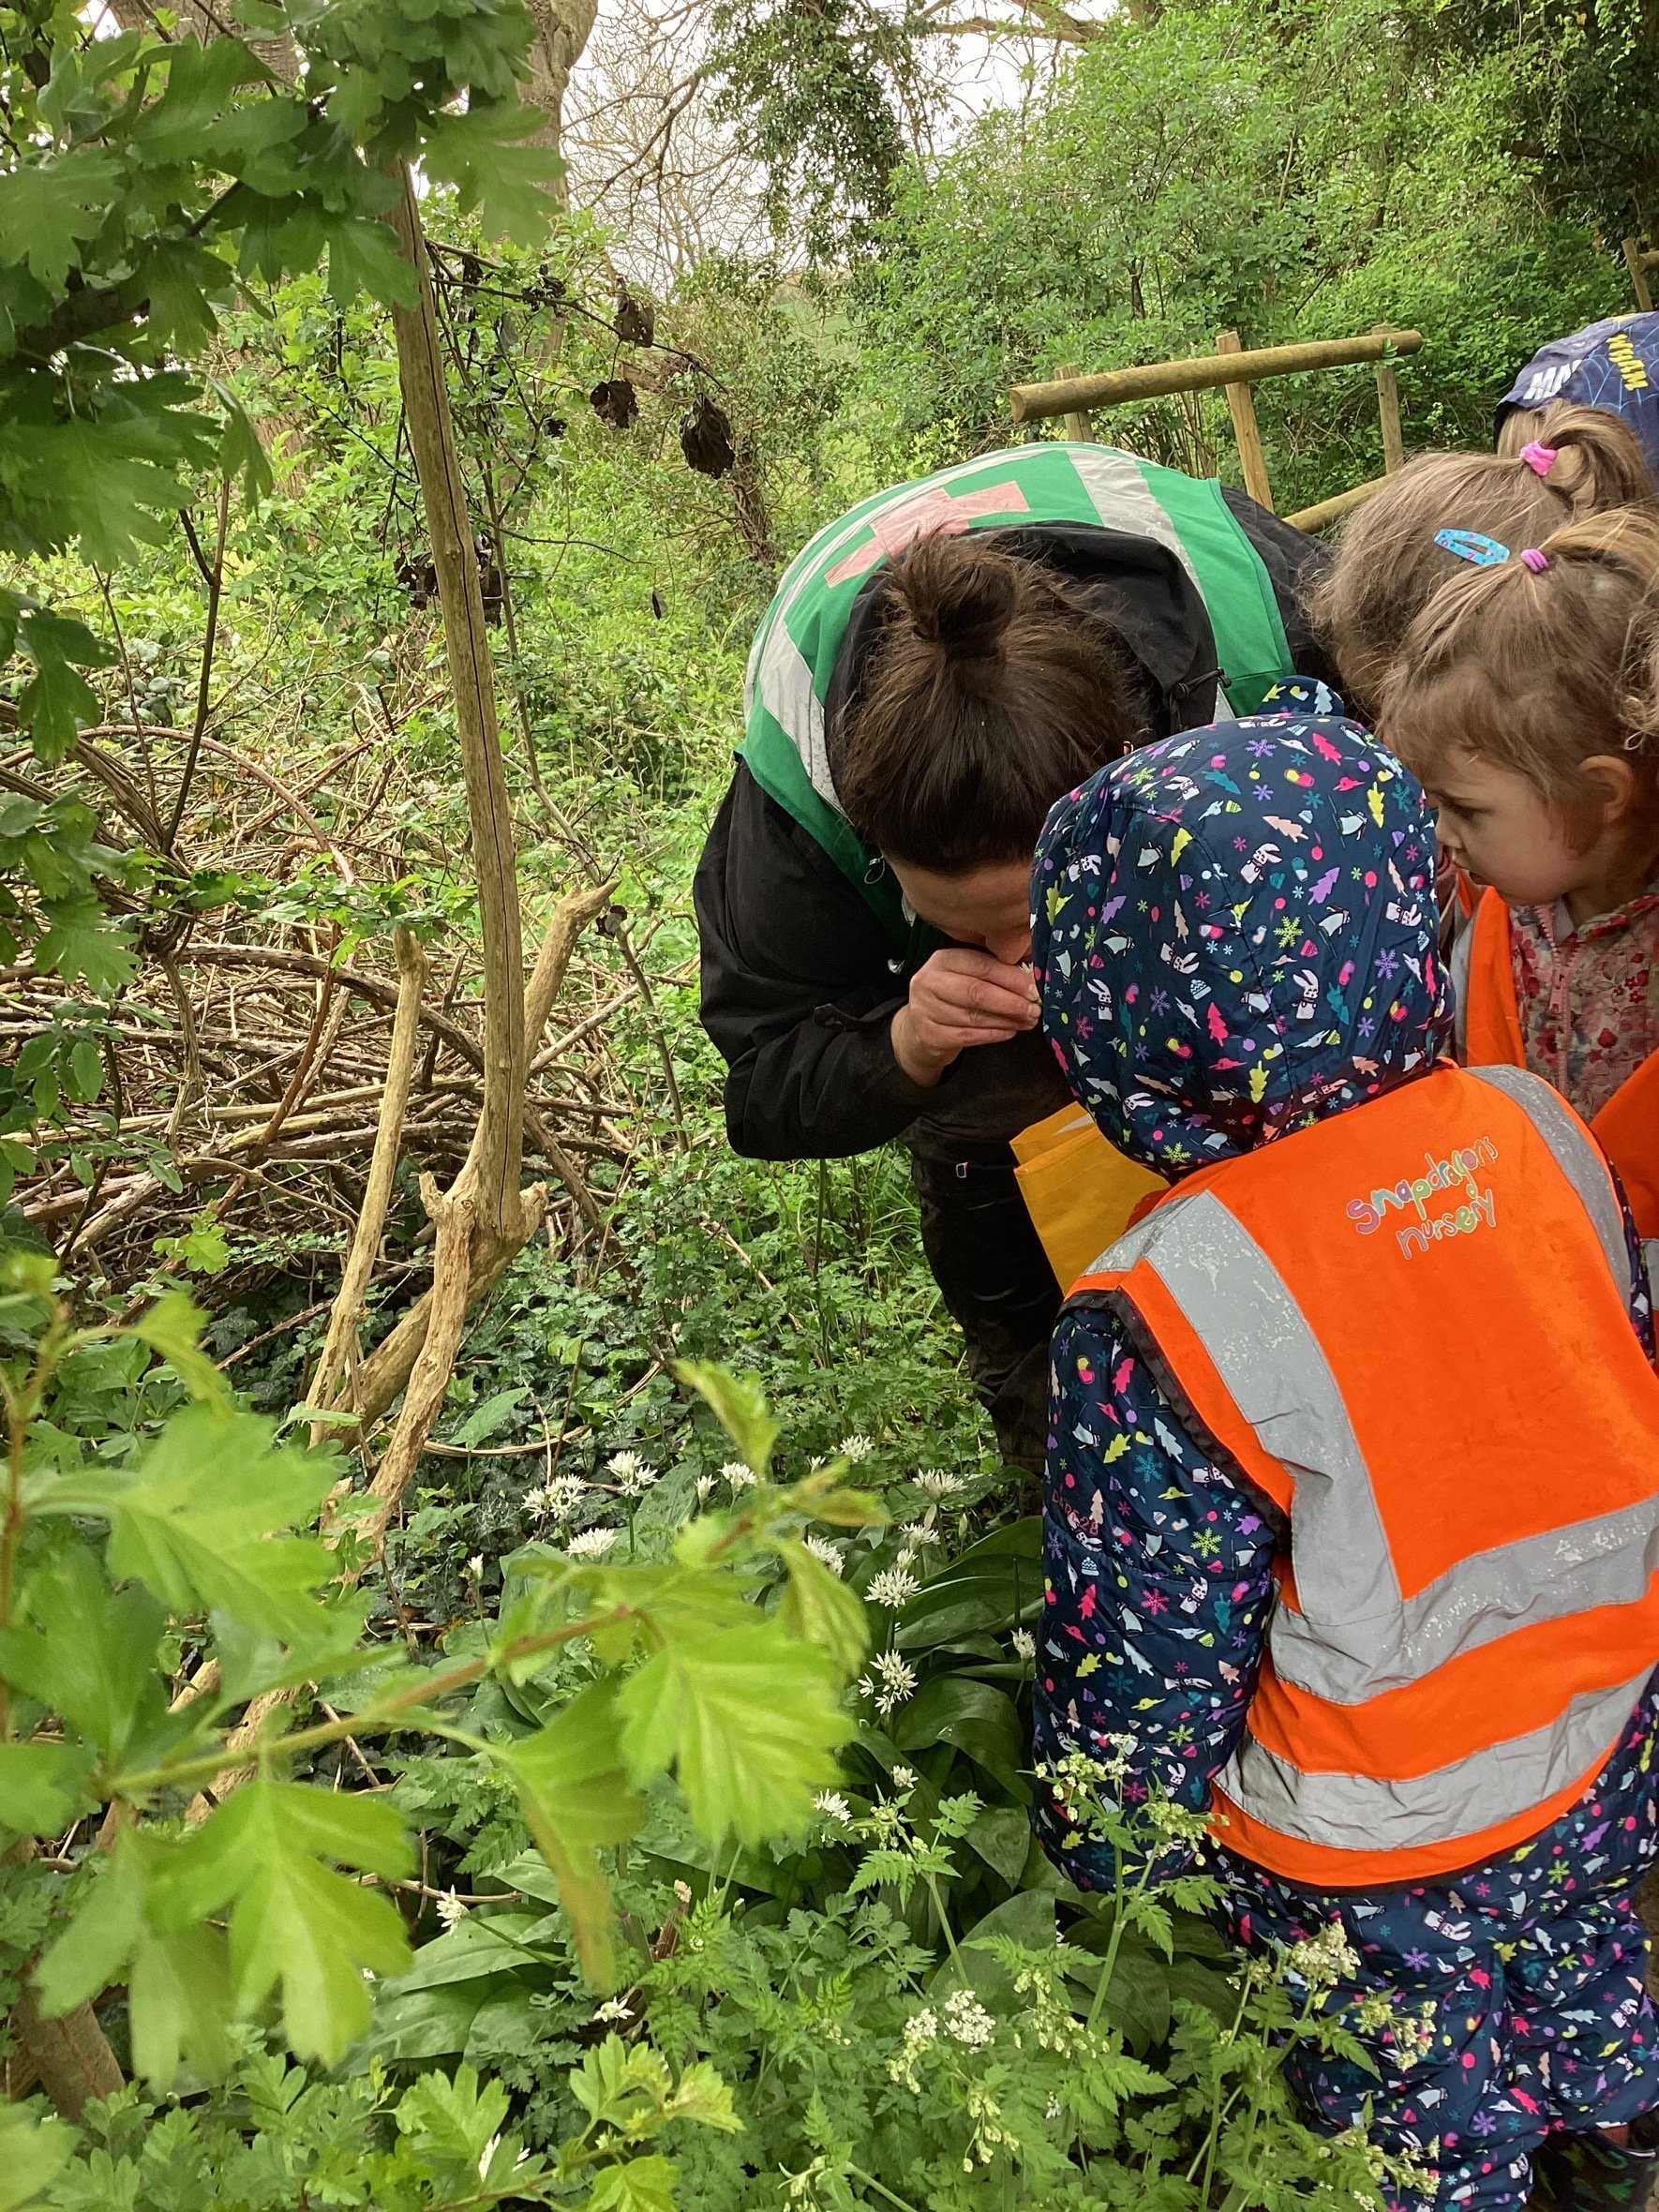

Wild garlic, a good sign that spring is here! Often, you will smell it before you see it, a very distinct smell indeed. Look out for it in woodlands, by shaded streams and brooks, it is hard to miss as it dazzles and coats the woodland floors. It is a wonderful plant that attracts the attention of plenty of pollinating insects including butterflies and hover flies to name a few. Wild garlic season starts in late winter and lasts until the end of spring. It has one of the longest seasons of all the wild plants so there is plenty of opportunity to pick! You will first see the pop of green leaves on the woodland floor, with the buds and flowers forming more into spring time. When the flowers go to seed and the leaves become bitter, the seeds can also be eaten raw or pickled like a caper.
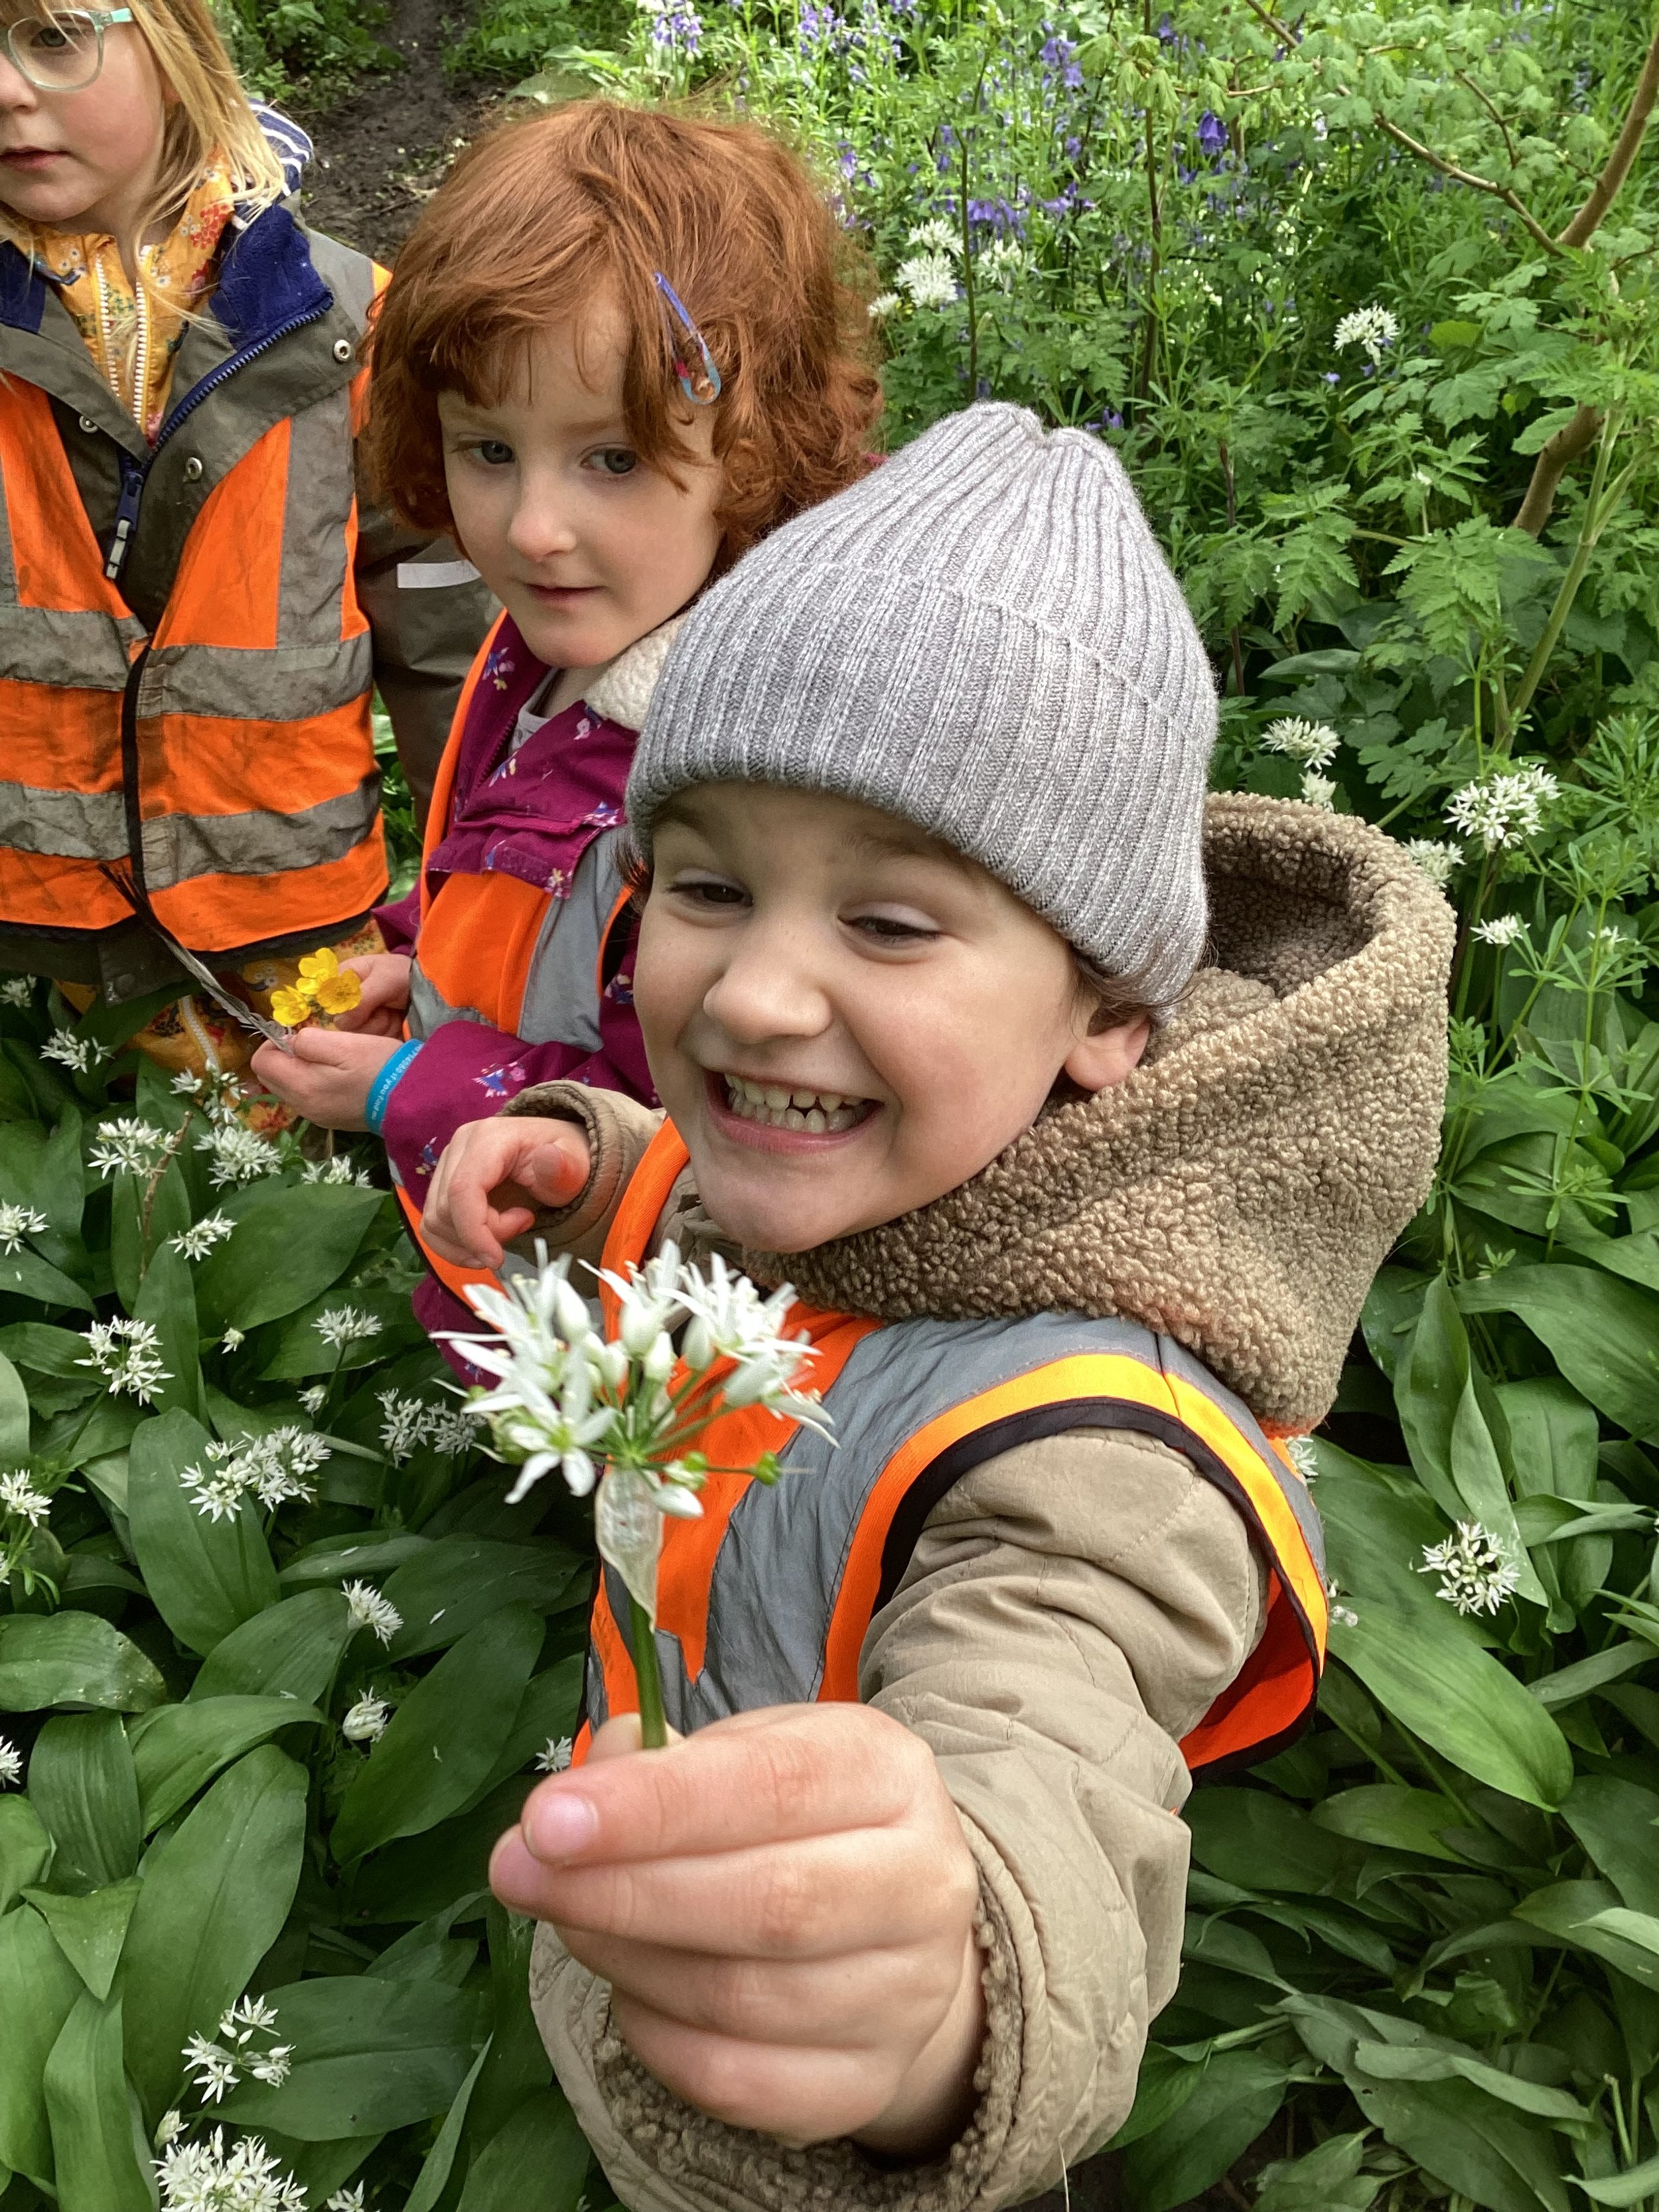
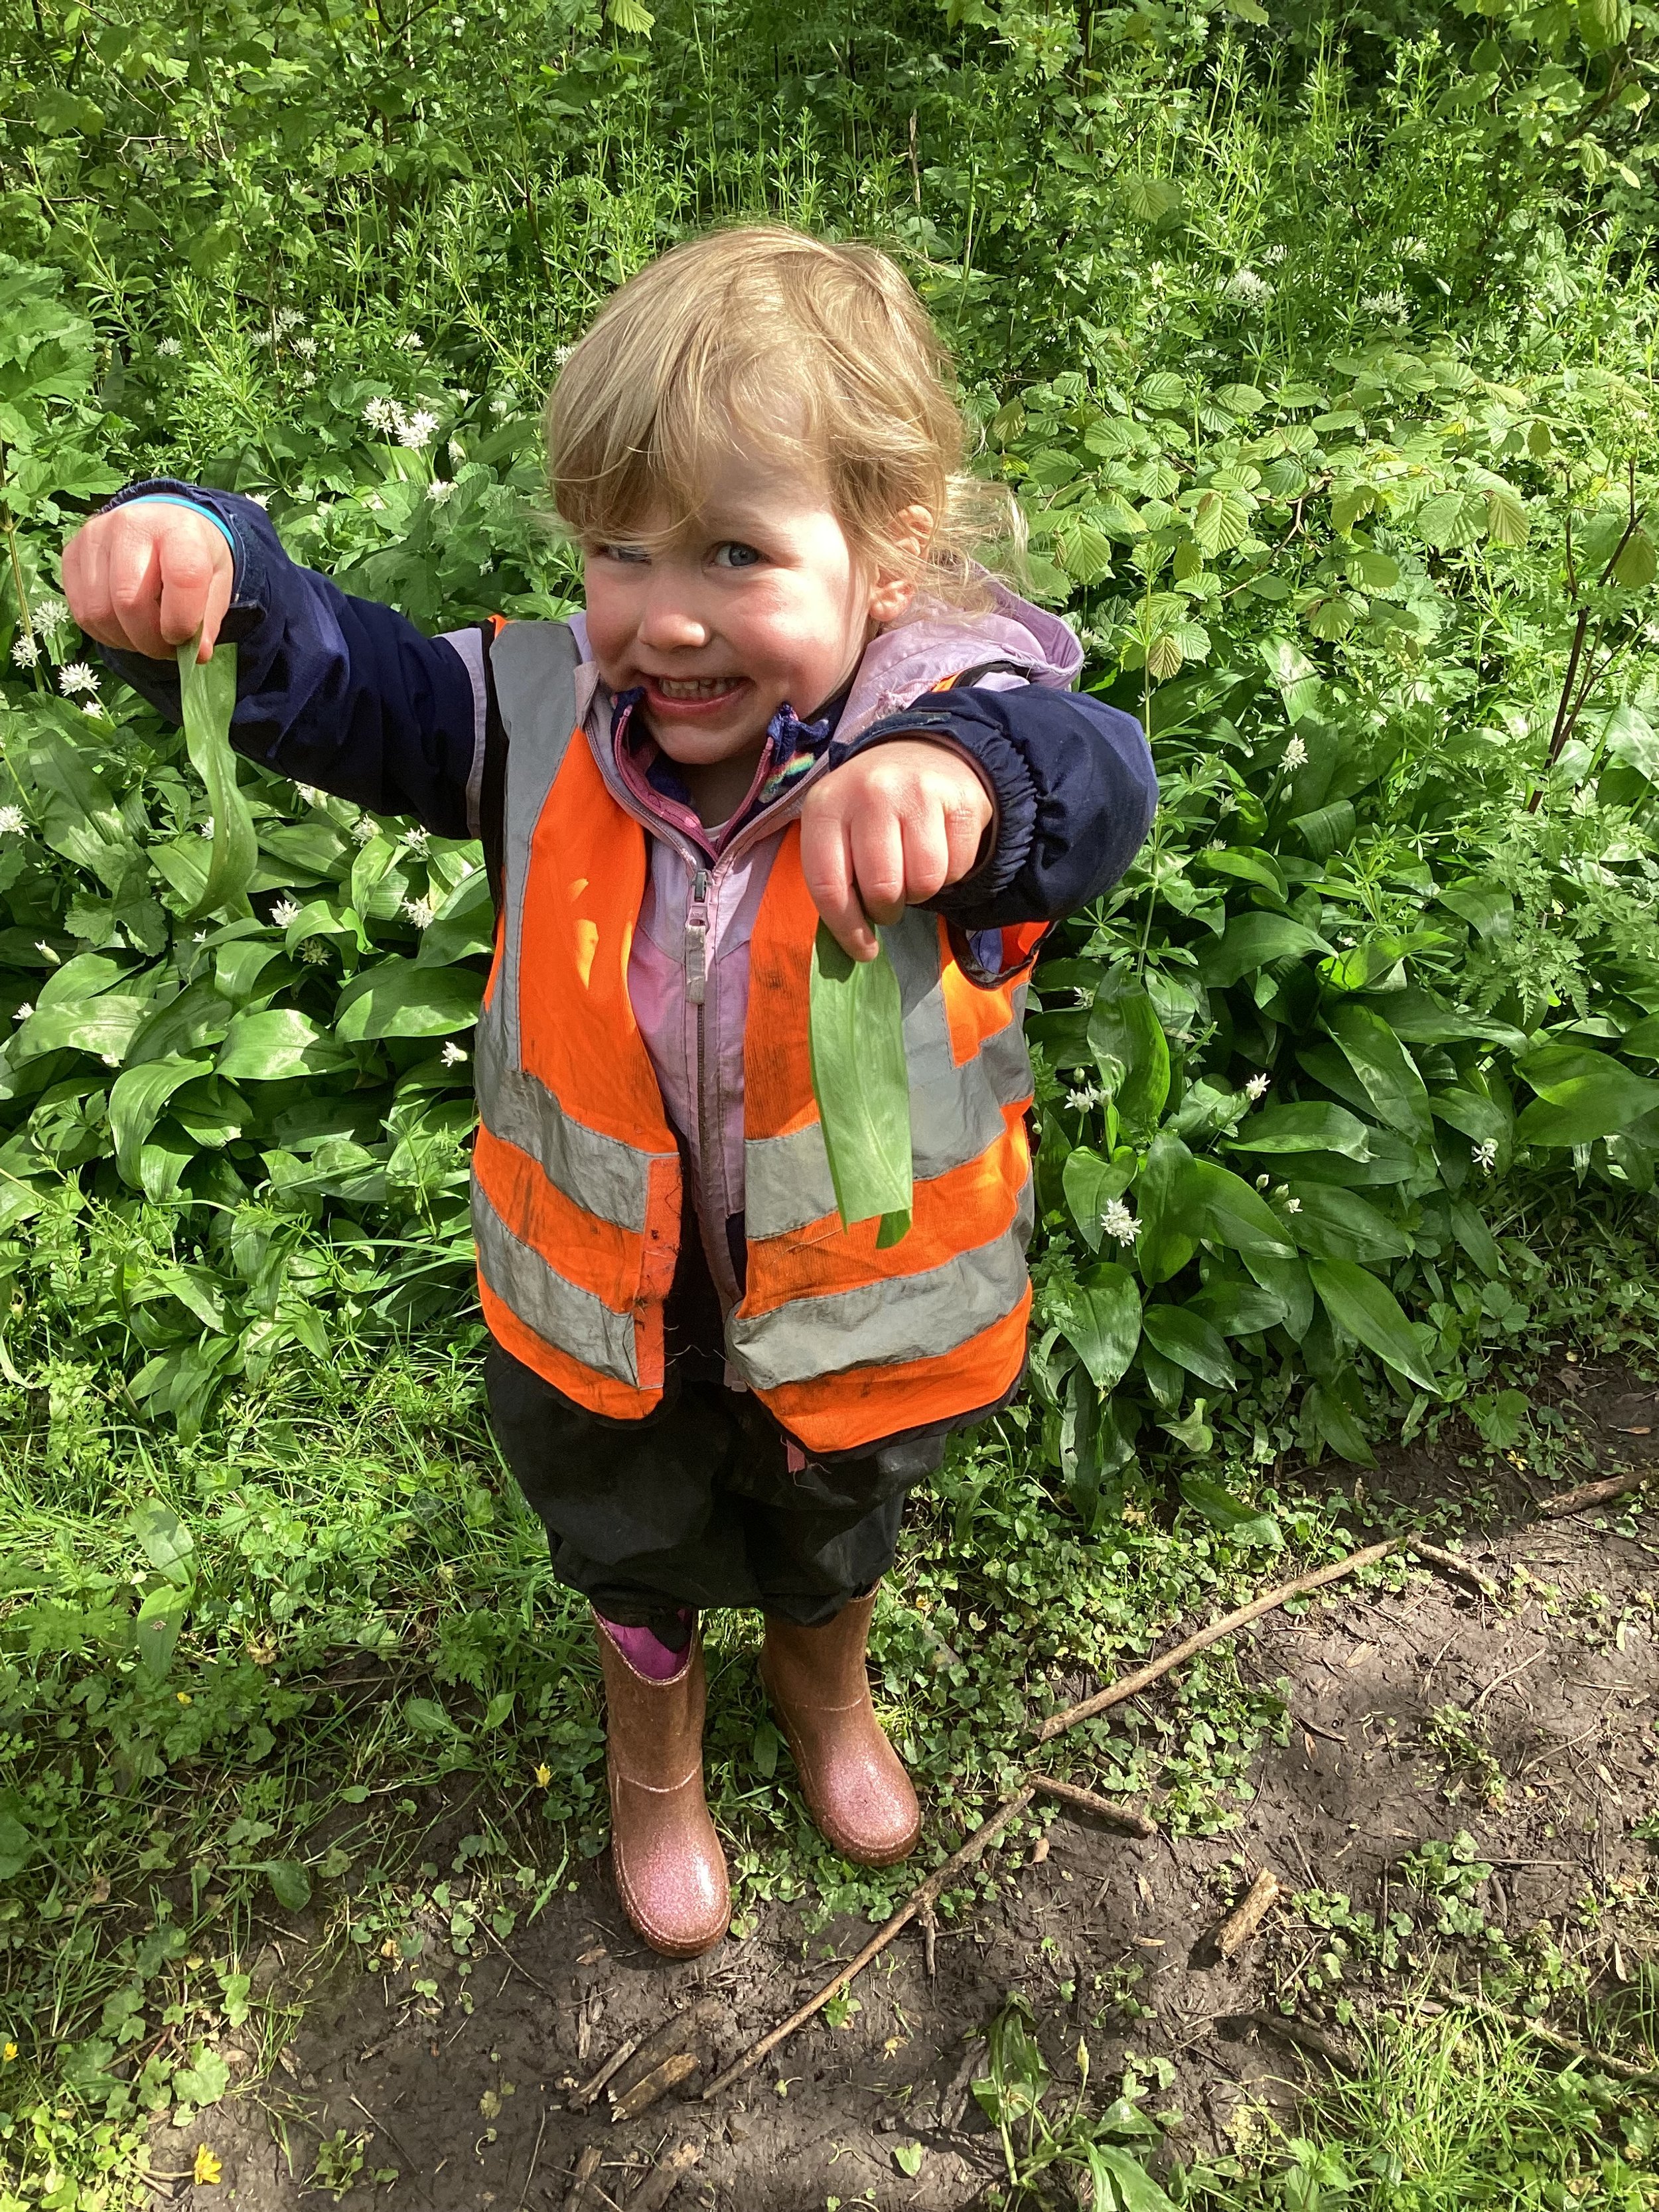
What to look for… the smell is the biggest giveaway, rub the flower, bud or leaf in your fingers - the smell will be unmistakable. The leaves are an elongated oval shape with a long, pointed tip. They are smooth-edged and hairless, and, at the bottom of the leaf, the growth curves around the base of the stem. Again, take a sniff for that very distinct garlicky smell. The flowers are white, small star-like flowers with six petals on a straight green stem.
Not to be confused with other poisonous plants: Lily-of-the-valley, different due to the two or three leaves that grow on its stem. When in flower, Lily-of-the-valley is easily distinguishable as it has bell-shaped, white flowers. Lily-of-the-valley is poisonous. Another similar poisonous plant is Lord and Ladies which also has many similarities to wild garlic and often grows amongst it; the difference is its broad arrowed shaped leaf which sometimes has black spots on. Always seek permission when picking and never eat anything that you are unsure of!
Harvest leaves mindfully and individually so as not to pick any unwanted hitchhikers in your basket. Ensure you forage sustainably, take no more than you plan to consume.
Here are some ideas to help you have fun and play around with the herb:
Wild garlic is very versatile for baking and cooking with. The early shoots work as salad leaves or scatter herbs, and the seed pods add a pop to a salad or can be pickled like a caper to use later in the year.
Add chopped up leaves to salads and top with the delicate flowers for a wonderful taste and look.
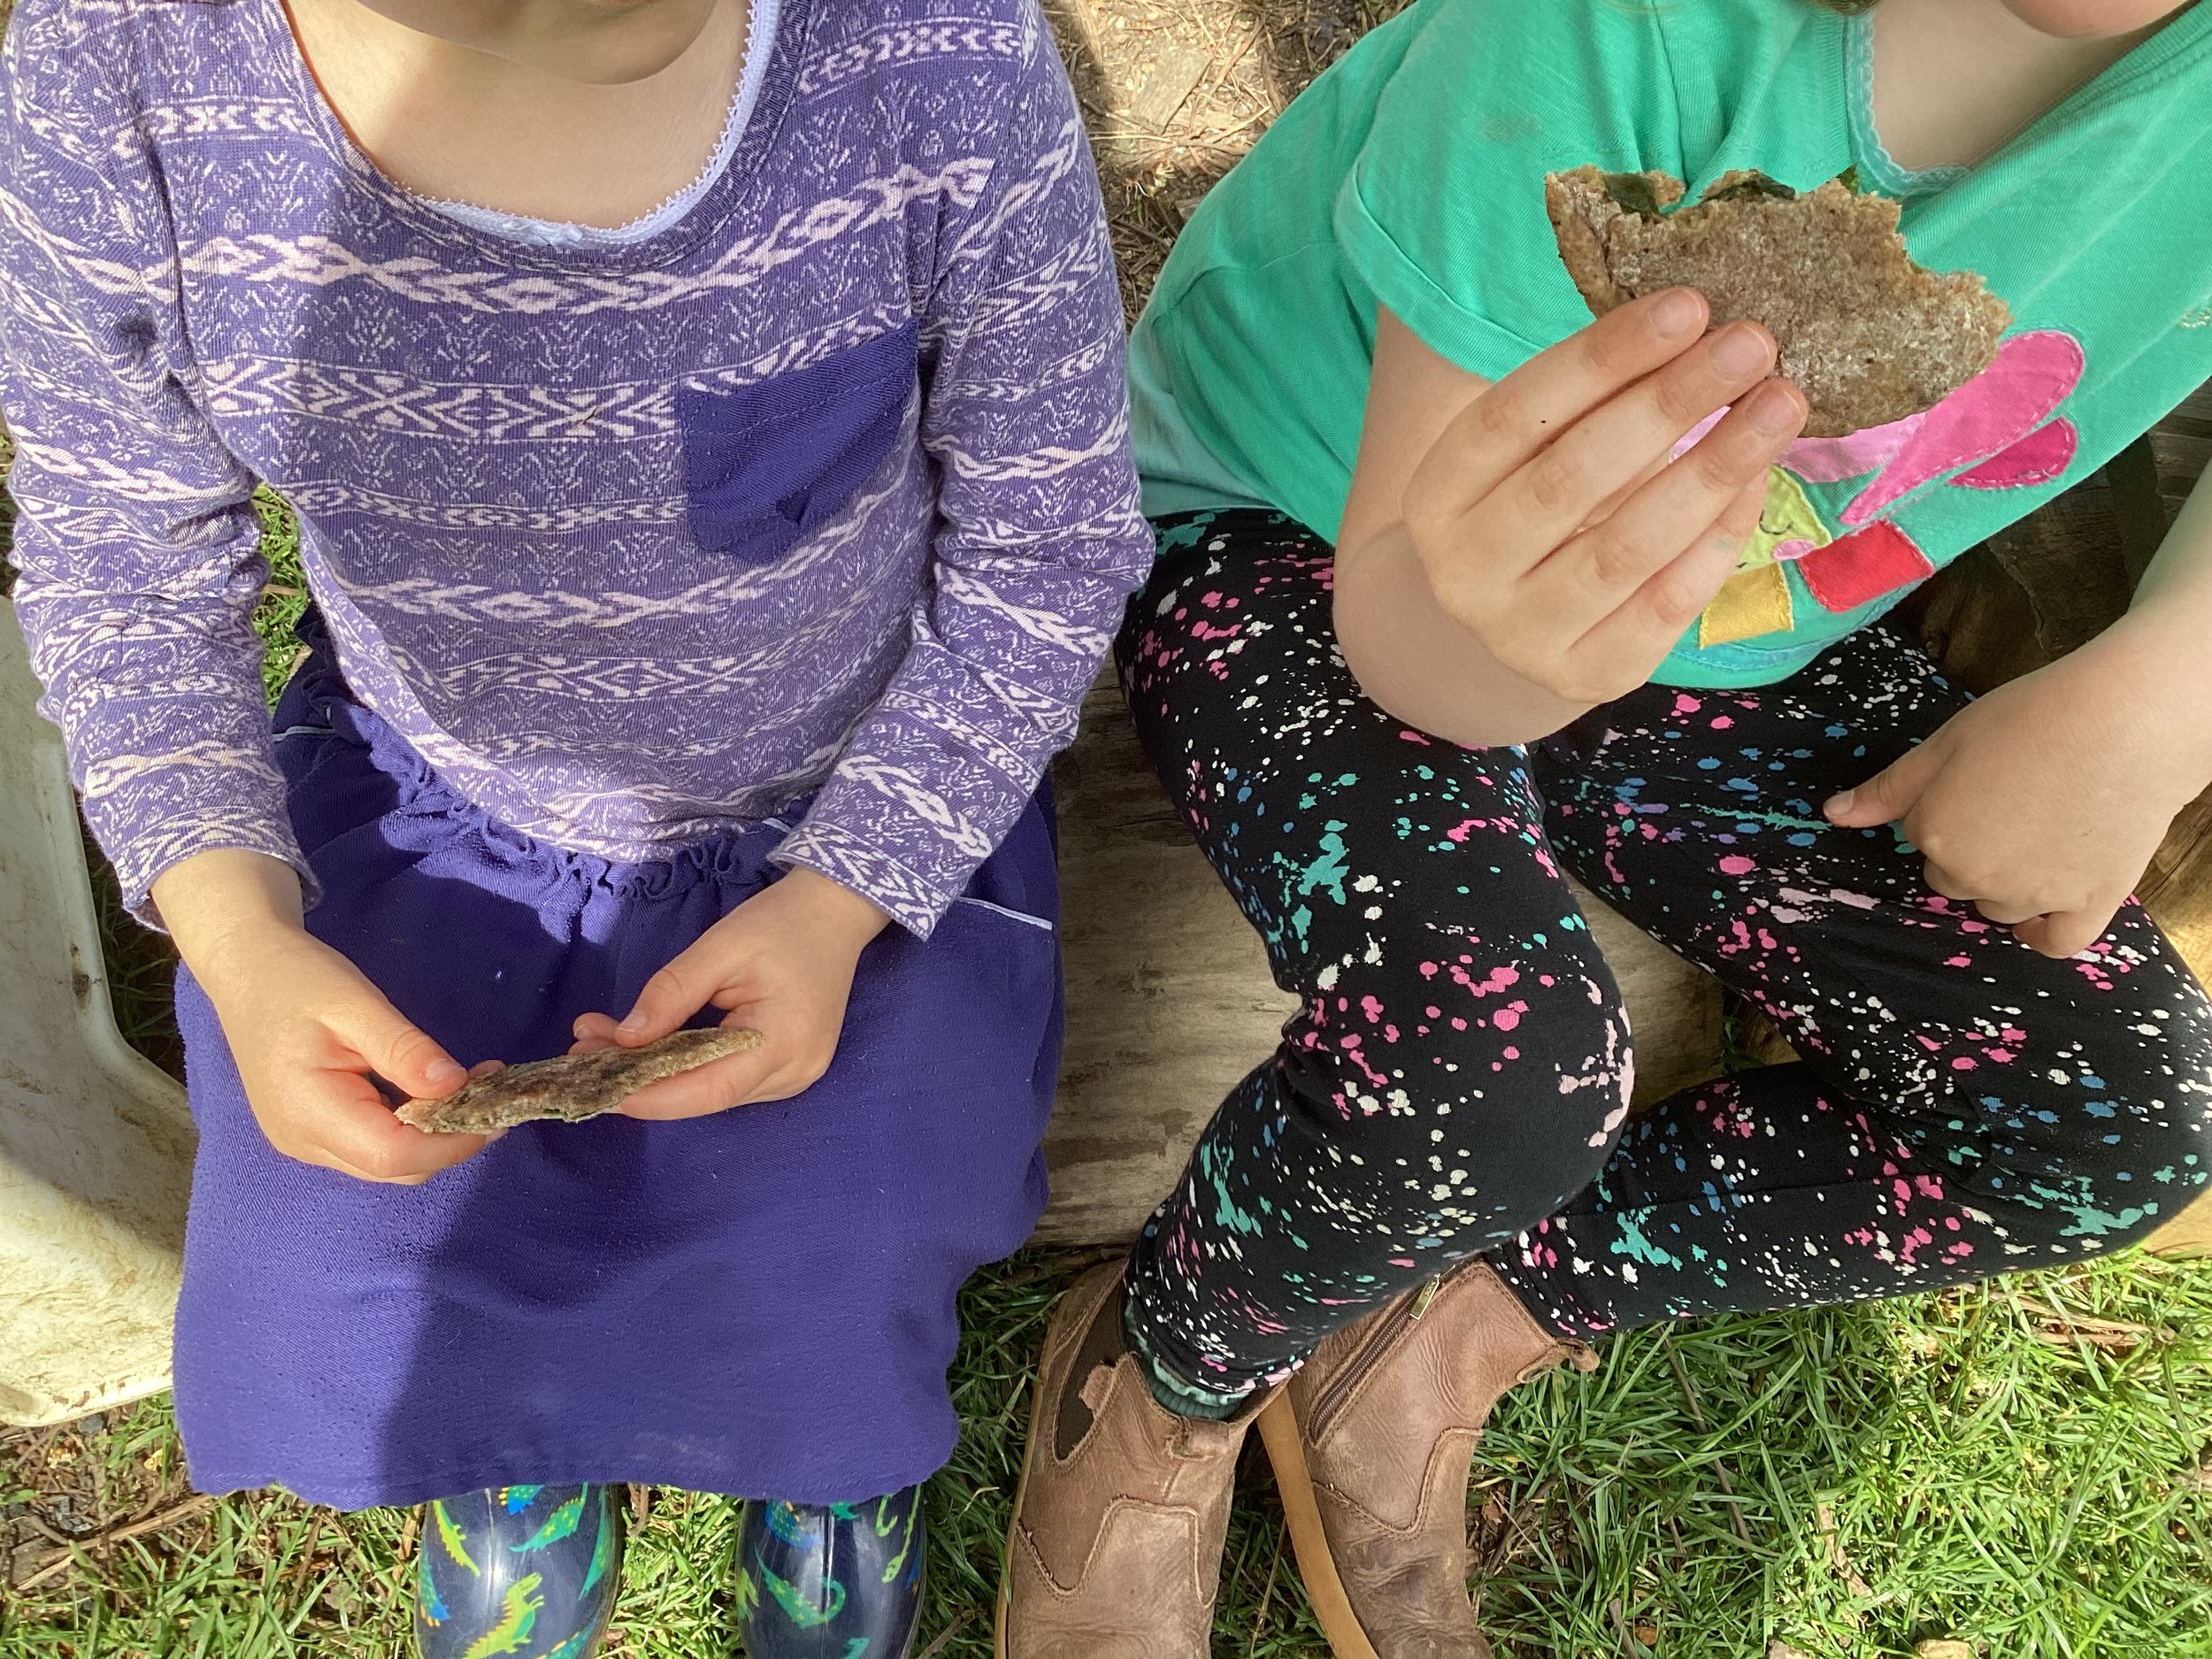
Cheesy wild garlic scones - Pre School said that these were delcious
Wild garlic flatbreads brushed with butter
Kneaded into breads: garlic bread, sourdough, yeasted bread too.
Flavoured butter: finely chop the leaves and pick apart the flowers to sprinkle to butter. Perfect on top of crackers. Keep it in the fridge and use it time and time again
Or just simply eat the herb or flower raw, pick it, wash it and taste it. It has been described as giving a ‘spicy’ taste to the tongue.
HAPPY PICKING (and sniffing)


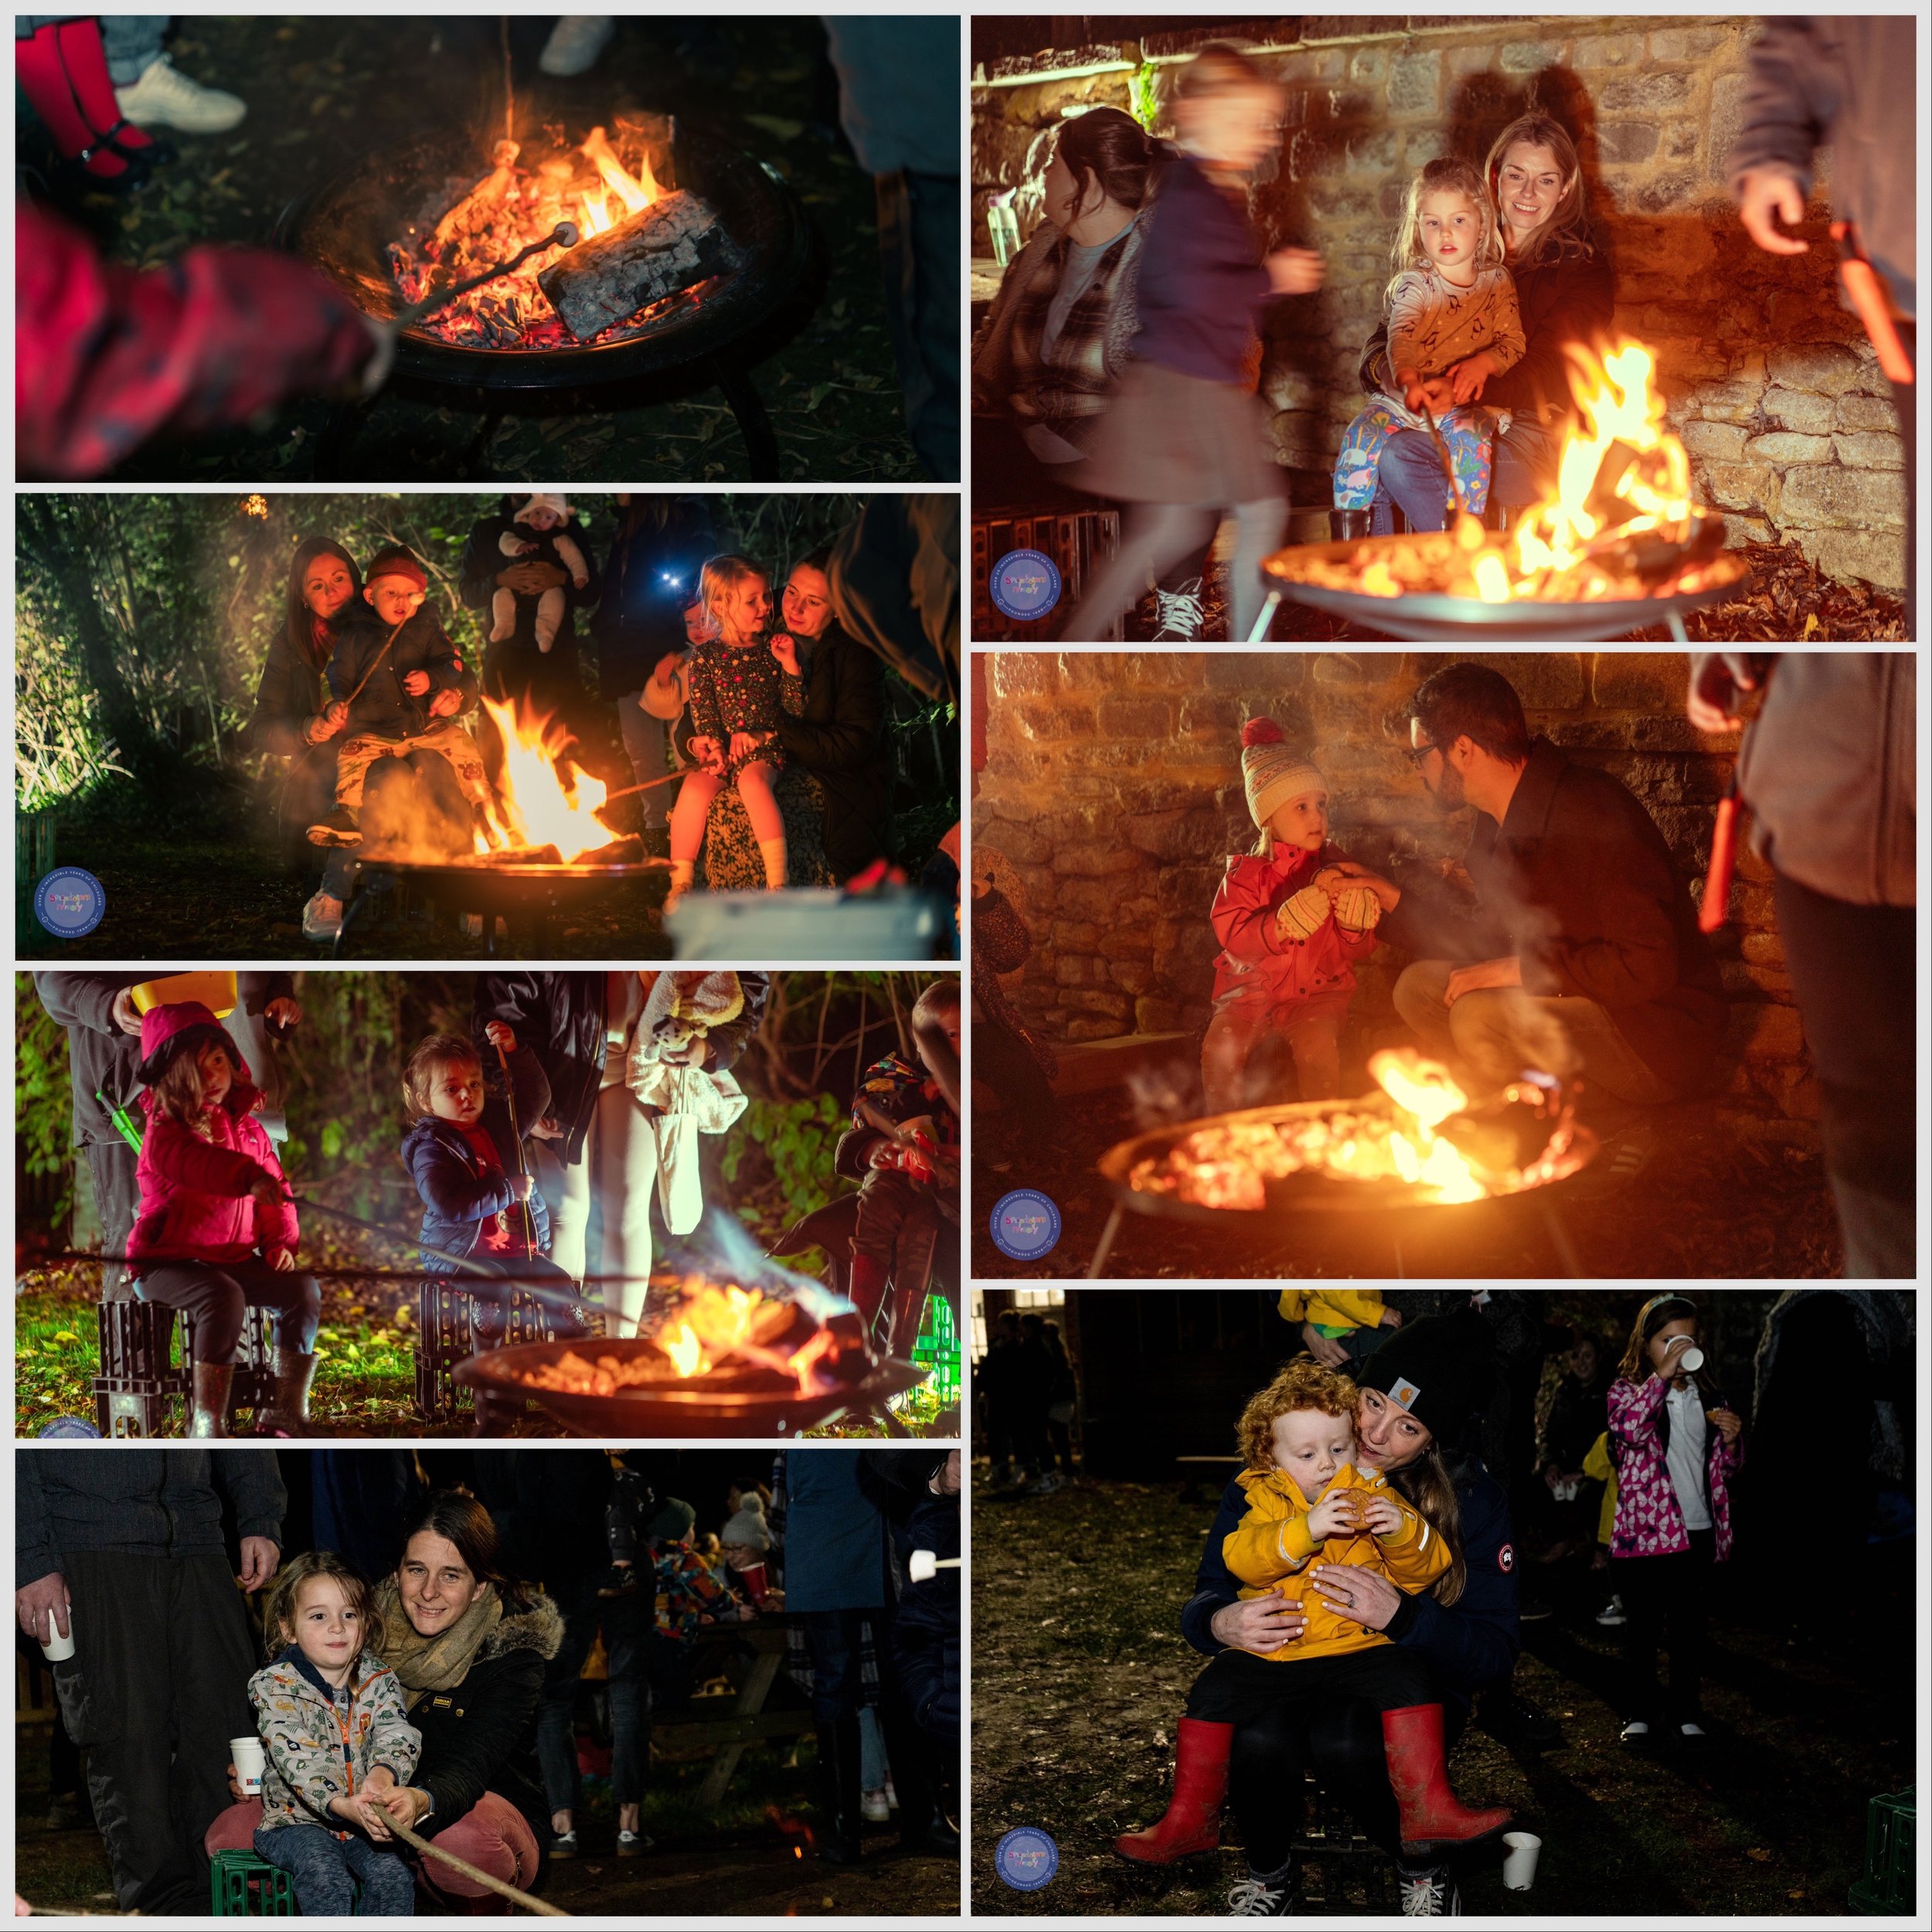
Would you like S’more?
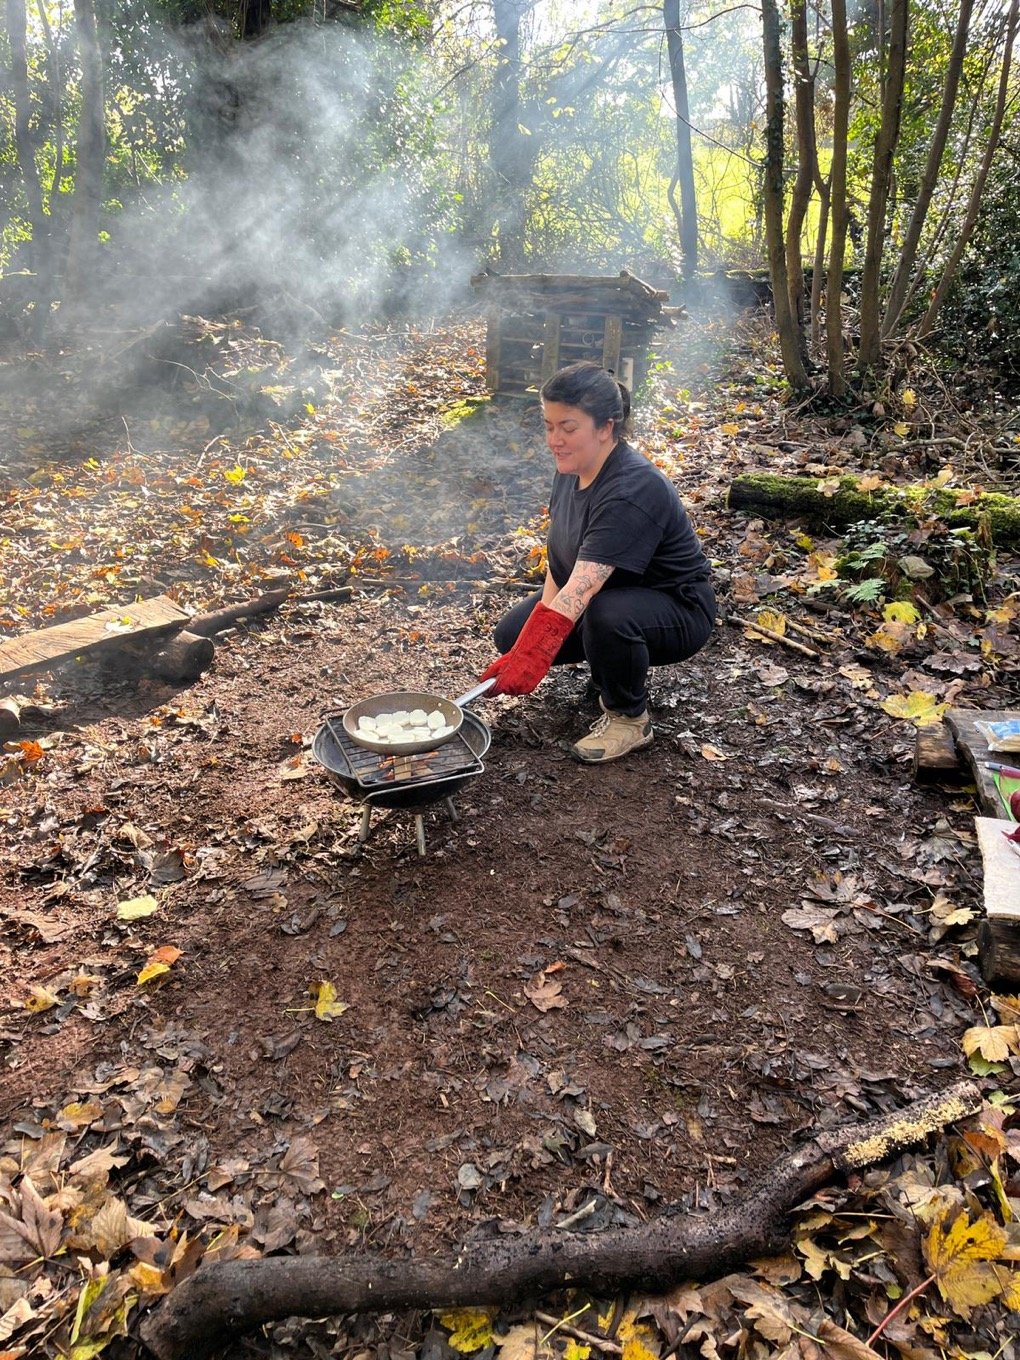
Throughout November, with the help from the Forest School leads at our sites, I have made my way around each Snapdragons nursery to host a Spooks and S’mores event. As parents arrived to pick up their children, families slowly but surely, made their way outdoors, following the smell and husks in the air of the lit fire, people joined us to toast a mushy marshmallow and relax watching the flickering flames and keeping warm.
A bit of history for you, traditionally a S’more is made with a ‘Graham Cracker Sandwich' where a toasted marshmallow and half a chocolate bar were sandwiched between Graham Crackers. This was first seen in a 1920s US cookbook as a recipe. The phrase s’more is a contraction of the phrase 'some more’. The s’more traditionally requires a campfire… Unless, like New Zealand climber Simon Turner, who roasted a marshmallow over an active volcano. Click here to see.

We wanted to pay homage to this delicious treat and take a moment to relax around the flames with our little ones. In our opinion the perfect s’more is: Two chocolate digestive biscuits and a marshmallow toasted over the fire, squished and squashed together once the marshmallow has cooked to your desired gooeyness. As we nattered around the fire a common question asked was: is my marshmallow cooked? My reply was always, it’s up to you. Some like the marshmallow a little blushed by the fire, whilst others like the it with an outer shade of black, crispy but just right to add some biscuits.
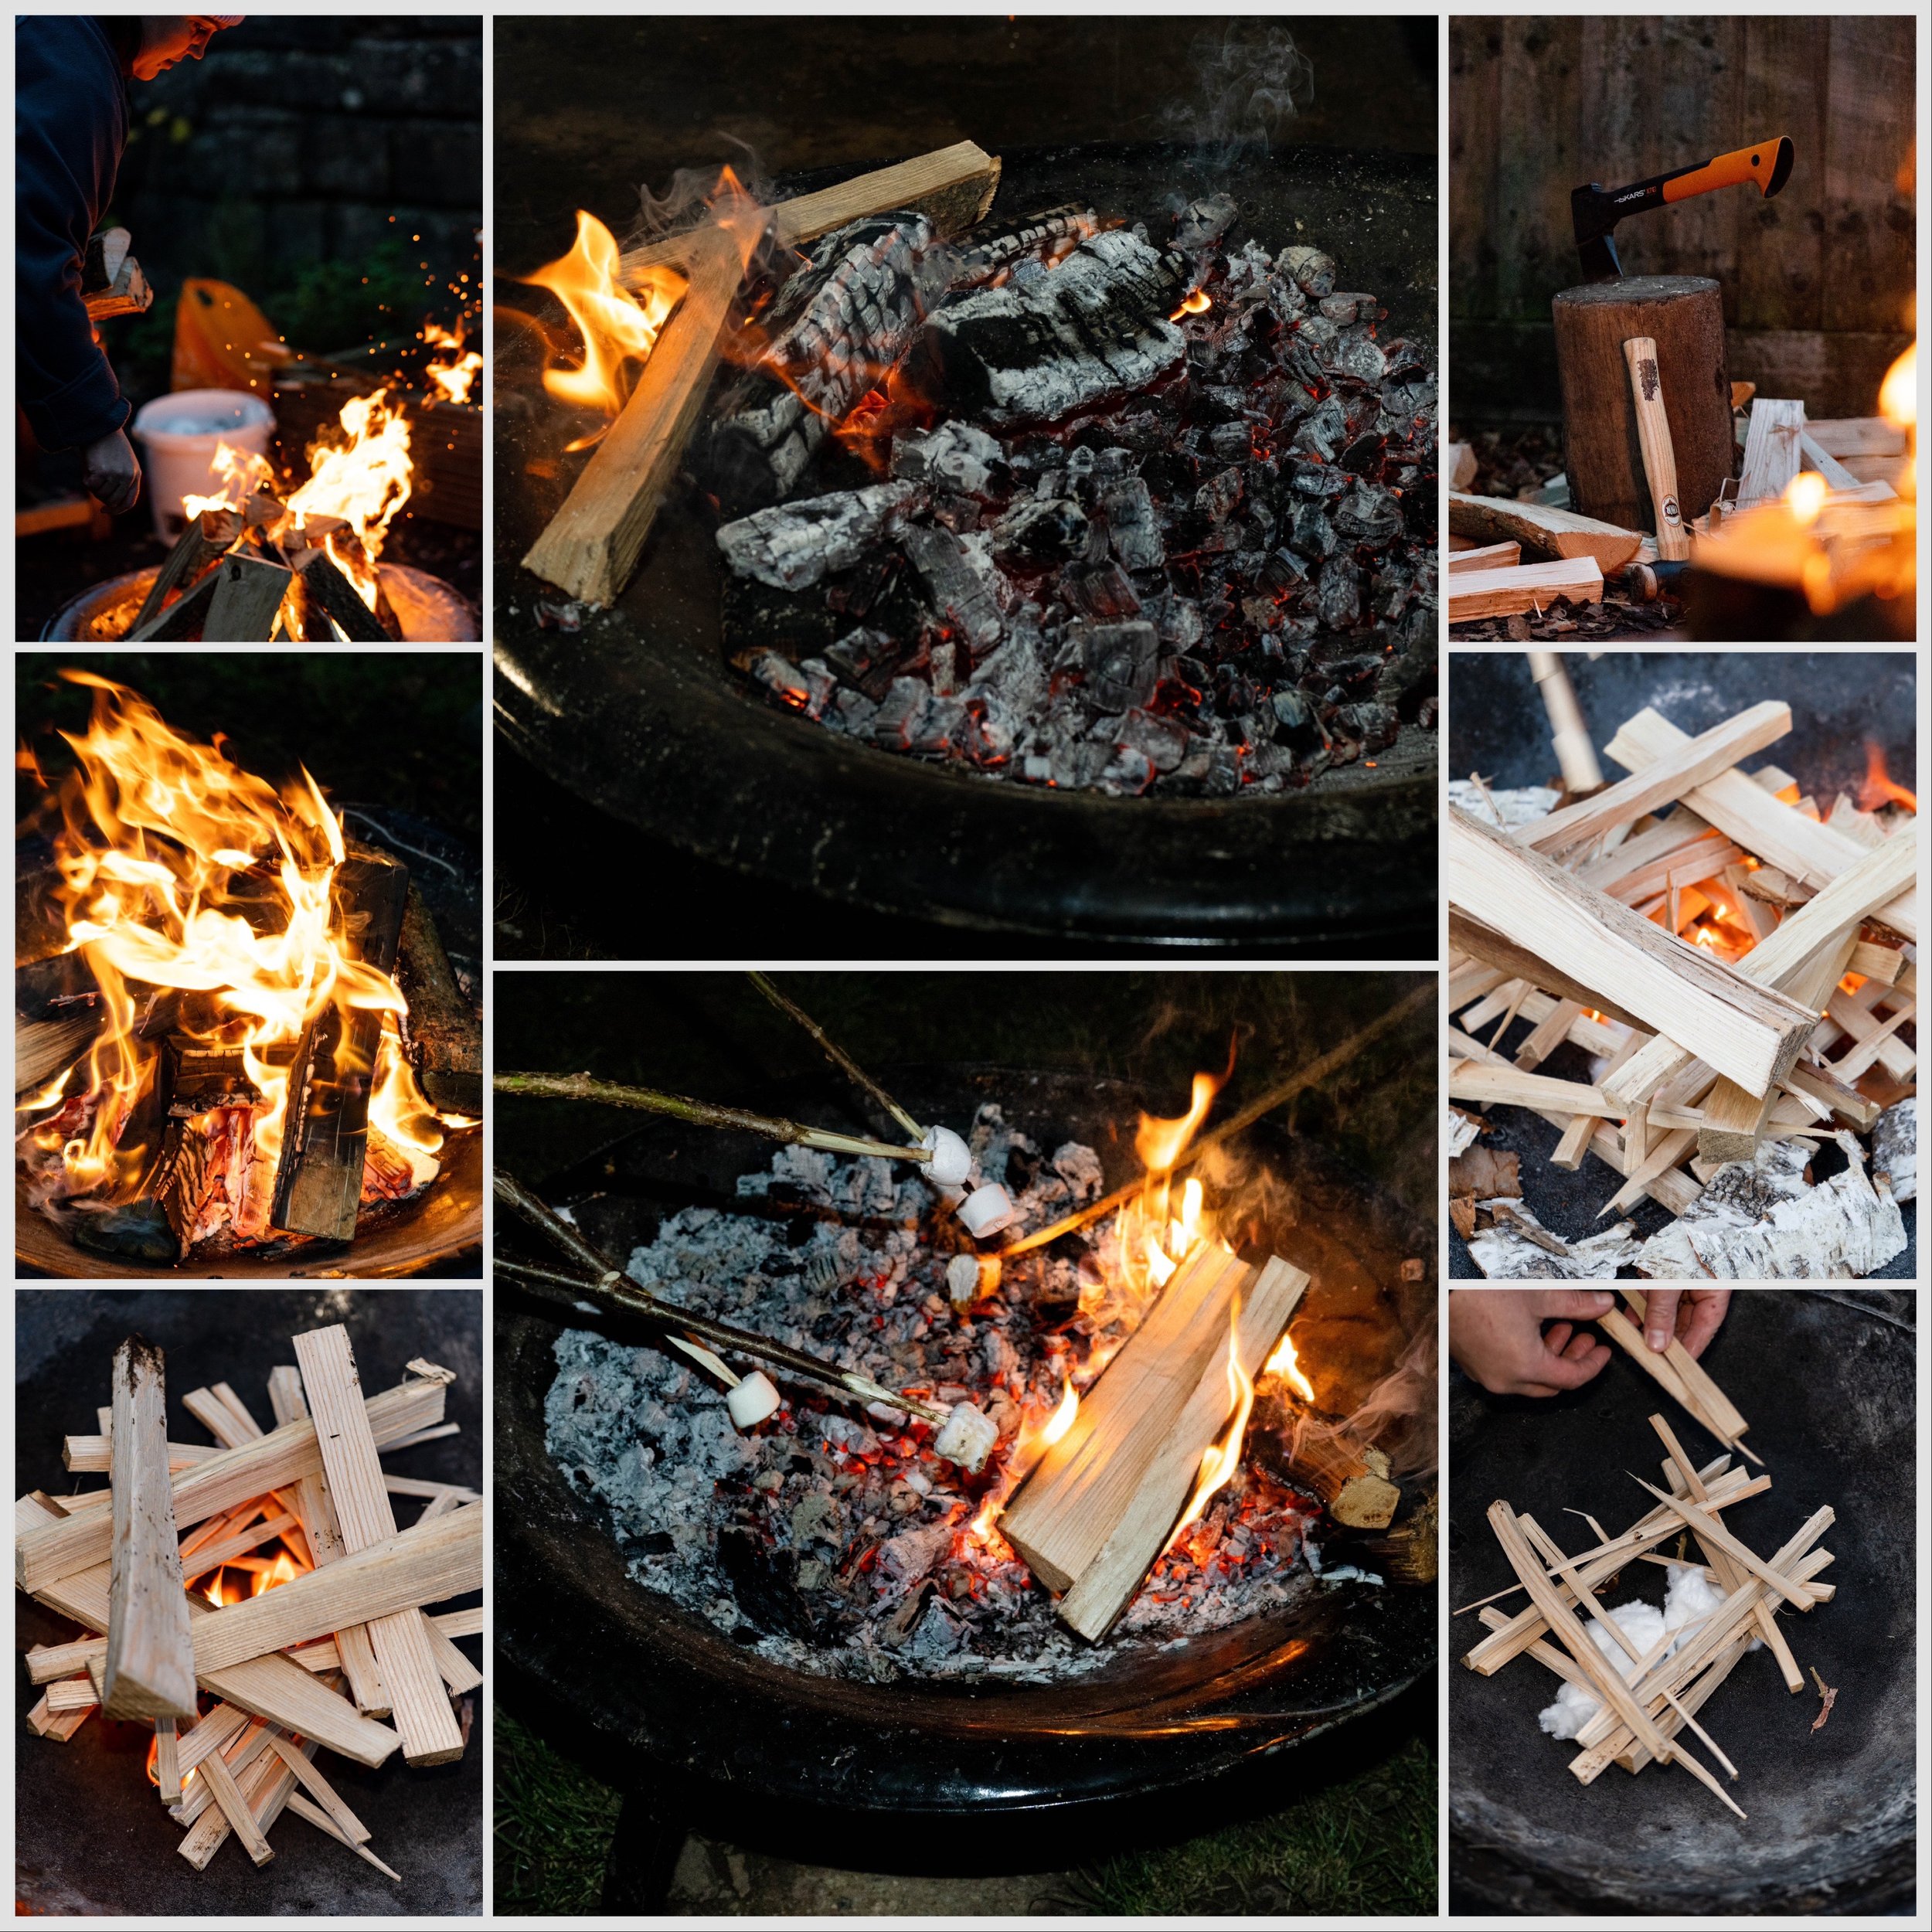
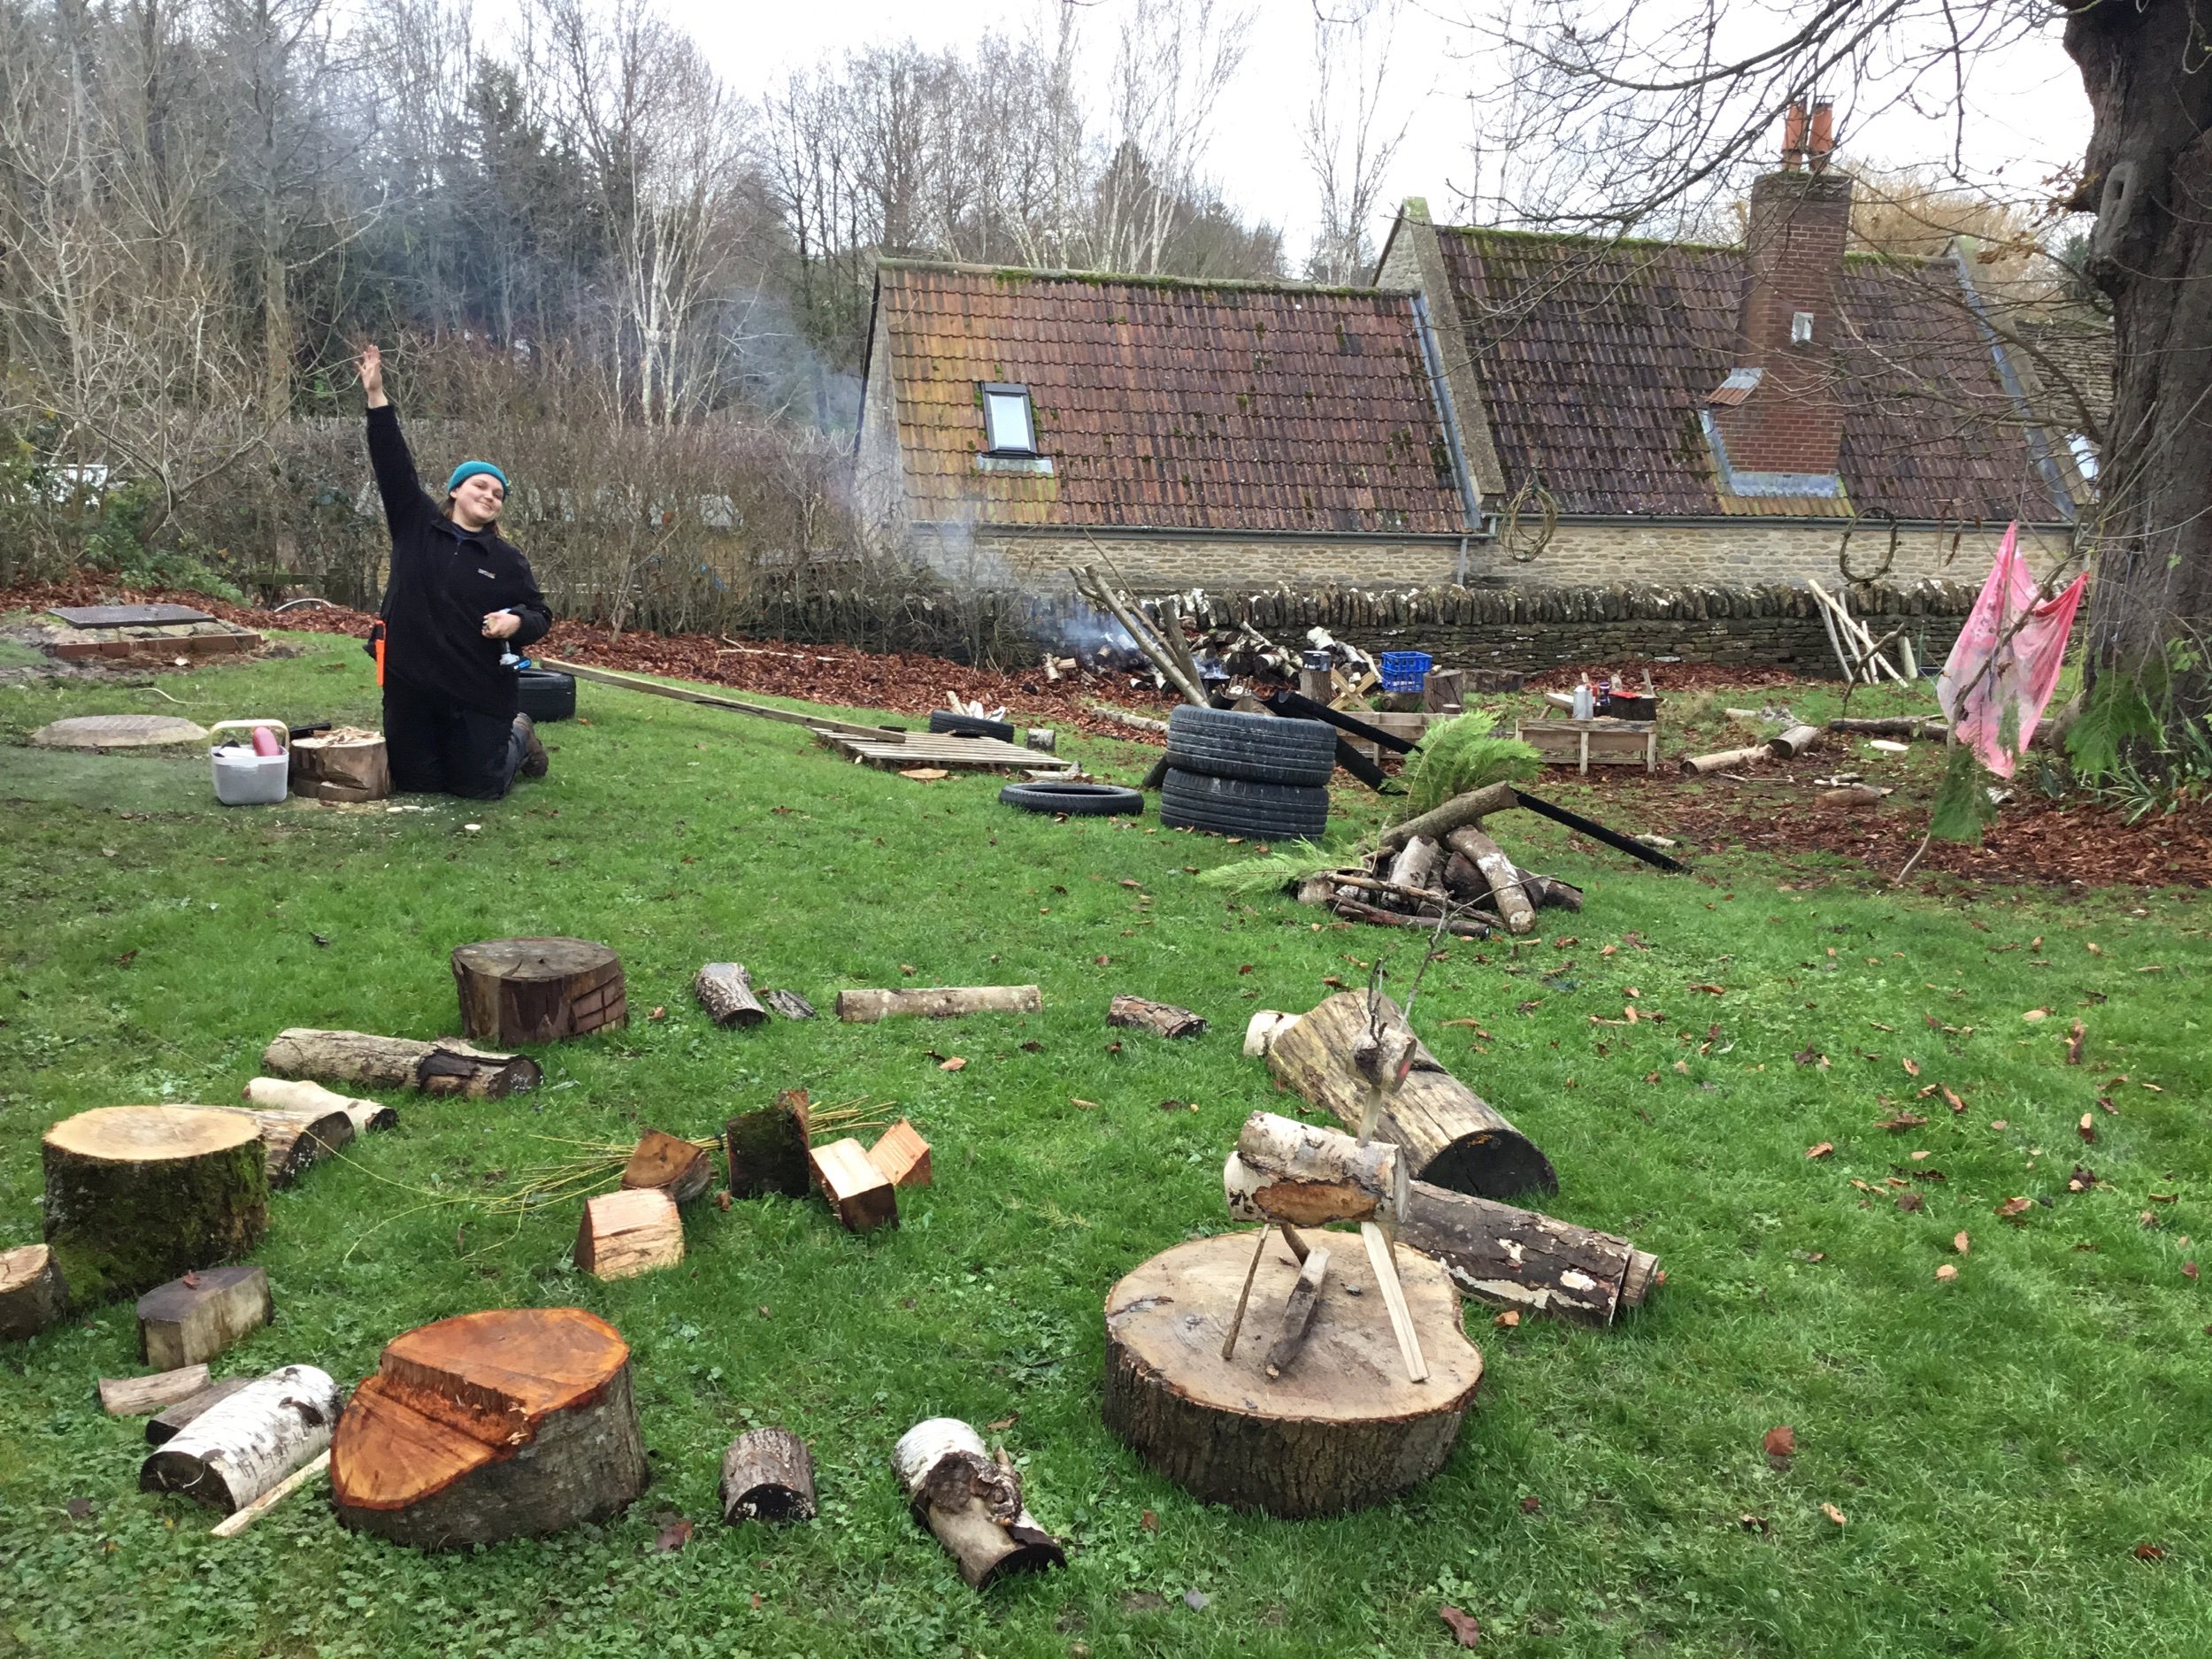
FIRE LIGHTING HACKS
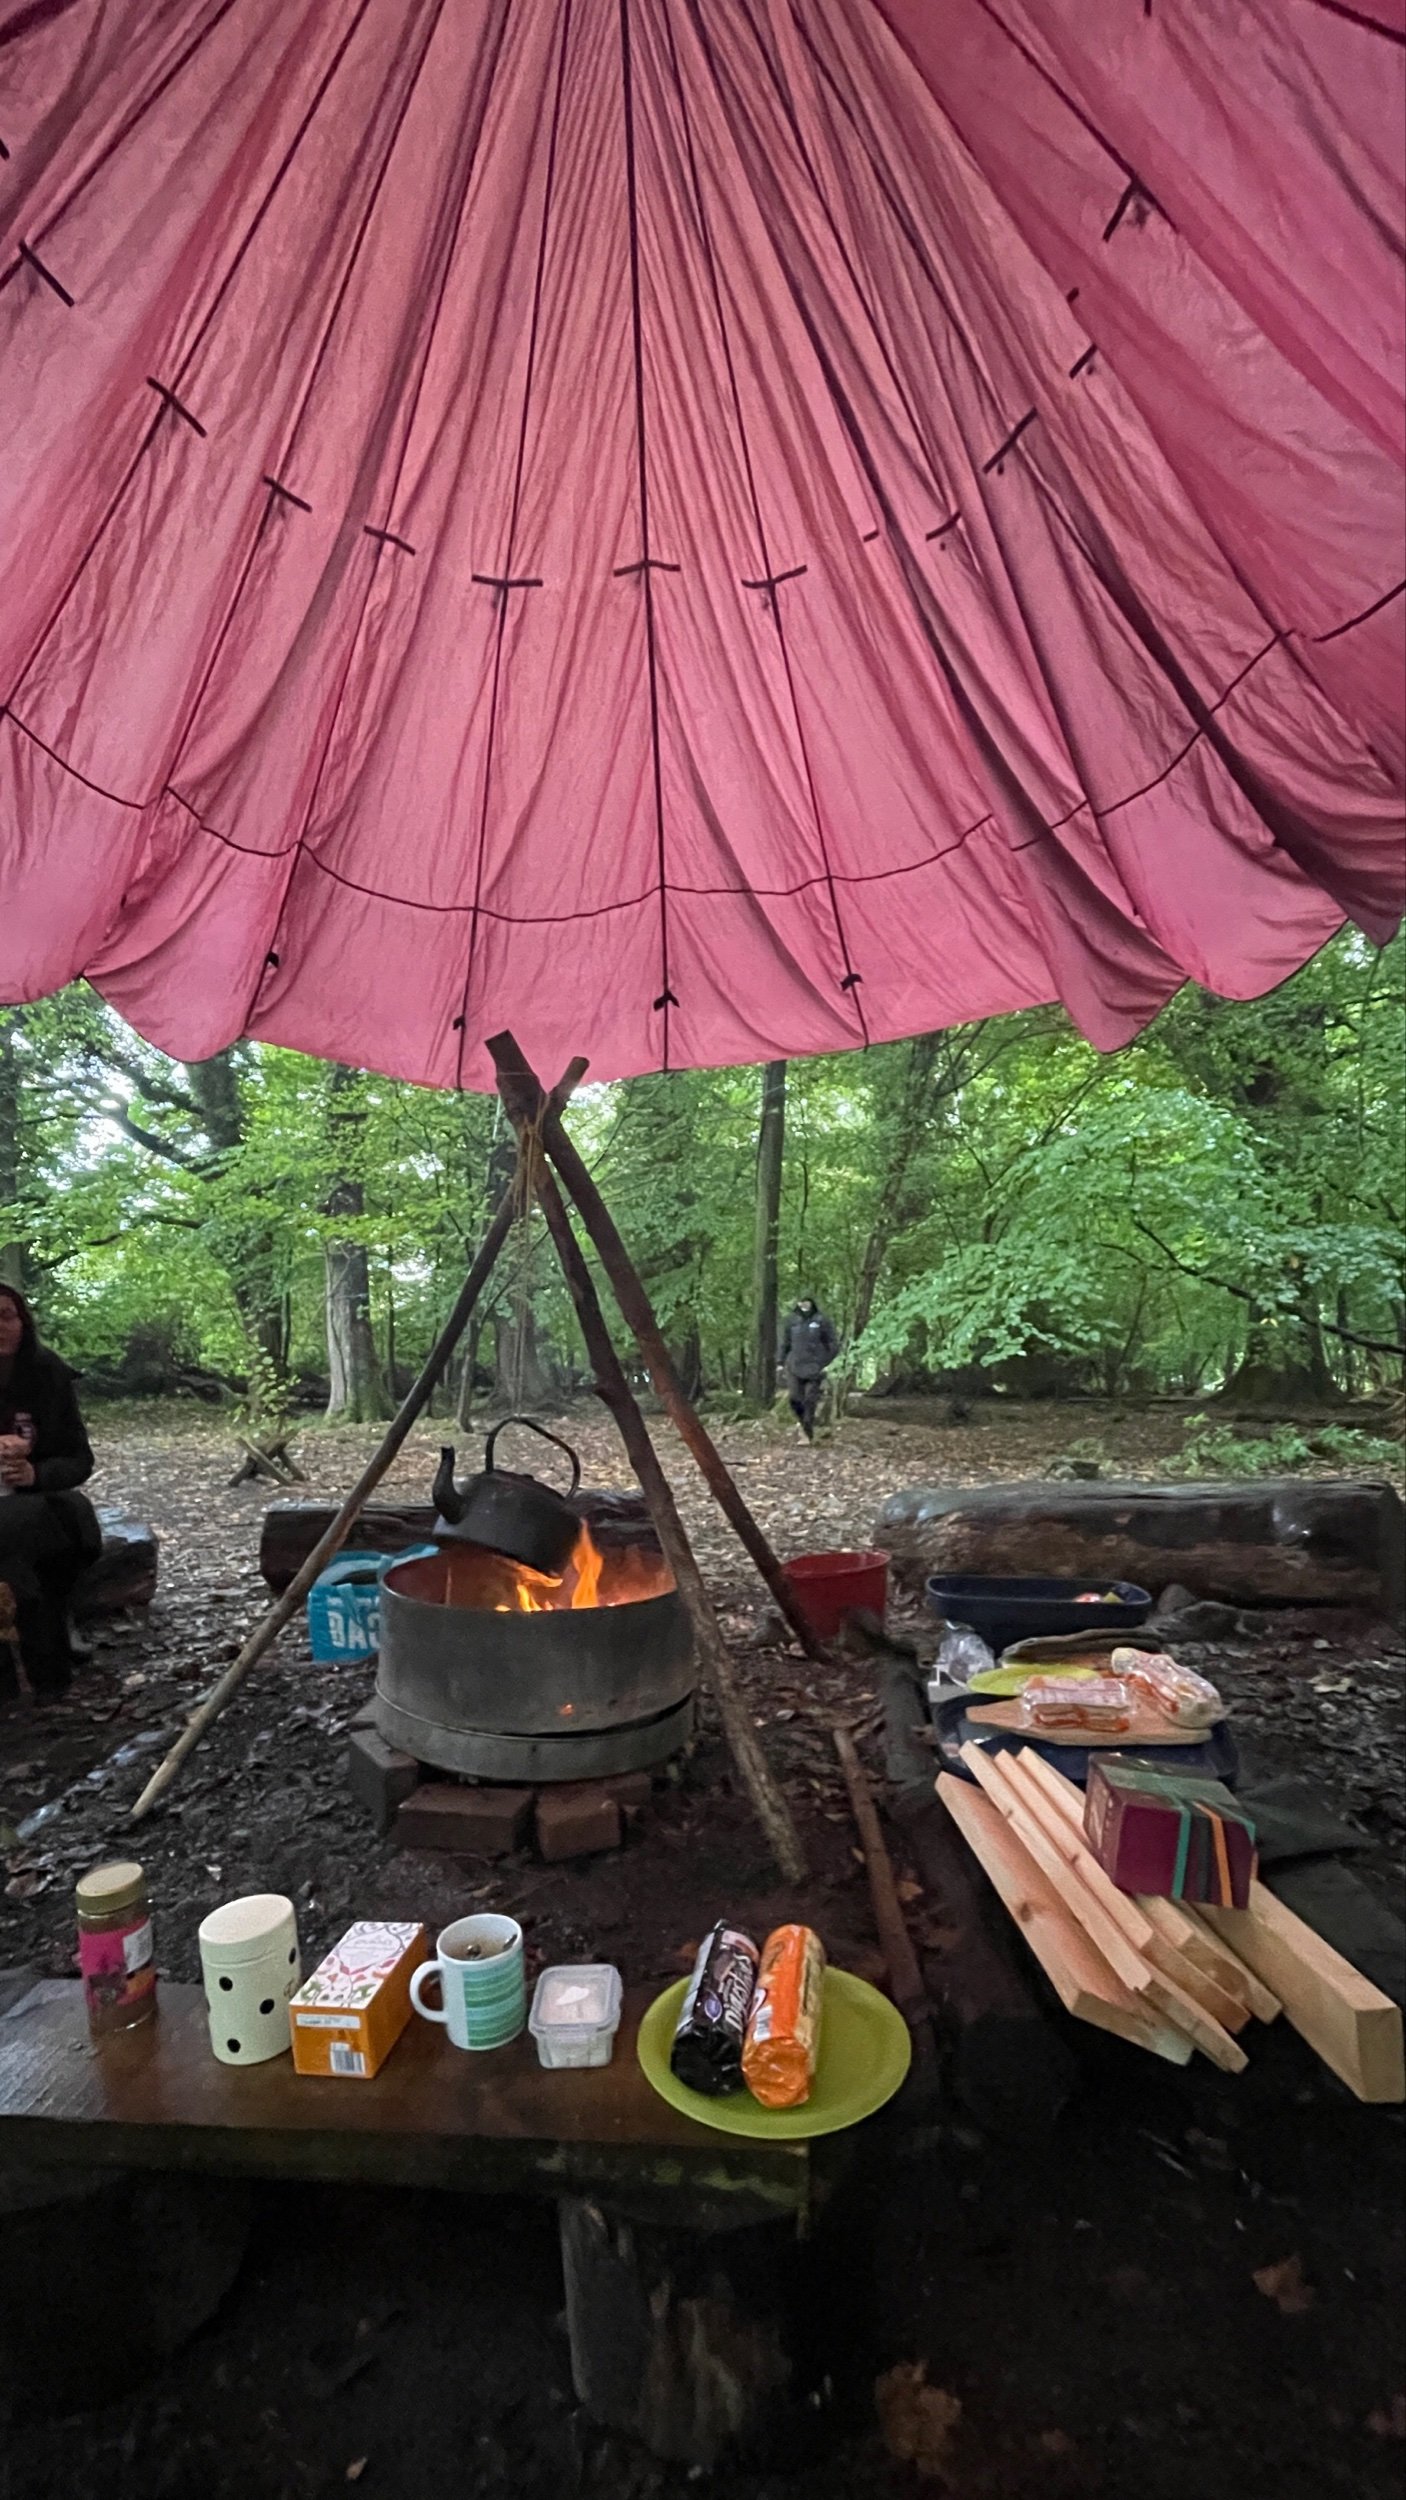
Each Snapdragons site is unique for fire lighting, huddled under a tarp in the Forest keeping dry from the rain or on some concrete, it doesn’t matter, fires can be lit anywhere as long as the weather conditions are safe to do so.
There are a few things you will need in order to have an outdoor fire: a fire bowl or chiminea, firelighters (like bark, cotton wool or newspaper), a handful of small matchstick sized sticks used to establish the flame as tinder. The idea is to gradually build up the flame which means gradually using larger sticks as the flame increases in size. If you don’t build up the fire bit by bit, it will be hard to get it roaring. It is also important to have all of your fuel ready to add to the fire as it will eat away at the wood quicker than you think. And lastly, your fire needs three things to keep going - FUEL, OXYGEN and HEAT, if any of these are removed it is likely that the fire will go out.
For fuel, it is best to collect dead wood. That is wood caught up in neighbouring trees and not in contact with the ground, so it is really dry. Ensure the wood you use is dried and seasoned, this way it is safe to use and will not emit much smoke. Hardwood is preferable as this will burn for longer than softer woods. Here is a little guide to which woods will have a great burn to them. If you are using shop bought wood it should have the ‘ready to burn’ sticker, therefore it is safe to do so. Follow the link to find a few different ways to set up your fire for maximum burn.
If you are aiming to cook food over the fire, you want to establish a large bed of embers and grey charcoal to cook over, this means initially making a large fire with lots of wood, then letting it settle down. If the aim is to keep warm and enjoy the flames then you will want lots of wood on the fire to keep it roaring away.
Happy cooking!


Building a bench
It’s a strange day to be writing this as after nearly nine years working as the Leader of Outdoor Learning I am leaving Snapdragons. Over the last few months I have been considering the idea of longevity in my work. When I started out I loved using pallets for all my creations, they were cheap, easy to come by and simple to work with. However more recently I have wanted to work with woods and techniques that will last the test of time (and the use of many, many children) so my first step was to source some good quality wood to work with.
My search brought me to Varsten Timber whose saw mill is just a few minutes drive from our Wiltshire nurseries. They sell solid Oak offcuts for just £45… per quarter ton! I jumped into the minibus, prayed to the suspension gods and set out.
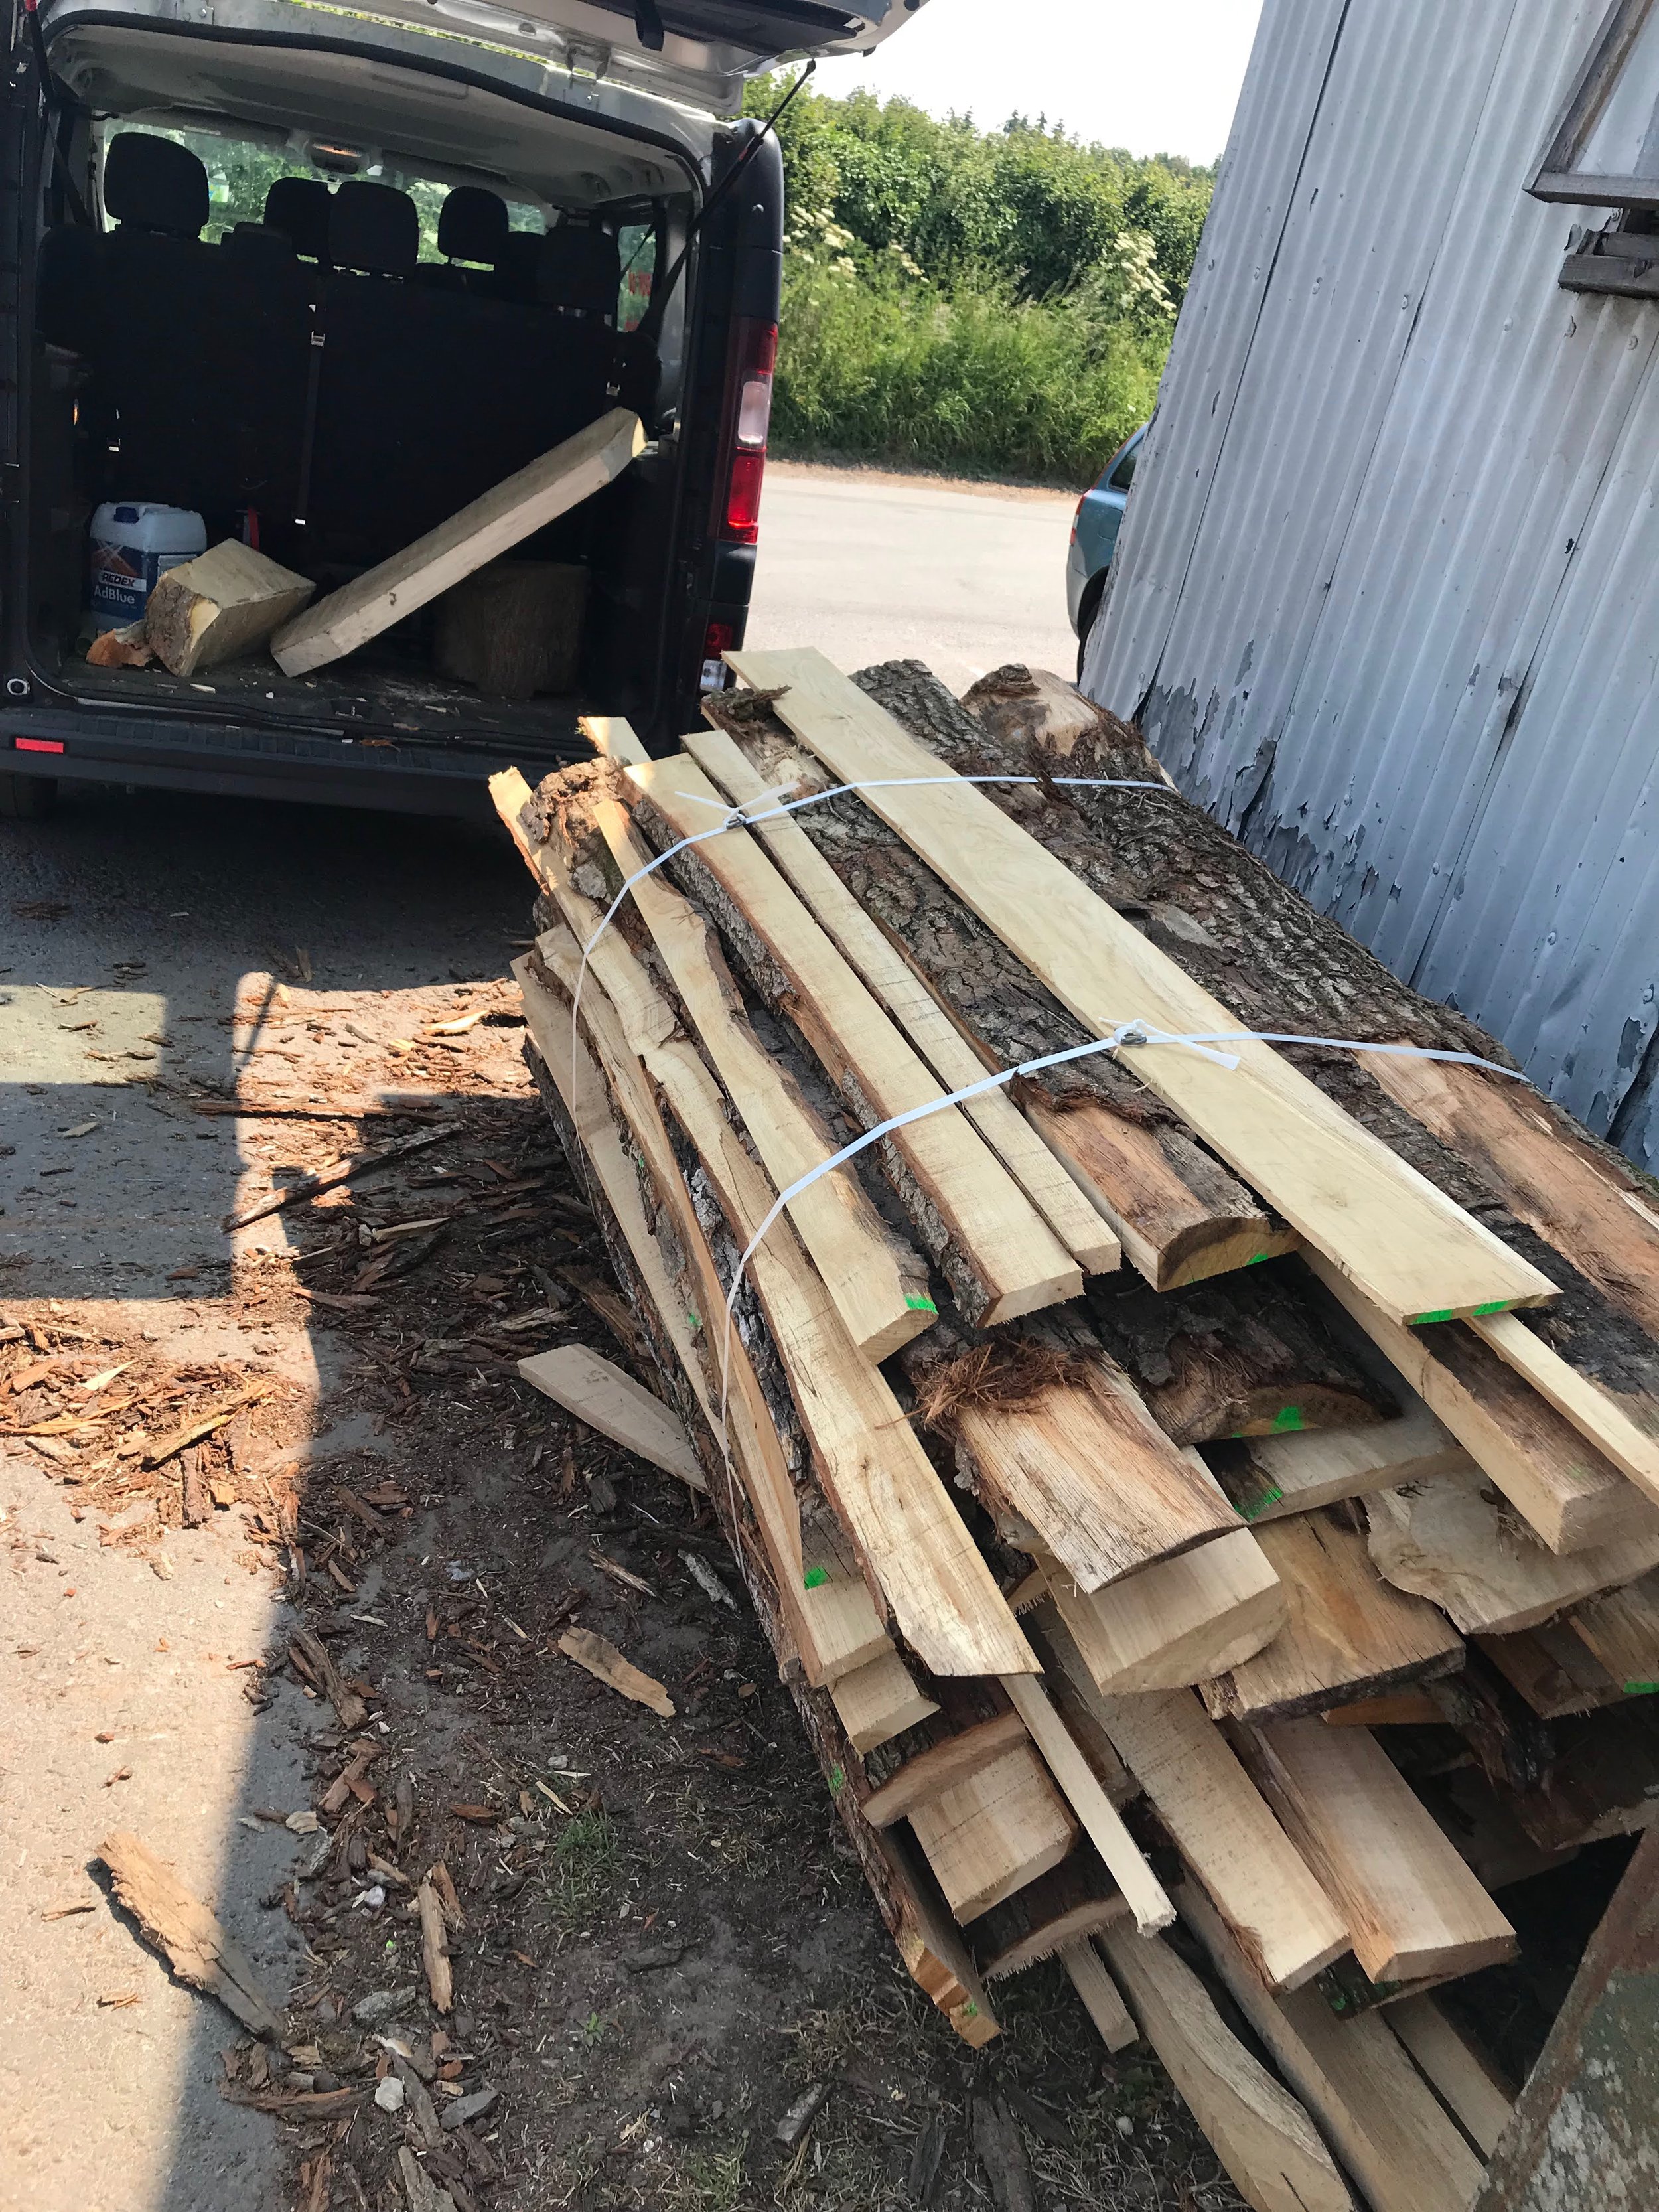
We’re going to need a bigger boot…
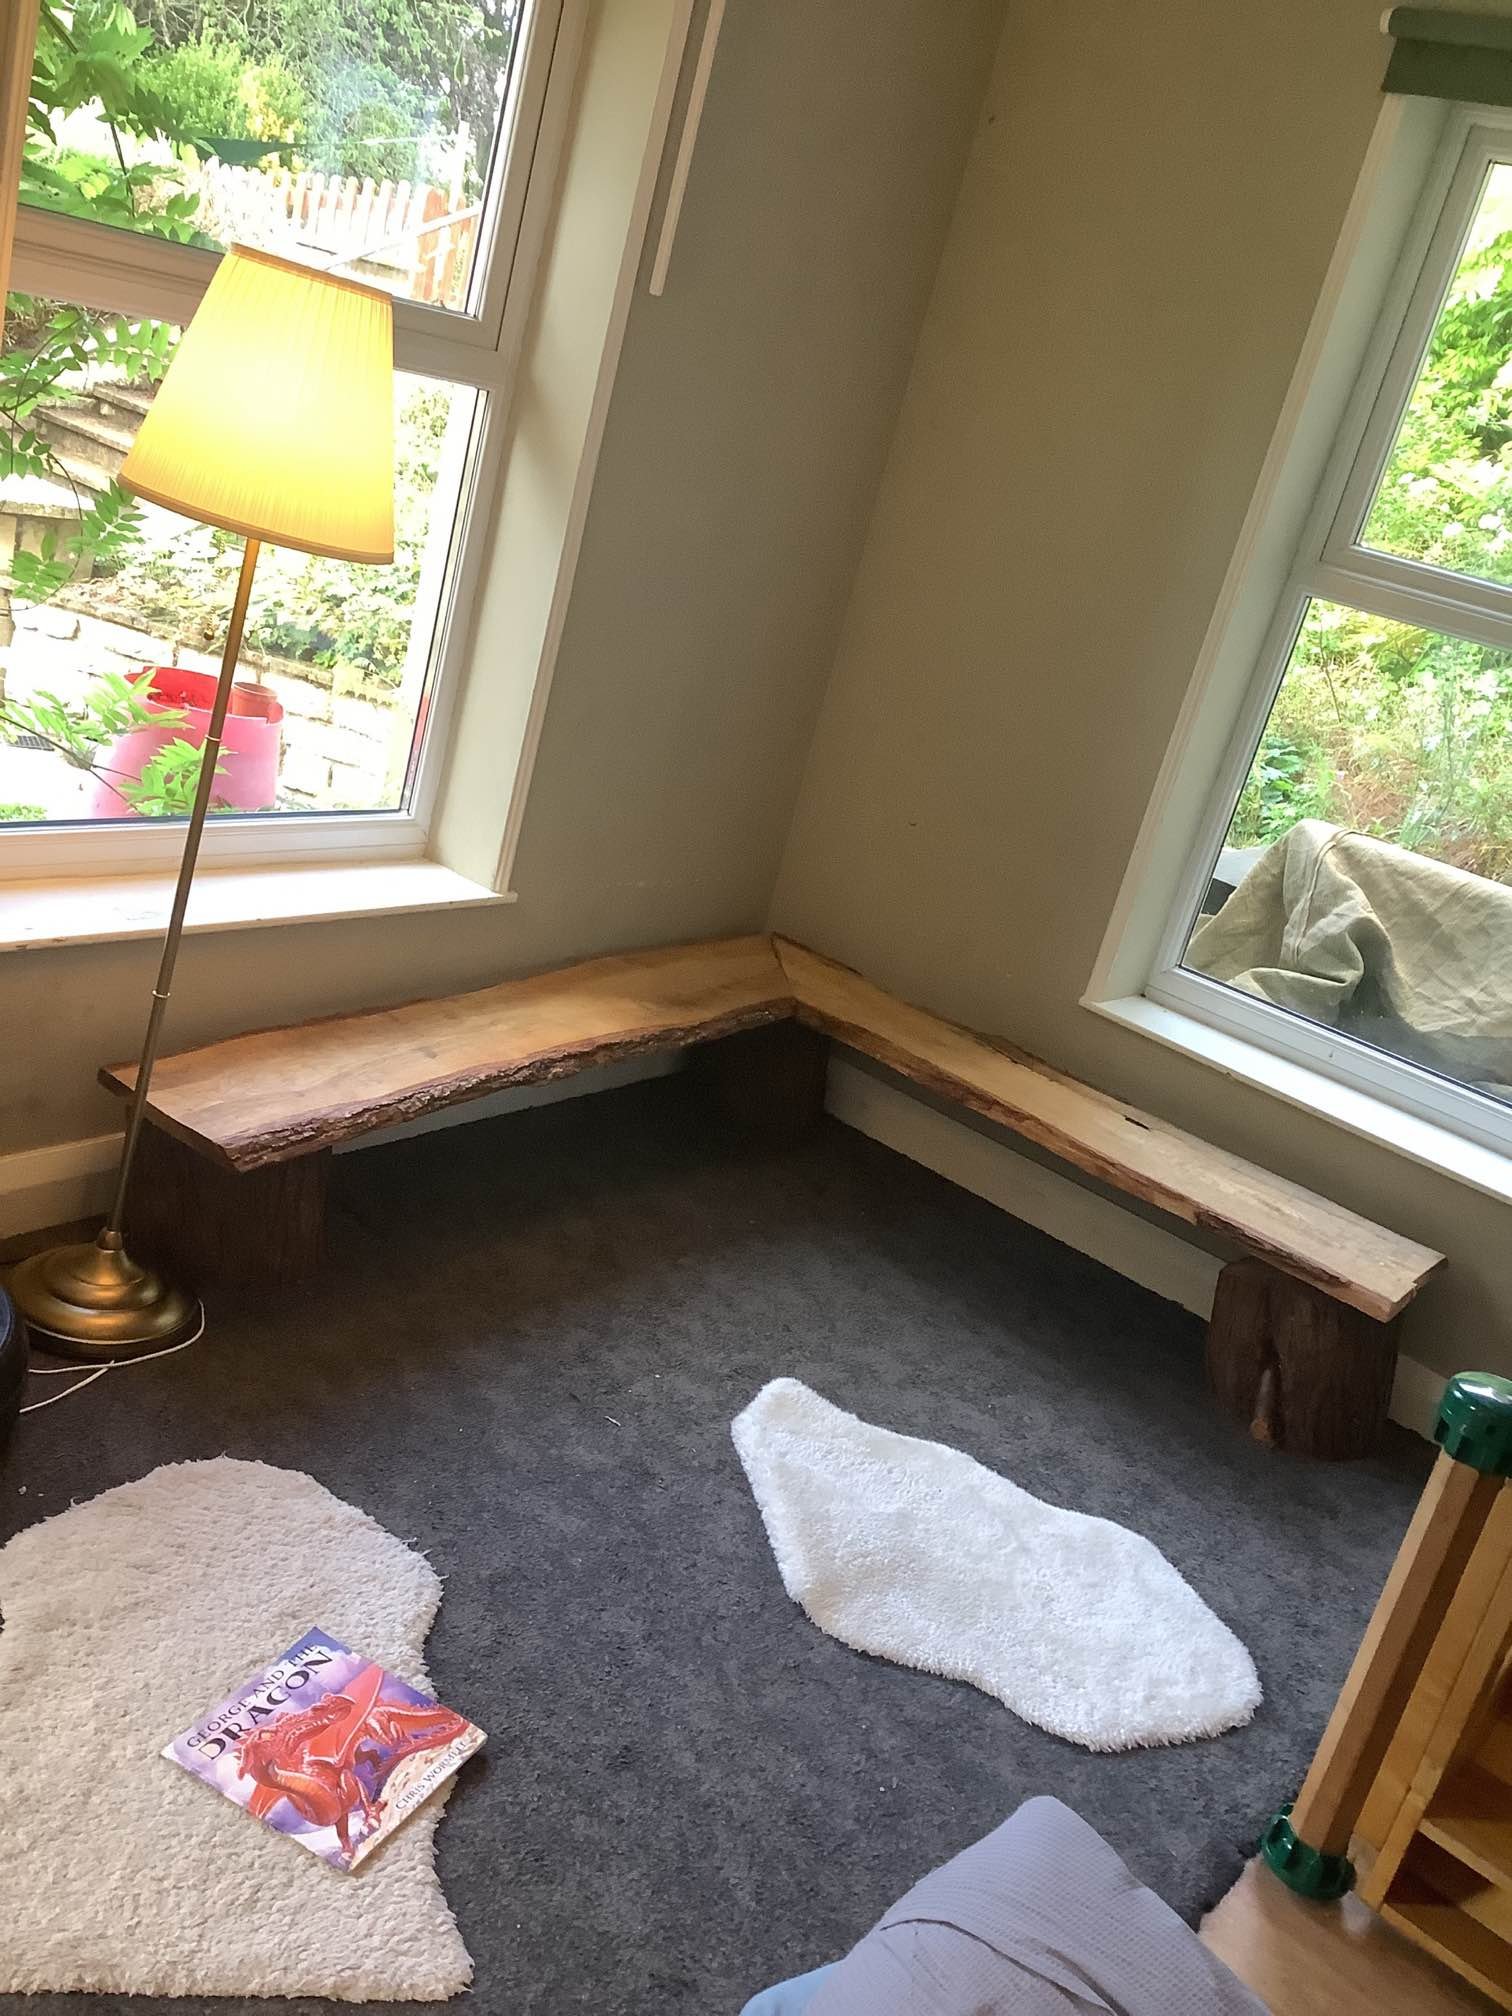
Well stocked with milled wood the challenge was to come up with as many activities to use as much of it as possible. At the bottom of this post there are some of the various ideas that we came up with but I want to focus on one in particular, a bench for Atworth’s garden.
The inspiration for the bench came from Sebastian Cox and his Underwood collection. Cox uses British hardwoods with a focus on sustainable woodland management and a deep respect for the material that he harvests and uses. One of the elements of the benches that drew my attention was the way that the coppiced Hazel legs on the benches are used in the round to produce a simple and stable piece. Using these benches as an inspiration and with a willing group of preschoolers to help we set to work.
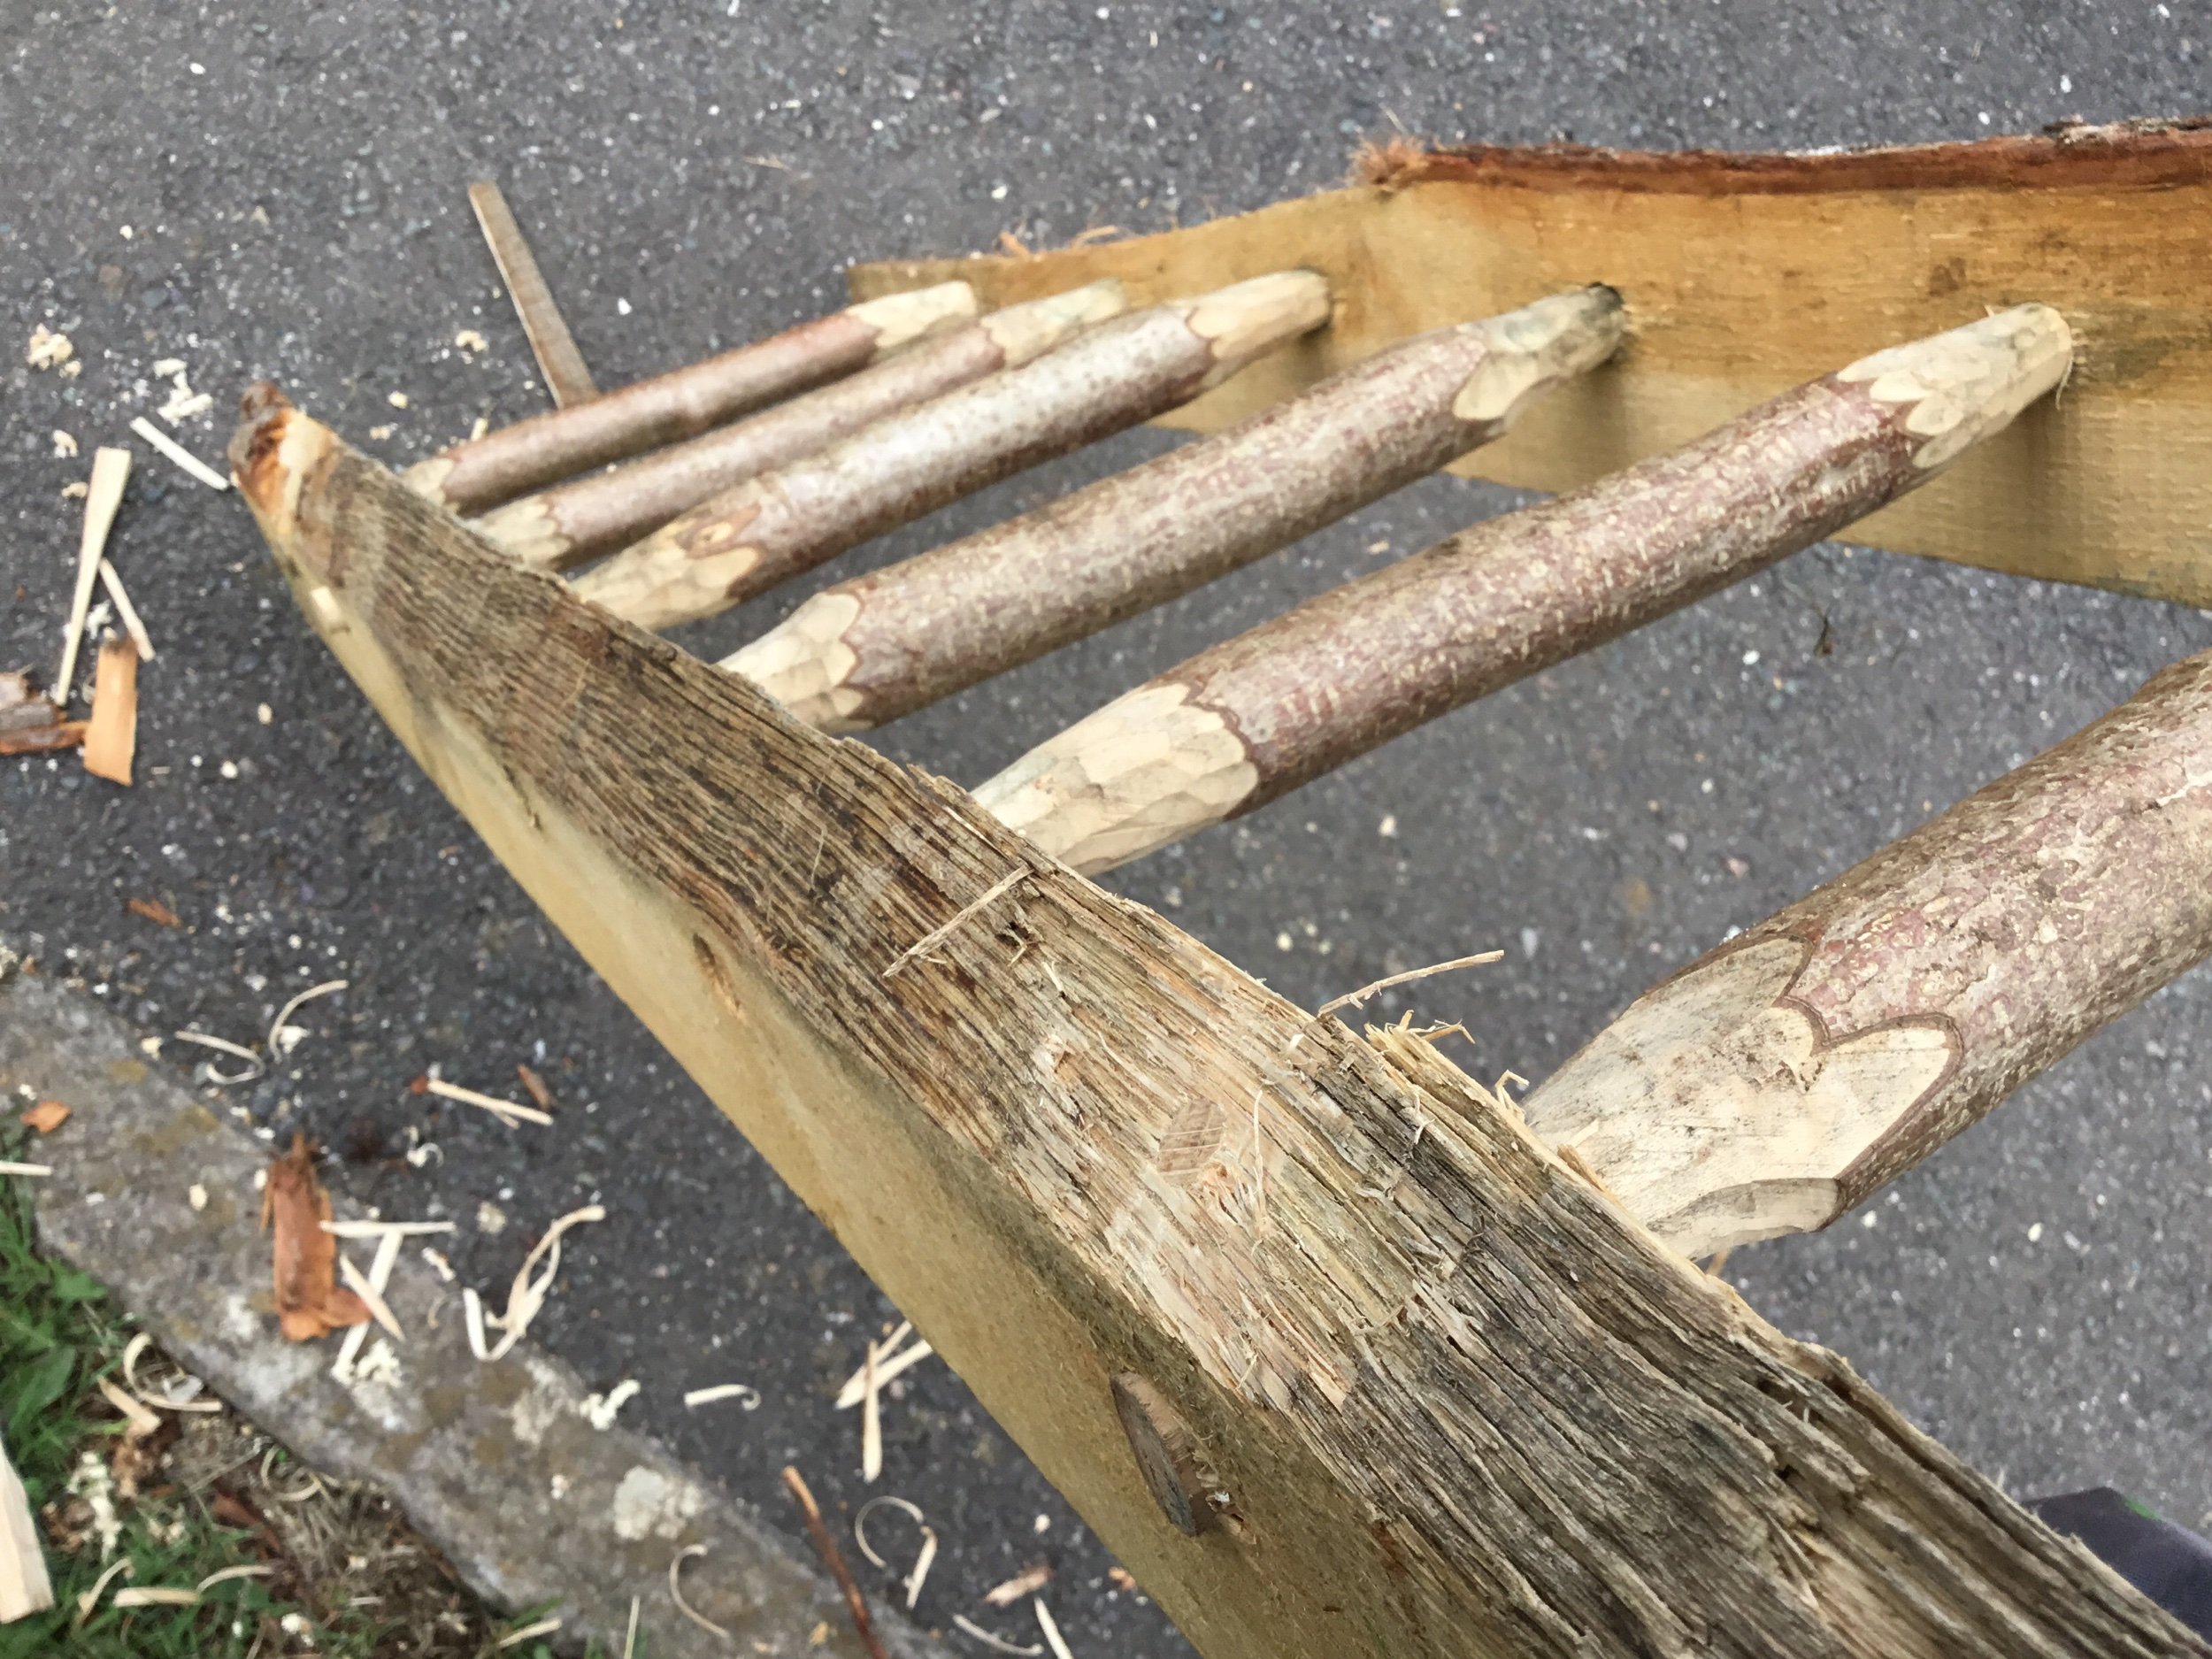
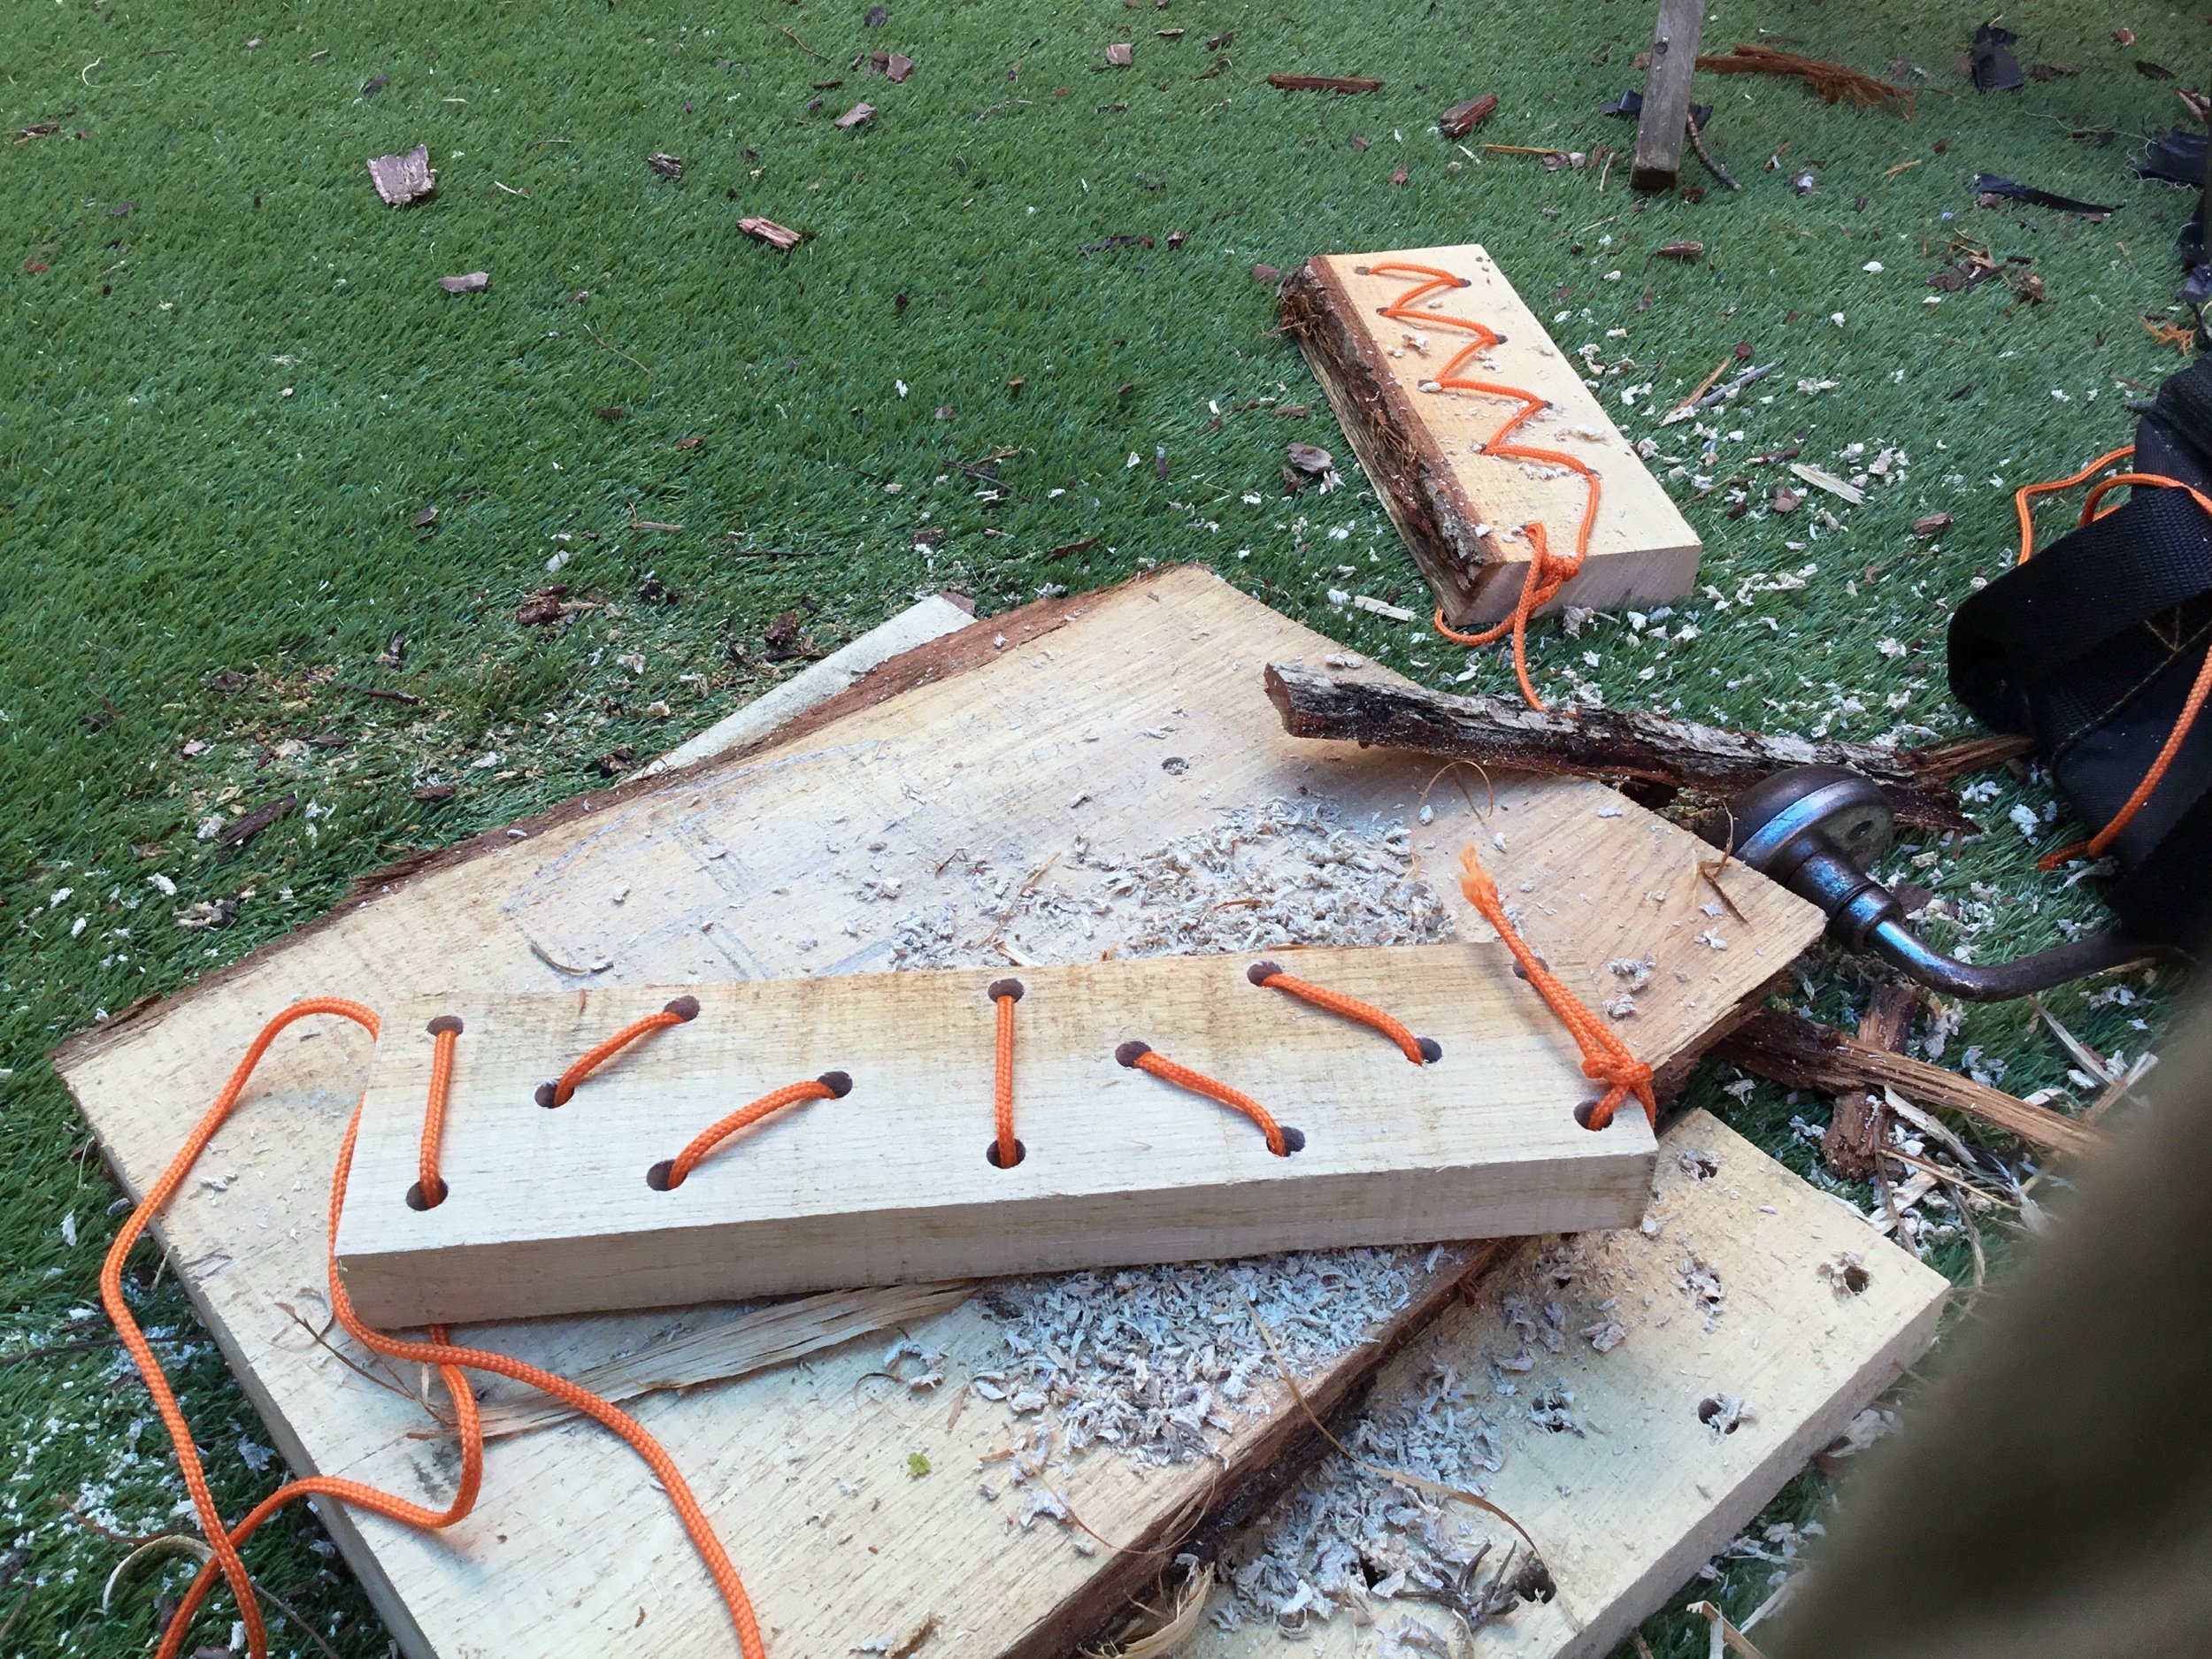
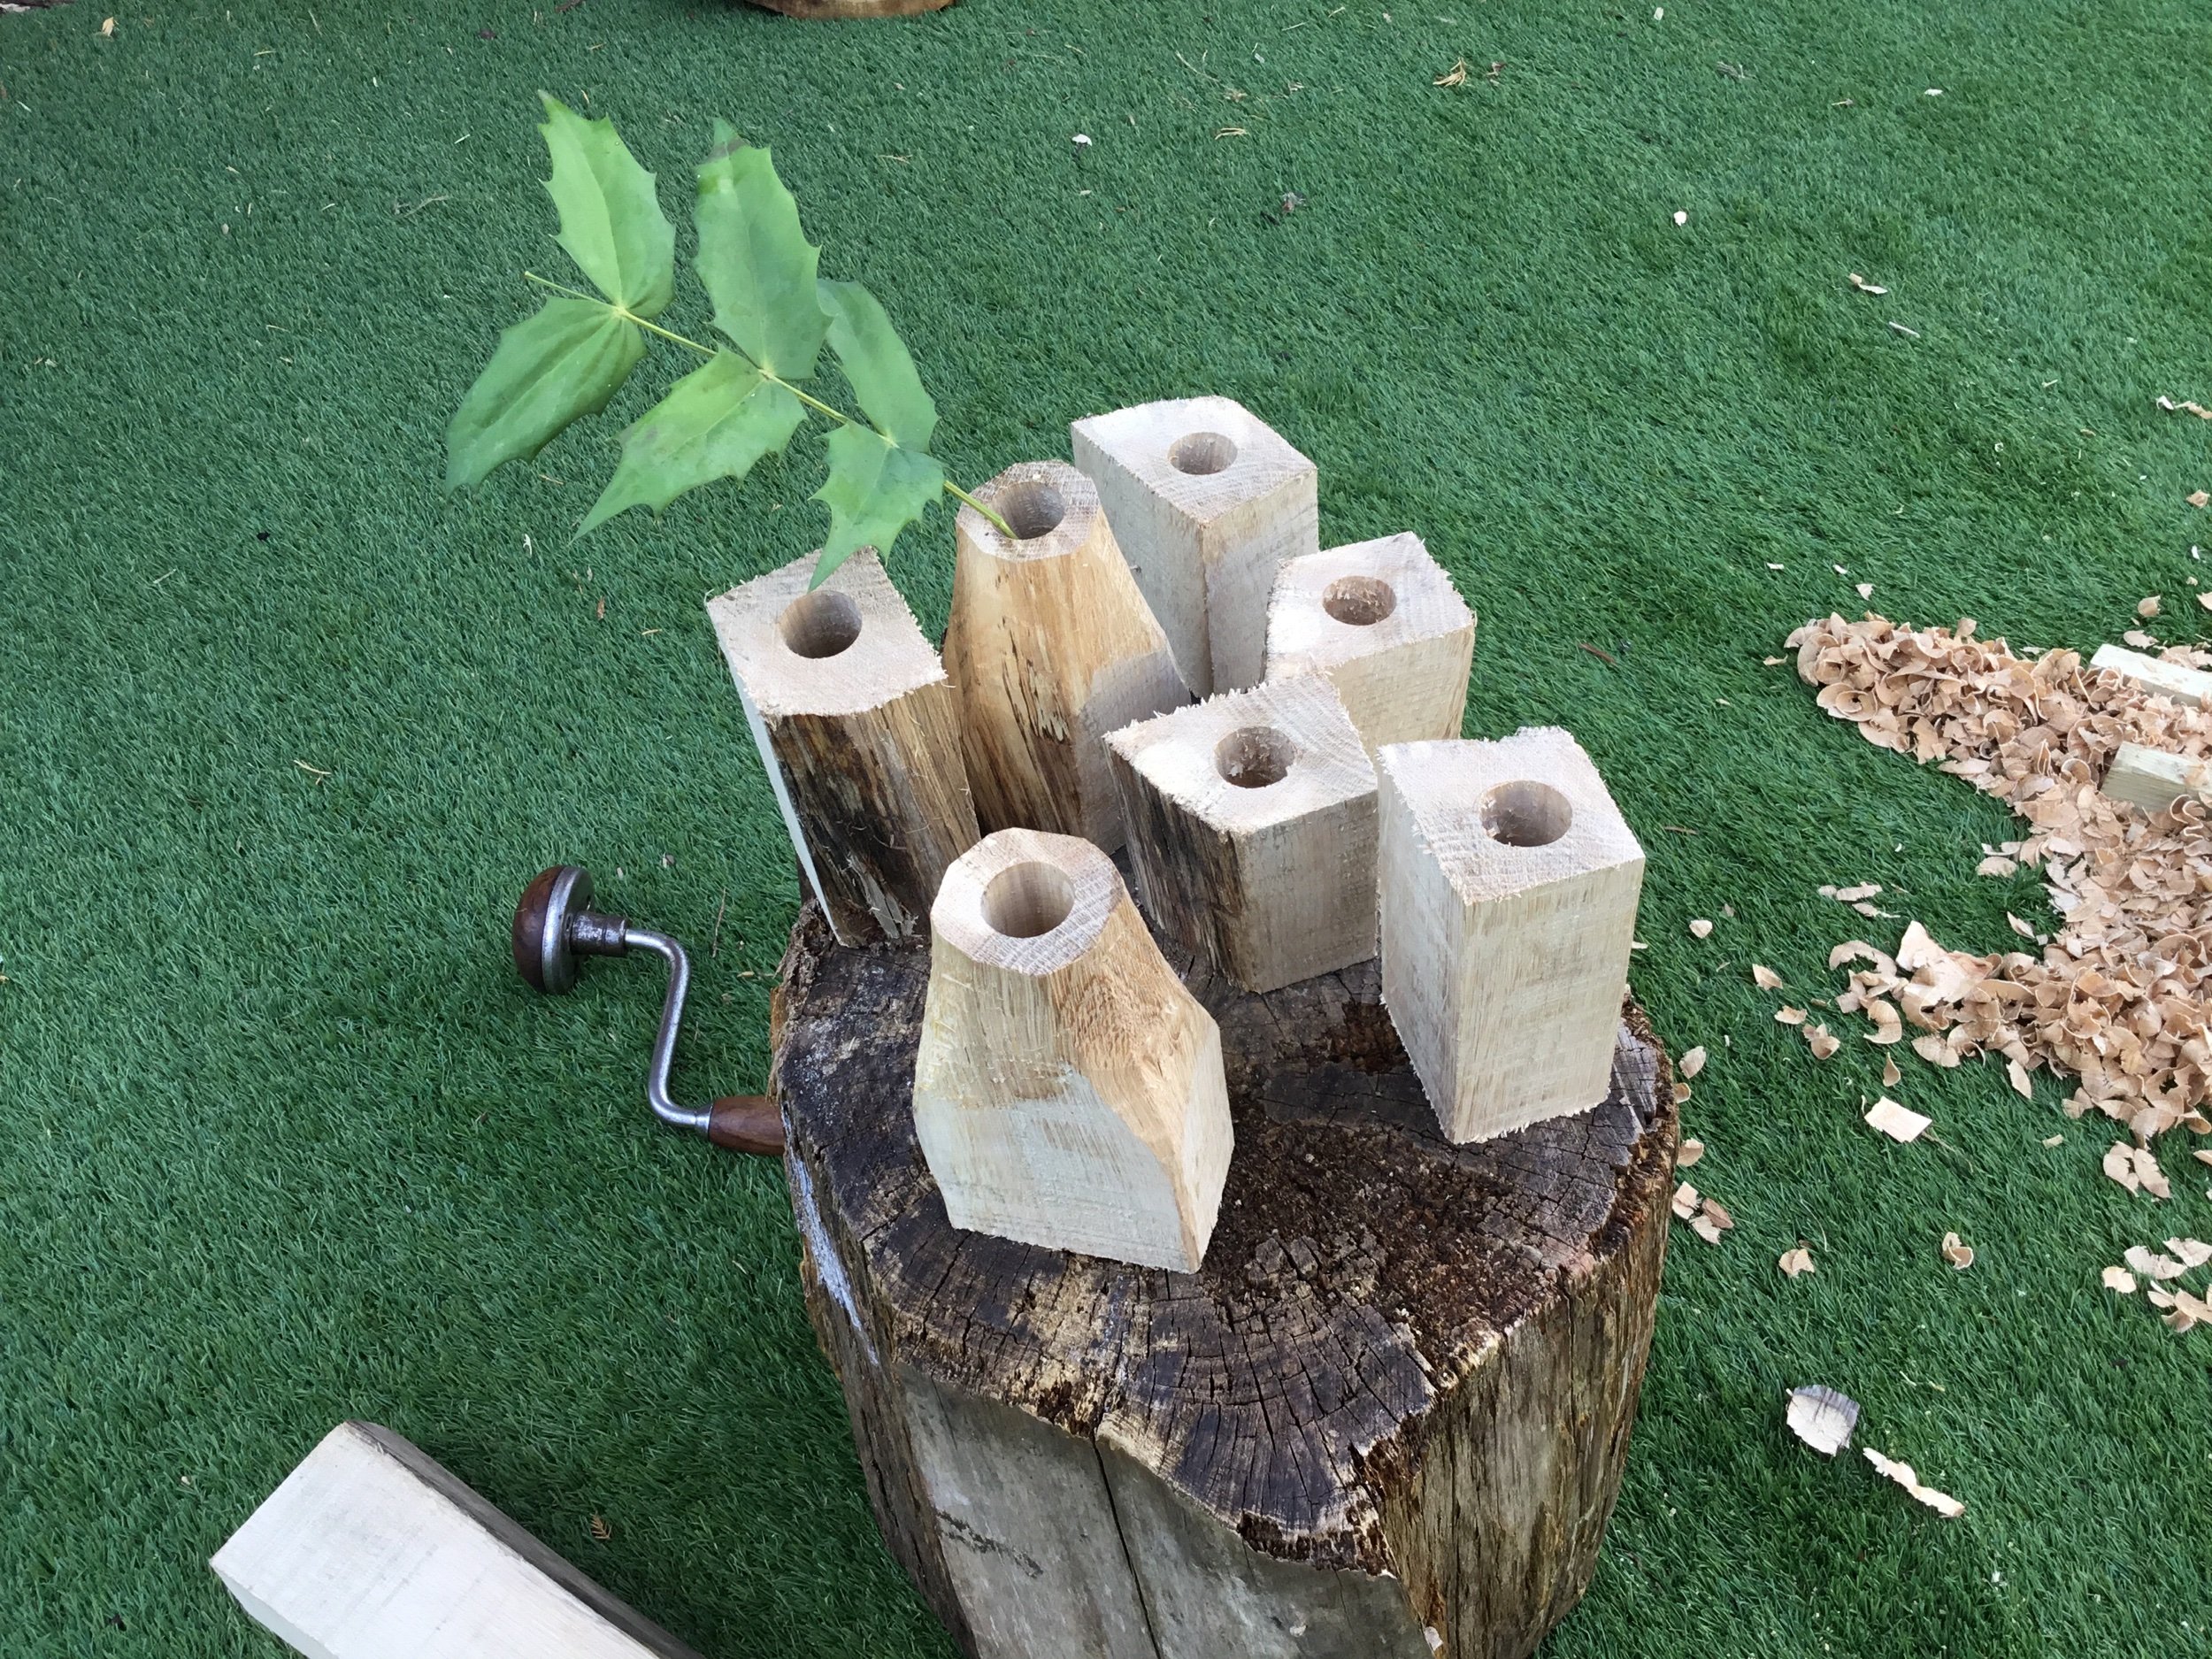
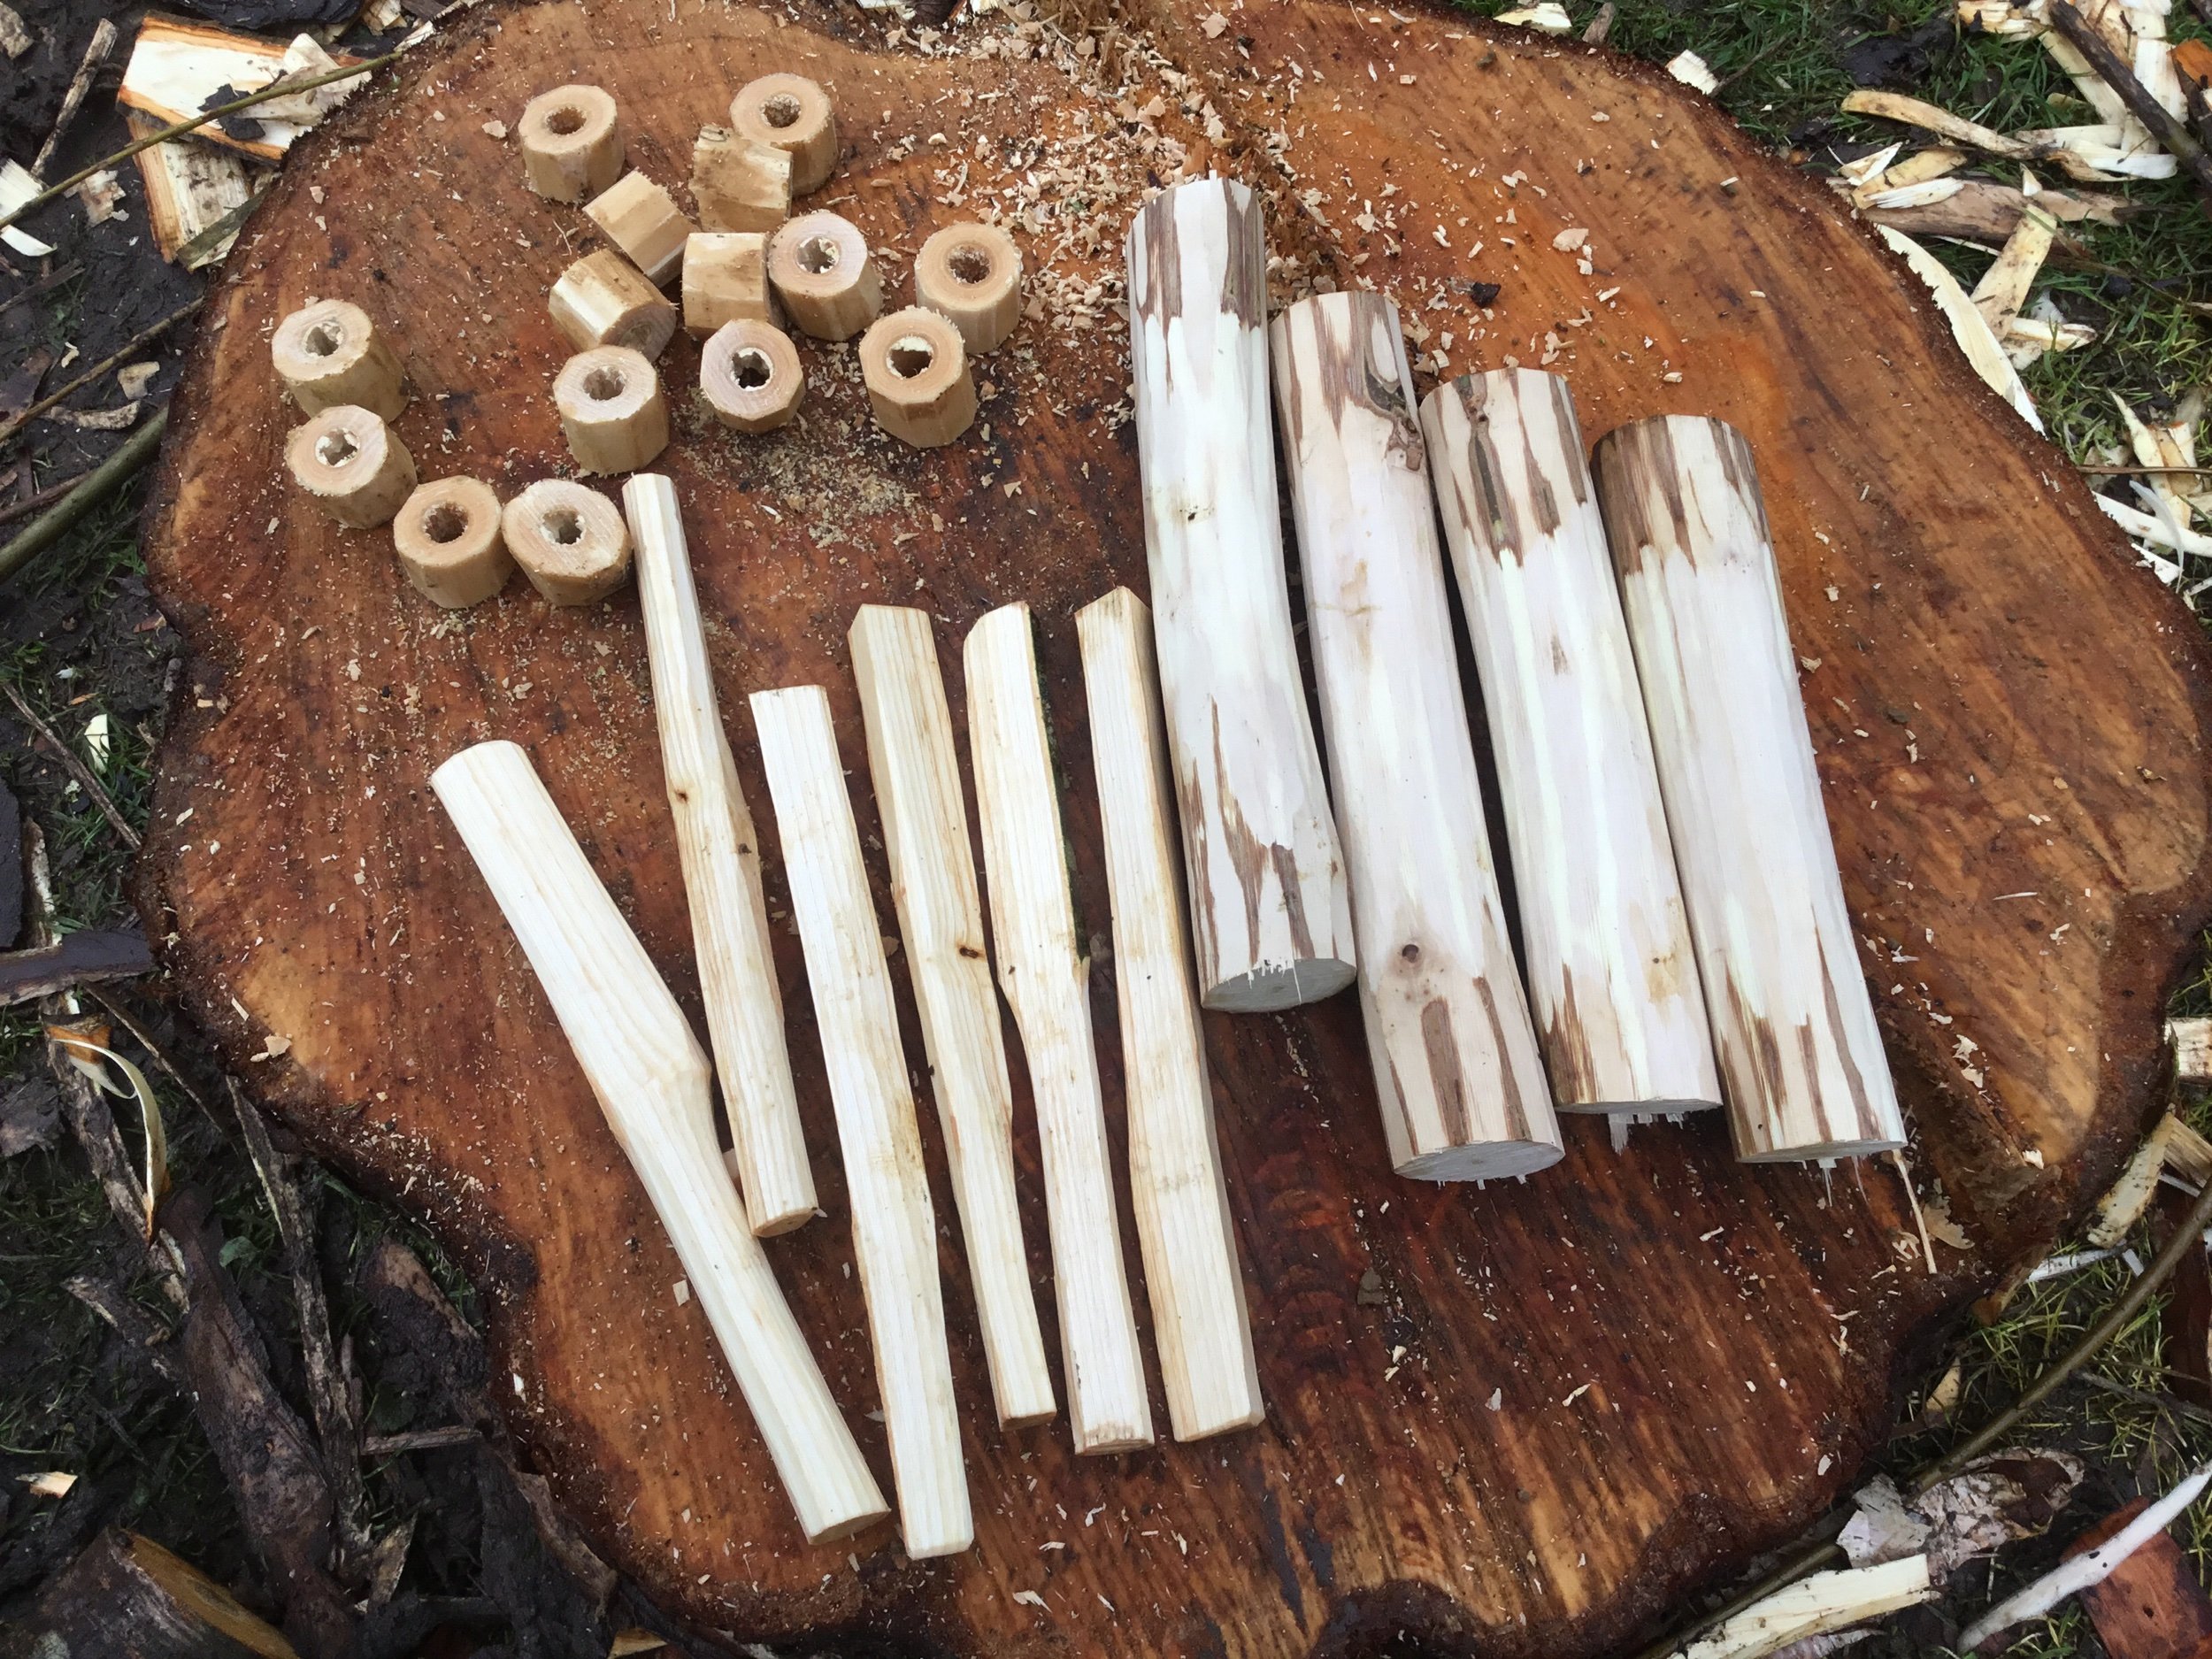
First step was to drill the holes in the seat, to do this I used a WoodOwl auger bit, it cuts cleanly and when used with a power drill takes just a few seconds per hole. I’ve made a few benches and the trick is to get the angles correct so that the bench won’t tip if children stand on it or sit right on the edge. I found this blog useful to help me angle the drill correctly


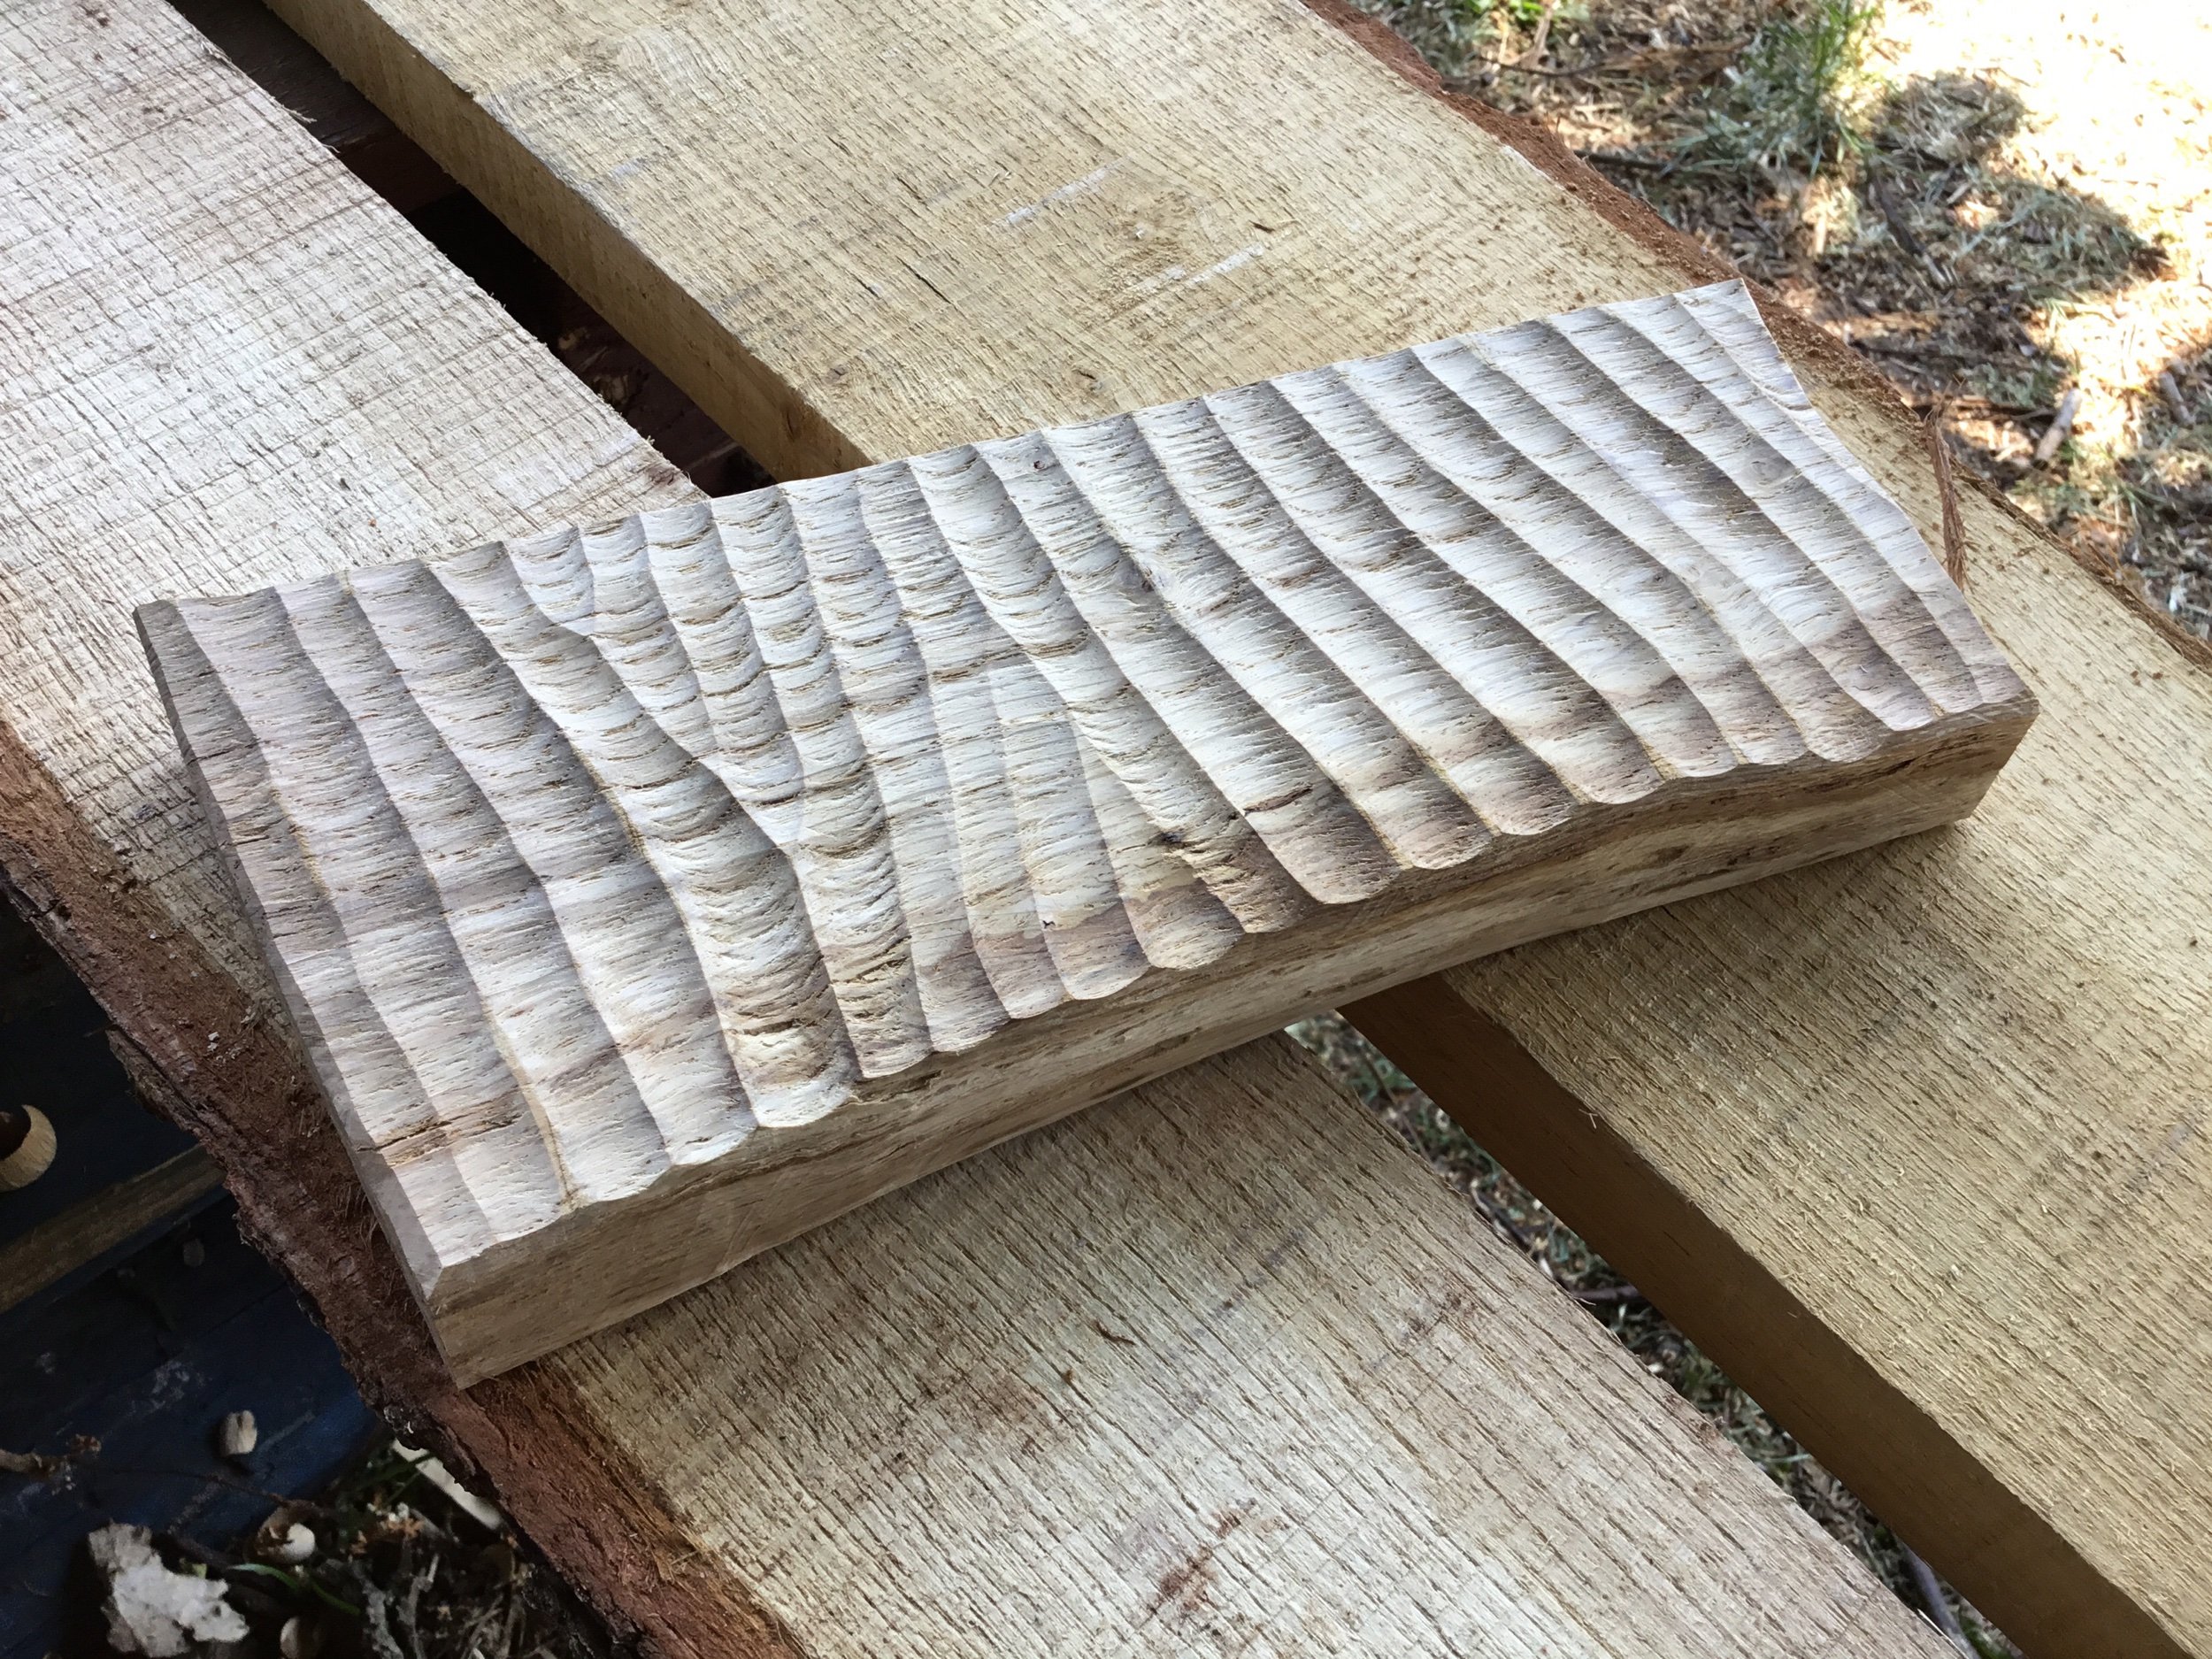
Once the holes were drilled it was time to saw the legs and taper the end to fit. This could be done with an axe or knife but my primary focus when developing these activities is for the children to feel each process so I used one of my favourite tools: a rounding plane. This tool acts like a giant pencil sharpener, spinning around the wood and shaving it down to a tapering end. The children can hold the handles and really get a sense of using the tool and the way it moves across the wood without having to hold it near the blade.


The final steps to finish the bench is to wedge the legs in place. To do this we made a controlled split into the top of each leg before they had glue applied, were fitted and had wedges hammered in. The wedges push the top of the leg outwards, pressing it on to the edges of the hole and holding the leg firm.


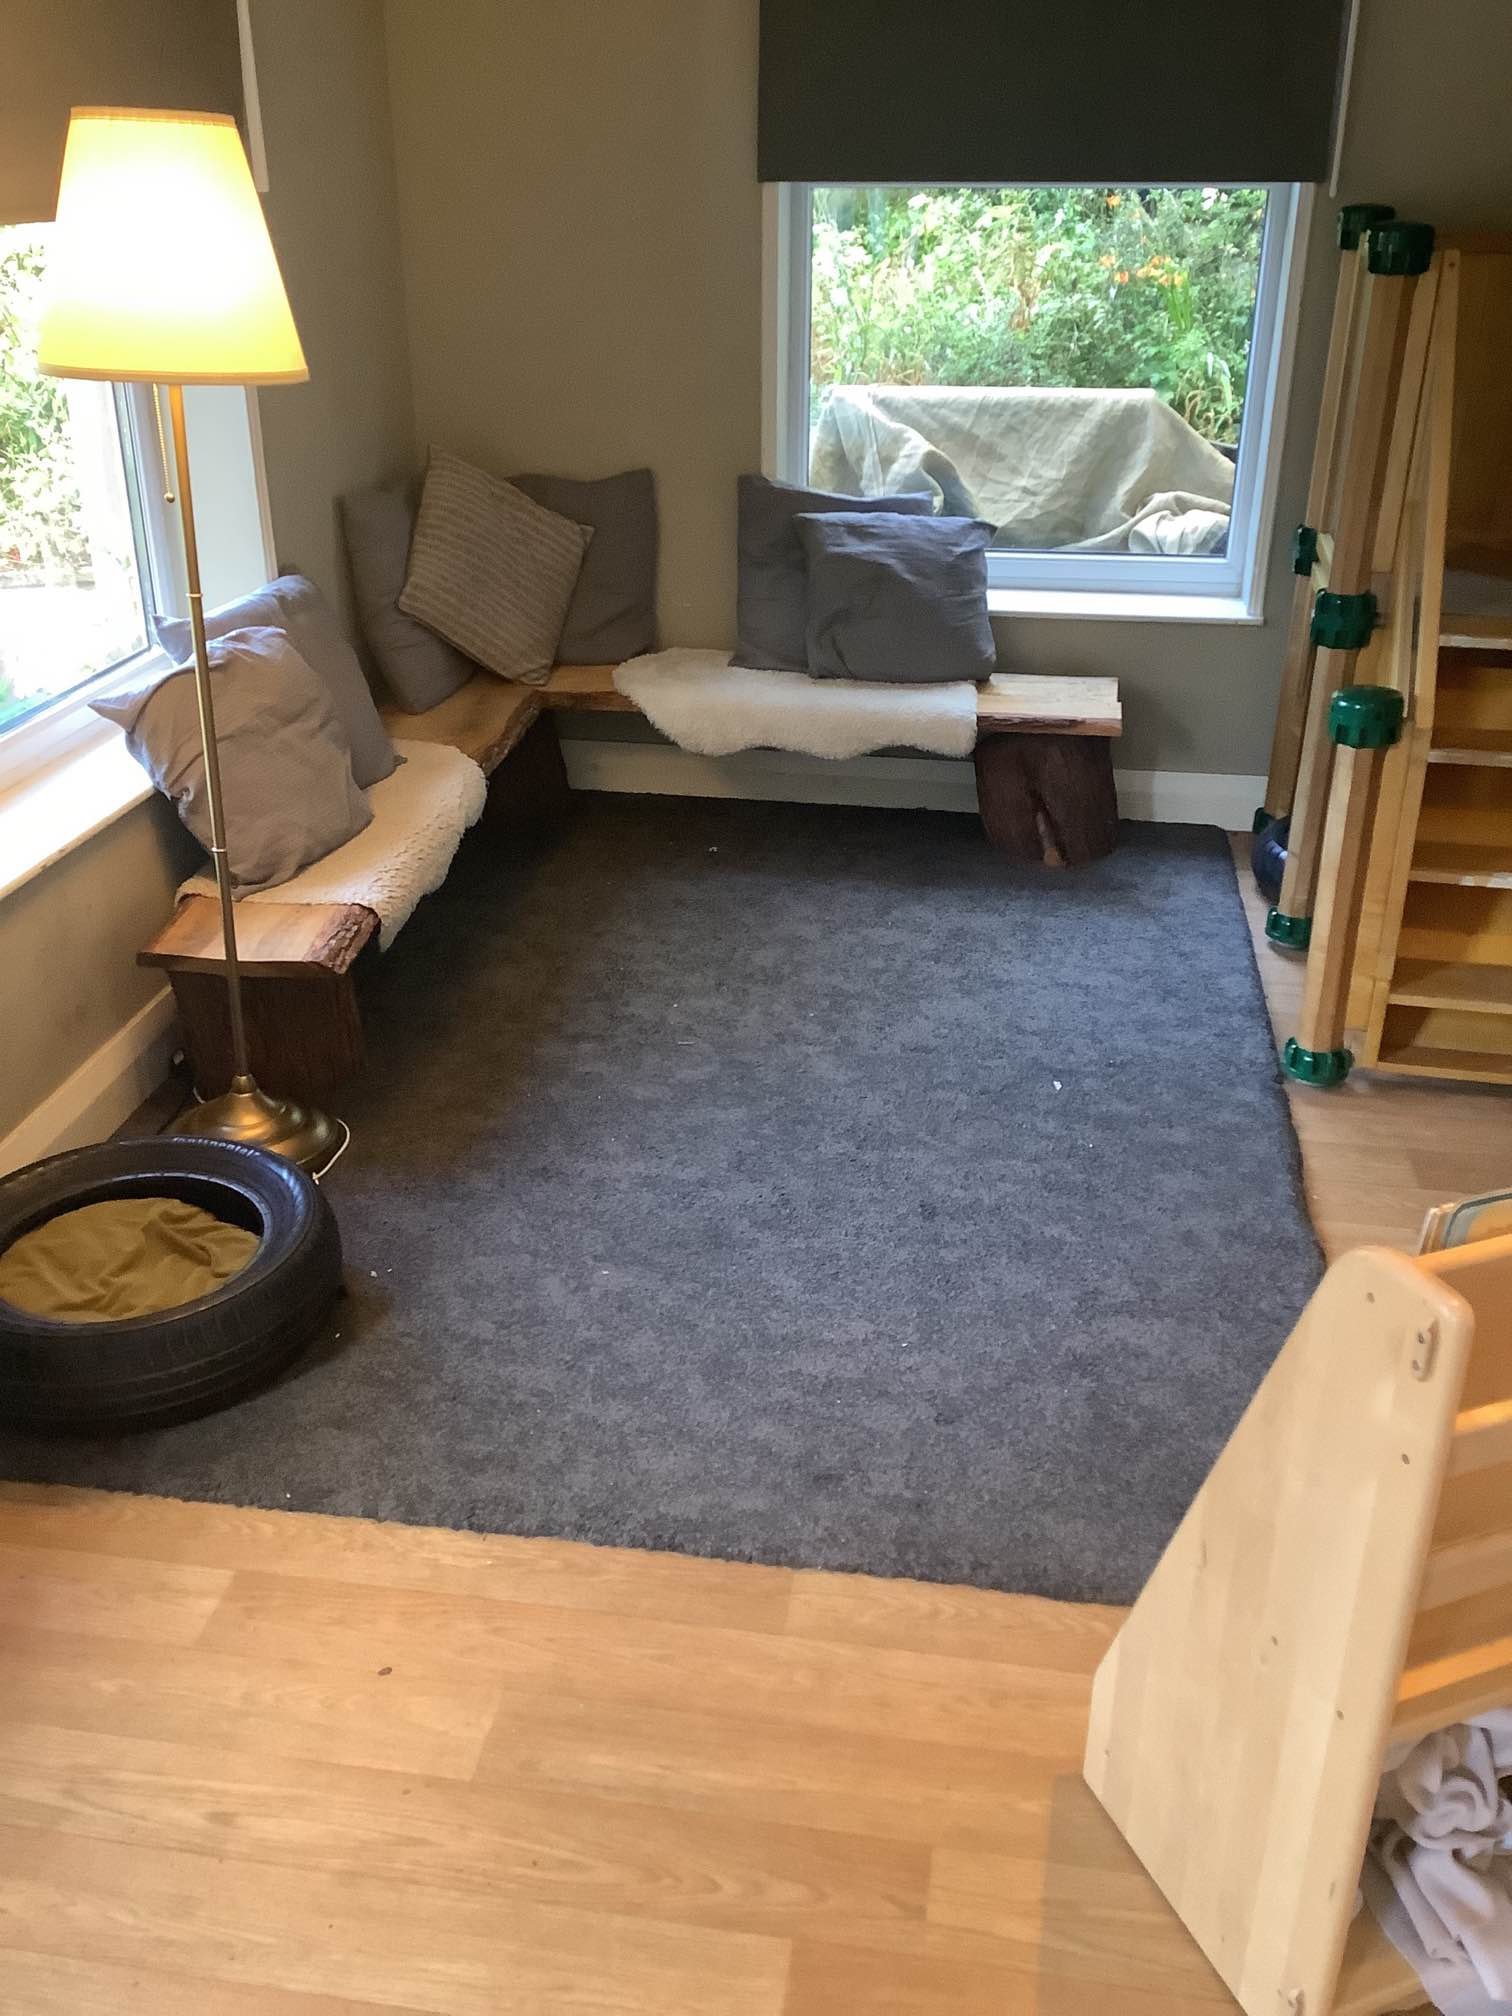
And there we have it, the finished bench! Ready for a couple of coats of hard wax oil before starting a new life in the nursery garden.

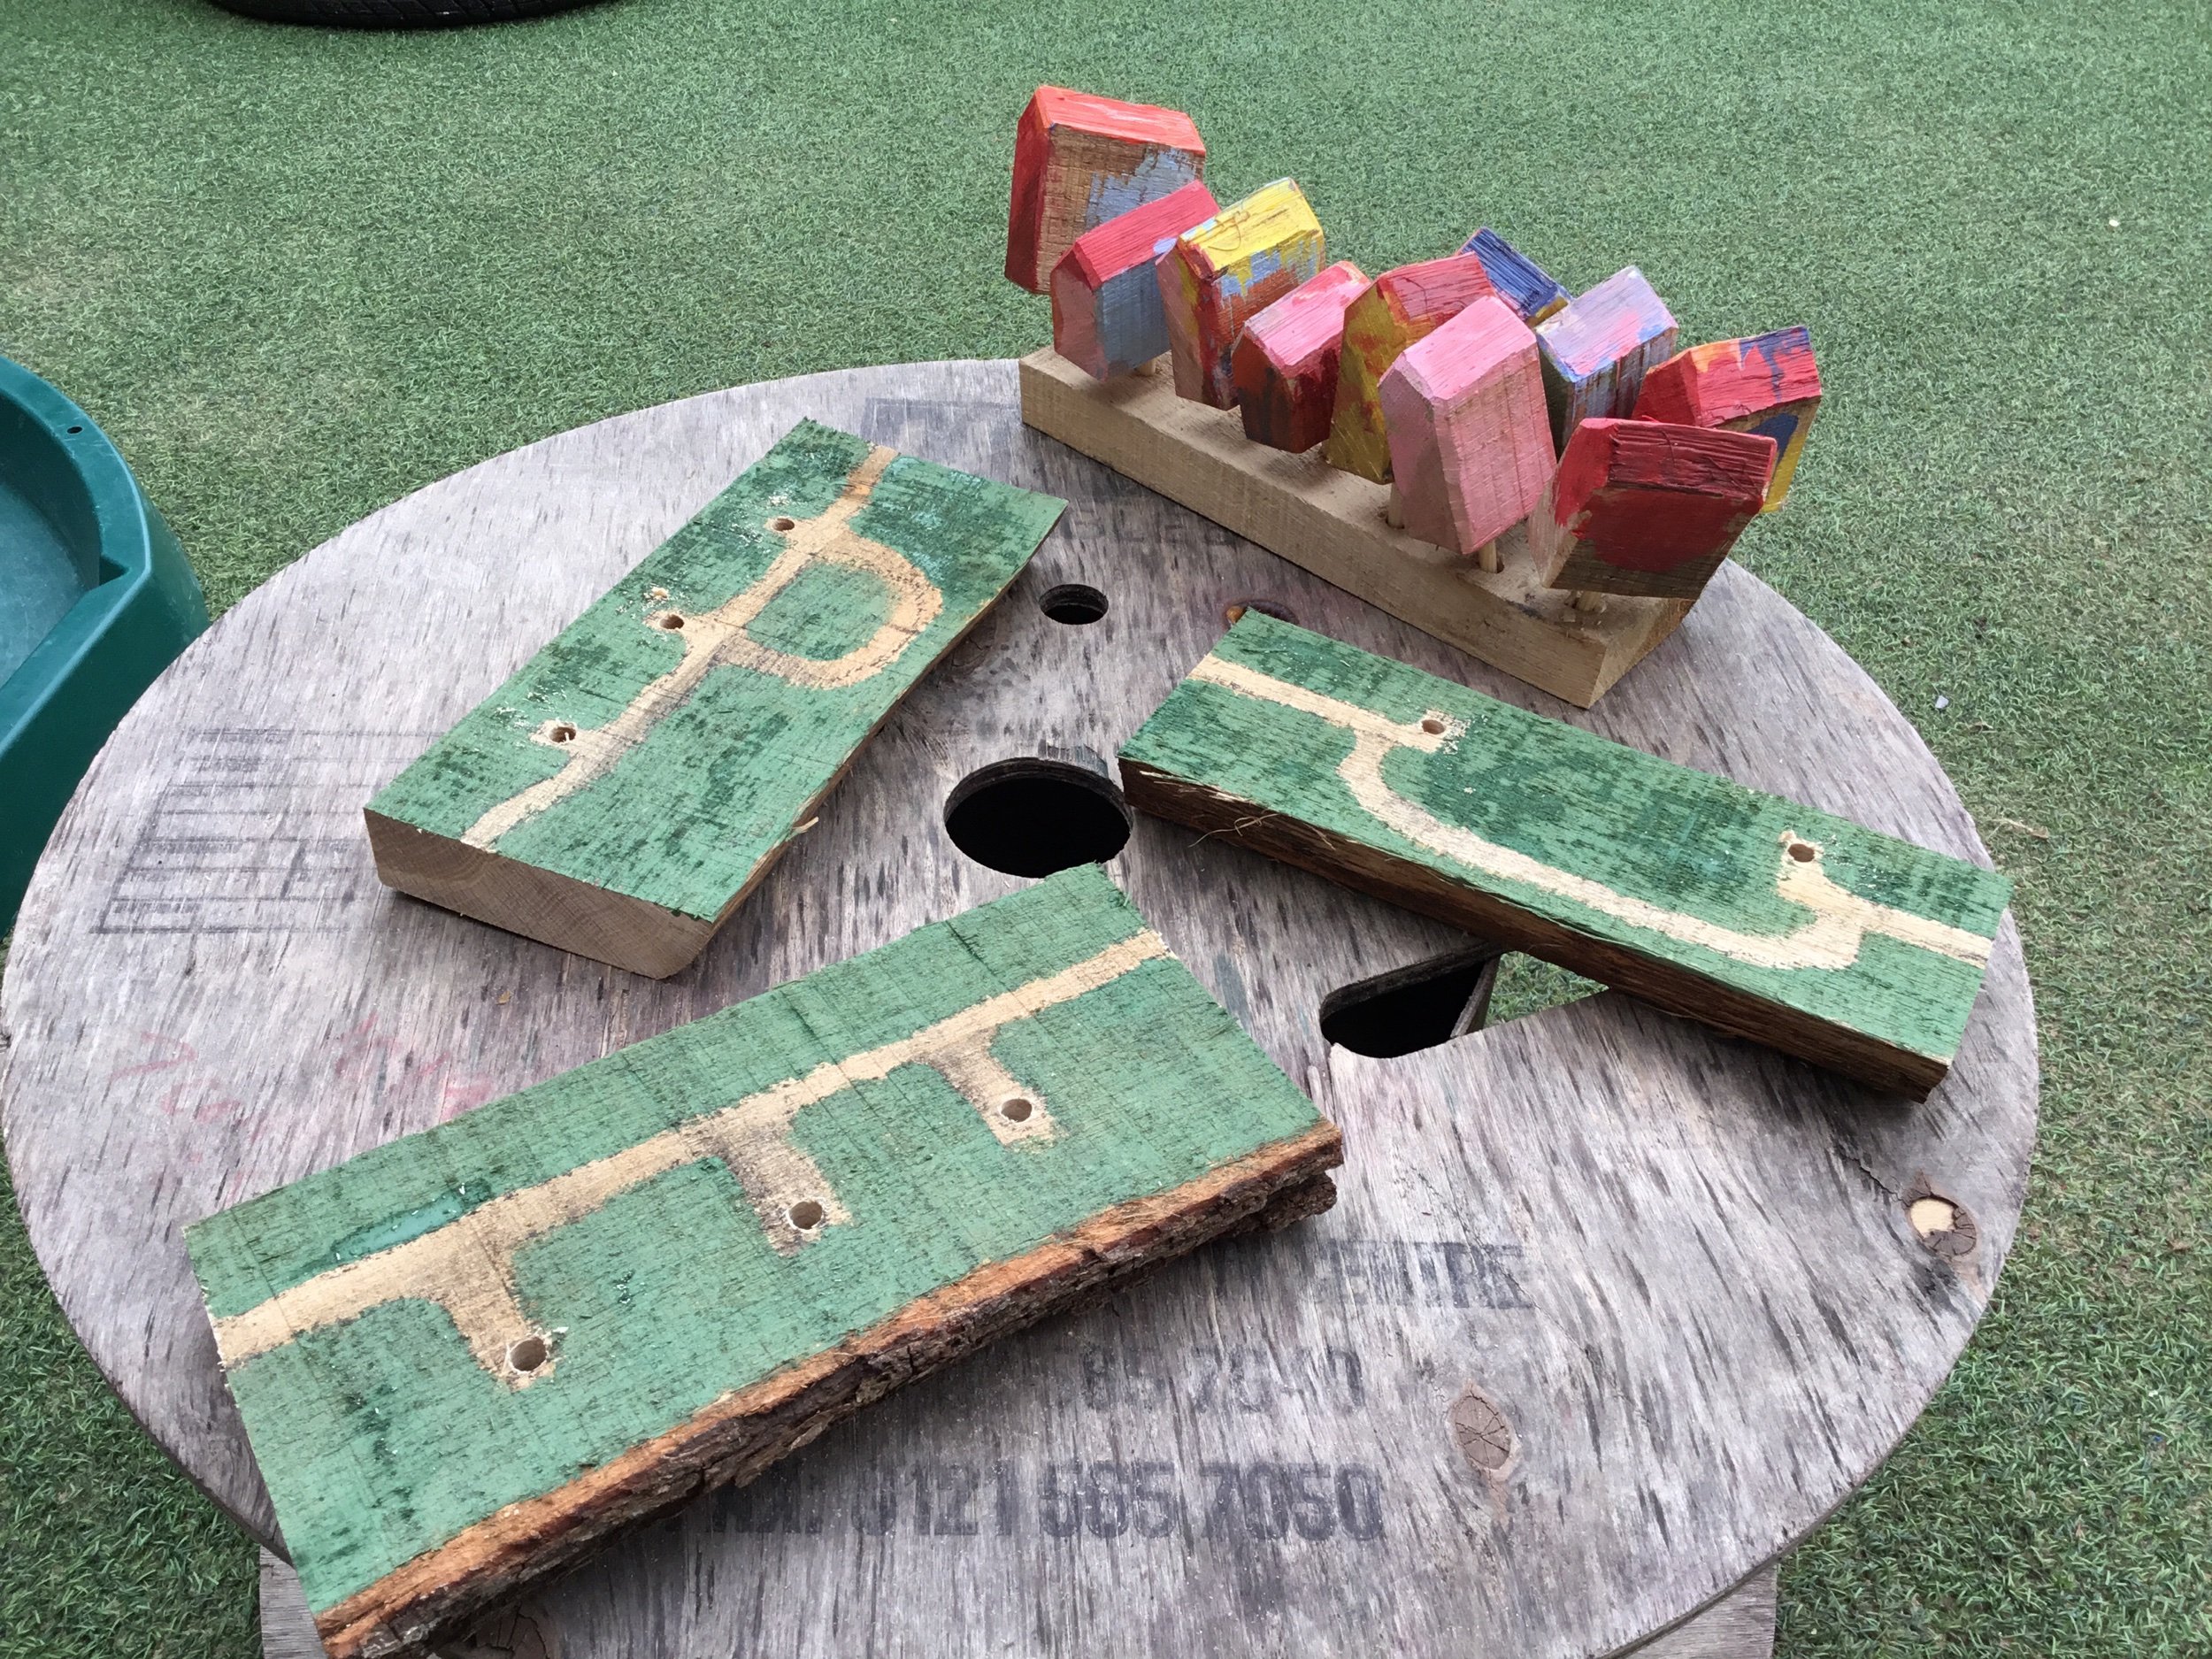
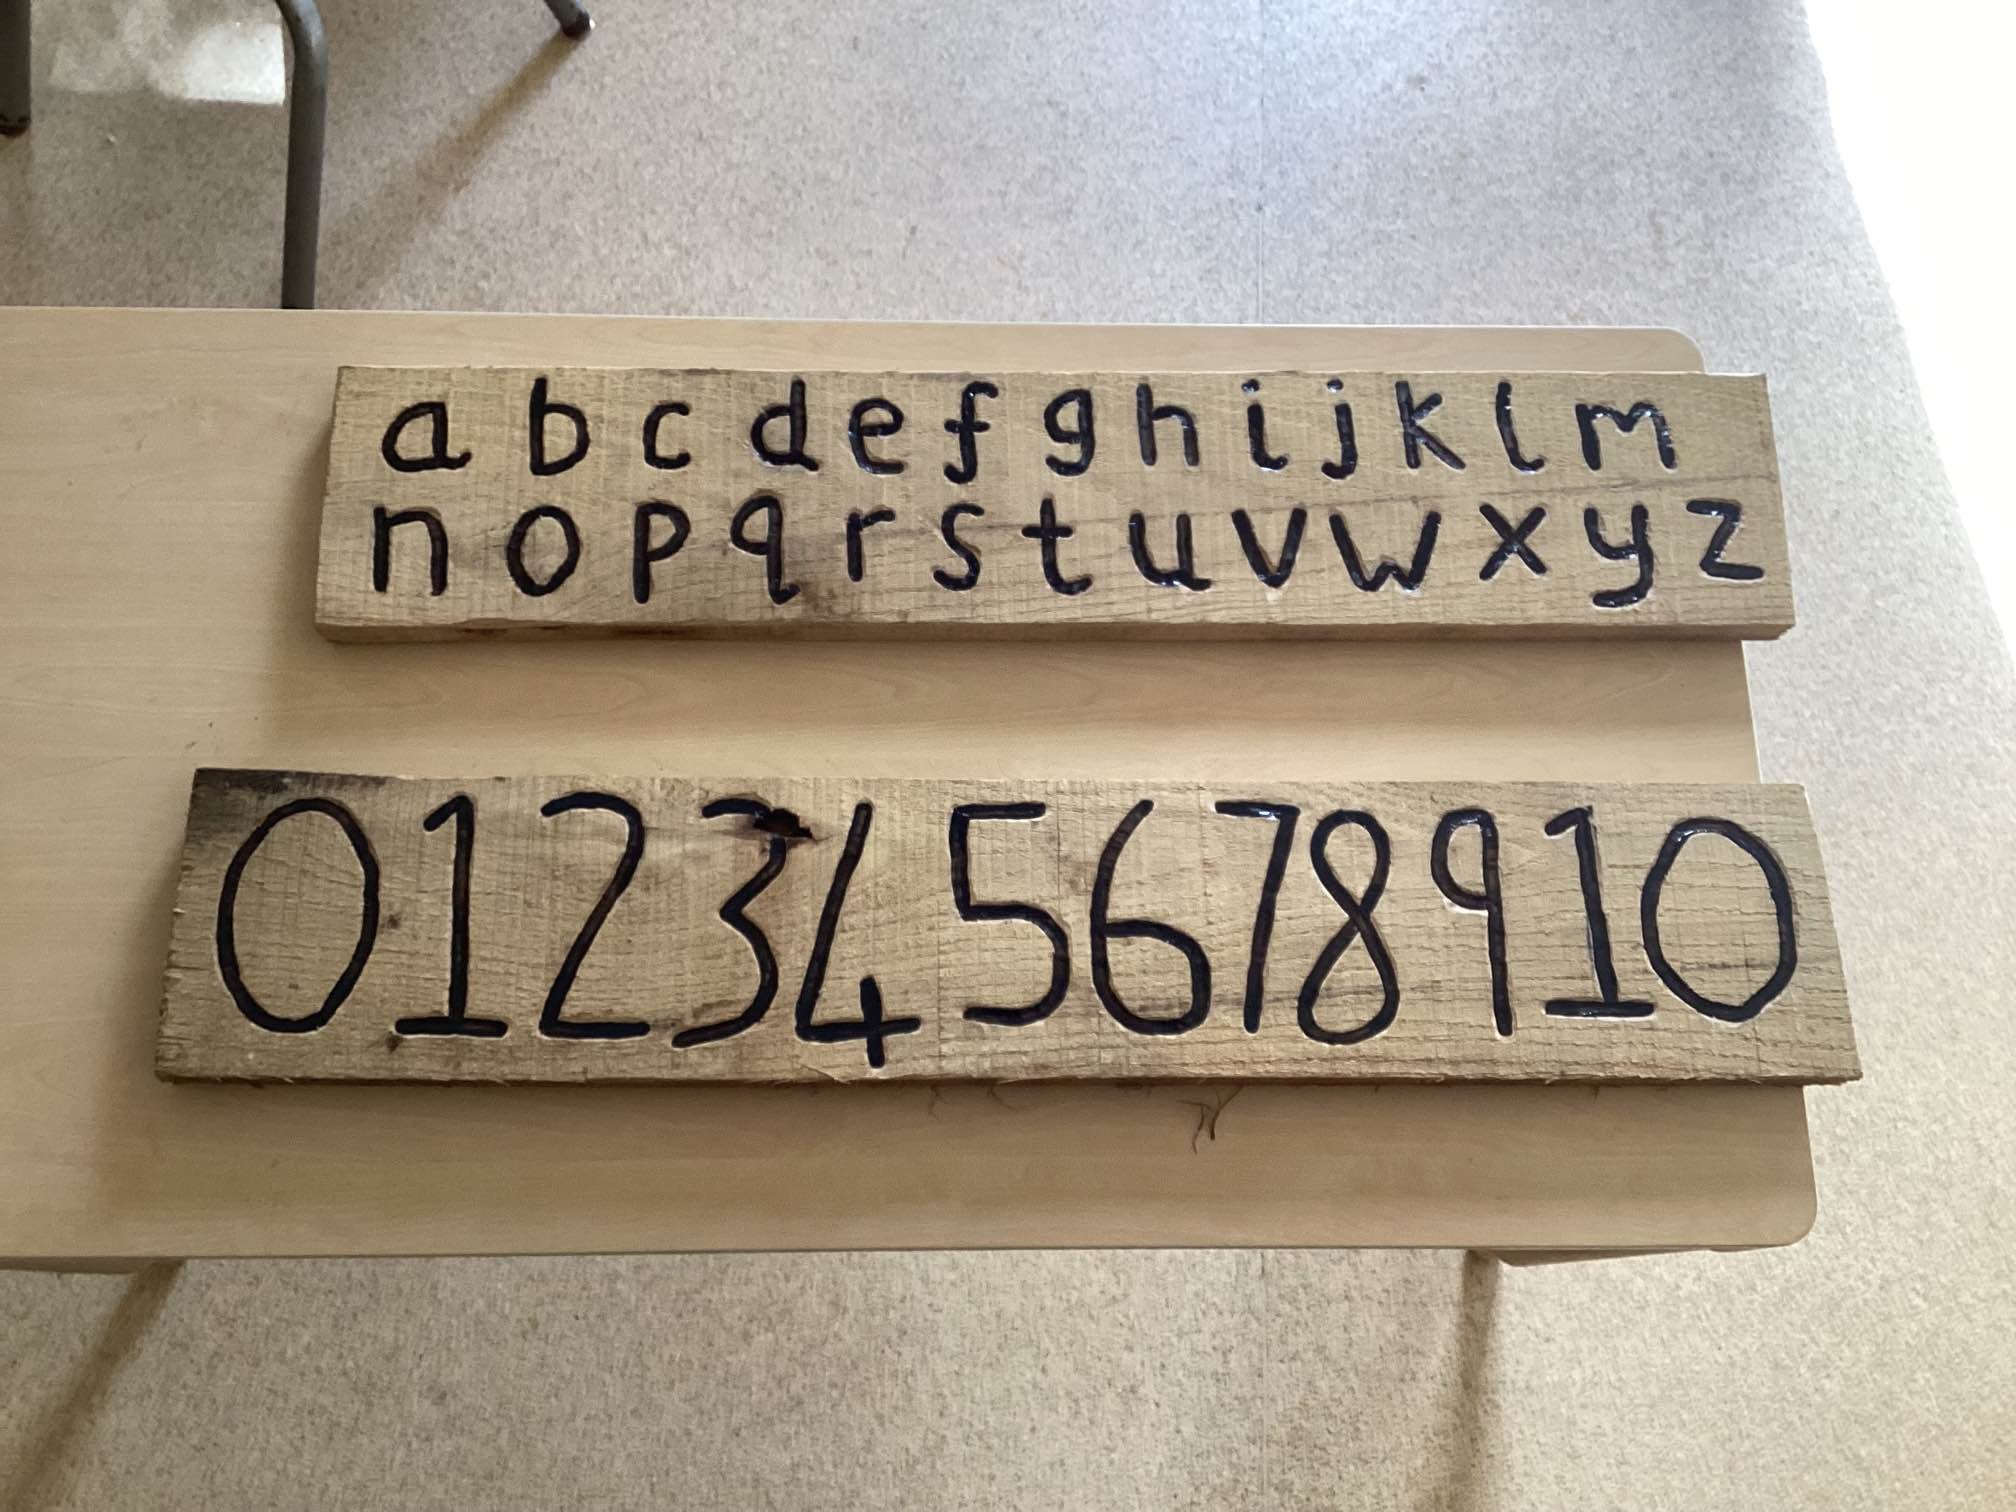
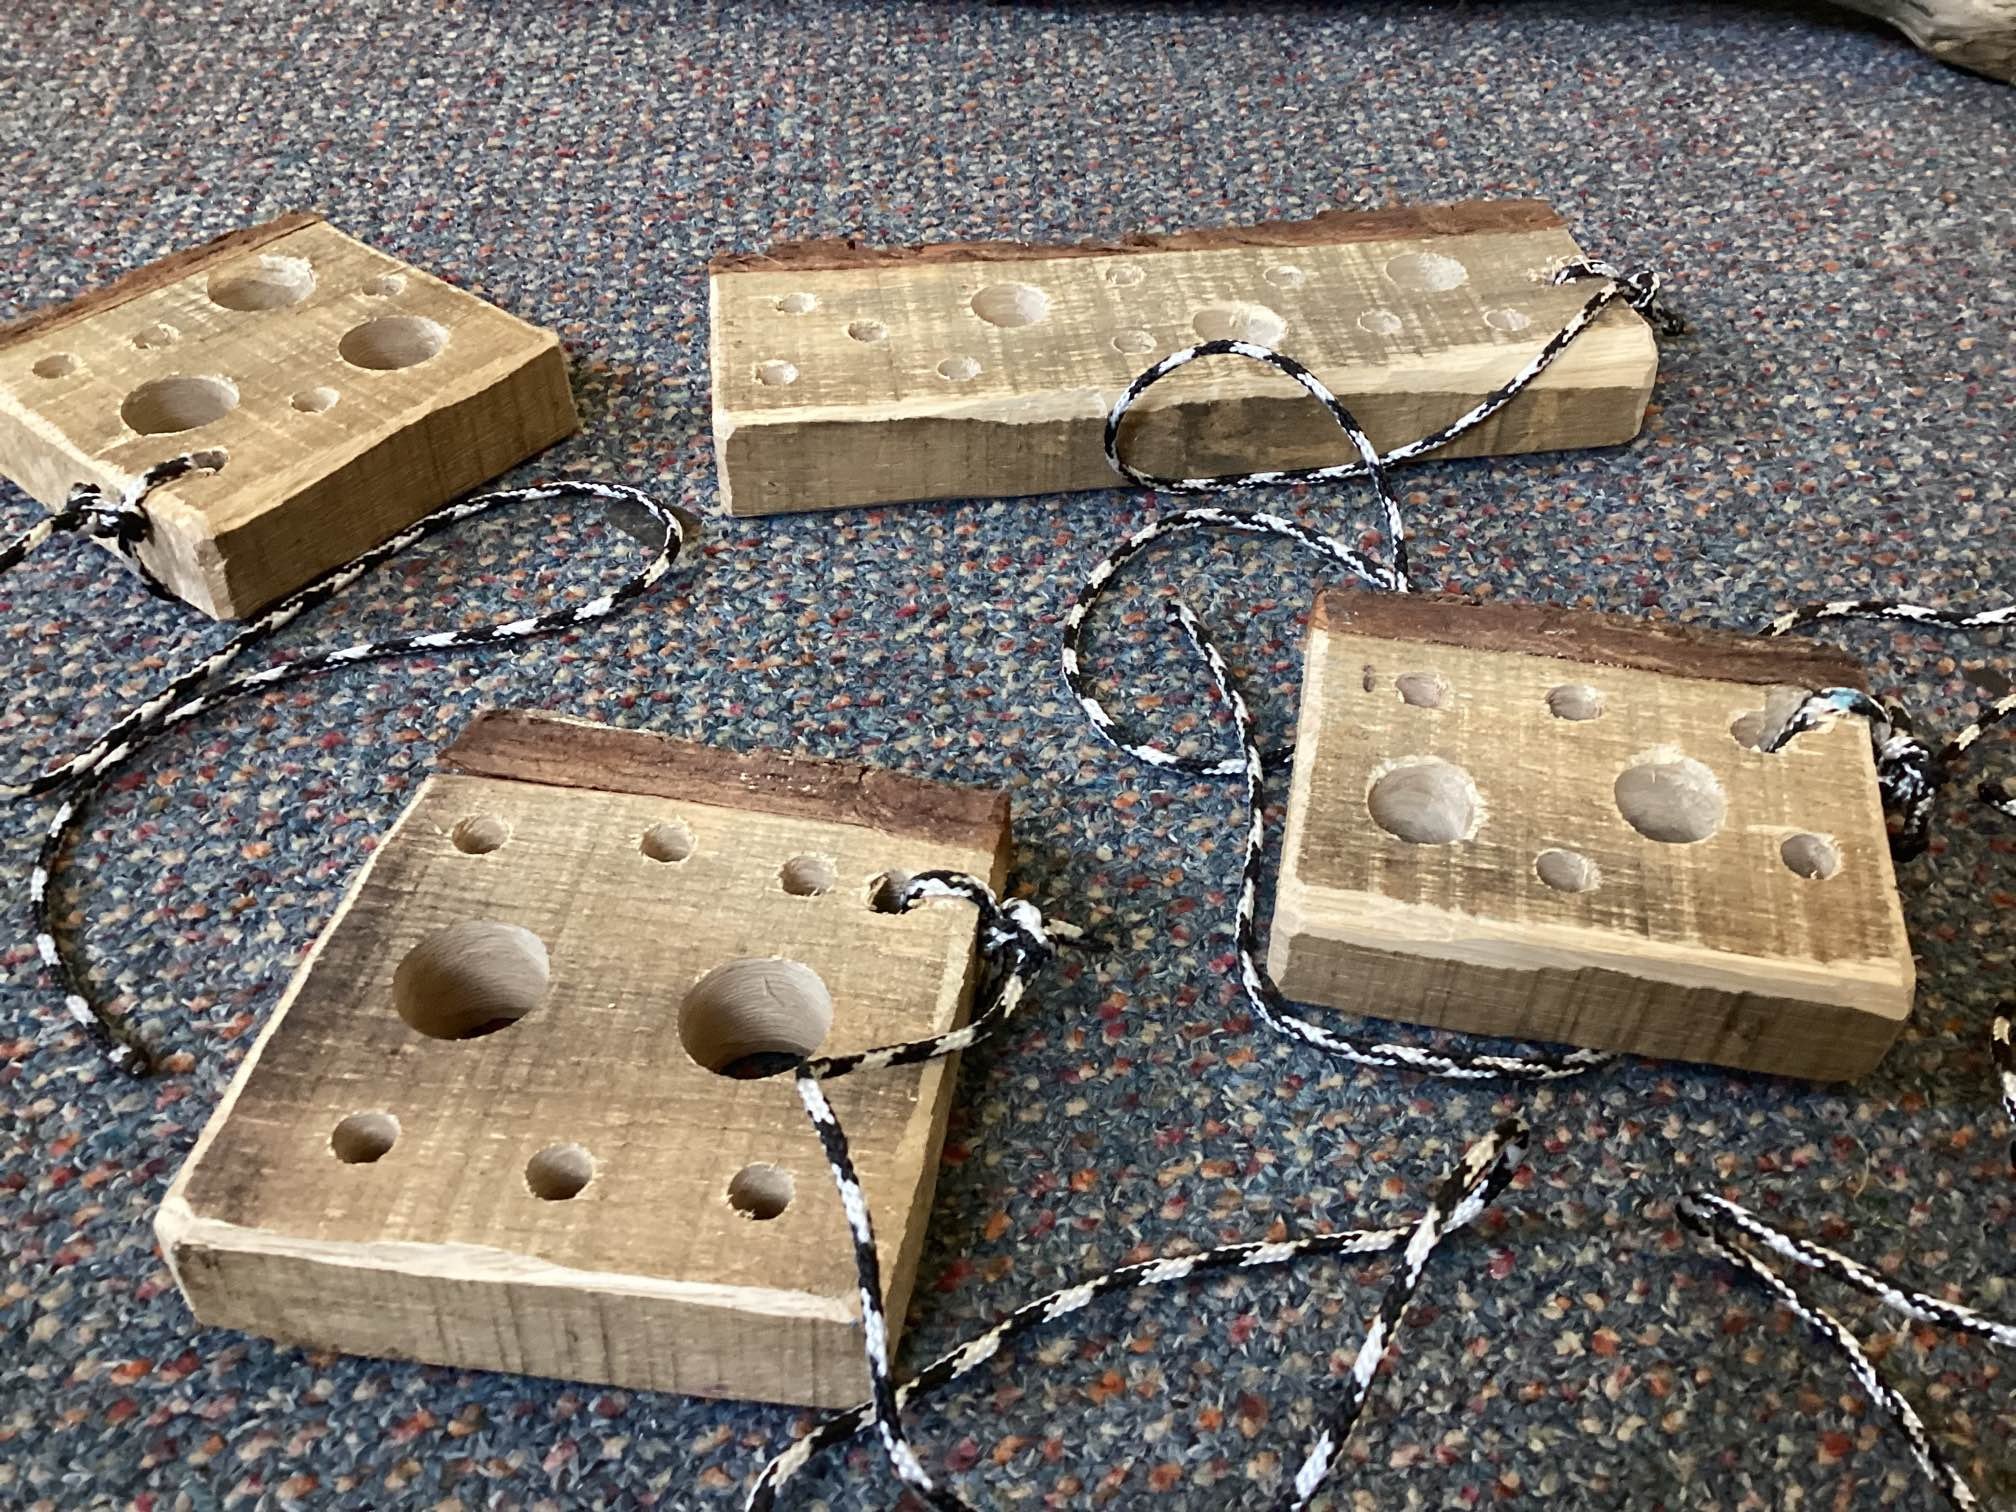
Thank you for reading, below are a few more makings from the Oak (we still have a few boards left!).


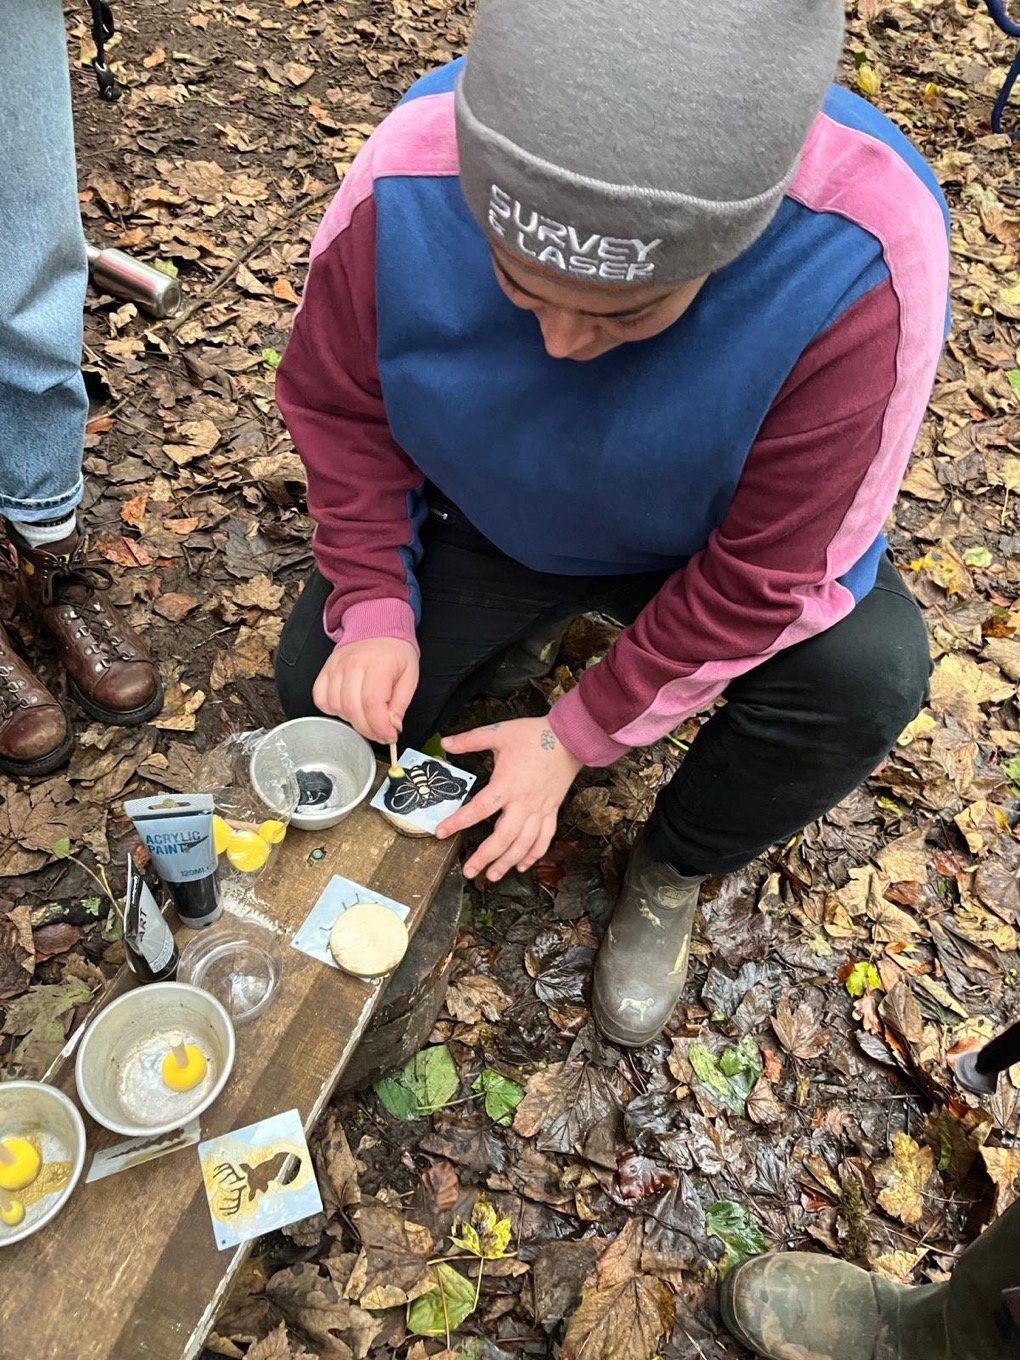
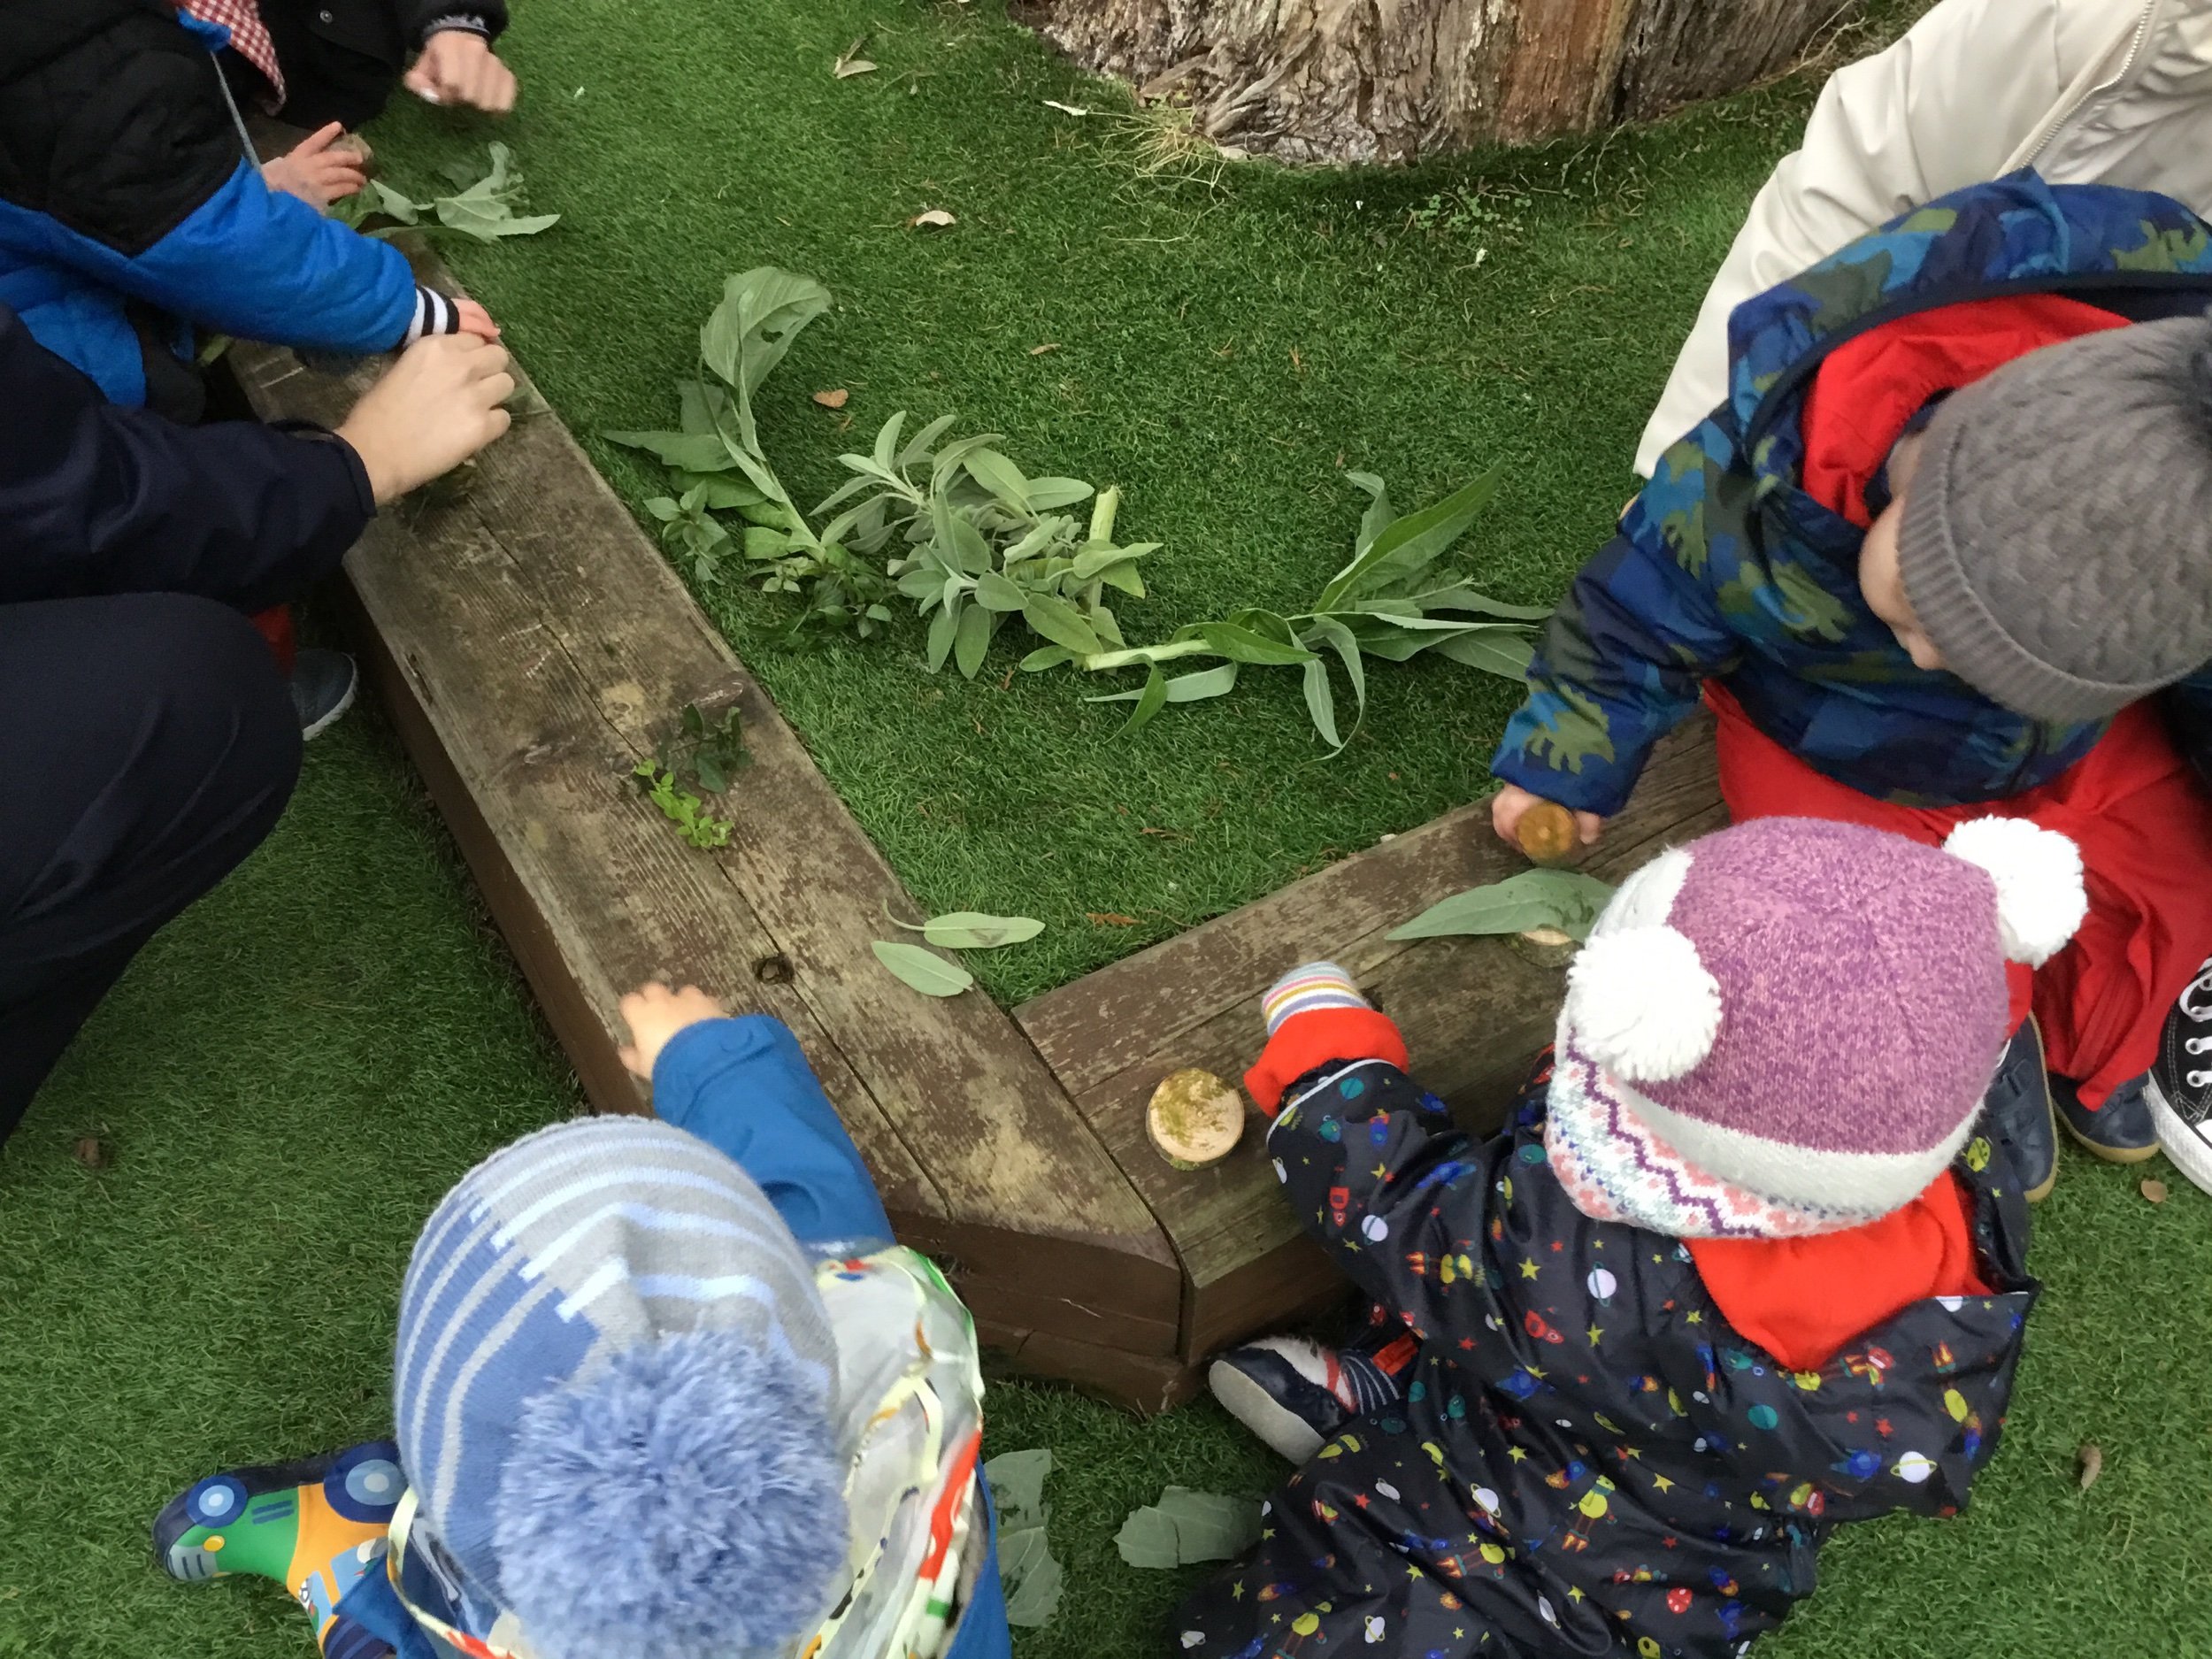
Make clay while the sun shines
This month the Snapdragons Forest leaders have been travelling around the nurseries delivering wild clubs for parents and children to get learn more about what we do in our sessions and for us to demonstrate some simple activities that anyone can do with materials around their homes.
A few of these activities centred around mud and particularly clay. All soil contains clay but we use a very simple method to extract the pure clay for us to use. Have a read below and have a go yourself!

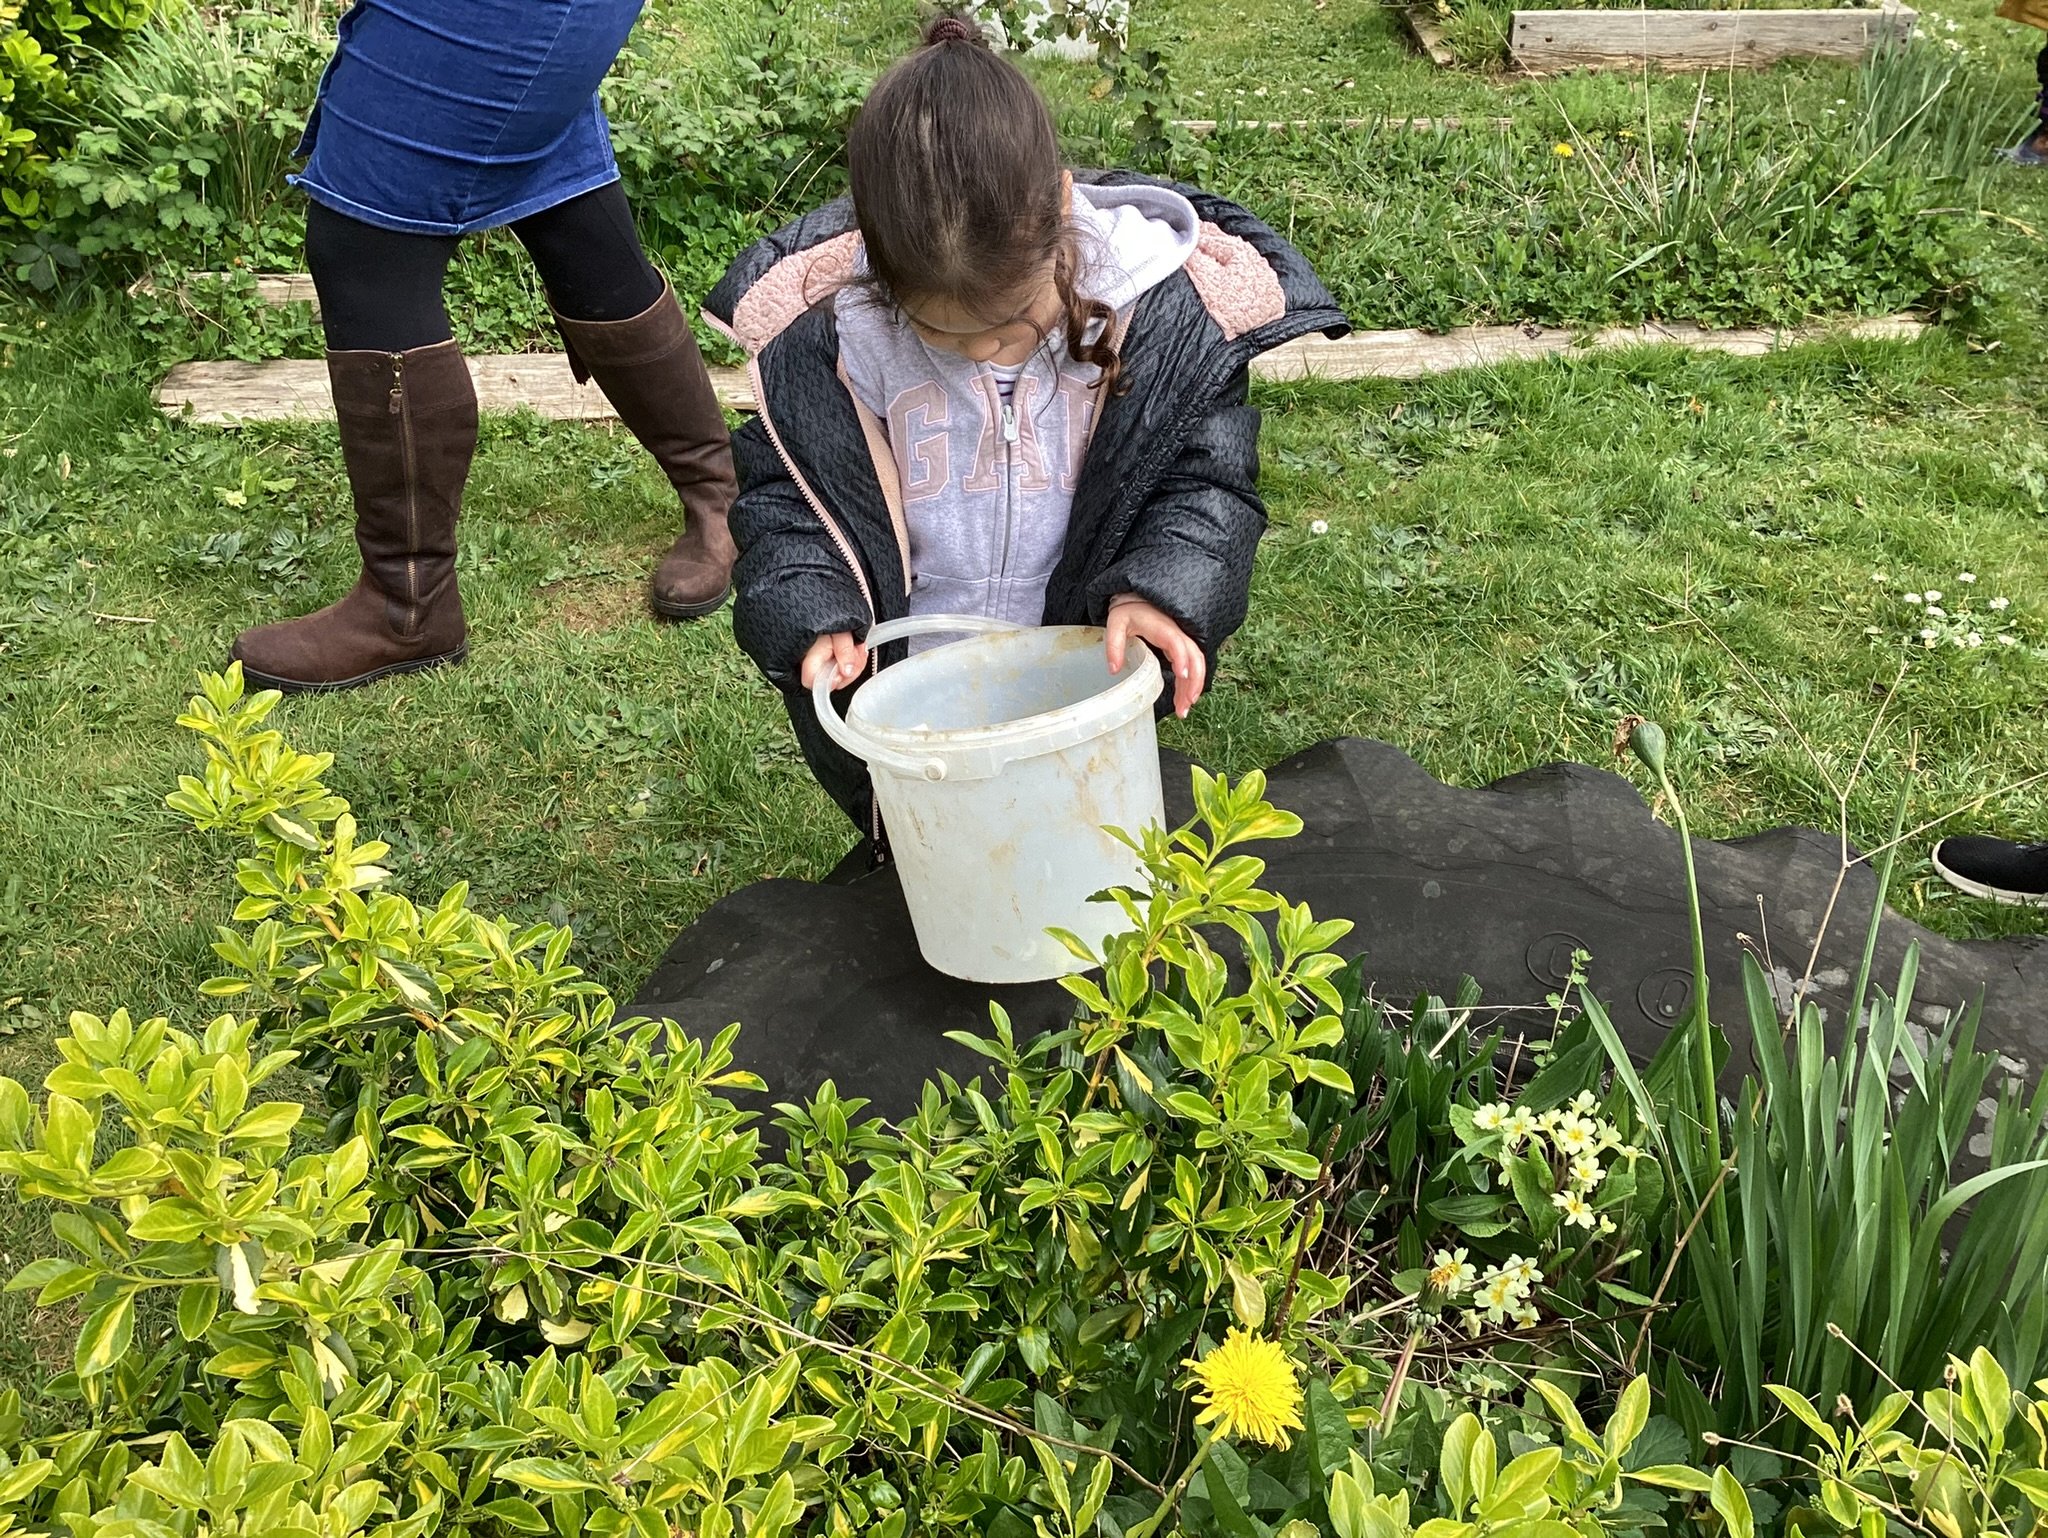
Sieving out the larger stones from the mud
To make your clay you will need some mud, a bucket, water and a pillow case or sheet of fabric (that you don’t mind getting messy). If you want you can also use a garden sieve to get the big stones out first.

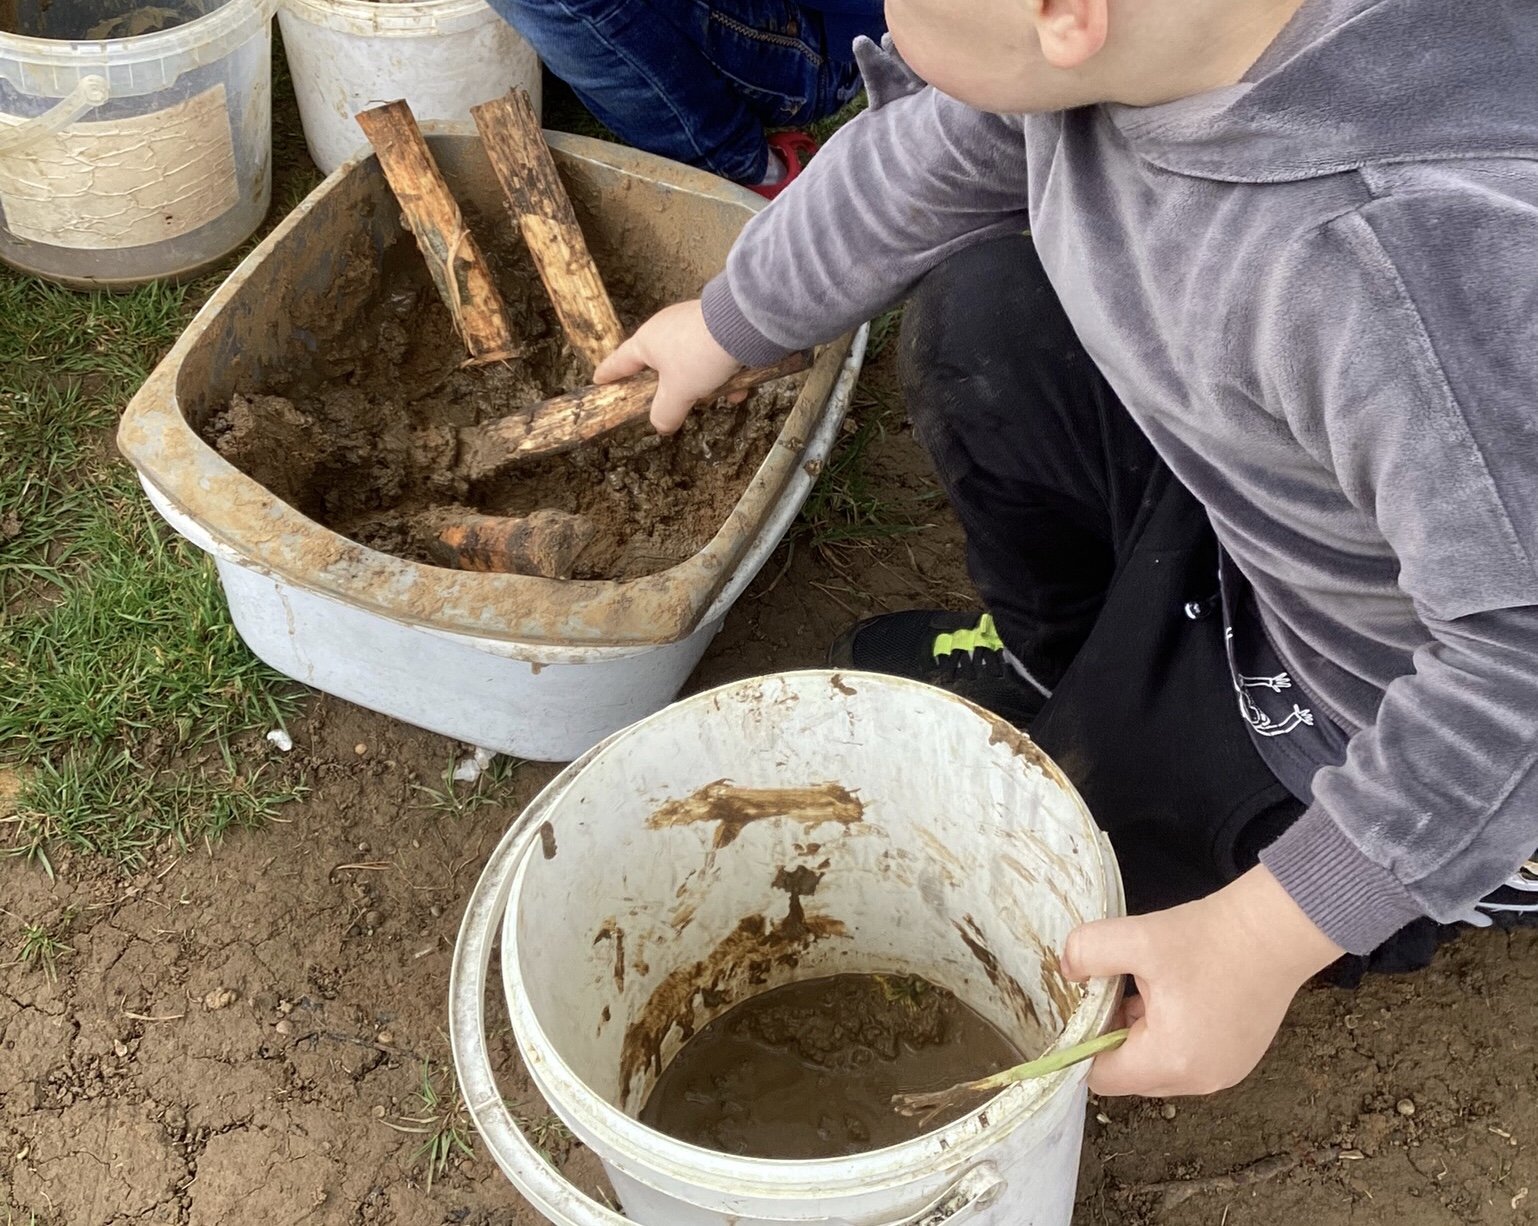
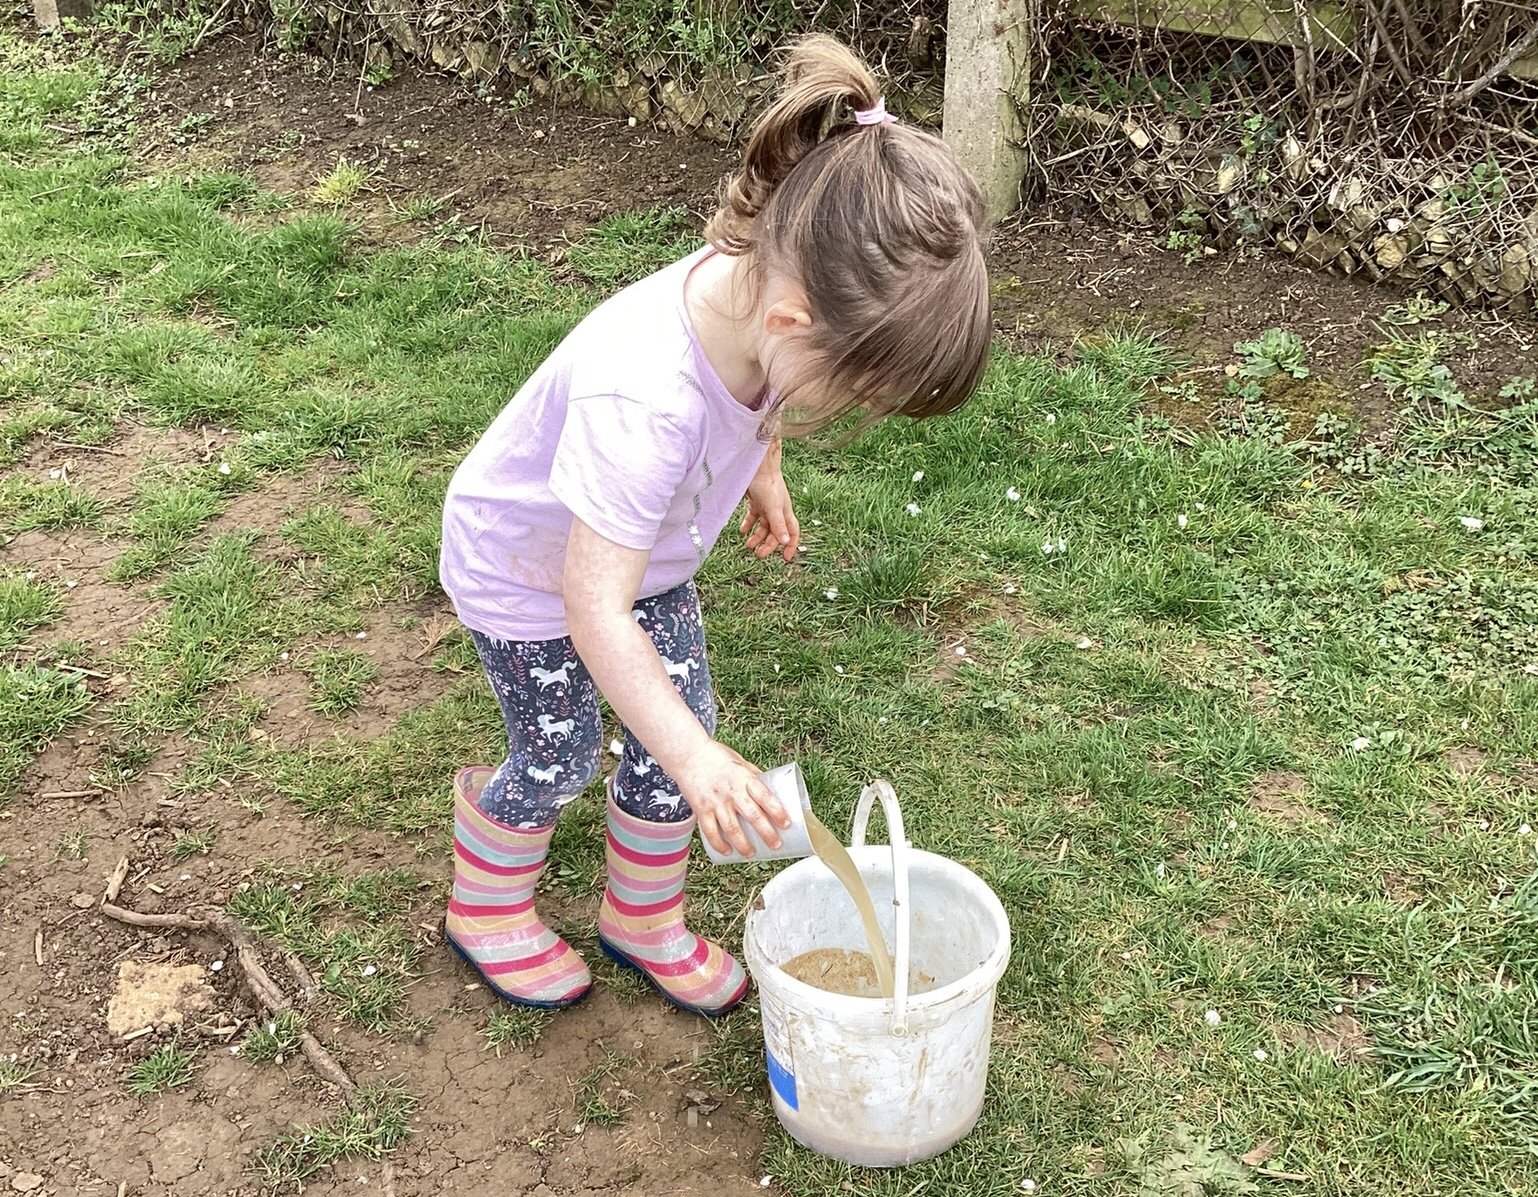
Get mixing! Skim off any leaves or sticks that float to the top
First fill the bucket half way up with the mud and then top it up with water. Next it’s time to get your hands in and start to mix the two together. Keep swirling and squeezing the mud until it mixes fully with the water. Any sticks and leaves that float to the top can be skimmed off and thrown away. As you mix the clay particles will start to be released and float in the water, each time you pull out your hands they should stick to your skin so it’s easy to tell when you’ve mixed enough!
Leave the muddy mixture for a couple of minutes to allow the stones and sand to fall to the bottom and skim off the last few bits of leaf. The clay will carry on swirling in the water for a little while (if you leave it too long it will settle and you’ll have to stir it all up again)

It’s ready to strain when your hands are covered in clay!
Either line a crate with the pillow case or cloth, or get a willing volunteer to hold it while you gently pour the clay filled water in. The stones and sand should stay in the bucket. It’s now time to tie the top of the cloth shut and hang it up to drain. The water should start to filter through the clay and drip out of the bottom (you can even use it to clean your muddy hands!) once the water has all drained away you will be left with your finished clay! This can take a few days so keep checking on it and when it feels good, have a play.

Clay play in action
Keep you clay in a damp cloth when you’re not using it to stop it drying out. Any models you make will dry out naturally and if you’re feeling really bold you can try firing it on a campfire! If you have a go at making your own clay send your pictures to us, we’d love to see what you make!
Can you hear that sound? Chirp Chirp
At the weekend I witnessed my first Starling murmuration. The sun was setting, and it was quite honestly the most beautiful spectacle of nature I have ever witnessed, it gave me goosebumps all over.
During the winter months Starlings flock together at dusk to roost. . They gather over their roosting site as they perform their stunts before settling down to roost for the night. This involves thousands of birds all swooping in unison ducking and diving around the sky, like a little dance.
It isn’t totally proven why Starlings perform such a show but a number of theories behind it are:
safety in numbers is key to avoiding predators that find it hard to pick out one bird umongst thousands.
they roost together to stay warm and safe, and once together they pass on important feeding information, sharing the best spots to feast in the winter months.
the dancing is a siren to other Starlings, letting them know where the roosting spot is for the night.
Now how clever is that, so that brings me onto my next point…
I FELT INSPIRED..
After watching the beautiful Starlings I found myself stopping and taking a second to listen to the birds that were around me. The simple tweets, chirps, chatter, cuckoo, quack from beyond made me want to bring them into the garden, to make the birds seen and not just heard. The Broadwood nursery have a number of beautiful trees in the garden, a perfect place to hang bird feeders so that the children can watch from a far.
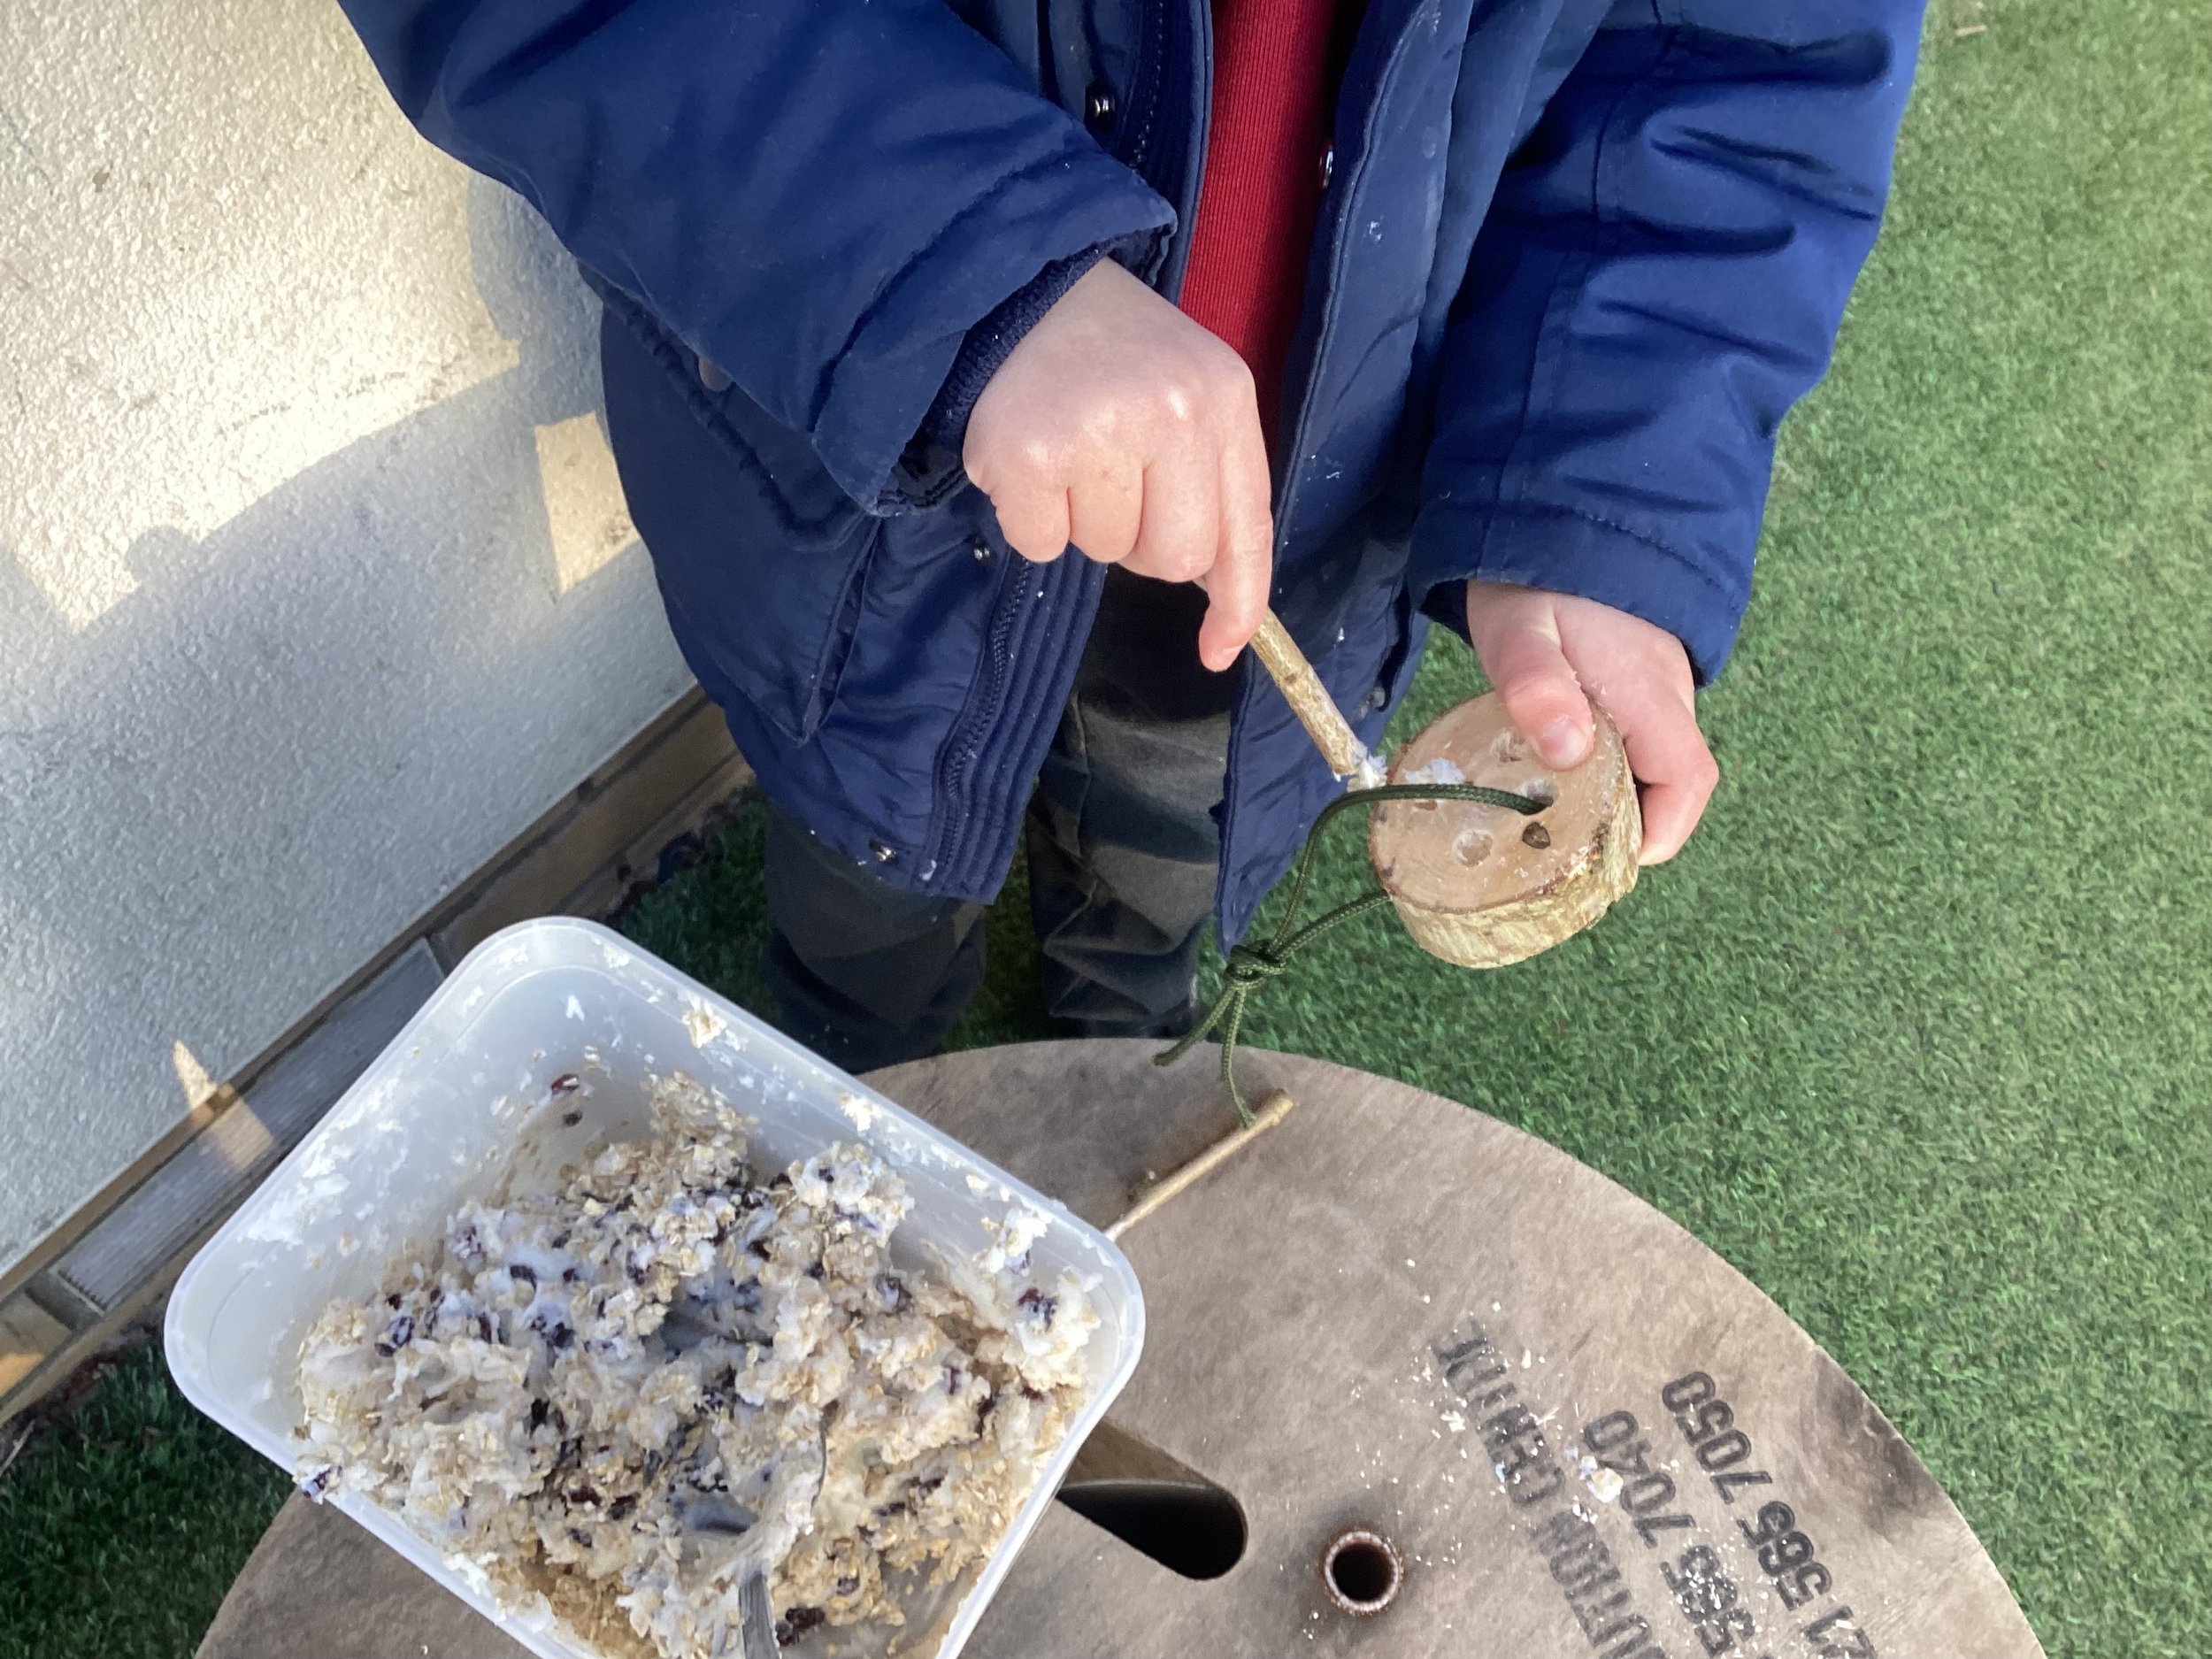
Our task was to create feeders that the birds can depend on for their breakfast, lunch and dinner, after all we want these birds to keep coming back. This task is no mean feat, we wanted to design a number of different feeders and to create a continuous abundance of food that we keep on topping up, and after all the hard work we can just sit back and relax, listen and watch. (Talk about the process)
SO WHAT DO YOU THINK

Homemade fat ball recipe:
Porridge oats - (one cup)
Raisins - (one cup)
Sunflower hearts - (one cup)
Grated cheese - (one cup)
Coconut oil - melt slightly and add enough to coat the hard ingredients.
Use a mixing bowl and wooden and MIX.
Once the mix is combined you have many options and versions of feeders (birds aren’t too fussy). You can buy a few variations from the shops: some of which require fat balls to be formed or just spread it onto a flat surface. During our Forest Achool session we experiments, we made vertical feeders and horizontal feeders, the aim was let’s just experiment, they we can sit back and see what the birds were happiest with.

Becoming a forest school leader
Since childhood, I’ve always loved the outdoors. I fondly remember visits to my grandparents’ farm to pick blackberries and feed alpacas, and spending weekends exploring caves and woodlands with my mum and brother. This love for the outdoors led to me living in the Alps for a few years before moving back and starting my career in childcare. After becoming an Early Years Teacher and becoming a part of the Snapdragons team I was offered an opportunity that I couldn’t have dreamed of before… becoming a Forest School leader!
One wet Thursday morning in September I set off to a woodland near Bristol to start my journey.

As we sat around an open fire, eating crumpets and introducing ourselves our trainer Jon detailed our seven practical sessions. The rain pattered on the shelter above us and the light wind flowed through the trees, almost singing as the trees danced along with it. We began by playing some games in the woodland like colour hunt, hide and seek, and even conkers! My favourite was when we were asked to find a quiet spot in the woods, listen to all the sounds around us and note them down however we wished. As I sat on a small rock, legs occasionally rustling the leaves below me the sun broke through the canopy of leaves. As it shone in wonderful patterns across the forest floor I knew I’d made the best decision ever in embarking on the forest school adventure.

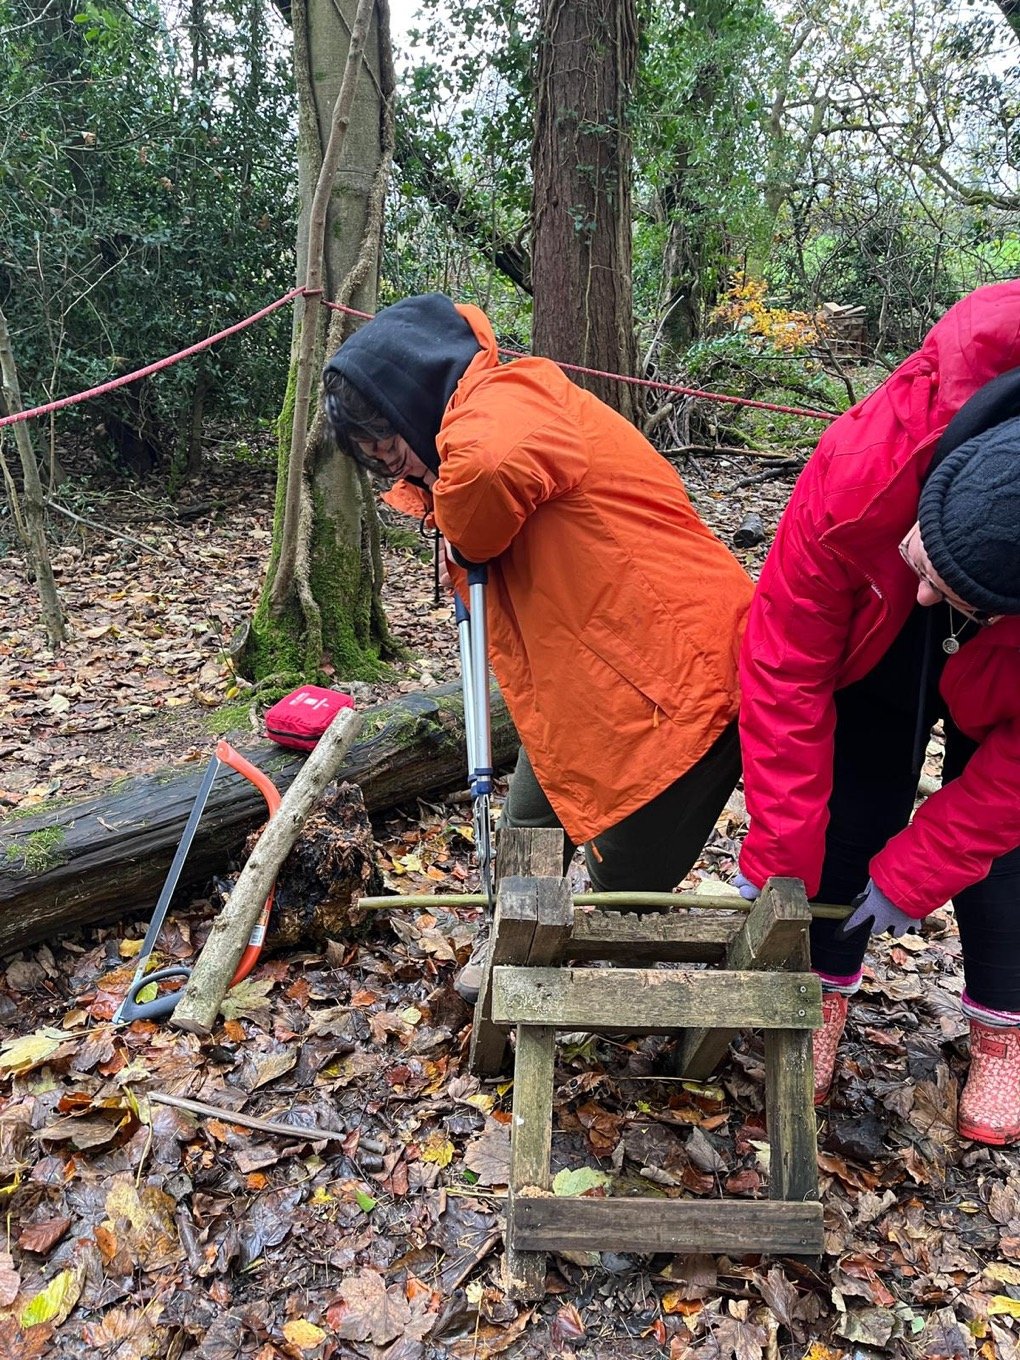
Over the sessions that followed, we learned about using tools safely, how to light fires, an array of different knots, den building, tent building, and how to incorporate all of this in a safe and interesting way for the children we care for.
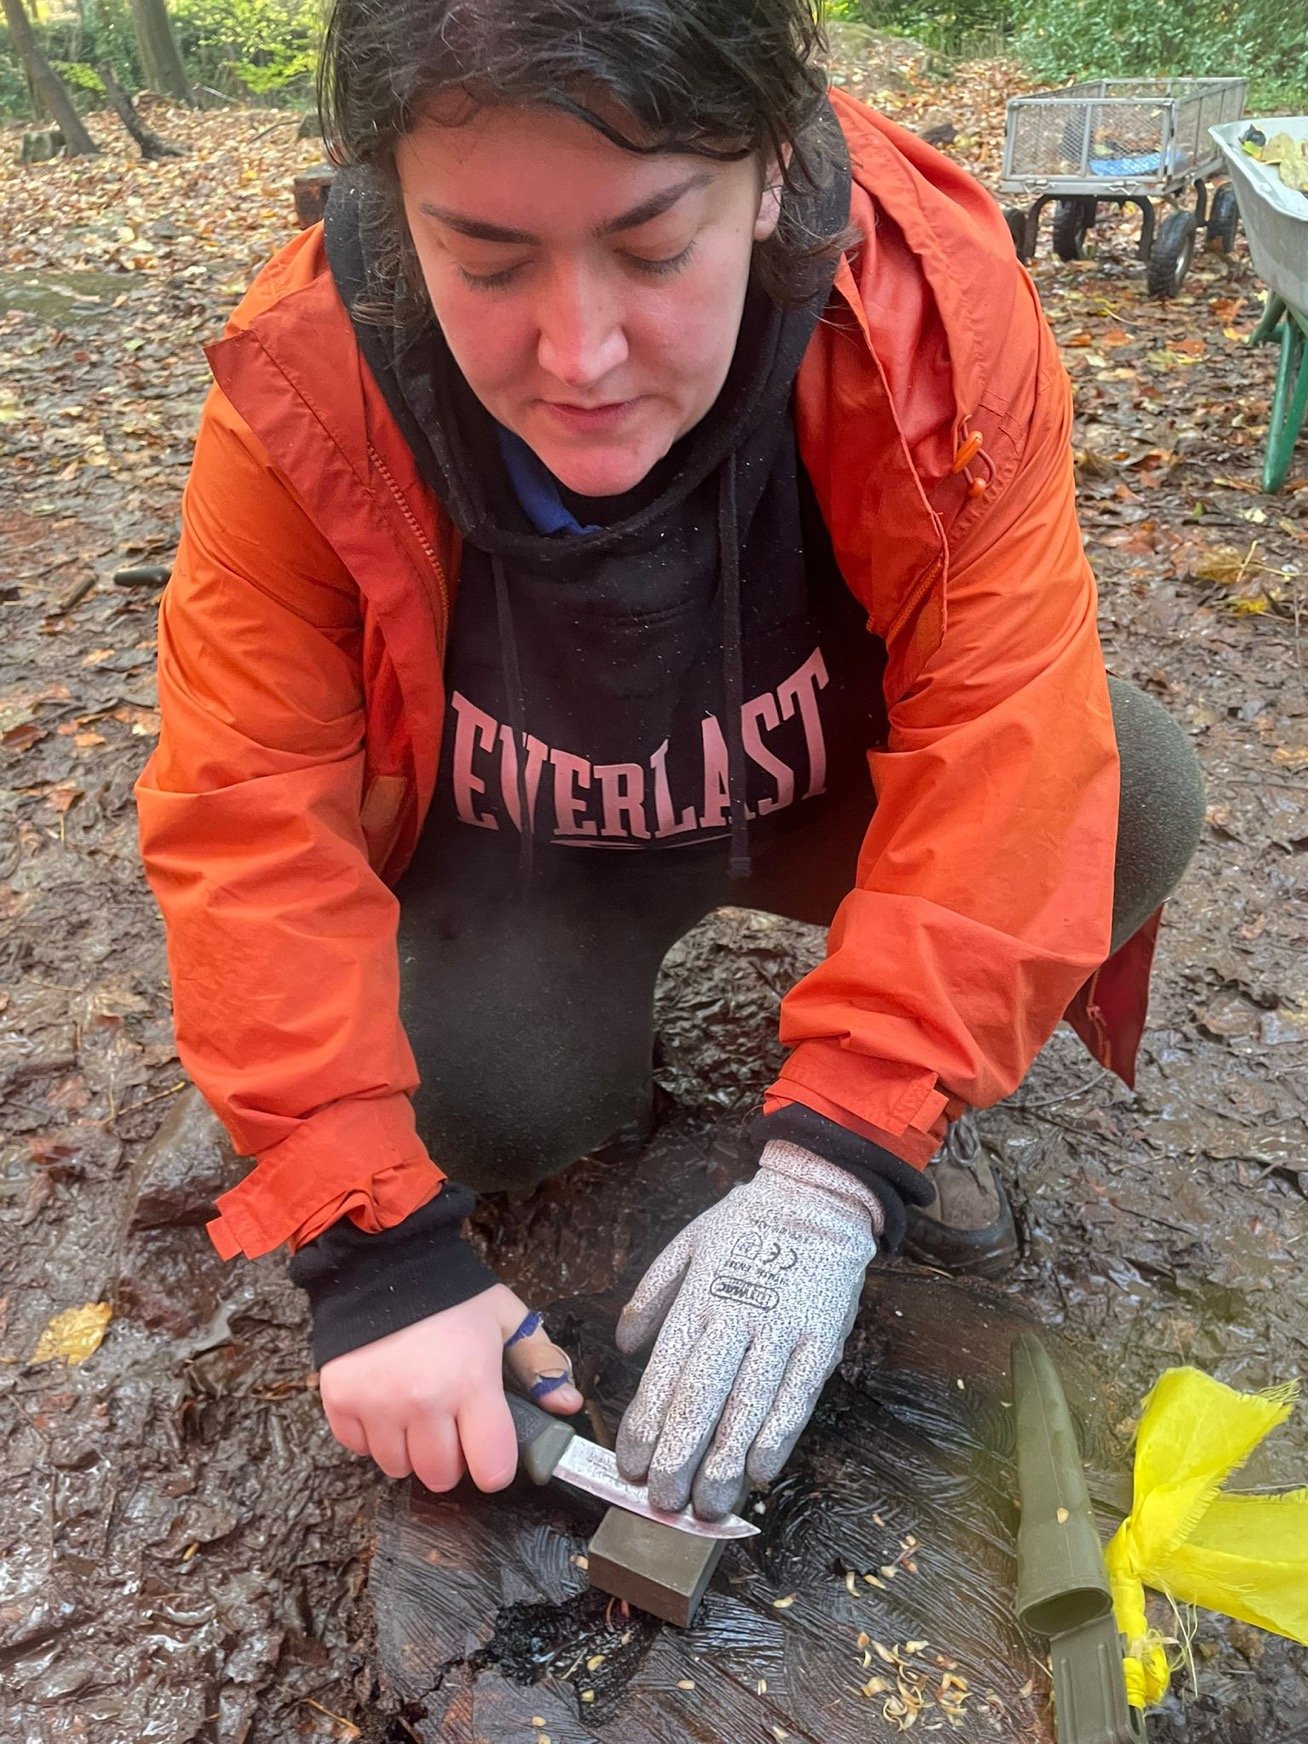
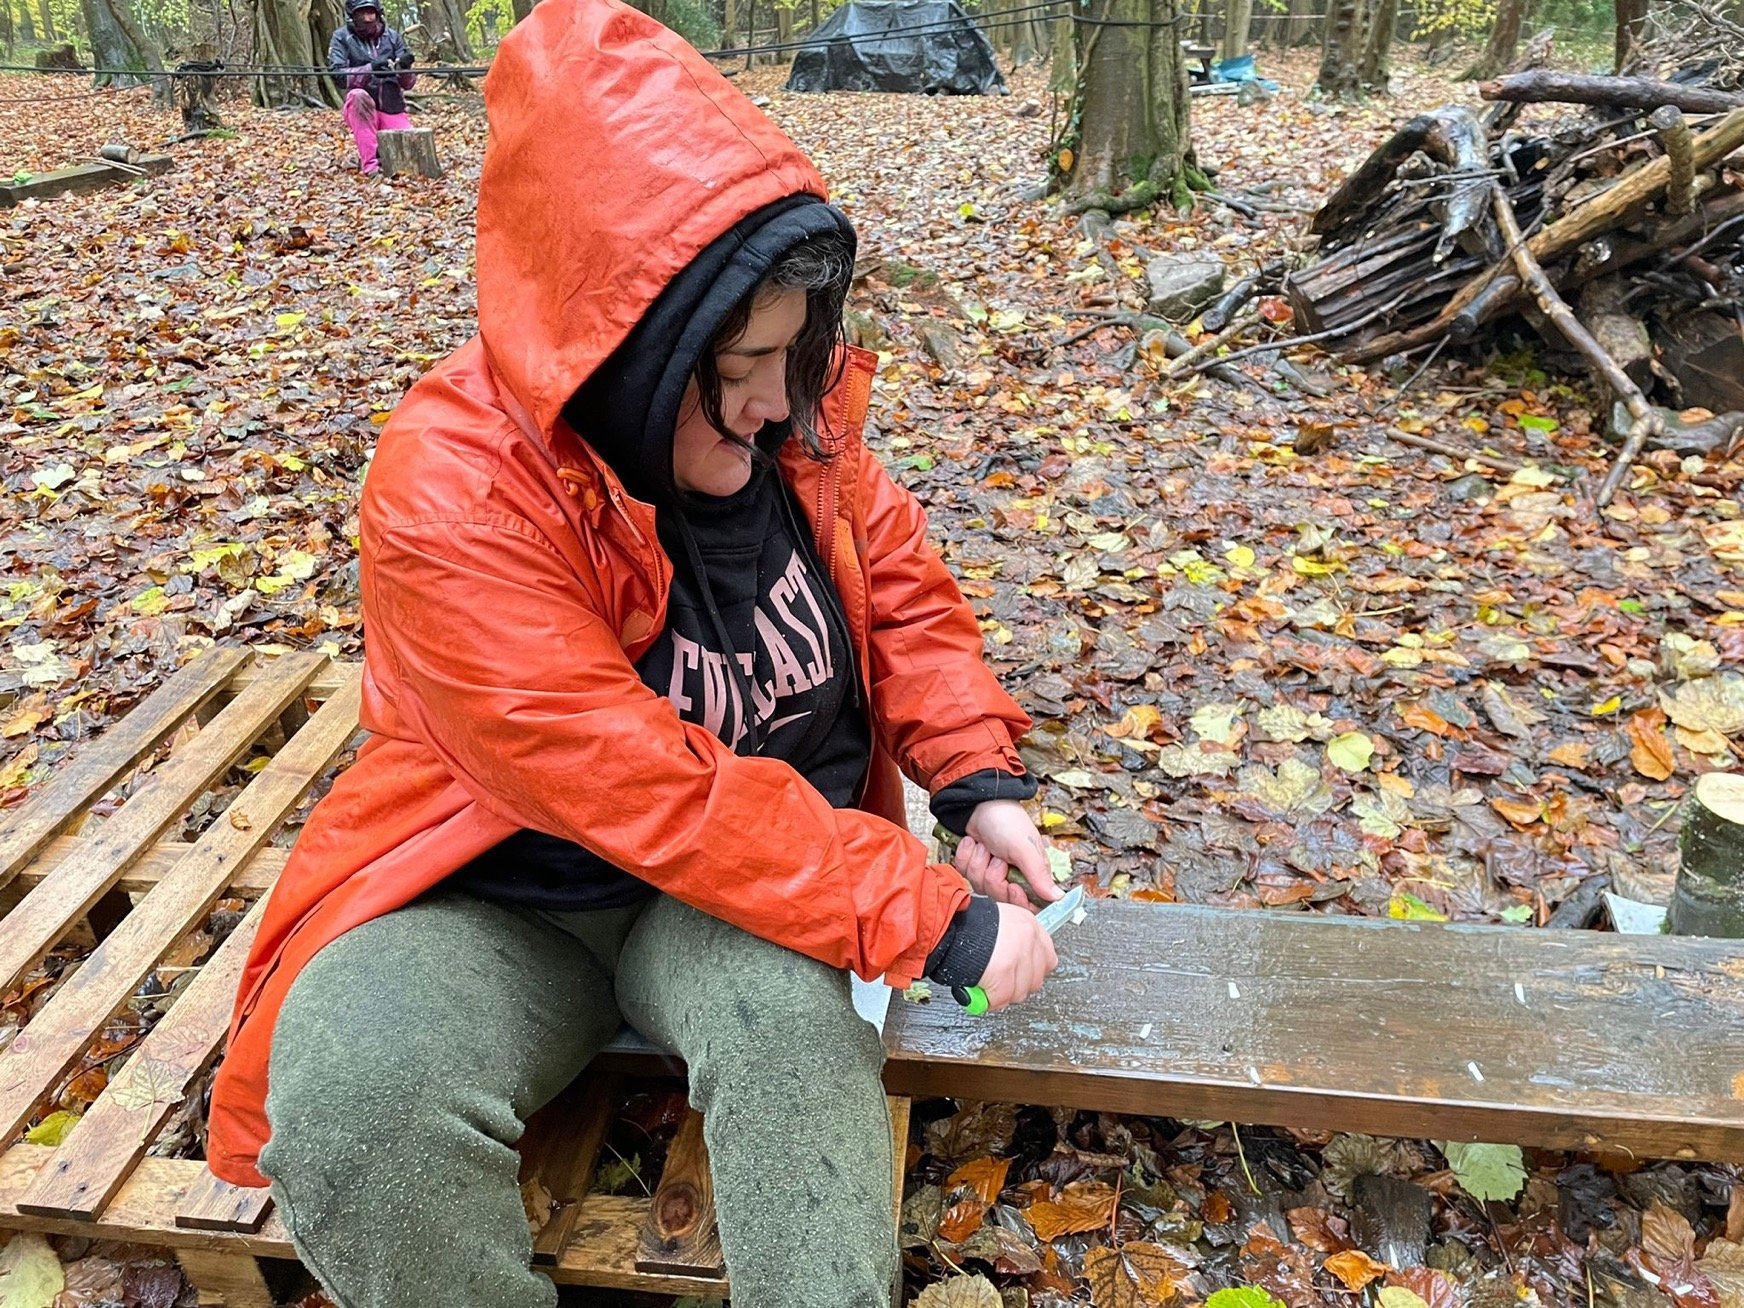
Then came the last day, and oh boy it was a wet one! I chose to make a mallet and a wooden mushroom for my tool use assessment and got to work perched on a pallet in the storm. I sat in the heavy rain as the sounds of laughter and chatter carried in the wind whipping around me. When I needed an extra pair of hands, one of the other people on the course came over to help me, we giggled at some stories we told each other, and worked together to finish our creations. It was only after, as the rain got even heavier that I realised I’d started getting puddles in my boots! But puddles aside… I moved back close to the group and the fire, and warmed up before hearing that I’d passed all of my assessments. Woohoo!
But with all great things, it was coming to an end. I took a moment and stood just under the shelter and looked out at the space I’d grown so fond of over the seven sessions, grateful for the opportunity I had been given.


Now I’m back to working at Snapdragons on a Thursday, excited to implement the skills I’ve learned, and continue with coursework and assessment sessions to complete my training. And aside from the practical skills I’ve learned about teaching forest school, I discovered some other things too.
I’ve spent a large portion of my life wandering around outside and this training has shown me that there is still so much to learn! I watch the fog lift from the ground up towards the sky and the gentle, quiet calm that comes with it. I see the light filter through the trees and paint the forest floor. I listen as the crunch of leaves tell me I’ve arrived. And I remember that from childhood and through our whole lives, how important it is to go out into nature. Climb a tree, run around, create art using fallen leaves, notice the bugs and the birds as they move around, spin in circles and fall into mud. On the best days and the worst, entering a woodland is like journeying into a different world, one in which I am transformed by the time I leave. And this is the message I hope to pass on to the children I am lucky enough to take on the forest school adventure!
“I took a walk in the woods and came out taller than the trees.” - Henry David Thoreau.


I don’t spy with my little eye
For the last two days the land around Atworth has been enveloped in a fog that has barely lifted by the time the sun goes down. We took the opportunity to explore the fields near the nursery with preschool, a walk that they know well but one that was presented in a new light.

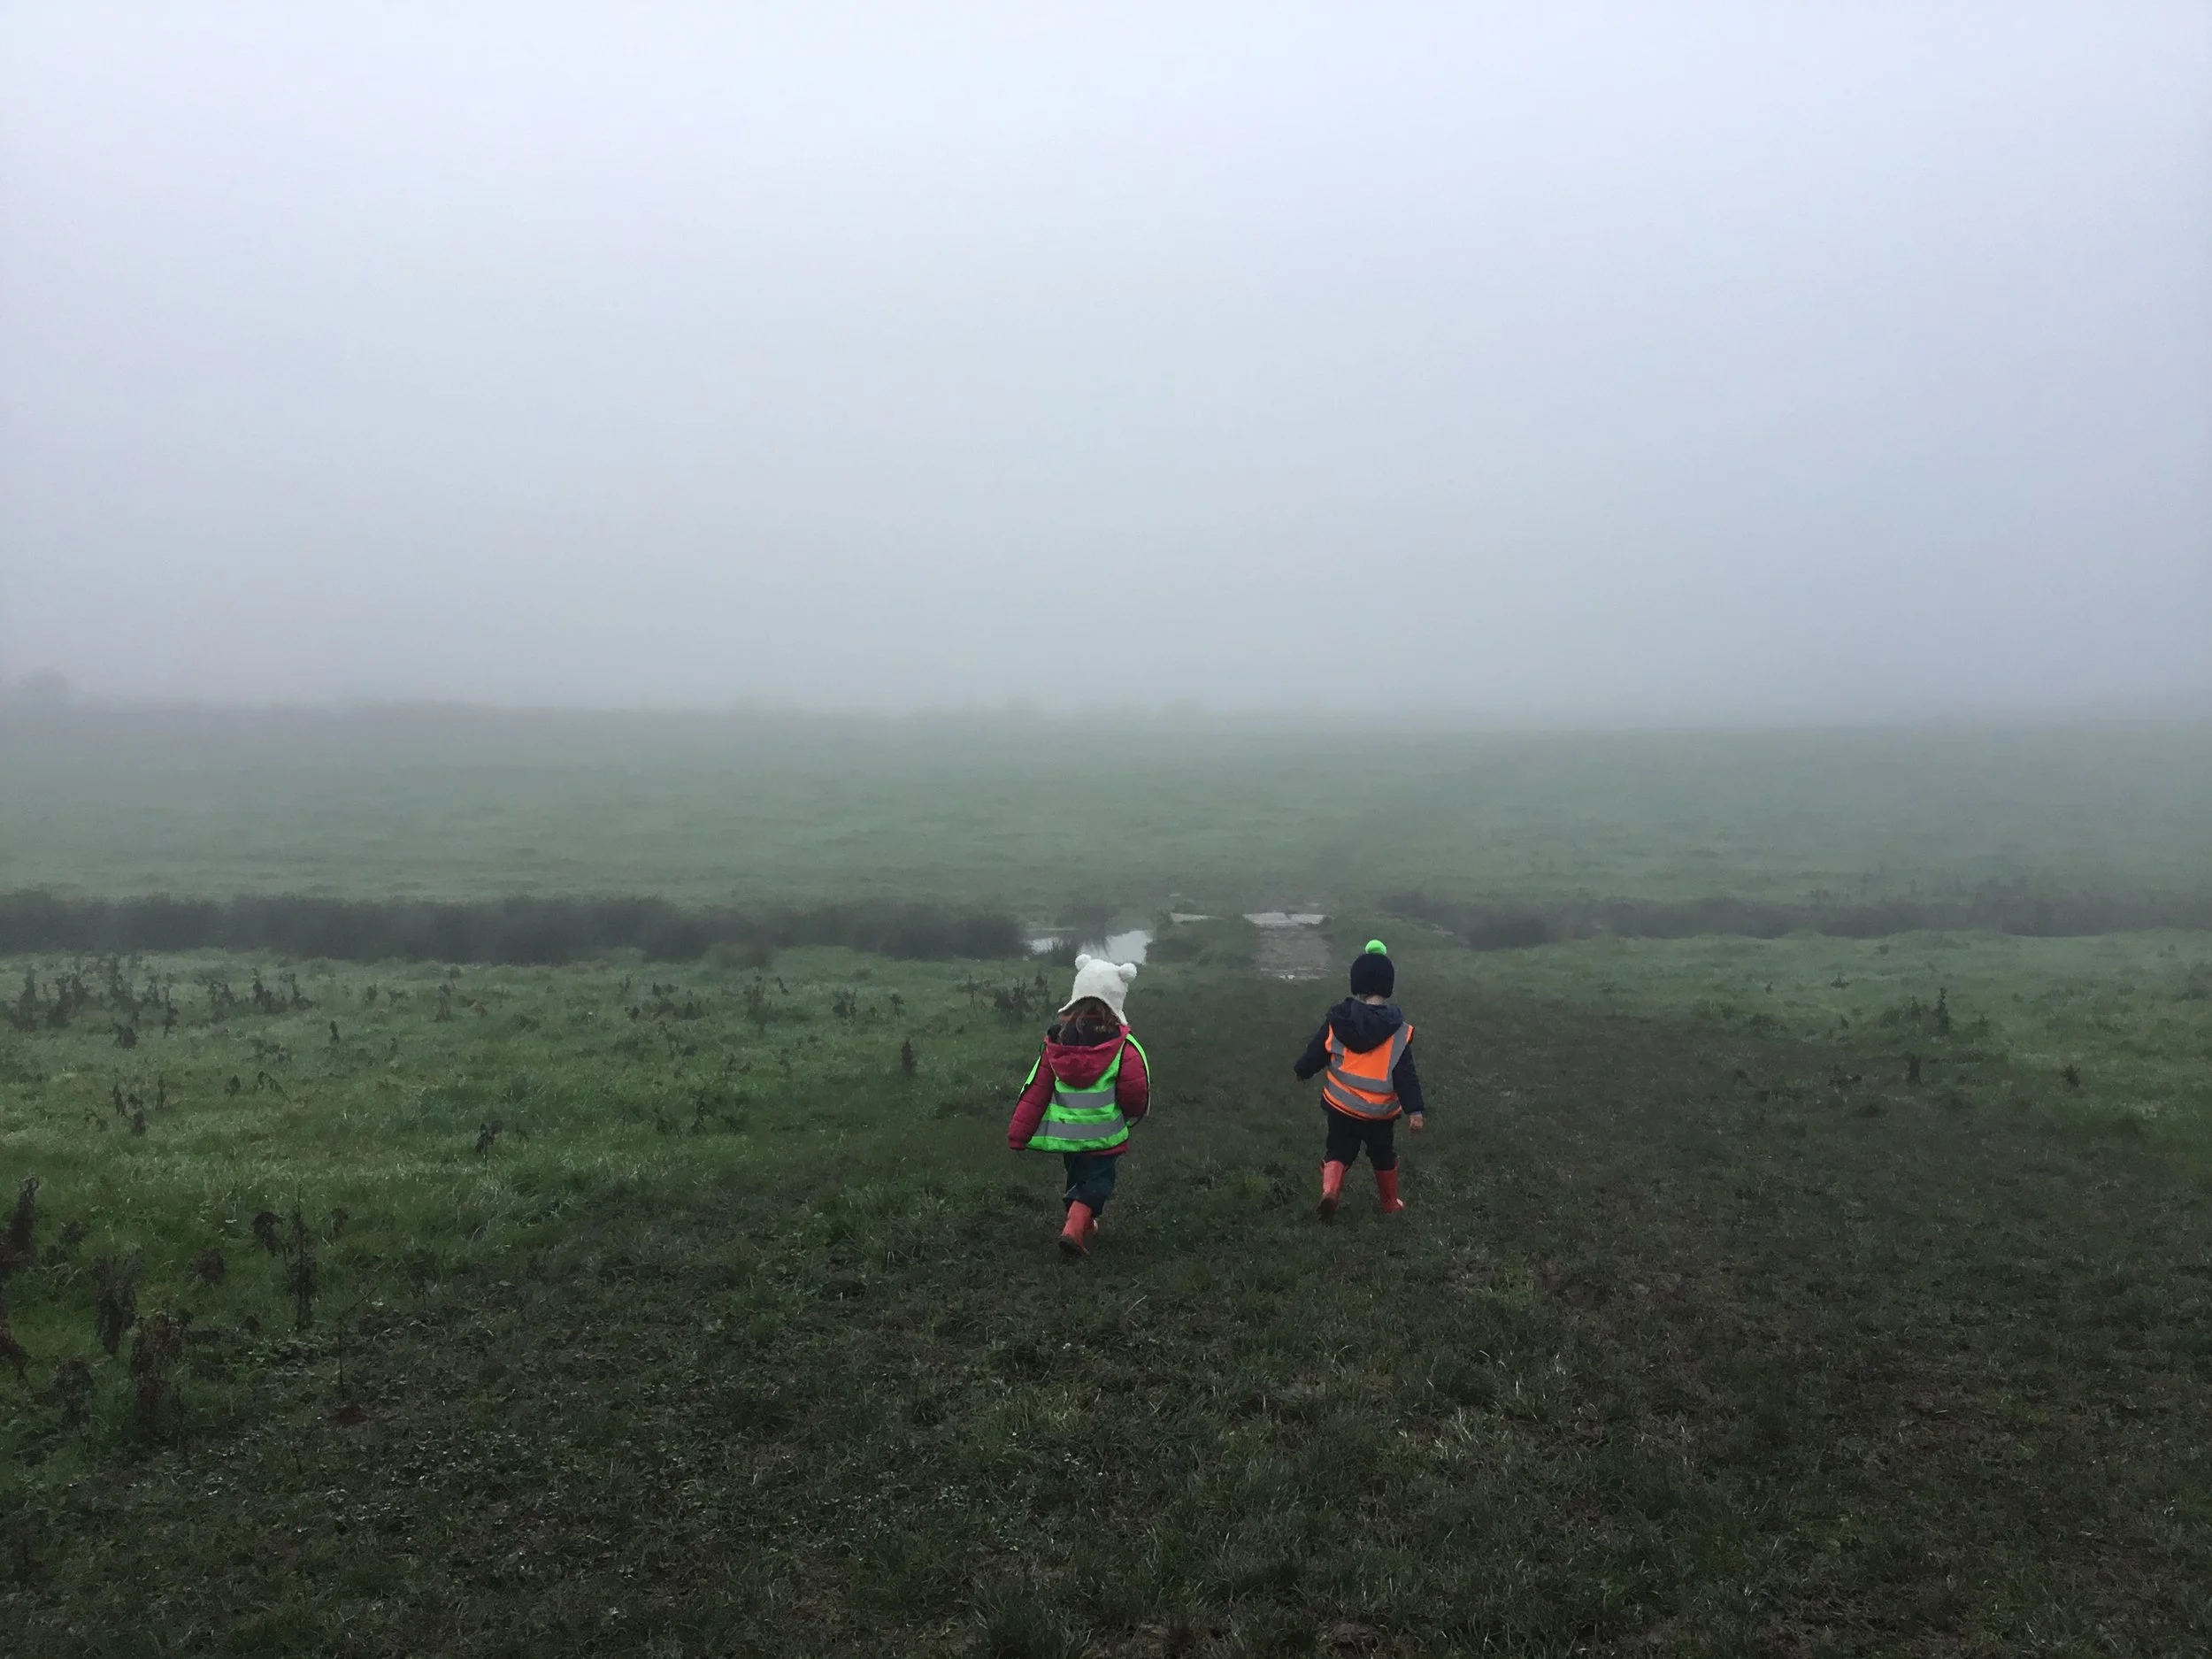
As I wrote about in a previous post, when we can’t see our environment we need to start paying attention to it in different ways. Highlighting the things that the children could see close up or hear brought a wider sense of what was happening around them. We could hear bird song but there weren’t birds, there were holes dug in the ground but no rabbits, there were paw prints but no dogs… and just why were there cow pats in the field but no cows!!?
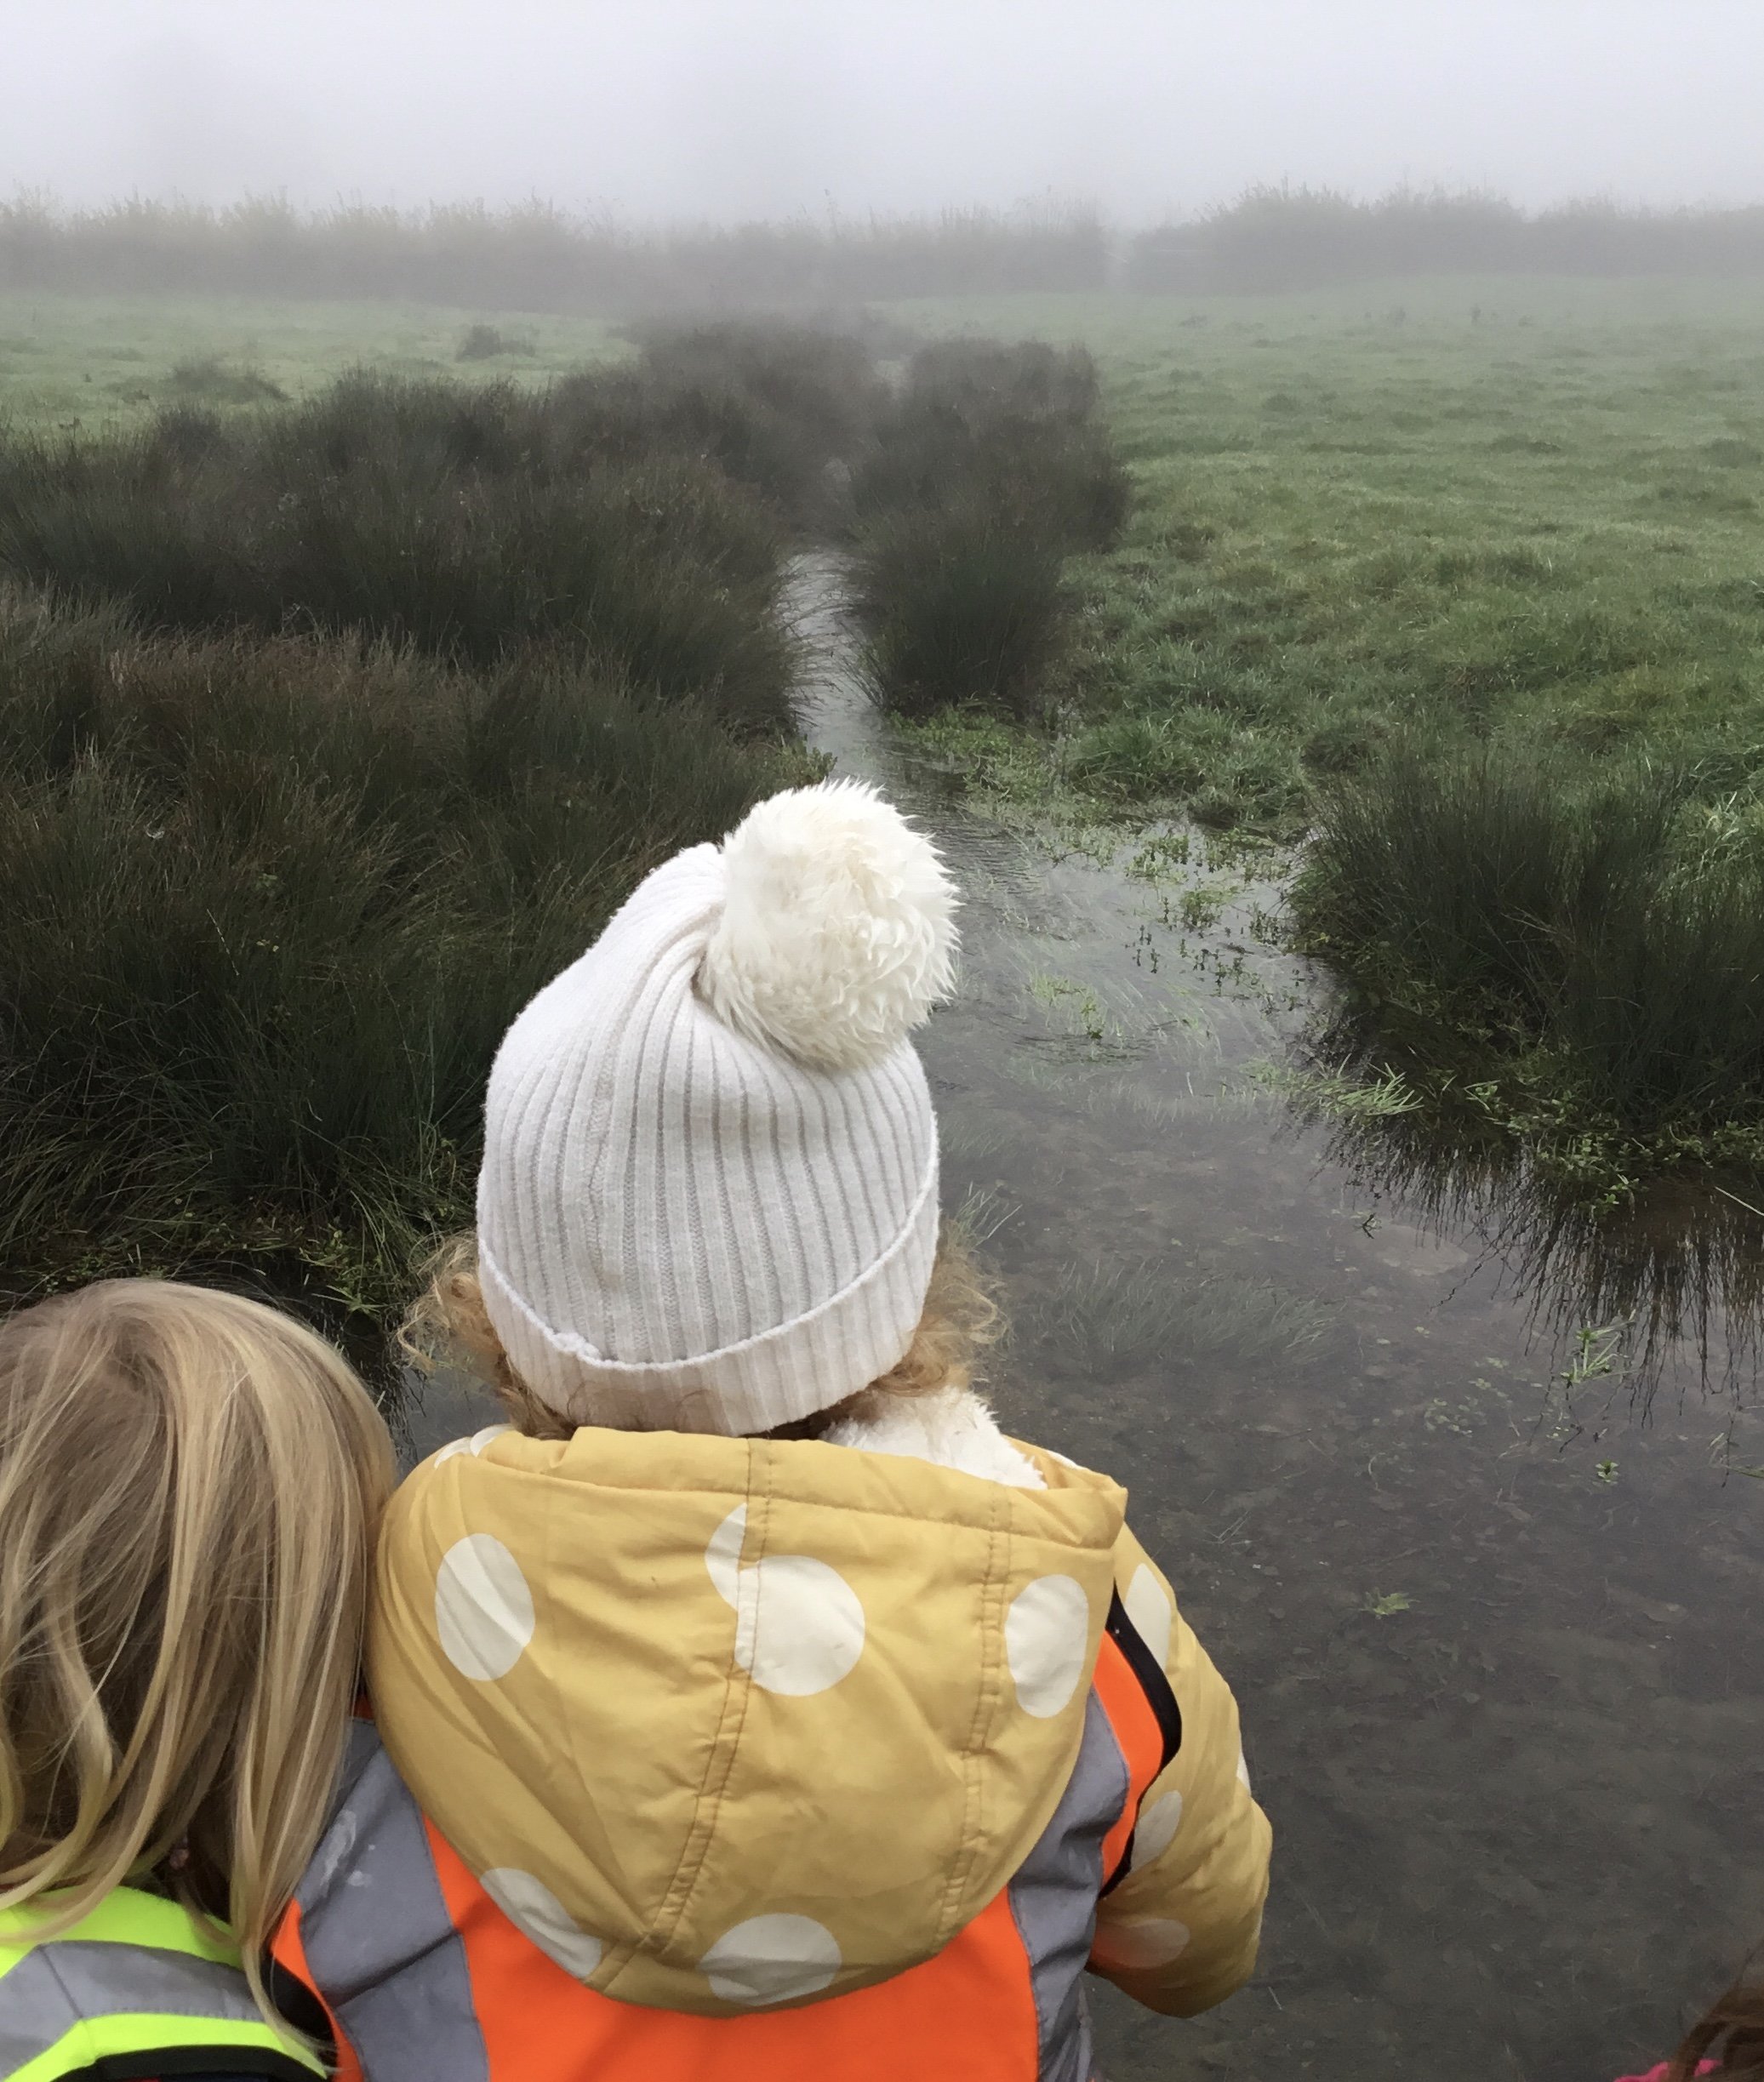
Noticing elements of the environment is a key skill when it comes to navigating and understand the land around us. The line of rushes running through the field tell us that there must be a watercourse there, the darker grass around the edges shows us desire lines that people and animals use every day, the smeuse in the hedgerow means that an animal is using that part as an entrance on their daily (or more likely nightly) travels out. Even noticing which trees the leaves are falling from gives us more information about our local area.
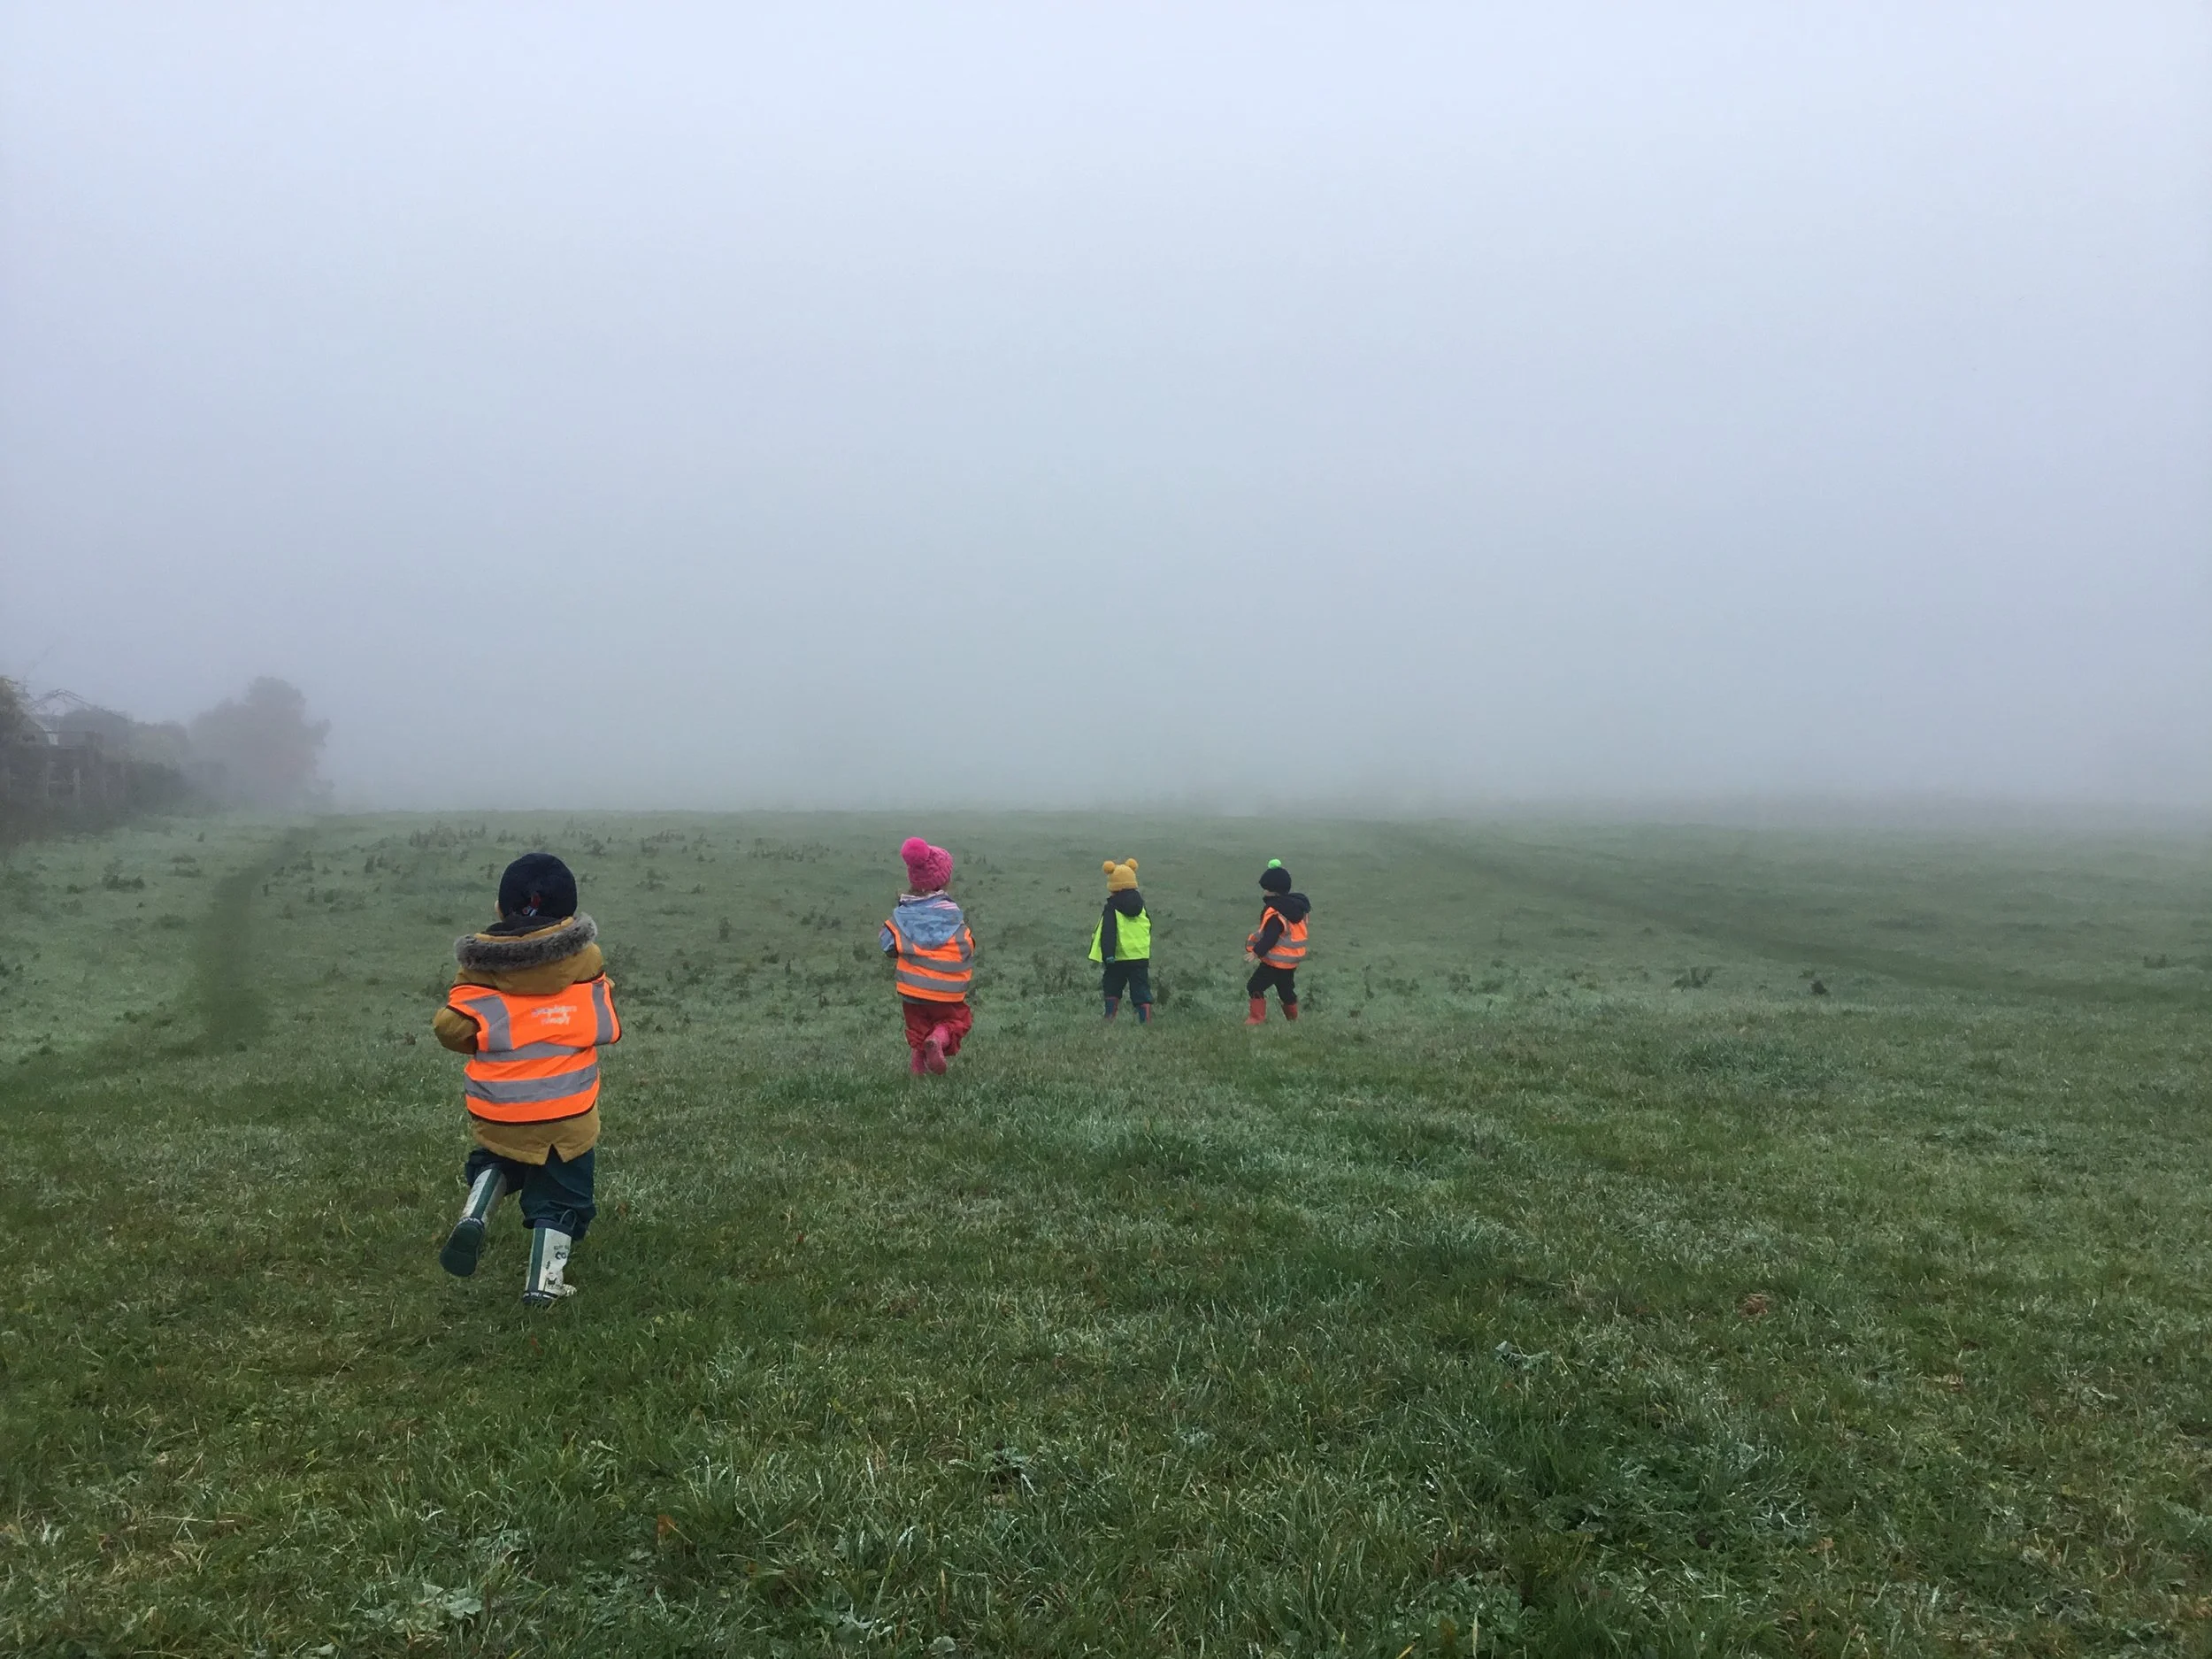
The more we can get out into our local environment, notice the changes and question why things are as they are then the more we open up the world that is literally outside our front door.

On the hunt for wood
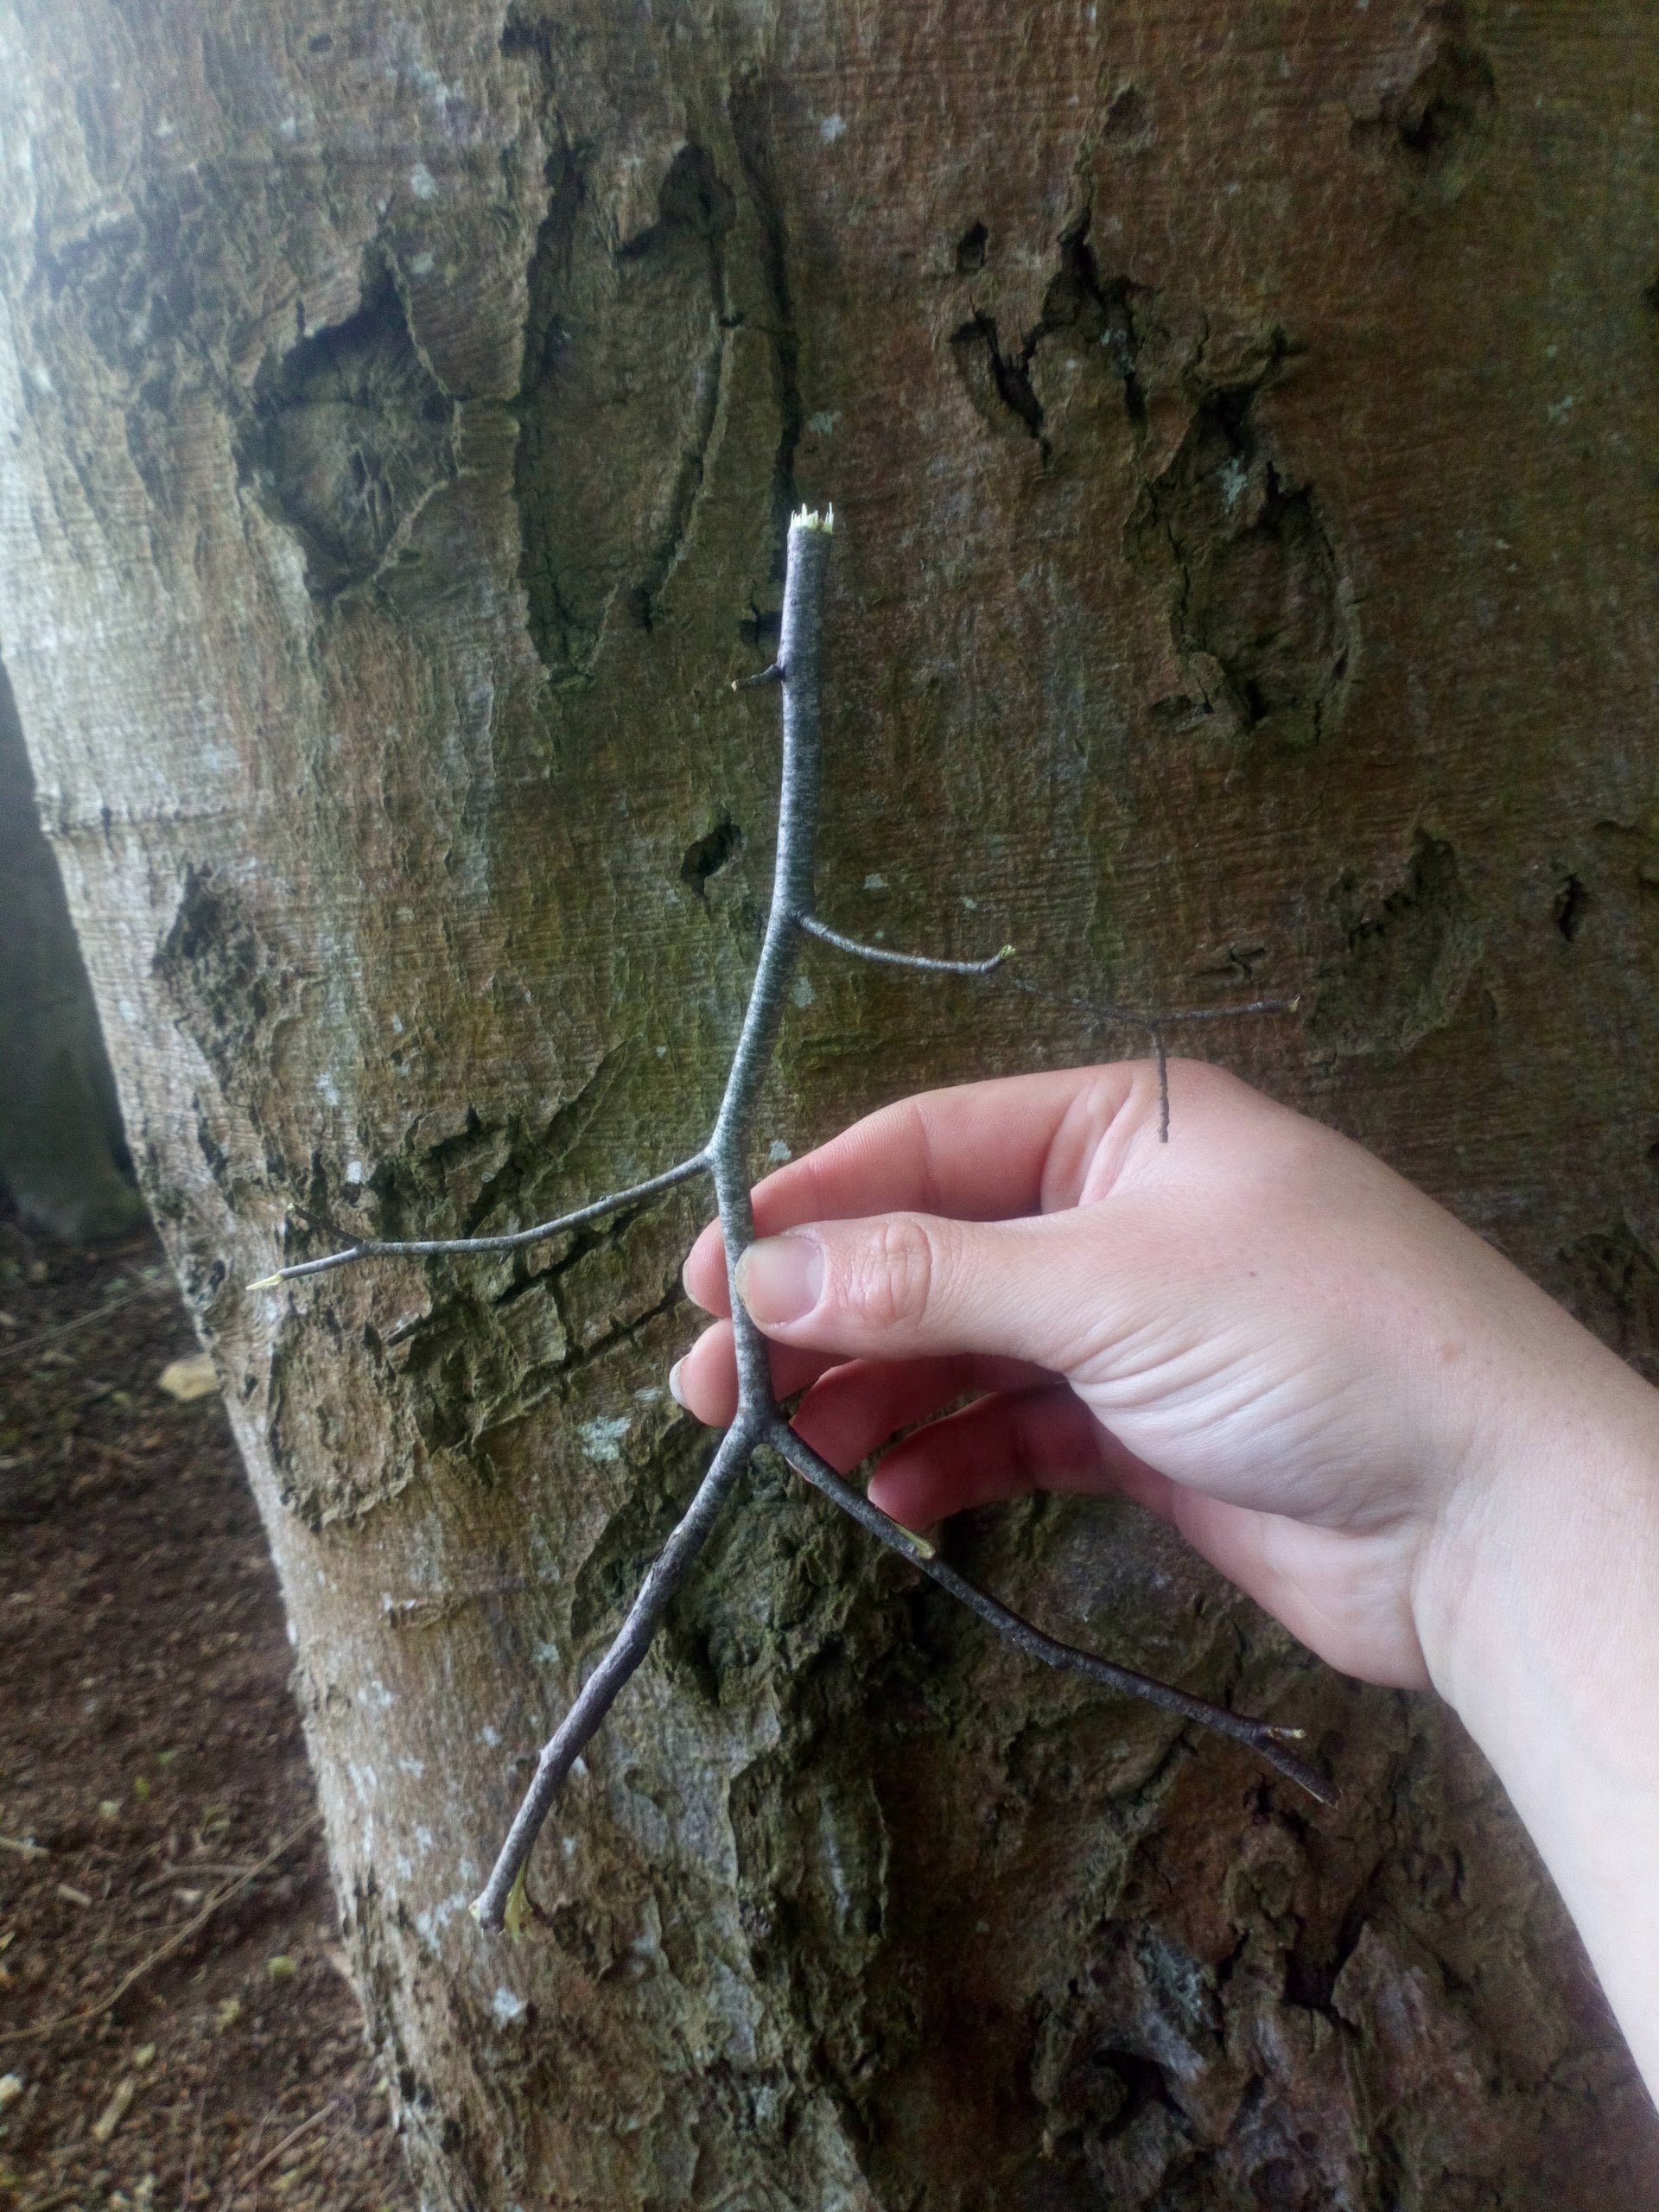
Here at Snapdragons Forest HQ we’re always on the hunt for timber. Stumps for seats, lumps for holding up planks, straight branches for sawing up, bendy bits for creating sculptures… even little twiggy bits to make stick men, everything has a use! Lately however our regular sources have started to run low and so we’re on a log hunt!
Can you help us?
Are you having a tree taken down in your garden? Do you know a tree surgeon with a log pile? Is a woodland nearby being managed? If you know a source or can help us in any way then please email tim@snapdragonsnursery.com or natalie.rankin@snapdragonsnursery.com
Things we’re looking for:
- stumps for seats
- branches 2cm-7cm wide, any lengths.
- hardwoods preferably,

We went to Westonbirt and did…
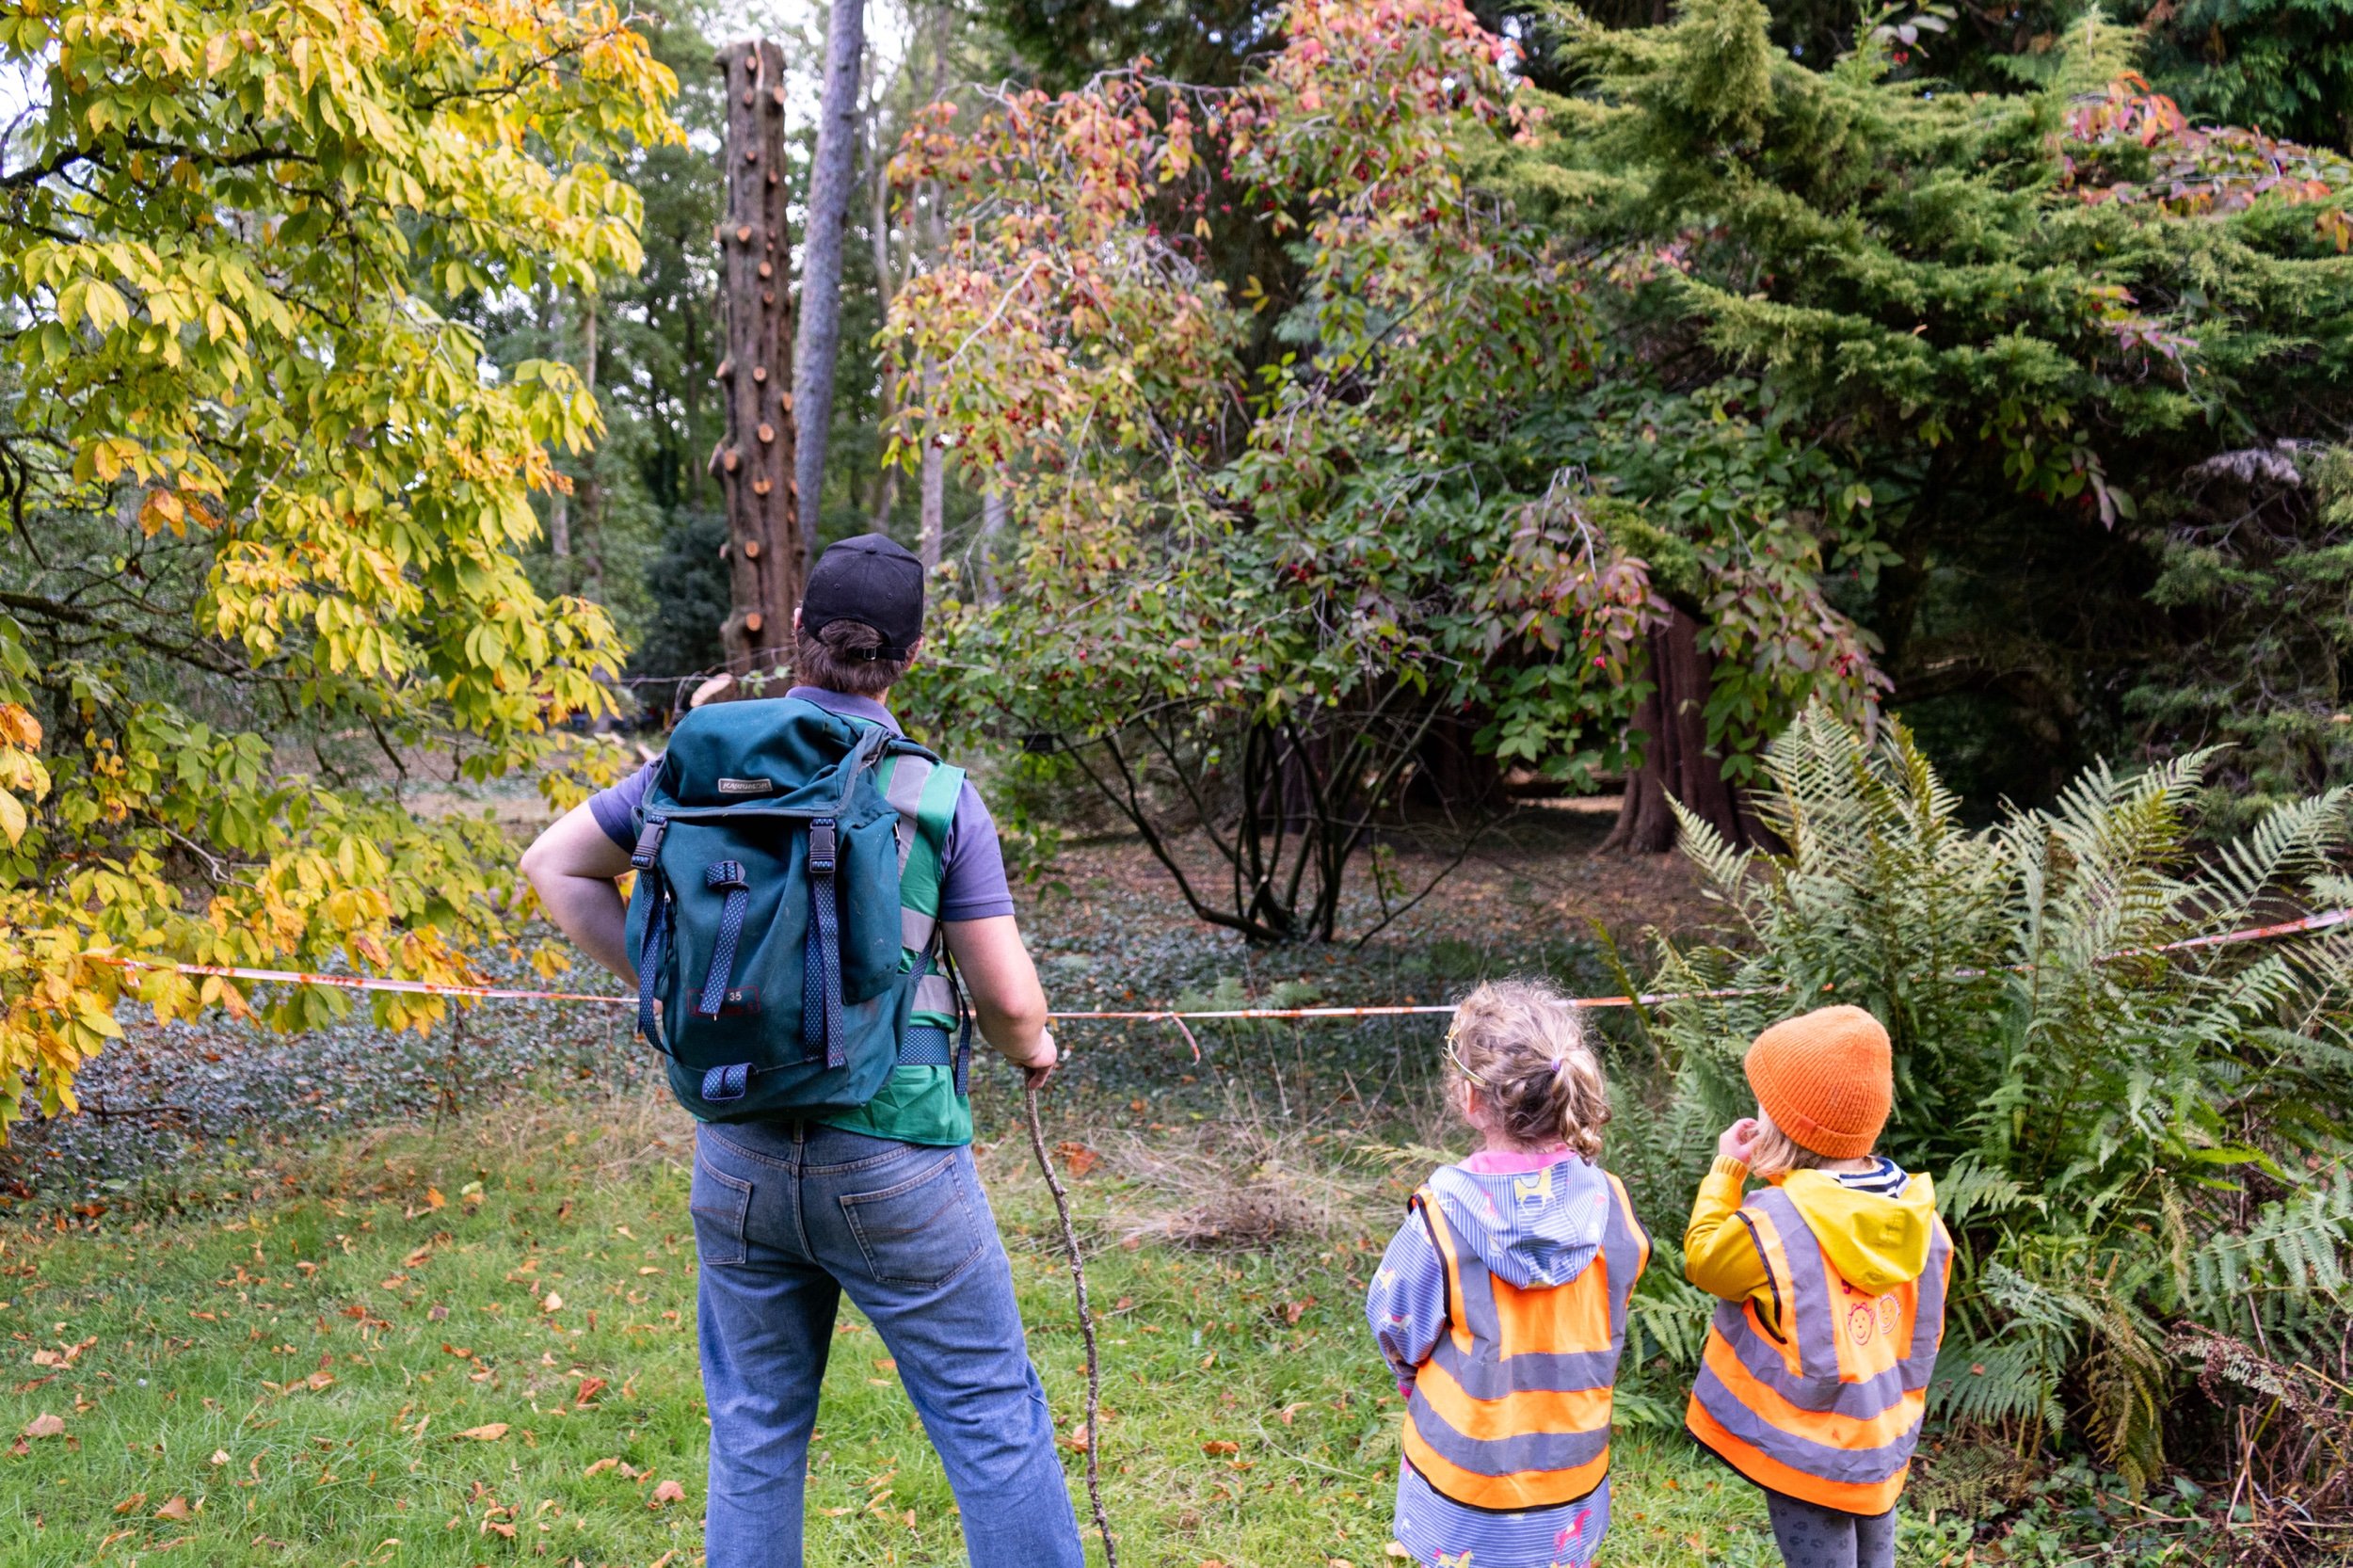
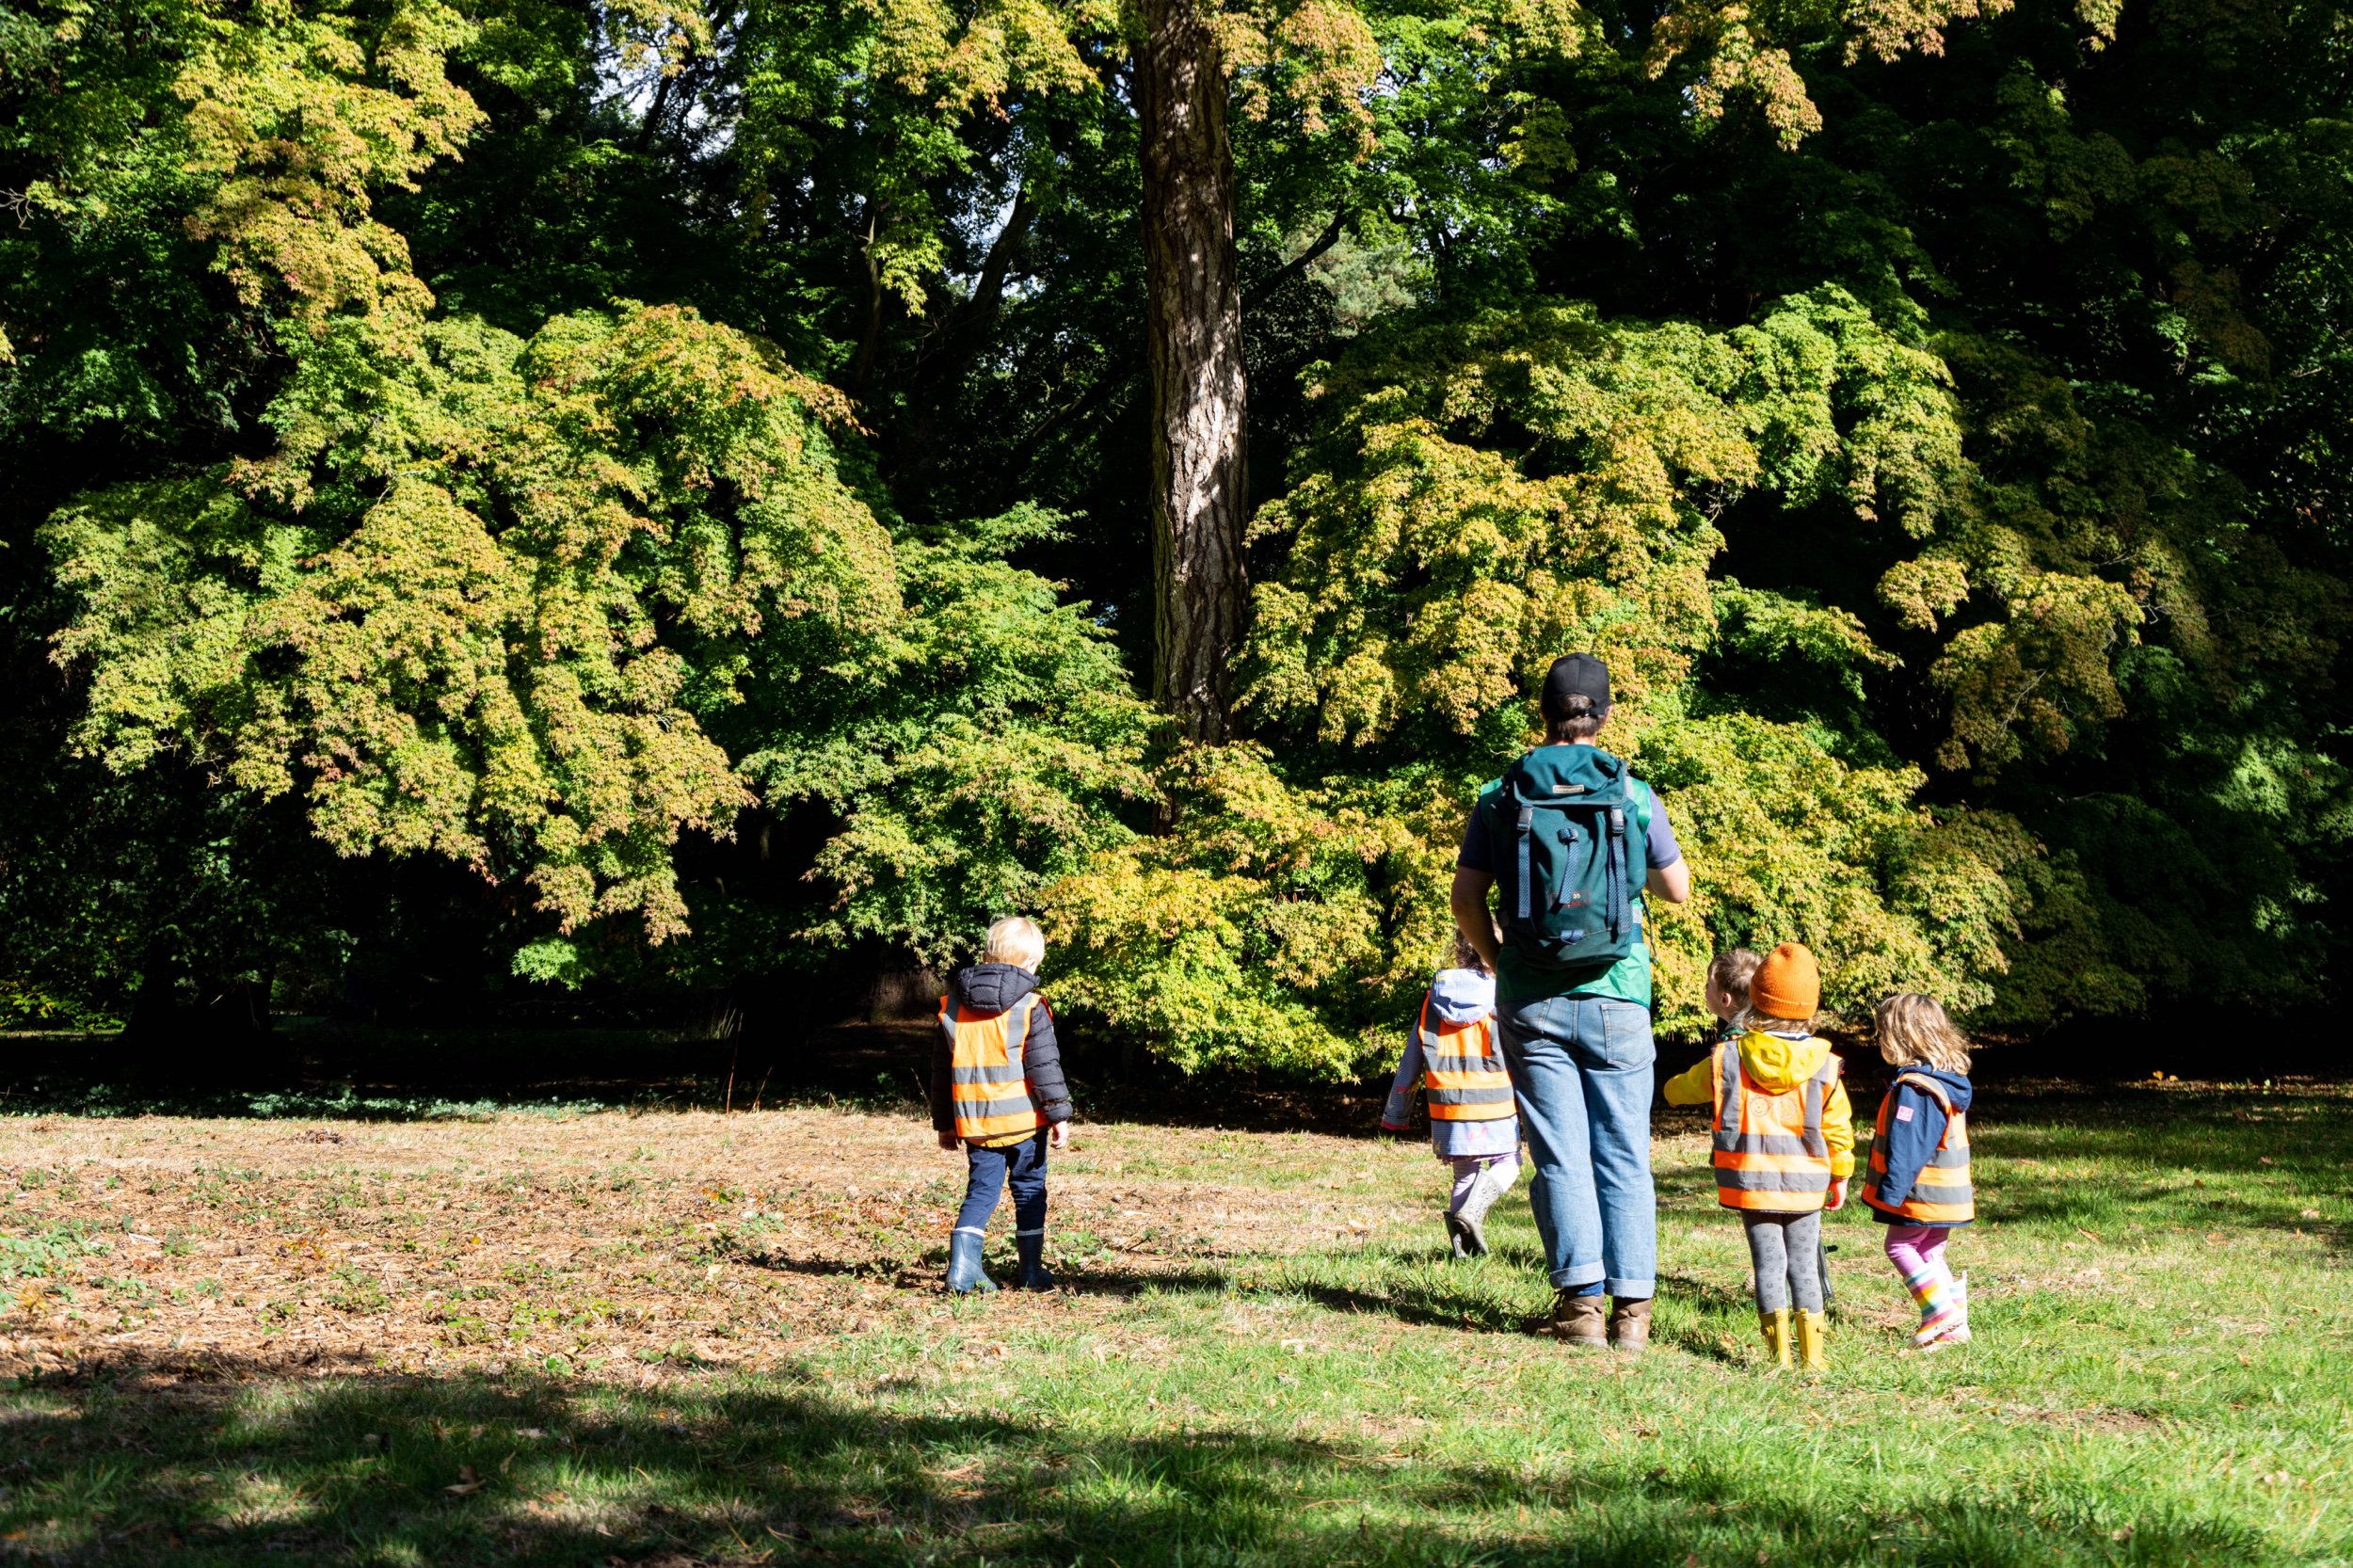
Over the last few weeks we’ve been jumping into minibuses and heading off to Westonbirt arboretum to see the changing Autumn colours and to have a bit of a yomp around. When we get back I’m often asked “what did you get up to?”… well…
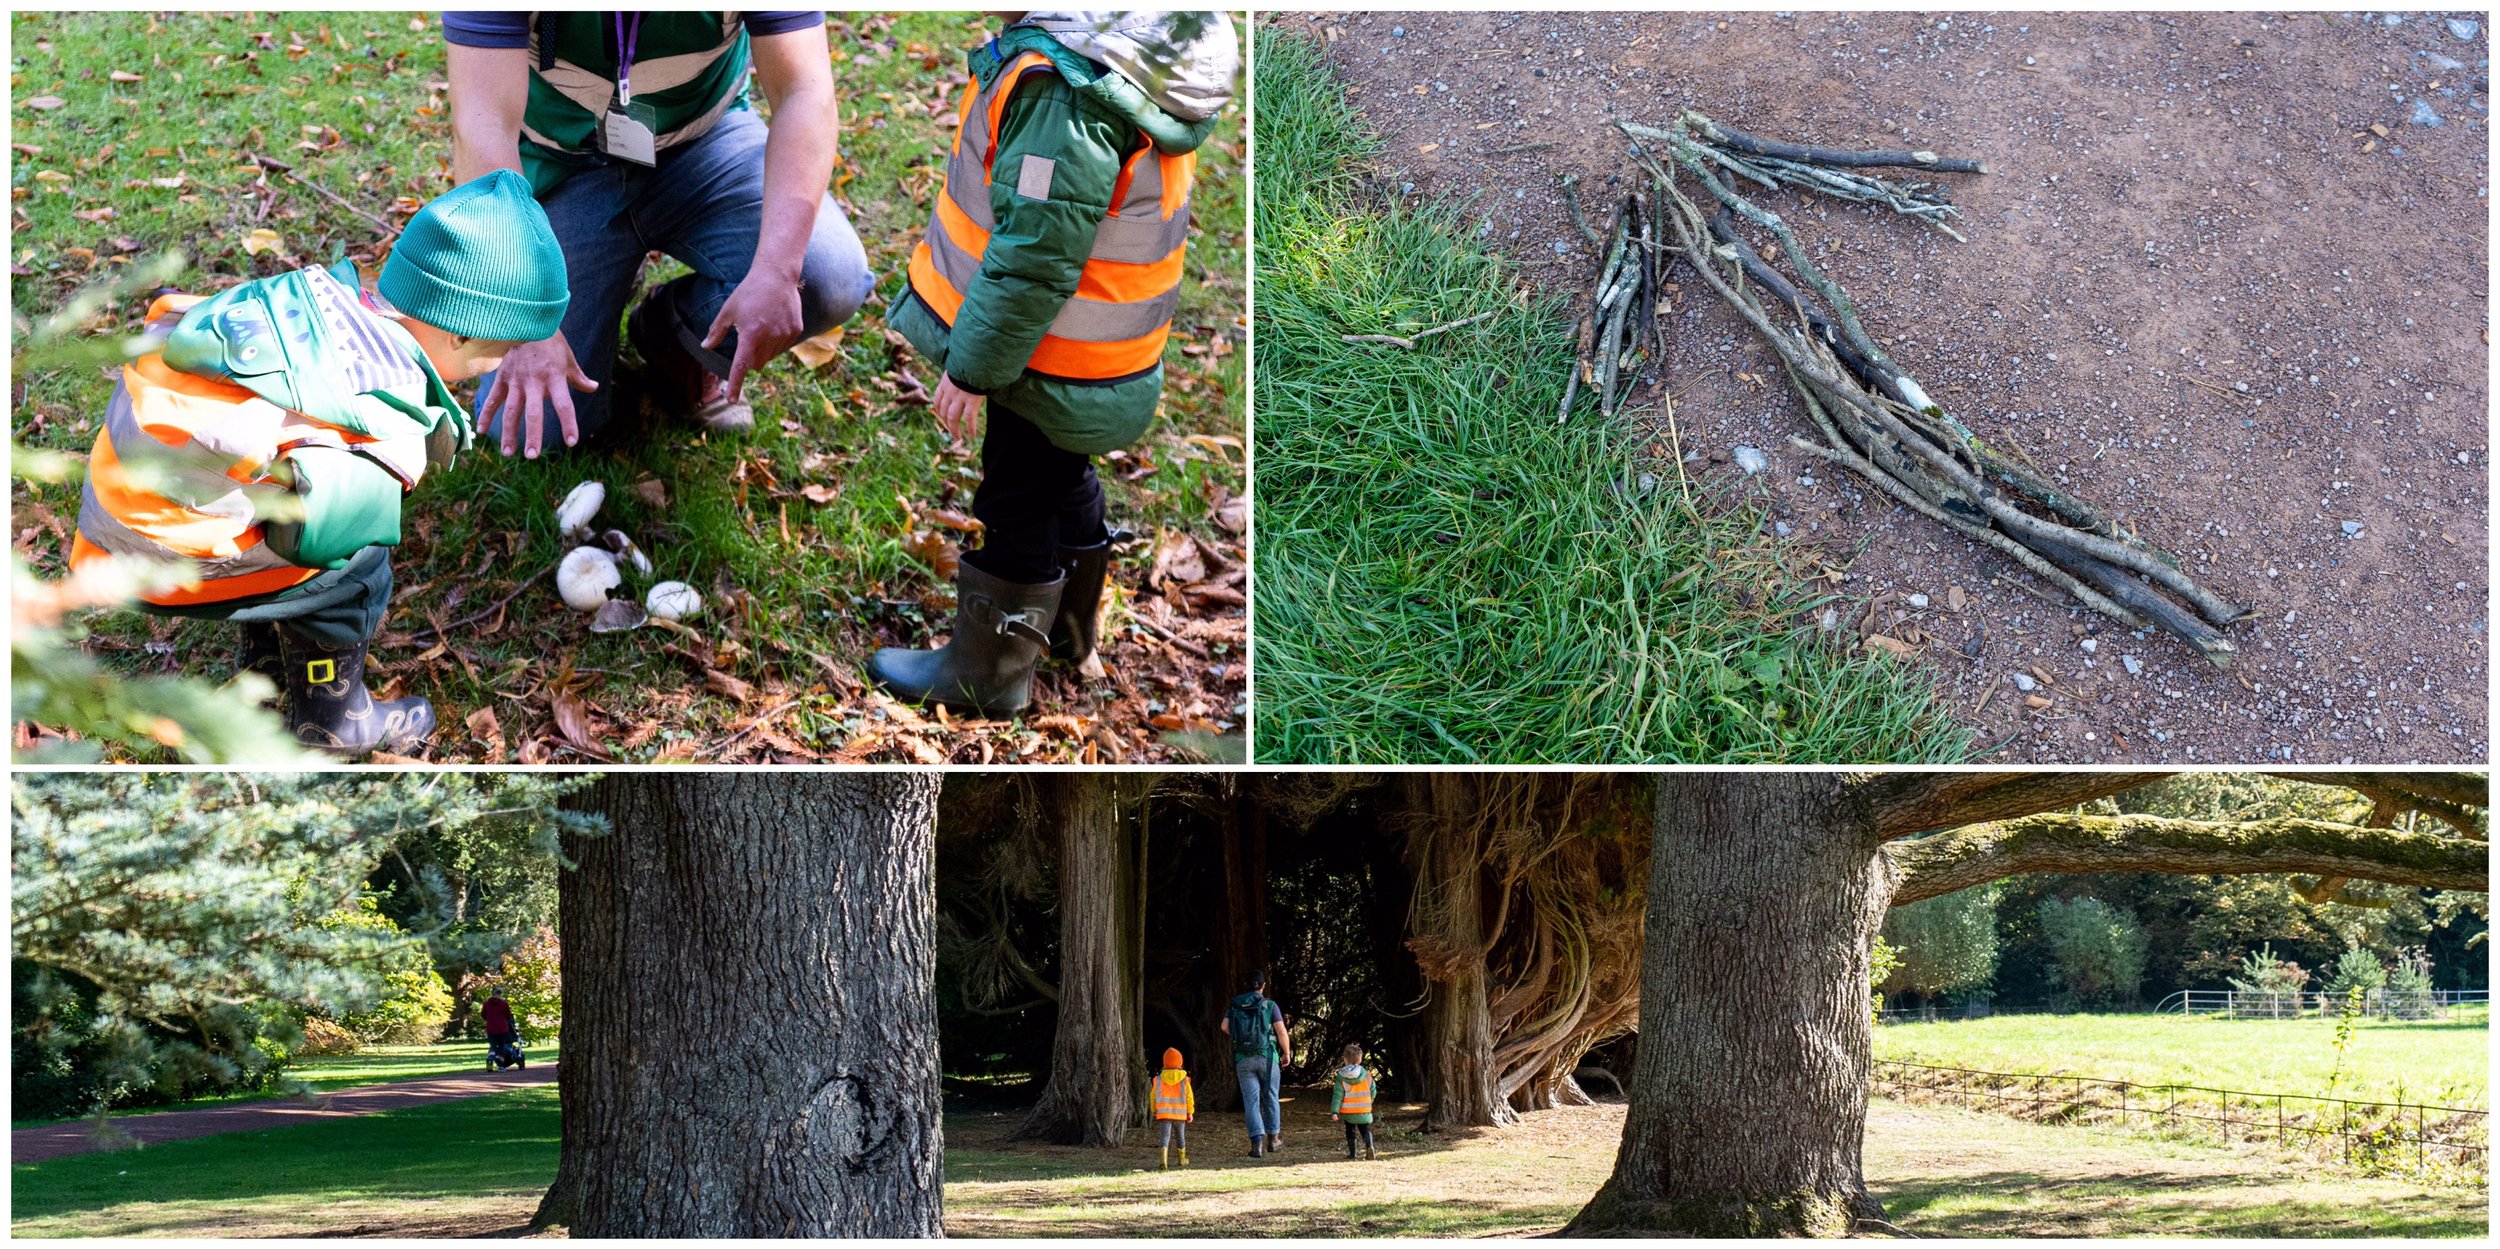
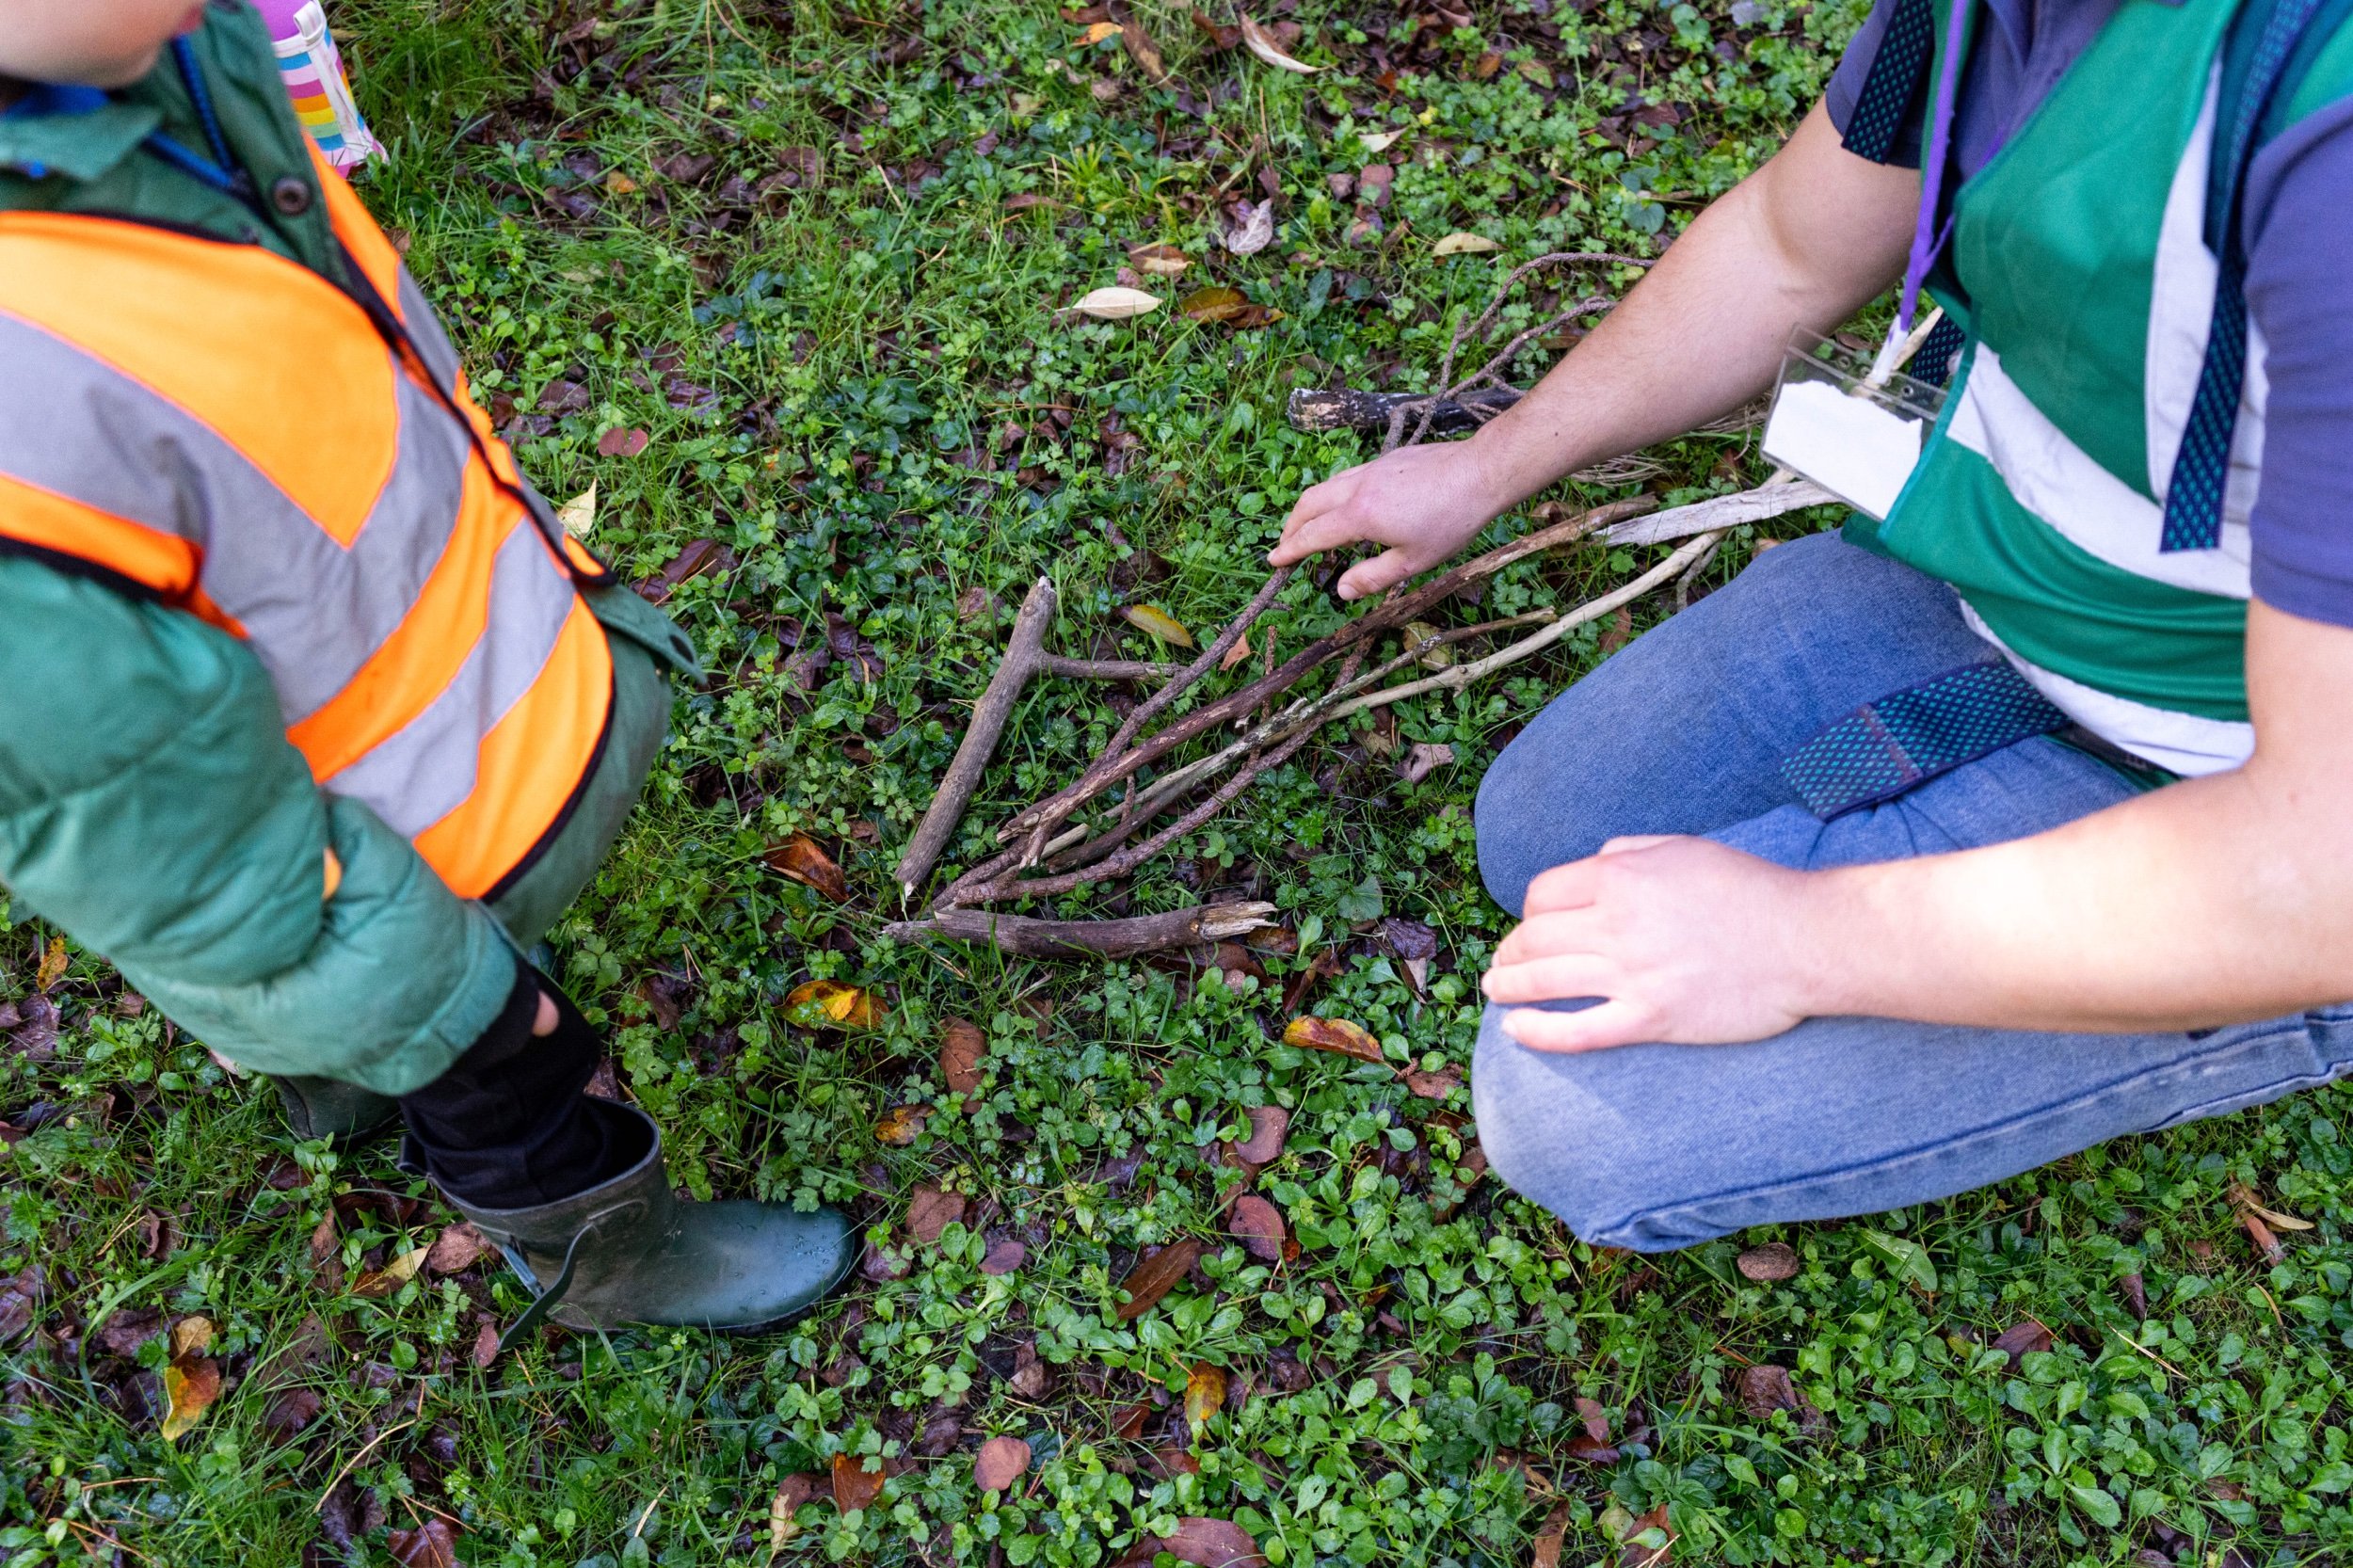
The trip starts at the old arboretum, we go over our three forest school rules “always use your eyes, always use your ears and think about what you put in your mouth” and step through the gateway into the trees. That’s where my planning ends. Recently we’ve had to make stick arrows as trail markers so that people who needed to catch us up can find us, the children gathering a range of sticks from nearby and then working out which way the arrow points. As we walk some children break away from the group as they spot something that captures their interest; some mushrooms growing, an old rotten tree stump or a dark tangled space are some of the most common objects of interest. We move with those interests, talk about them then choose a new direction. One child decides which way, a stick arrow is made and off we go!

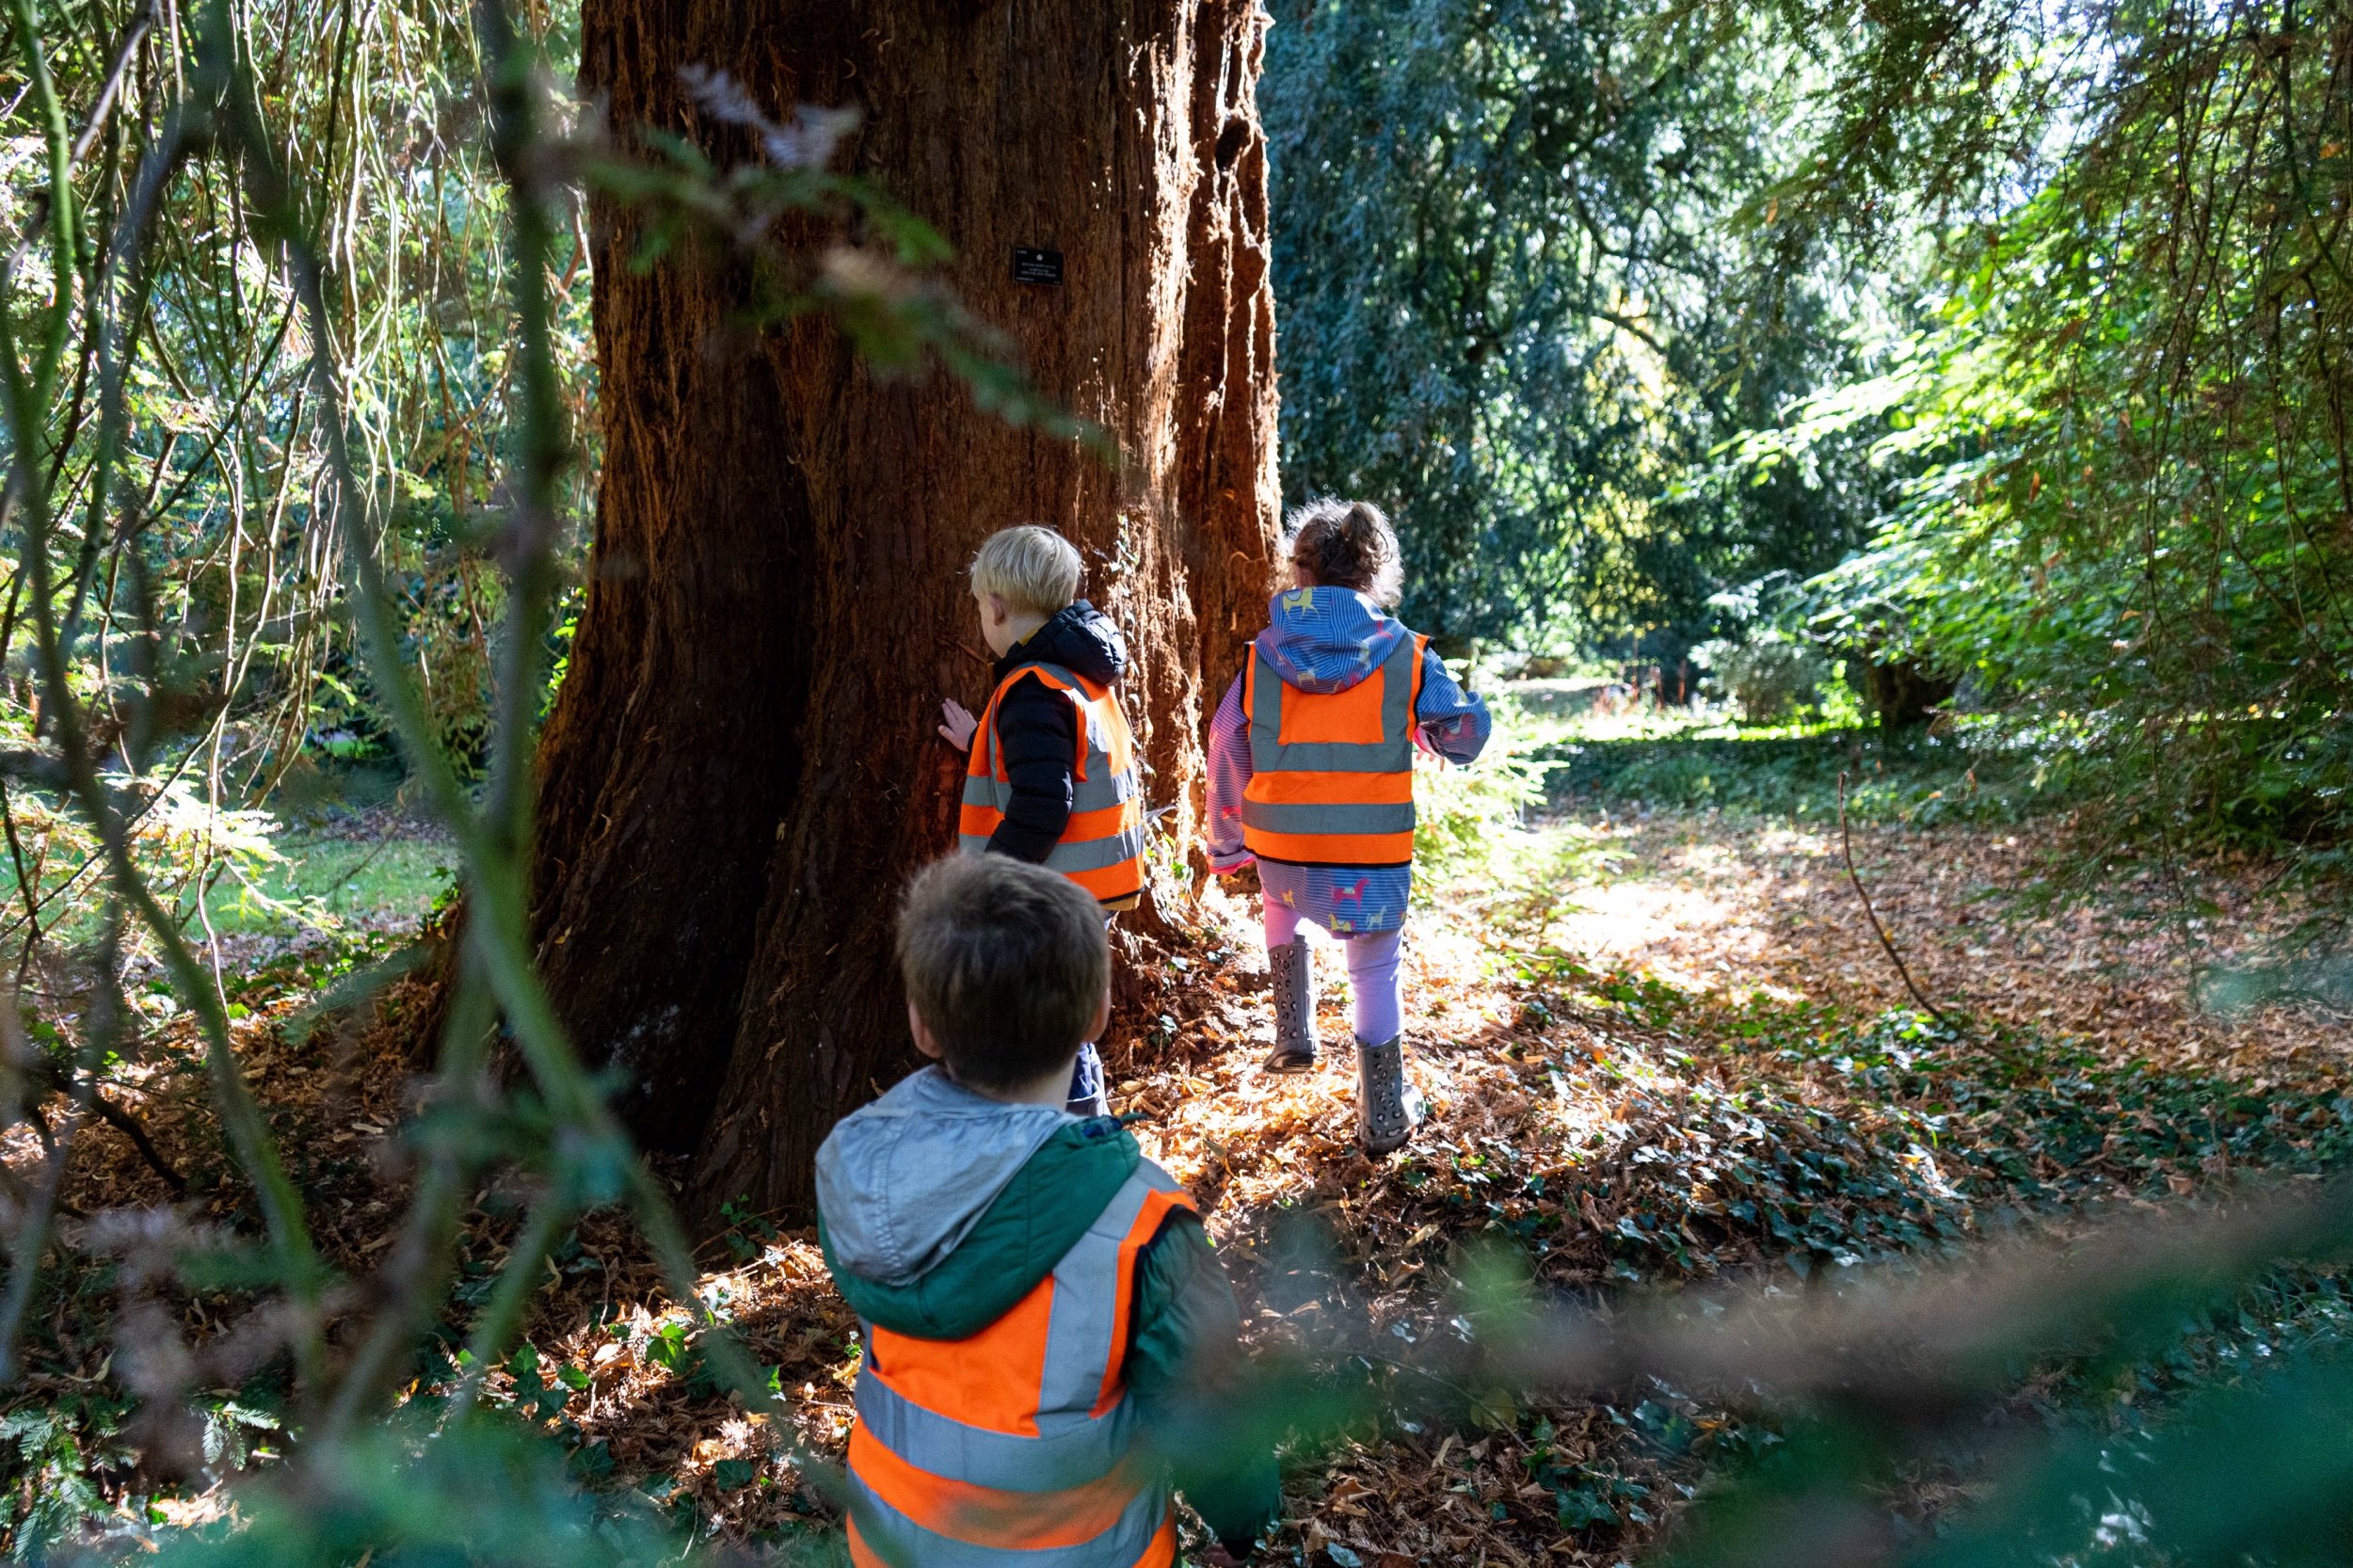
As we get deeper into the trees and tune into the environment the small things become more noticeable. The questions flow out, each one leading us further; “What’s that? Why’s that there? Who’s been here?” There are textures to touch, sounds to hear and plenty of oddities to spot. My role is to try and describe what we’re seeing in a language that the children understand. Not so easy when you’re having to explain a burr on a tree but we get there! There are also the signs that we are not alone in the woods; animal droppings, molehills and tracks, half chewed shells scattered beneath trees. Every single one points to what is happening beyond our sight but we are now making it visible.
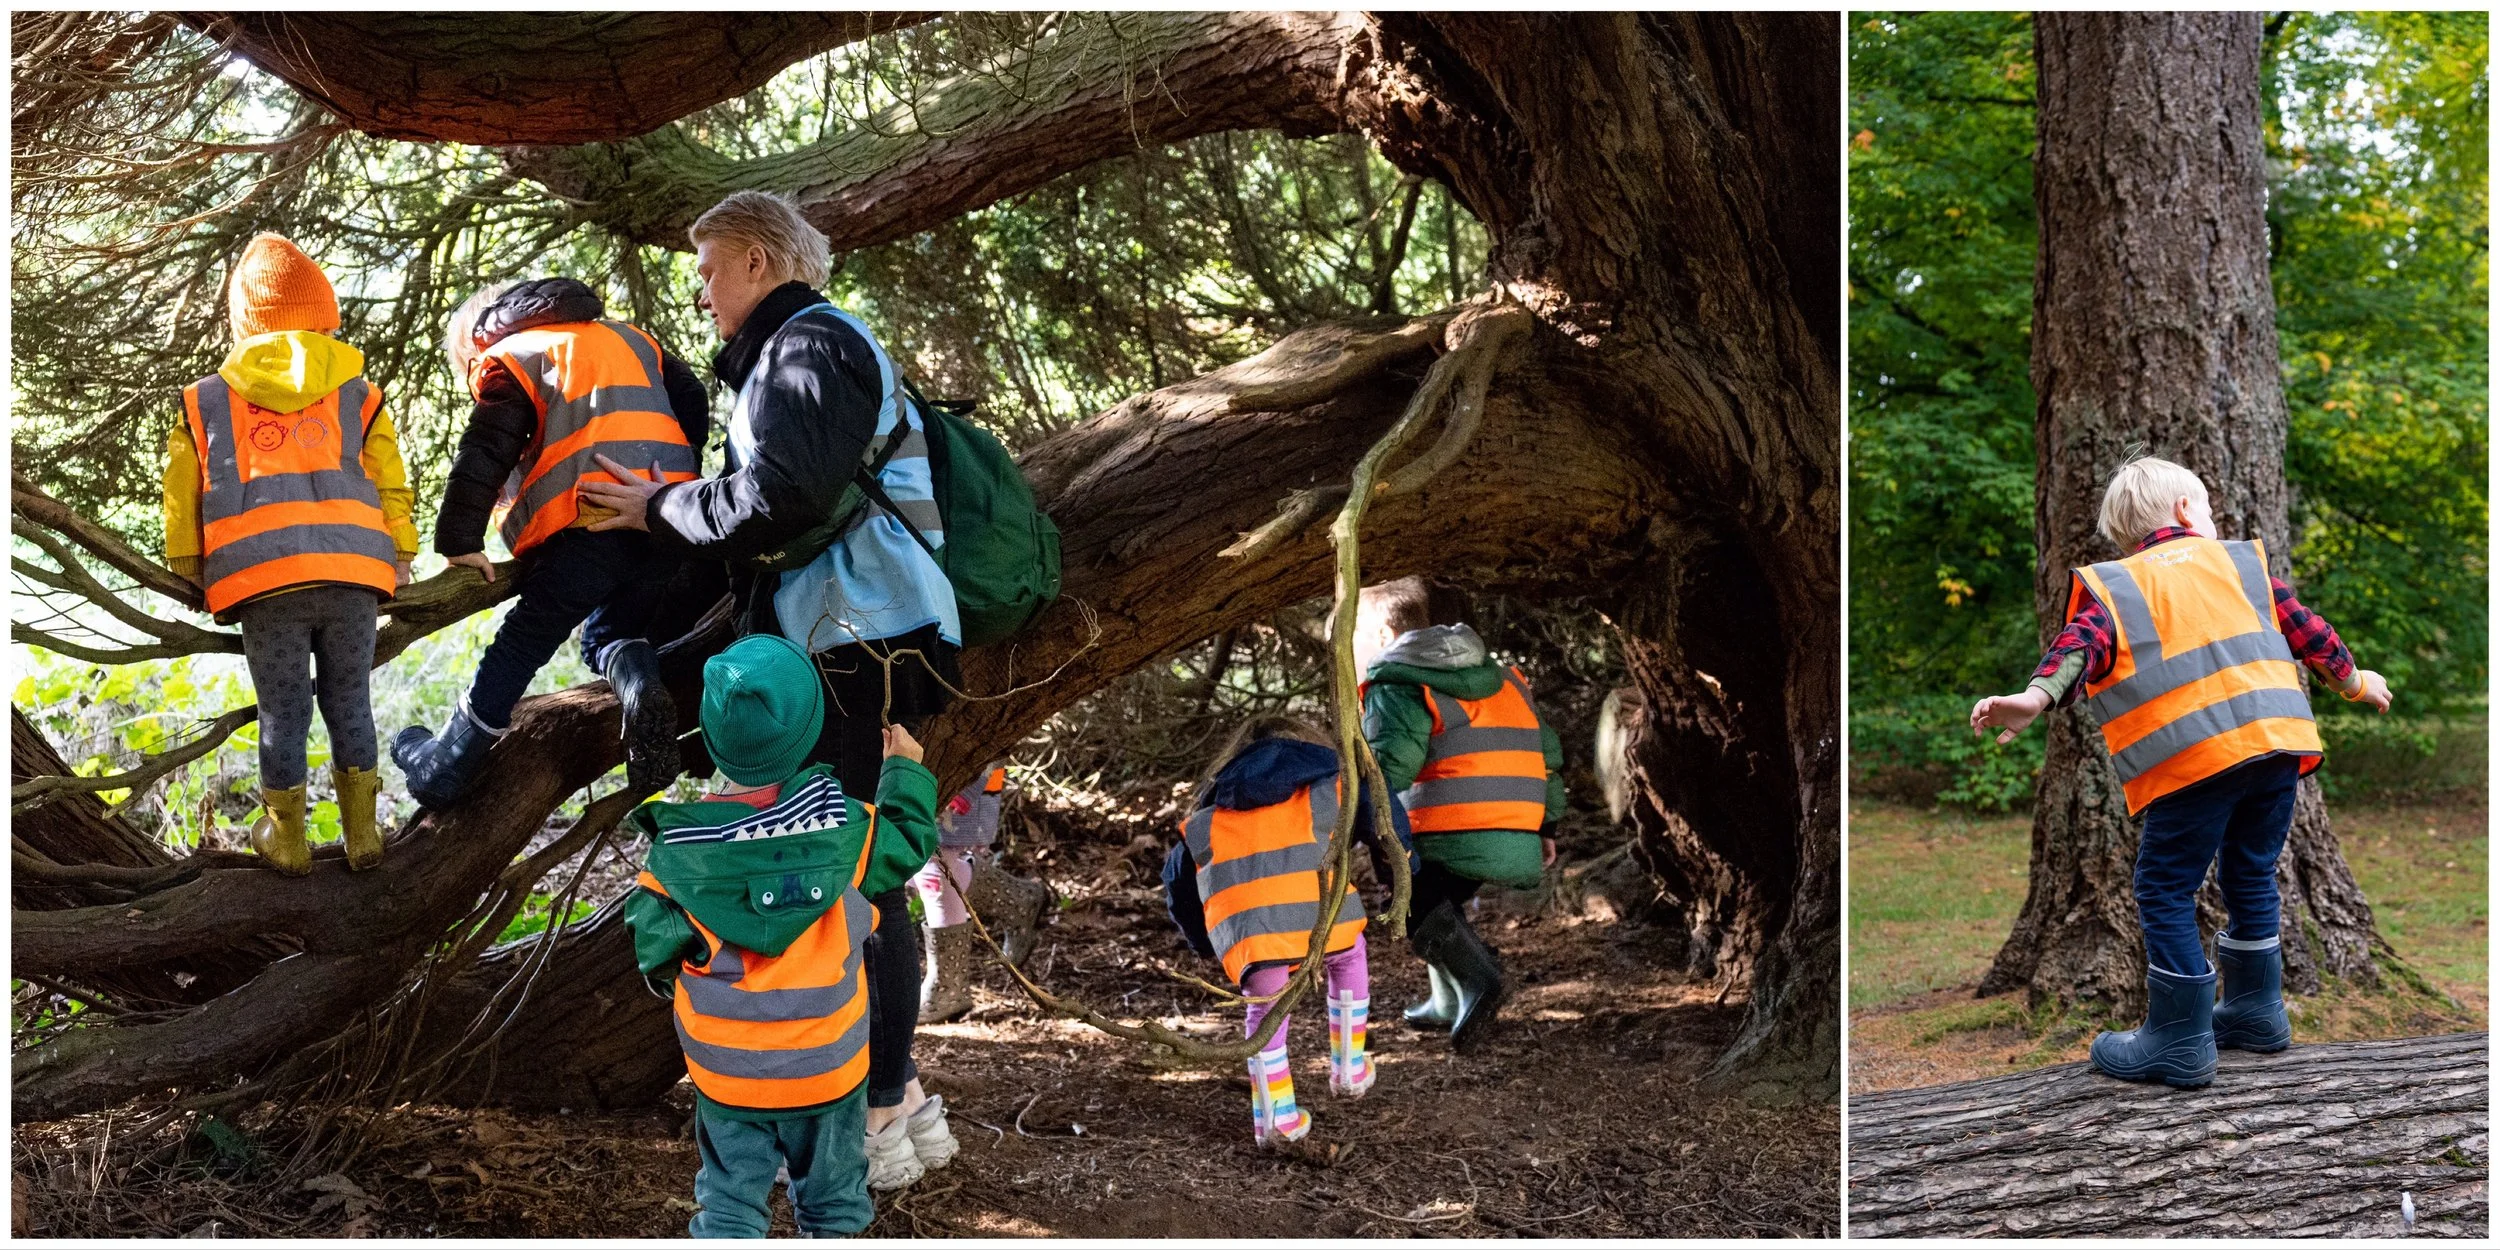
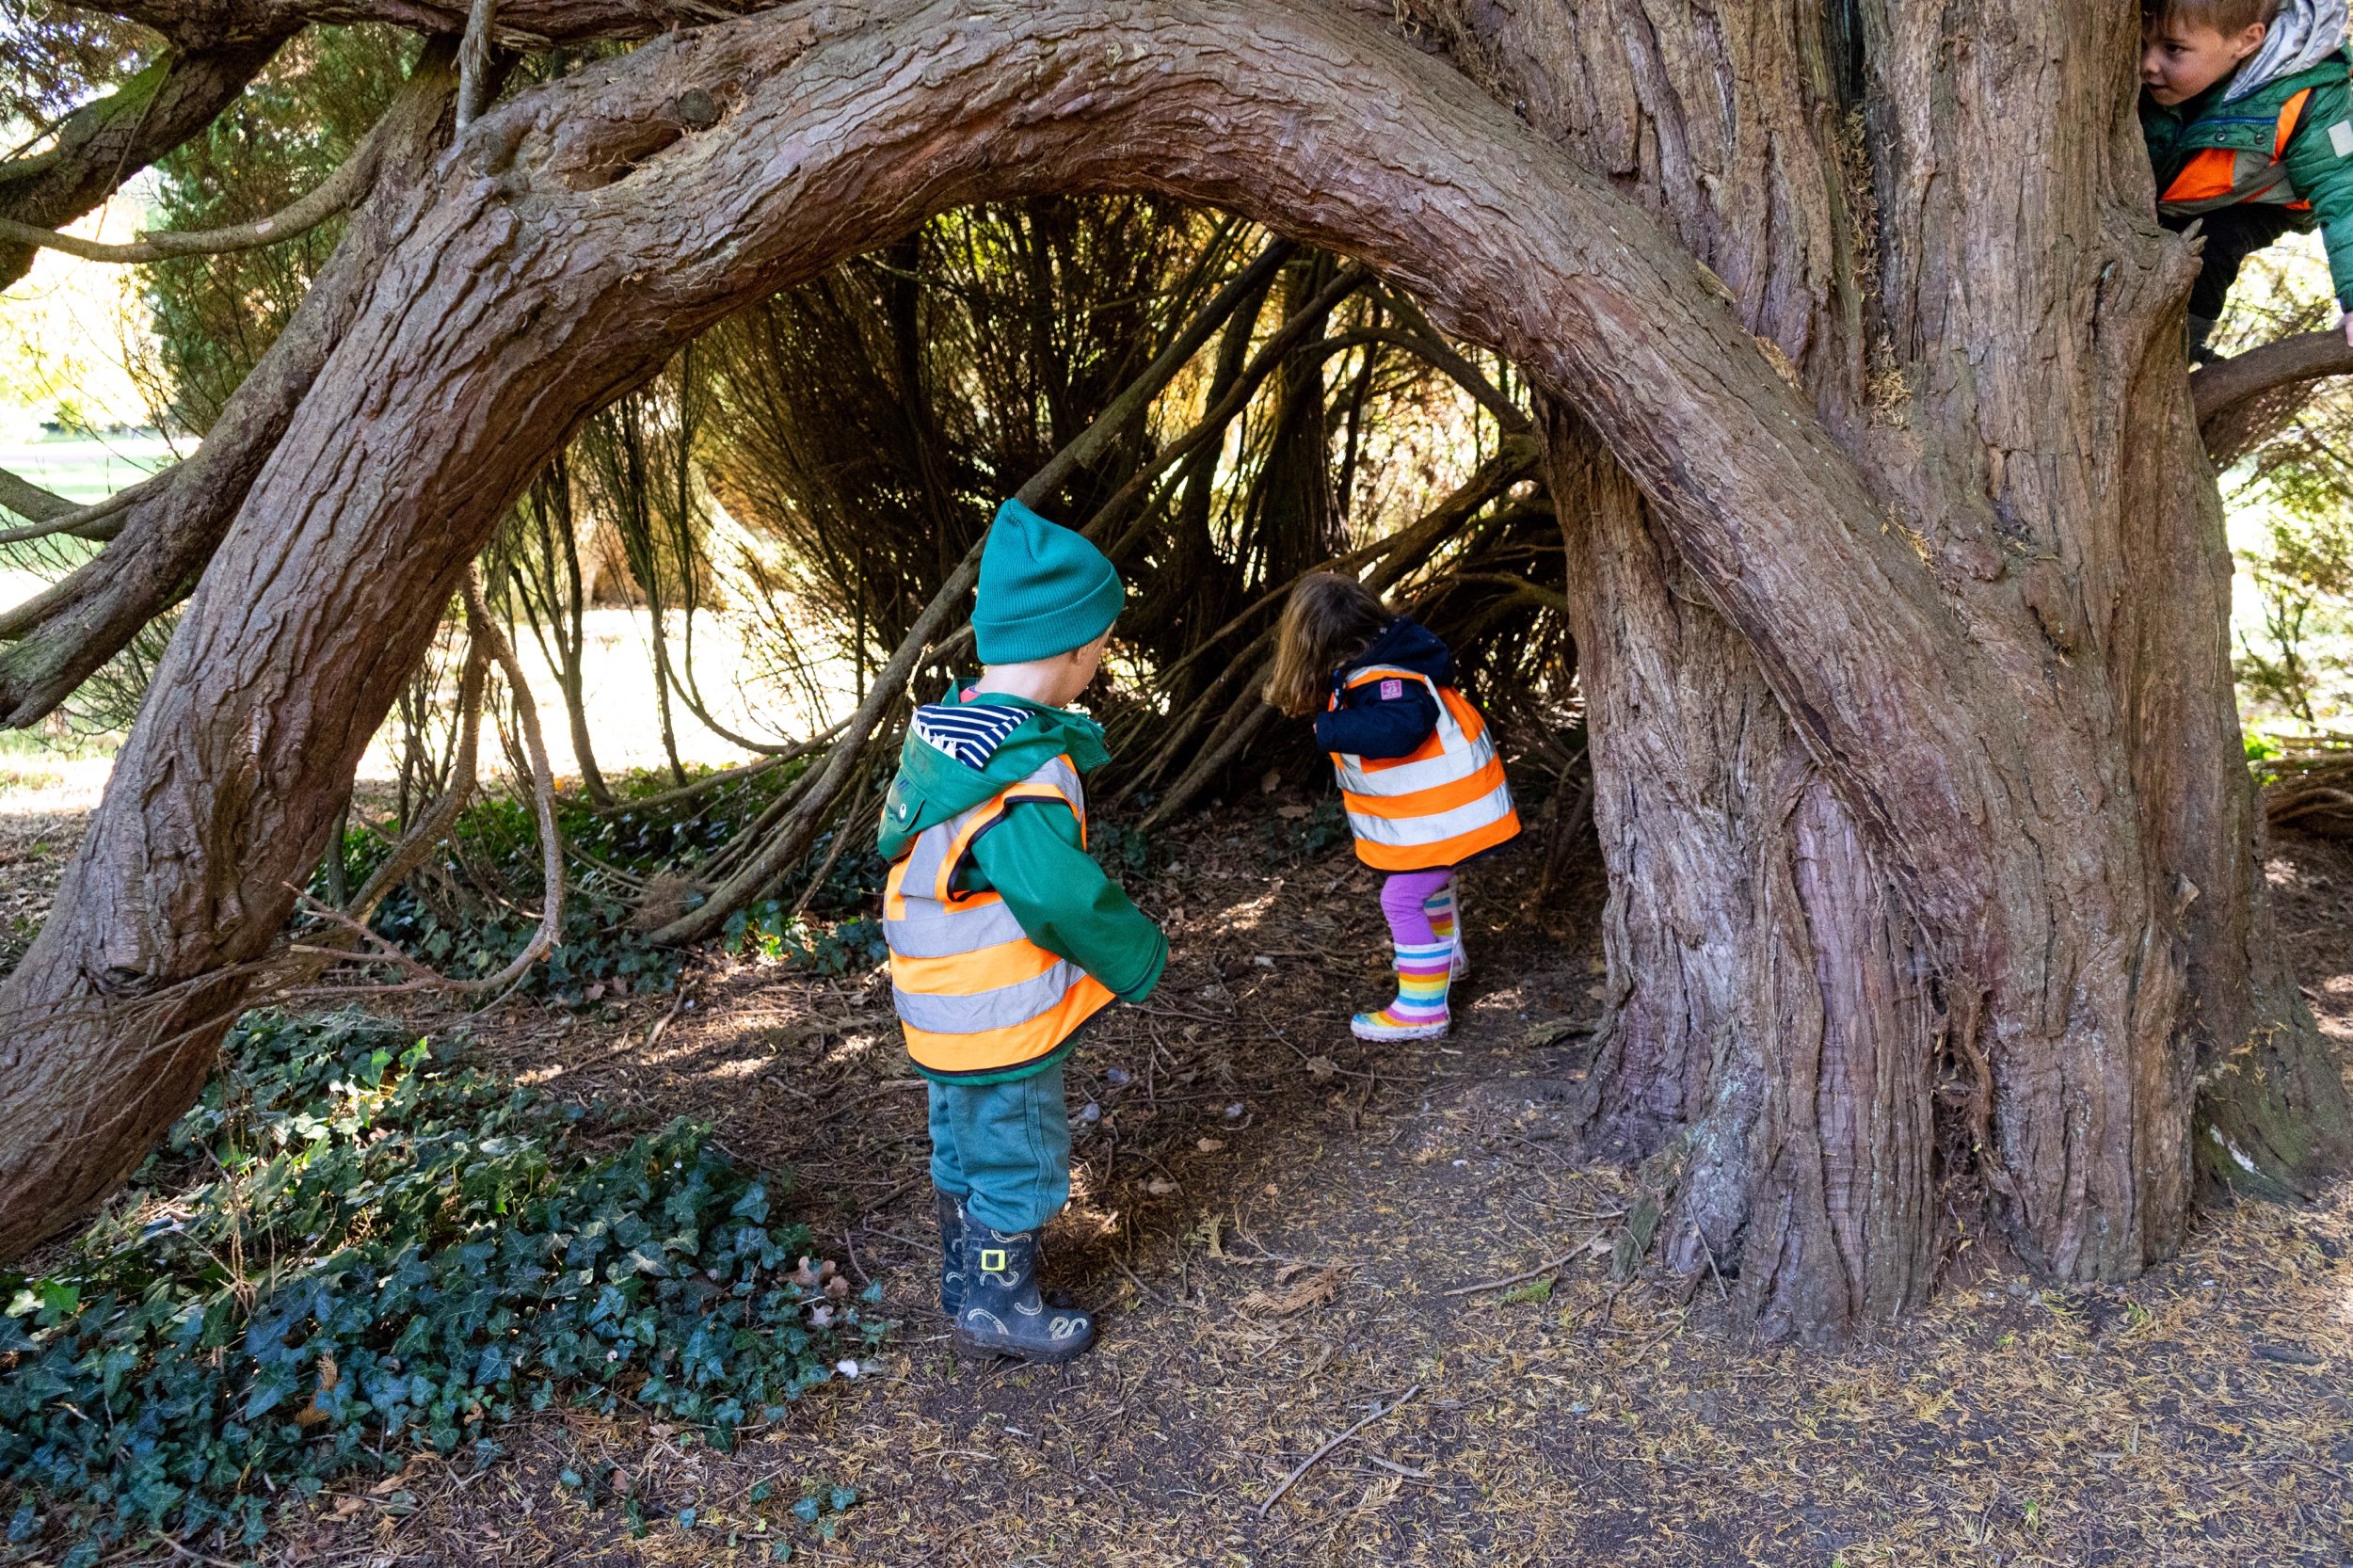
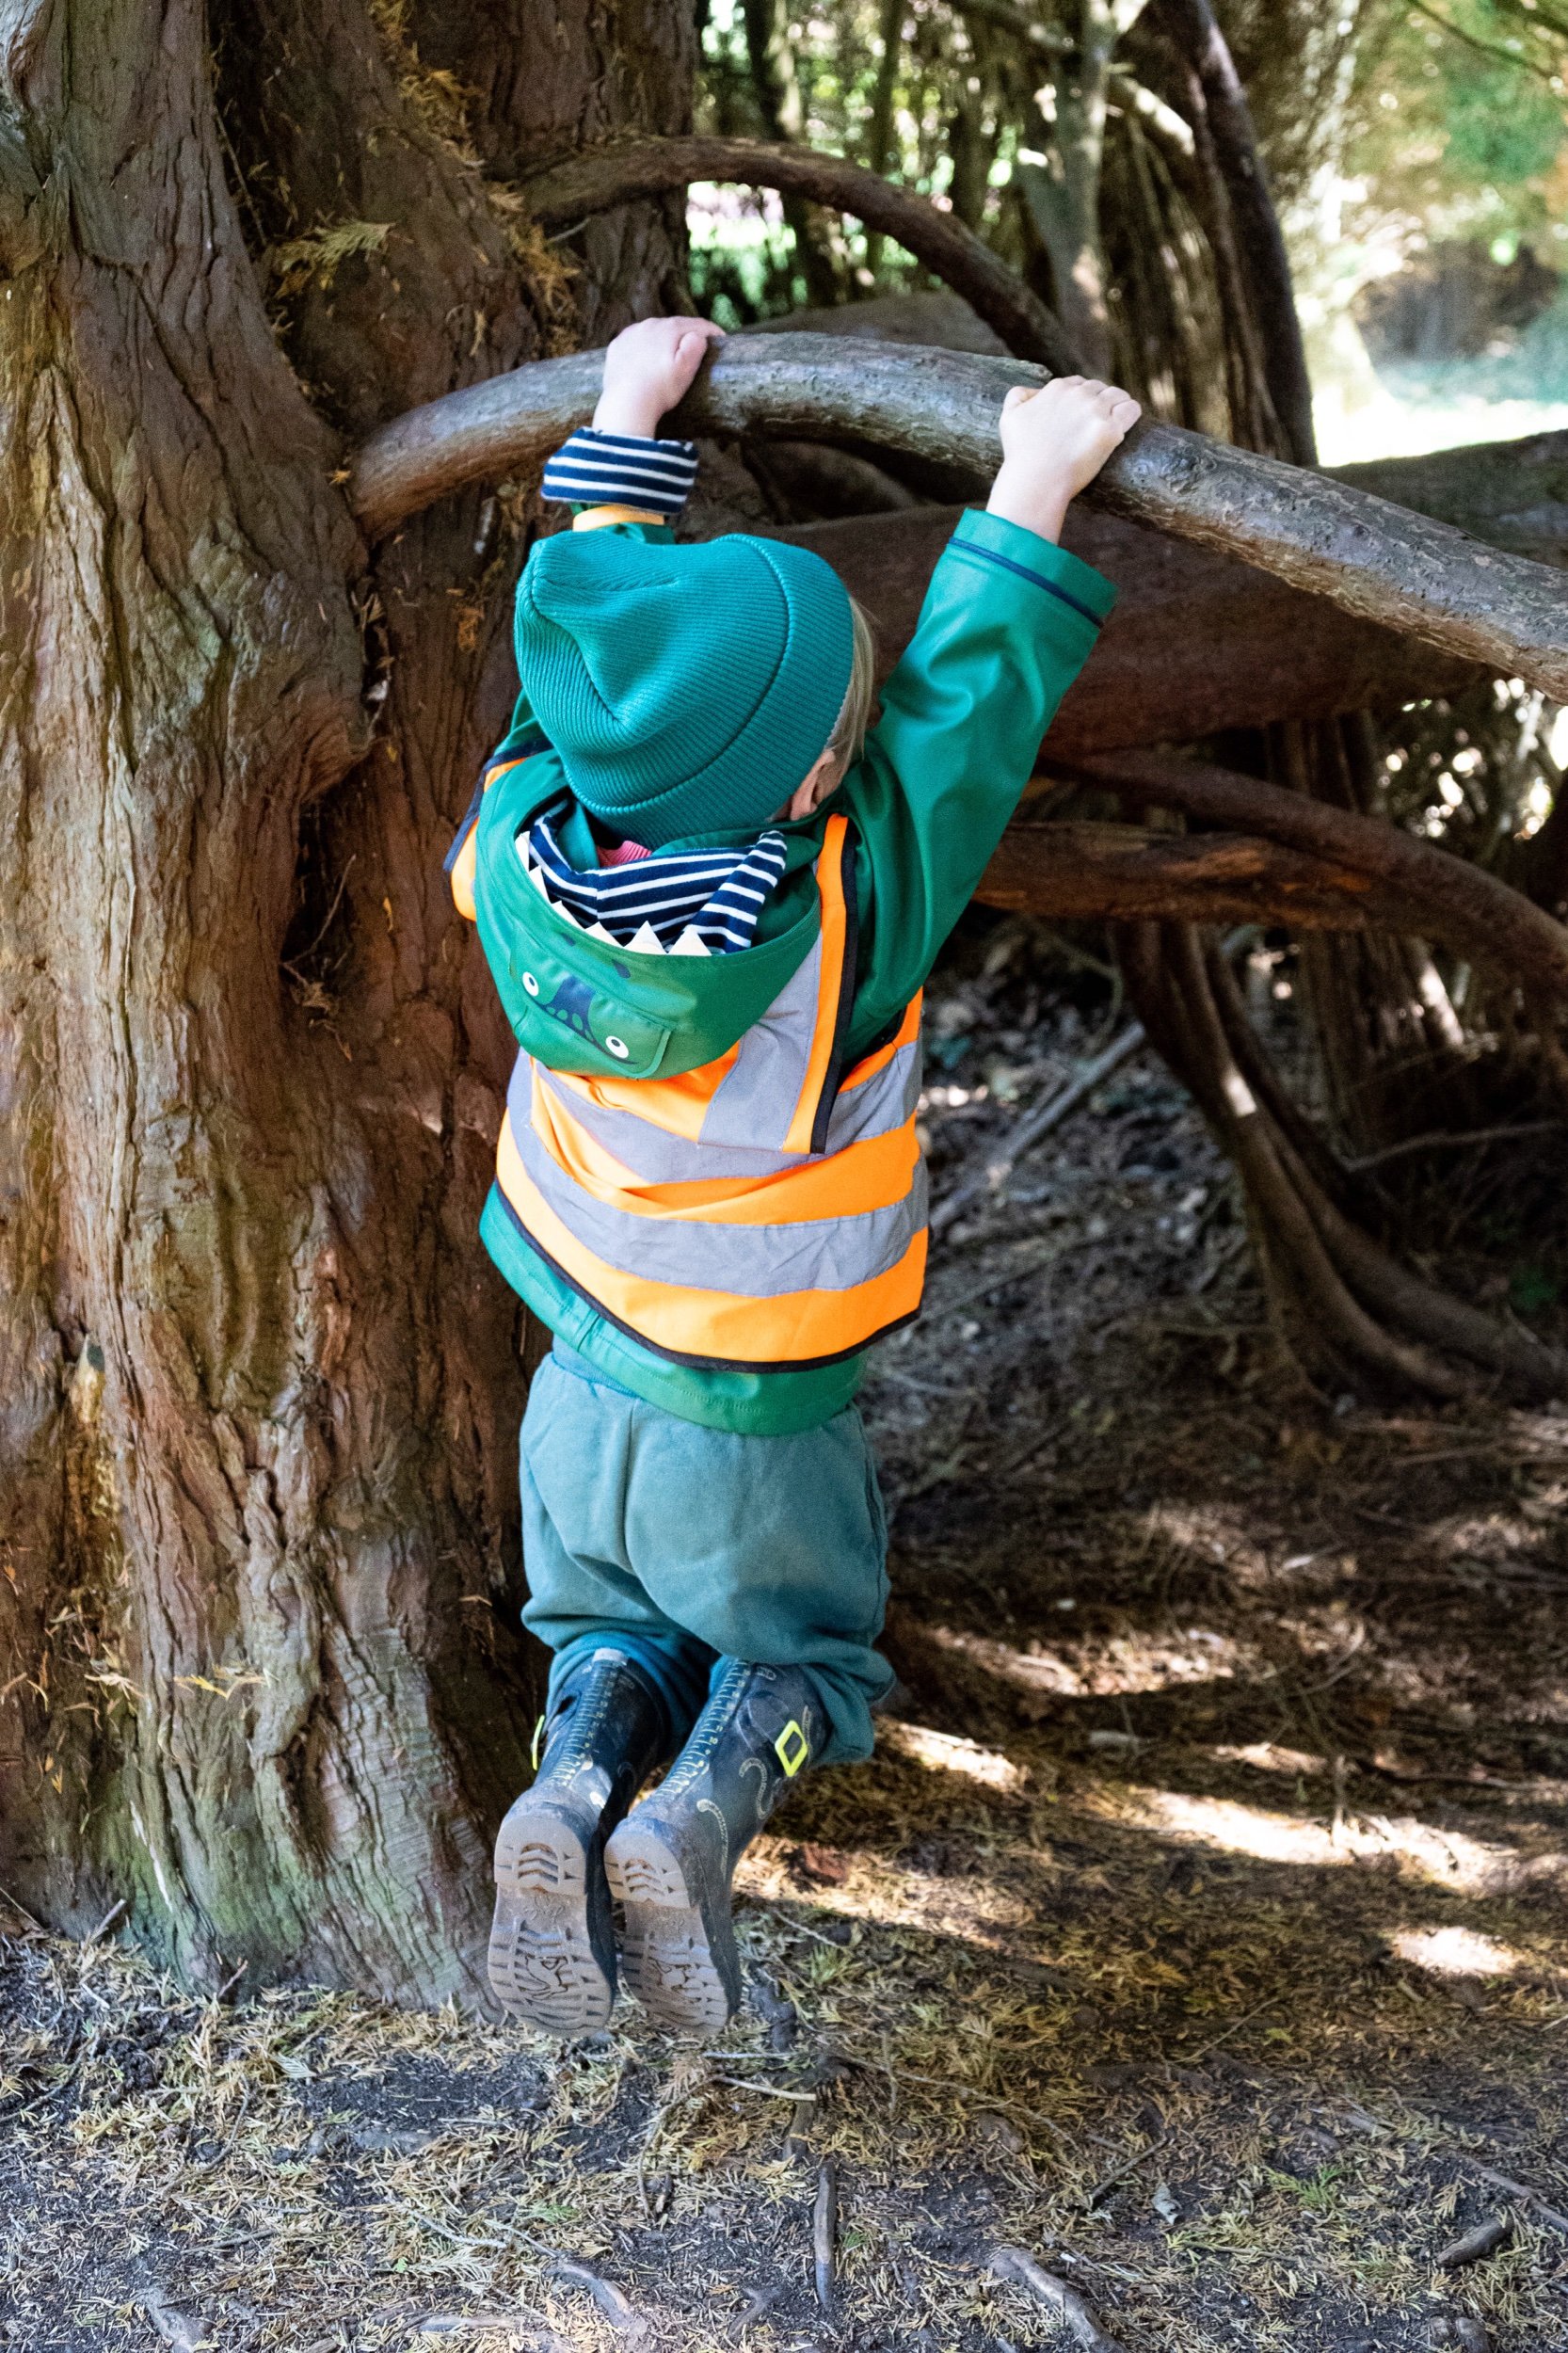
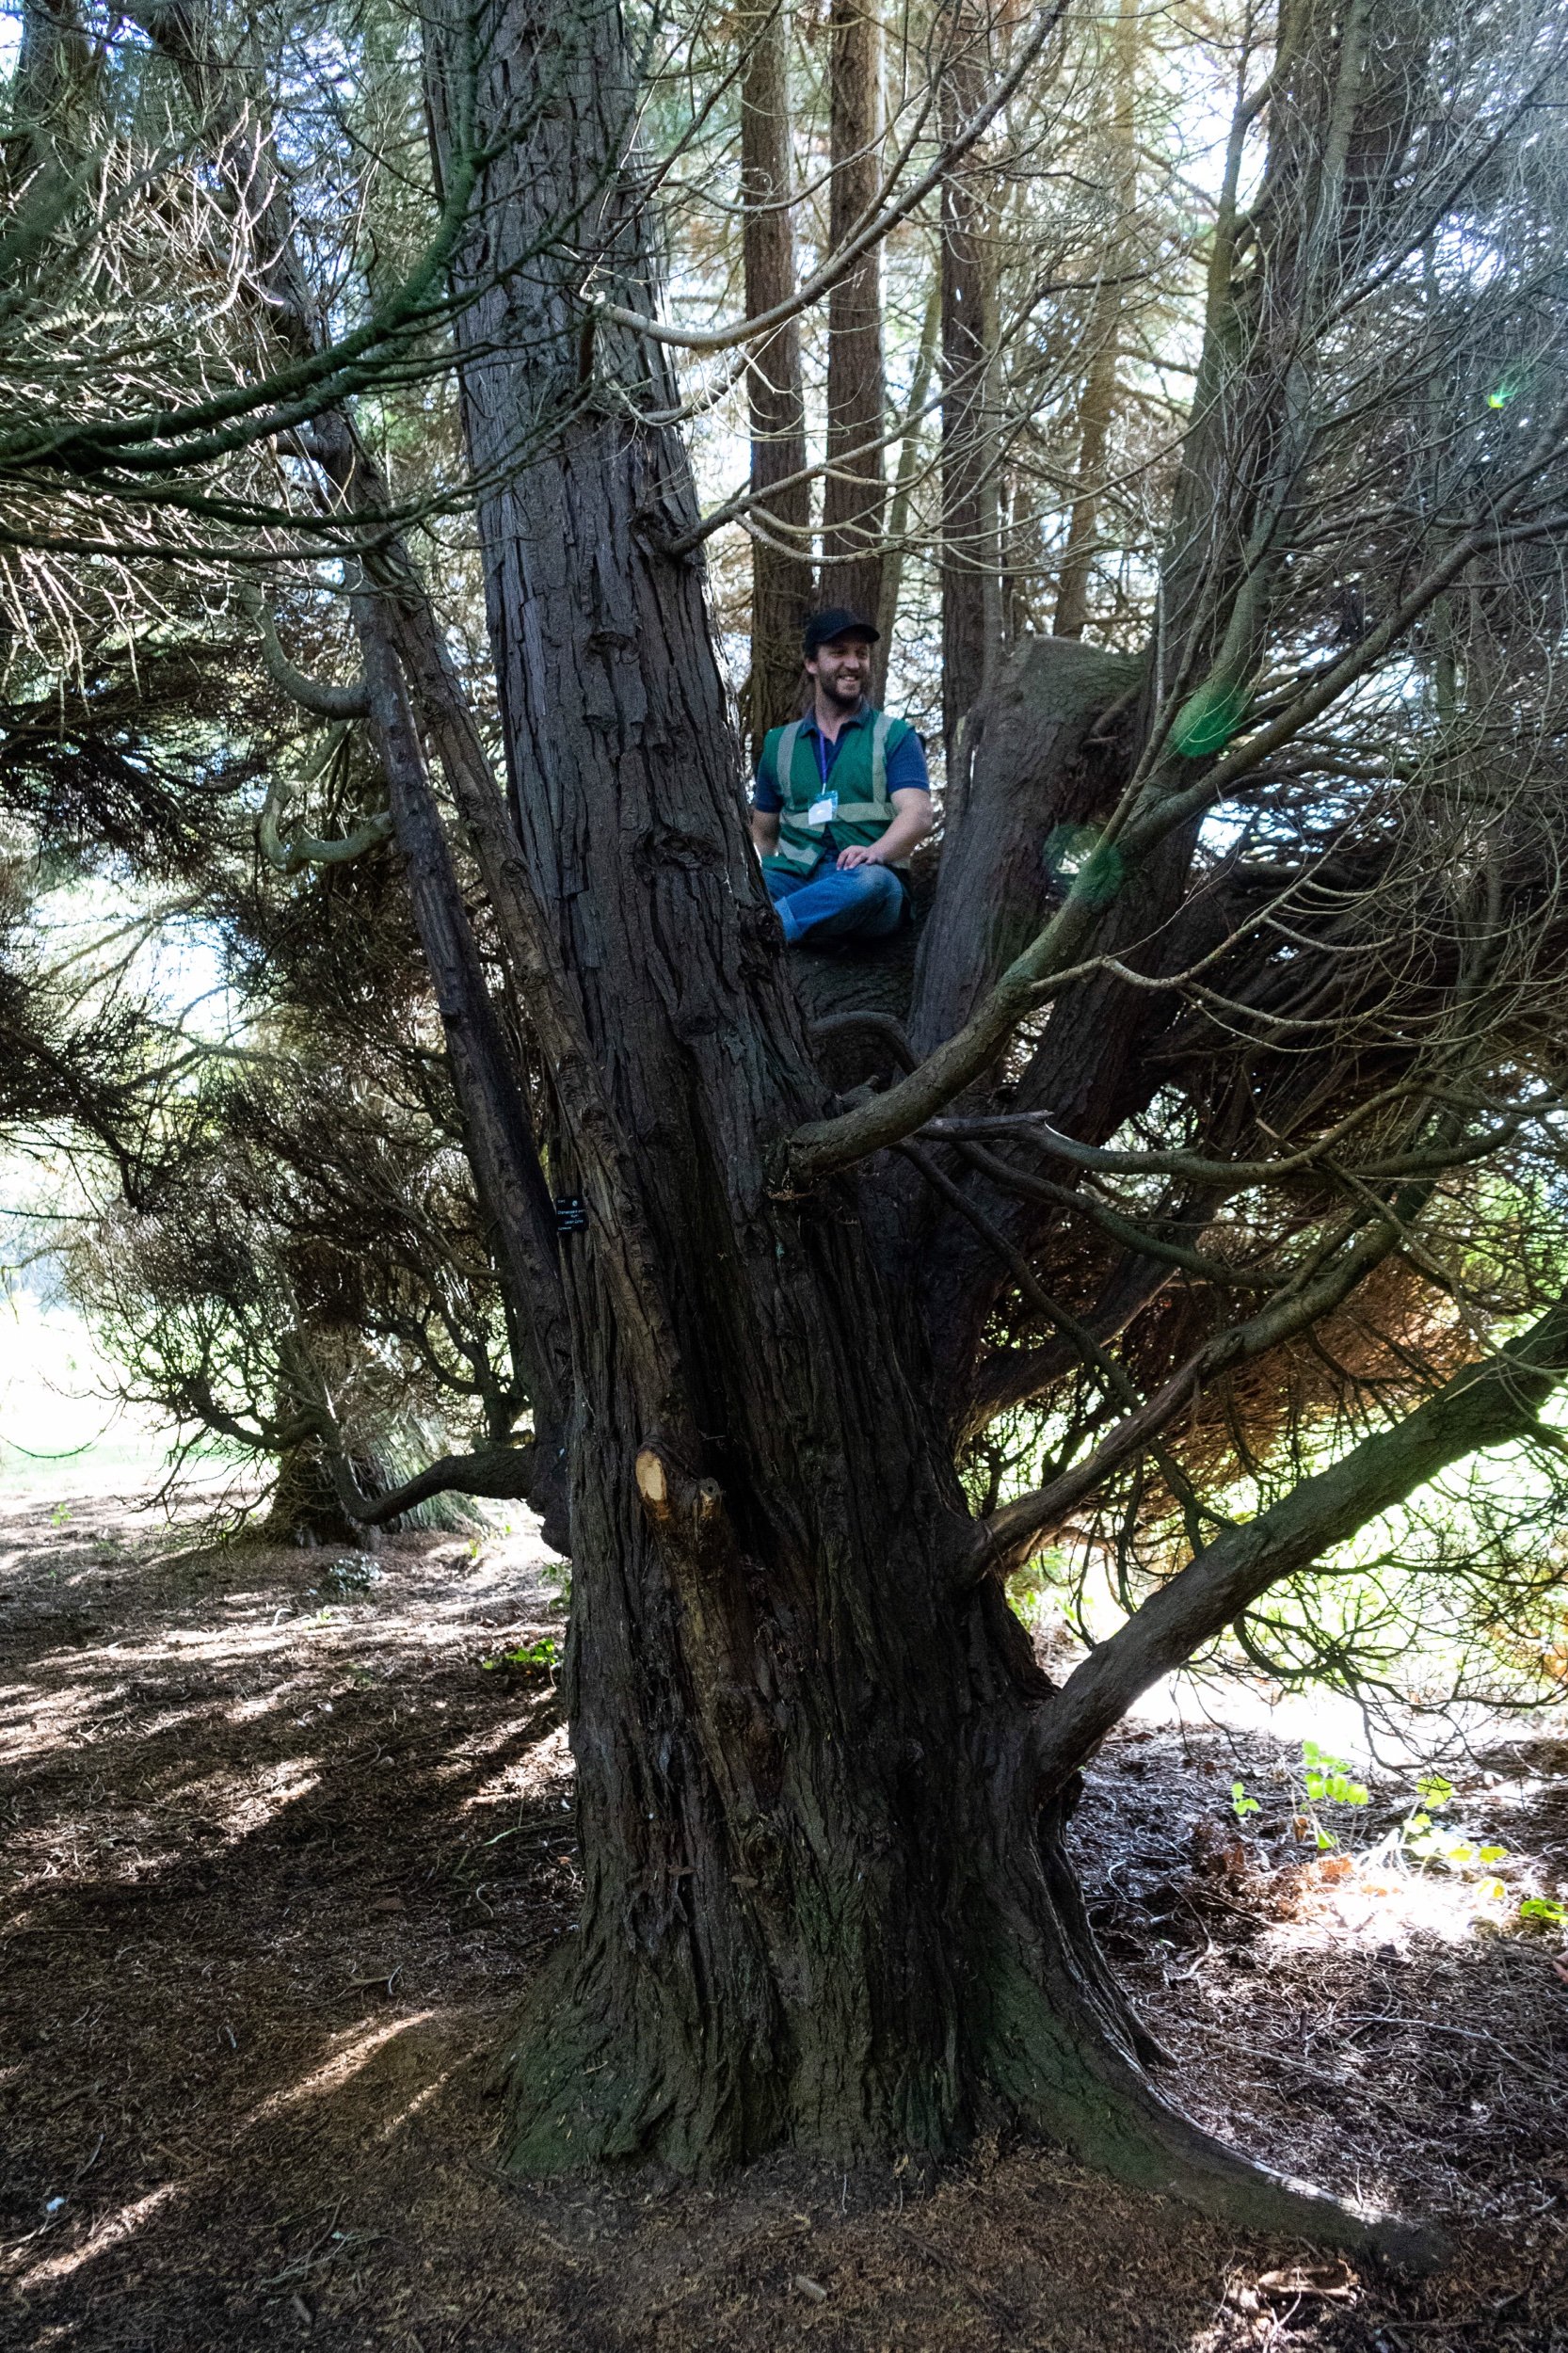
The arboretum provides plenty of physical challenges as well, the mature Lawson Cypress’ have ornate and sometimes bizarrely curving branches that seem to call out for a scramble. Each child gets to say where they feel confident climbing to and we are there to support (either verbally or physically) to help them achieve their aims. Even being a few feet up can seem to a three year old like reaching the tree tops and every victory is to be celebrated.

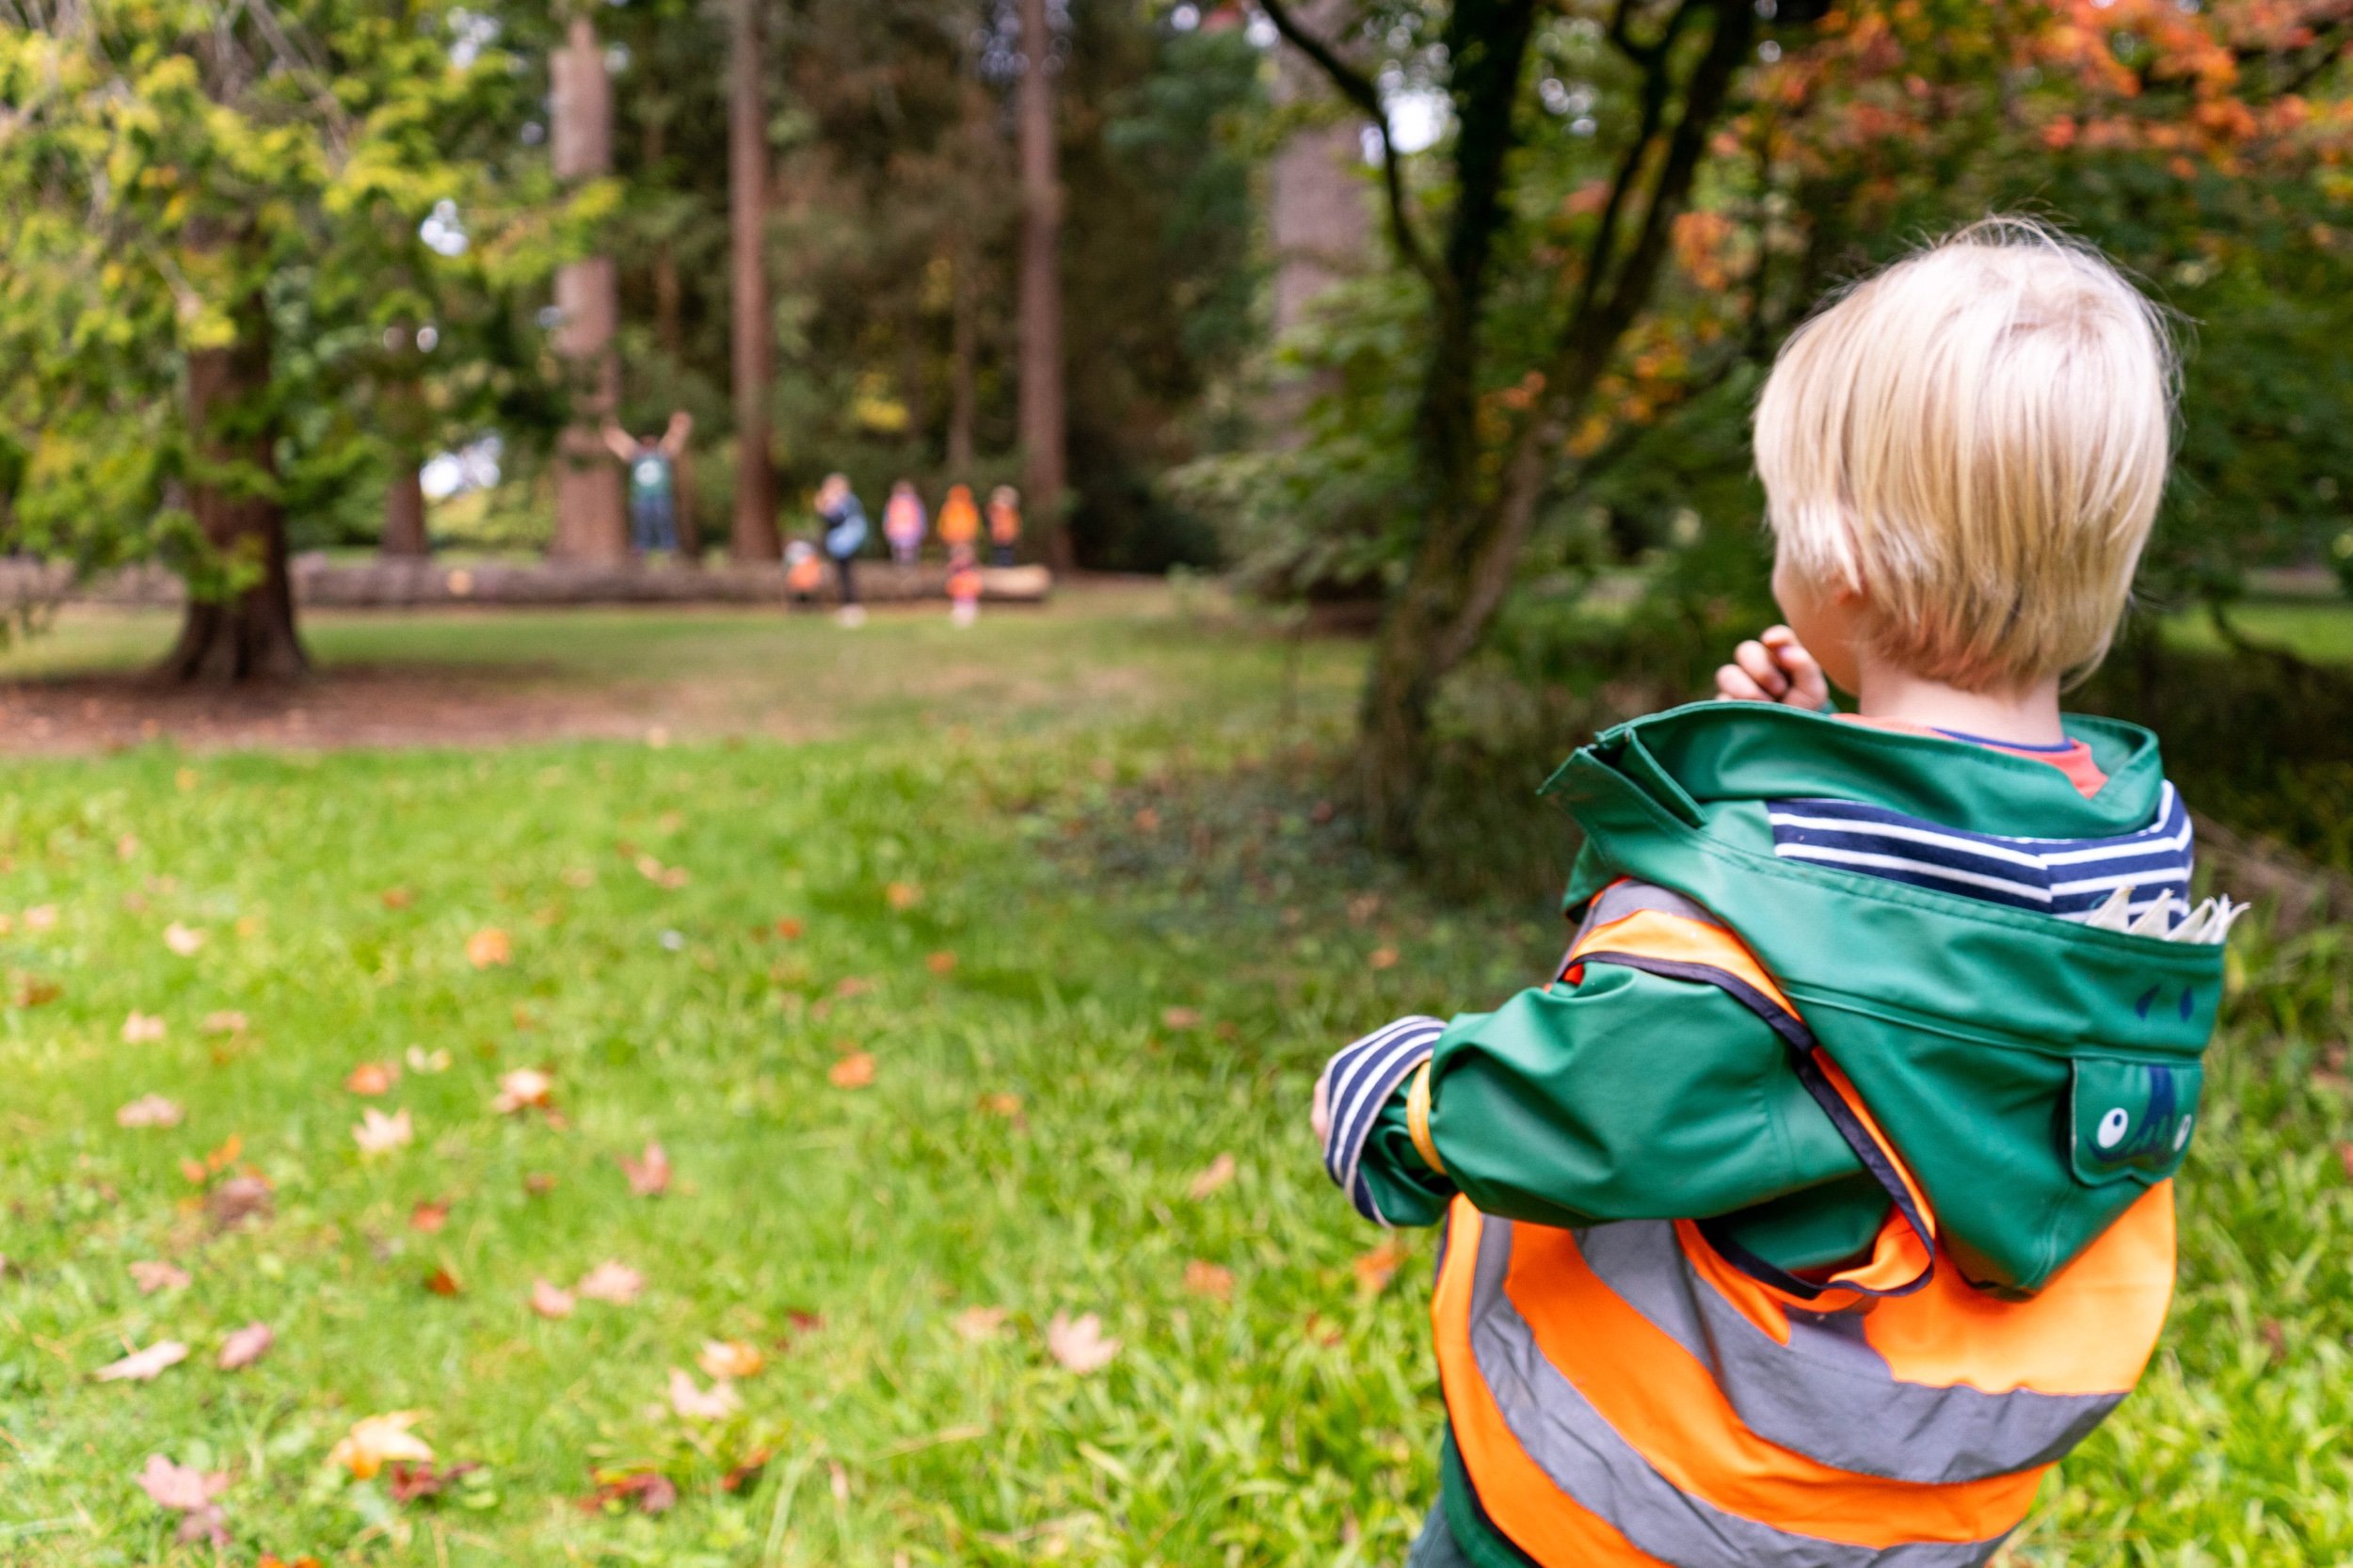
On every trip there’s always a range of children, those that want to sprint ahead and those that like to take things slowly. Some that relish the new and unknown and others that want to be sure before they try. A few that will look at the world that they’re passing and most that want to collect every stick possible. Finding a balance between all those extremes means having few tricks and games up my sleeve. Over the last few sessions we have tried sweeping up all the fallen leaves (quite challenging), catching Linden seeds as they spin down from a tree (very challenging) and of course there’s always a good game of hide and seek.

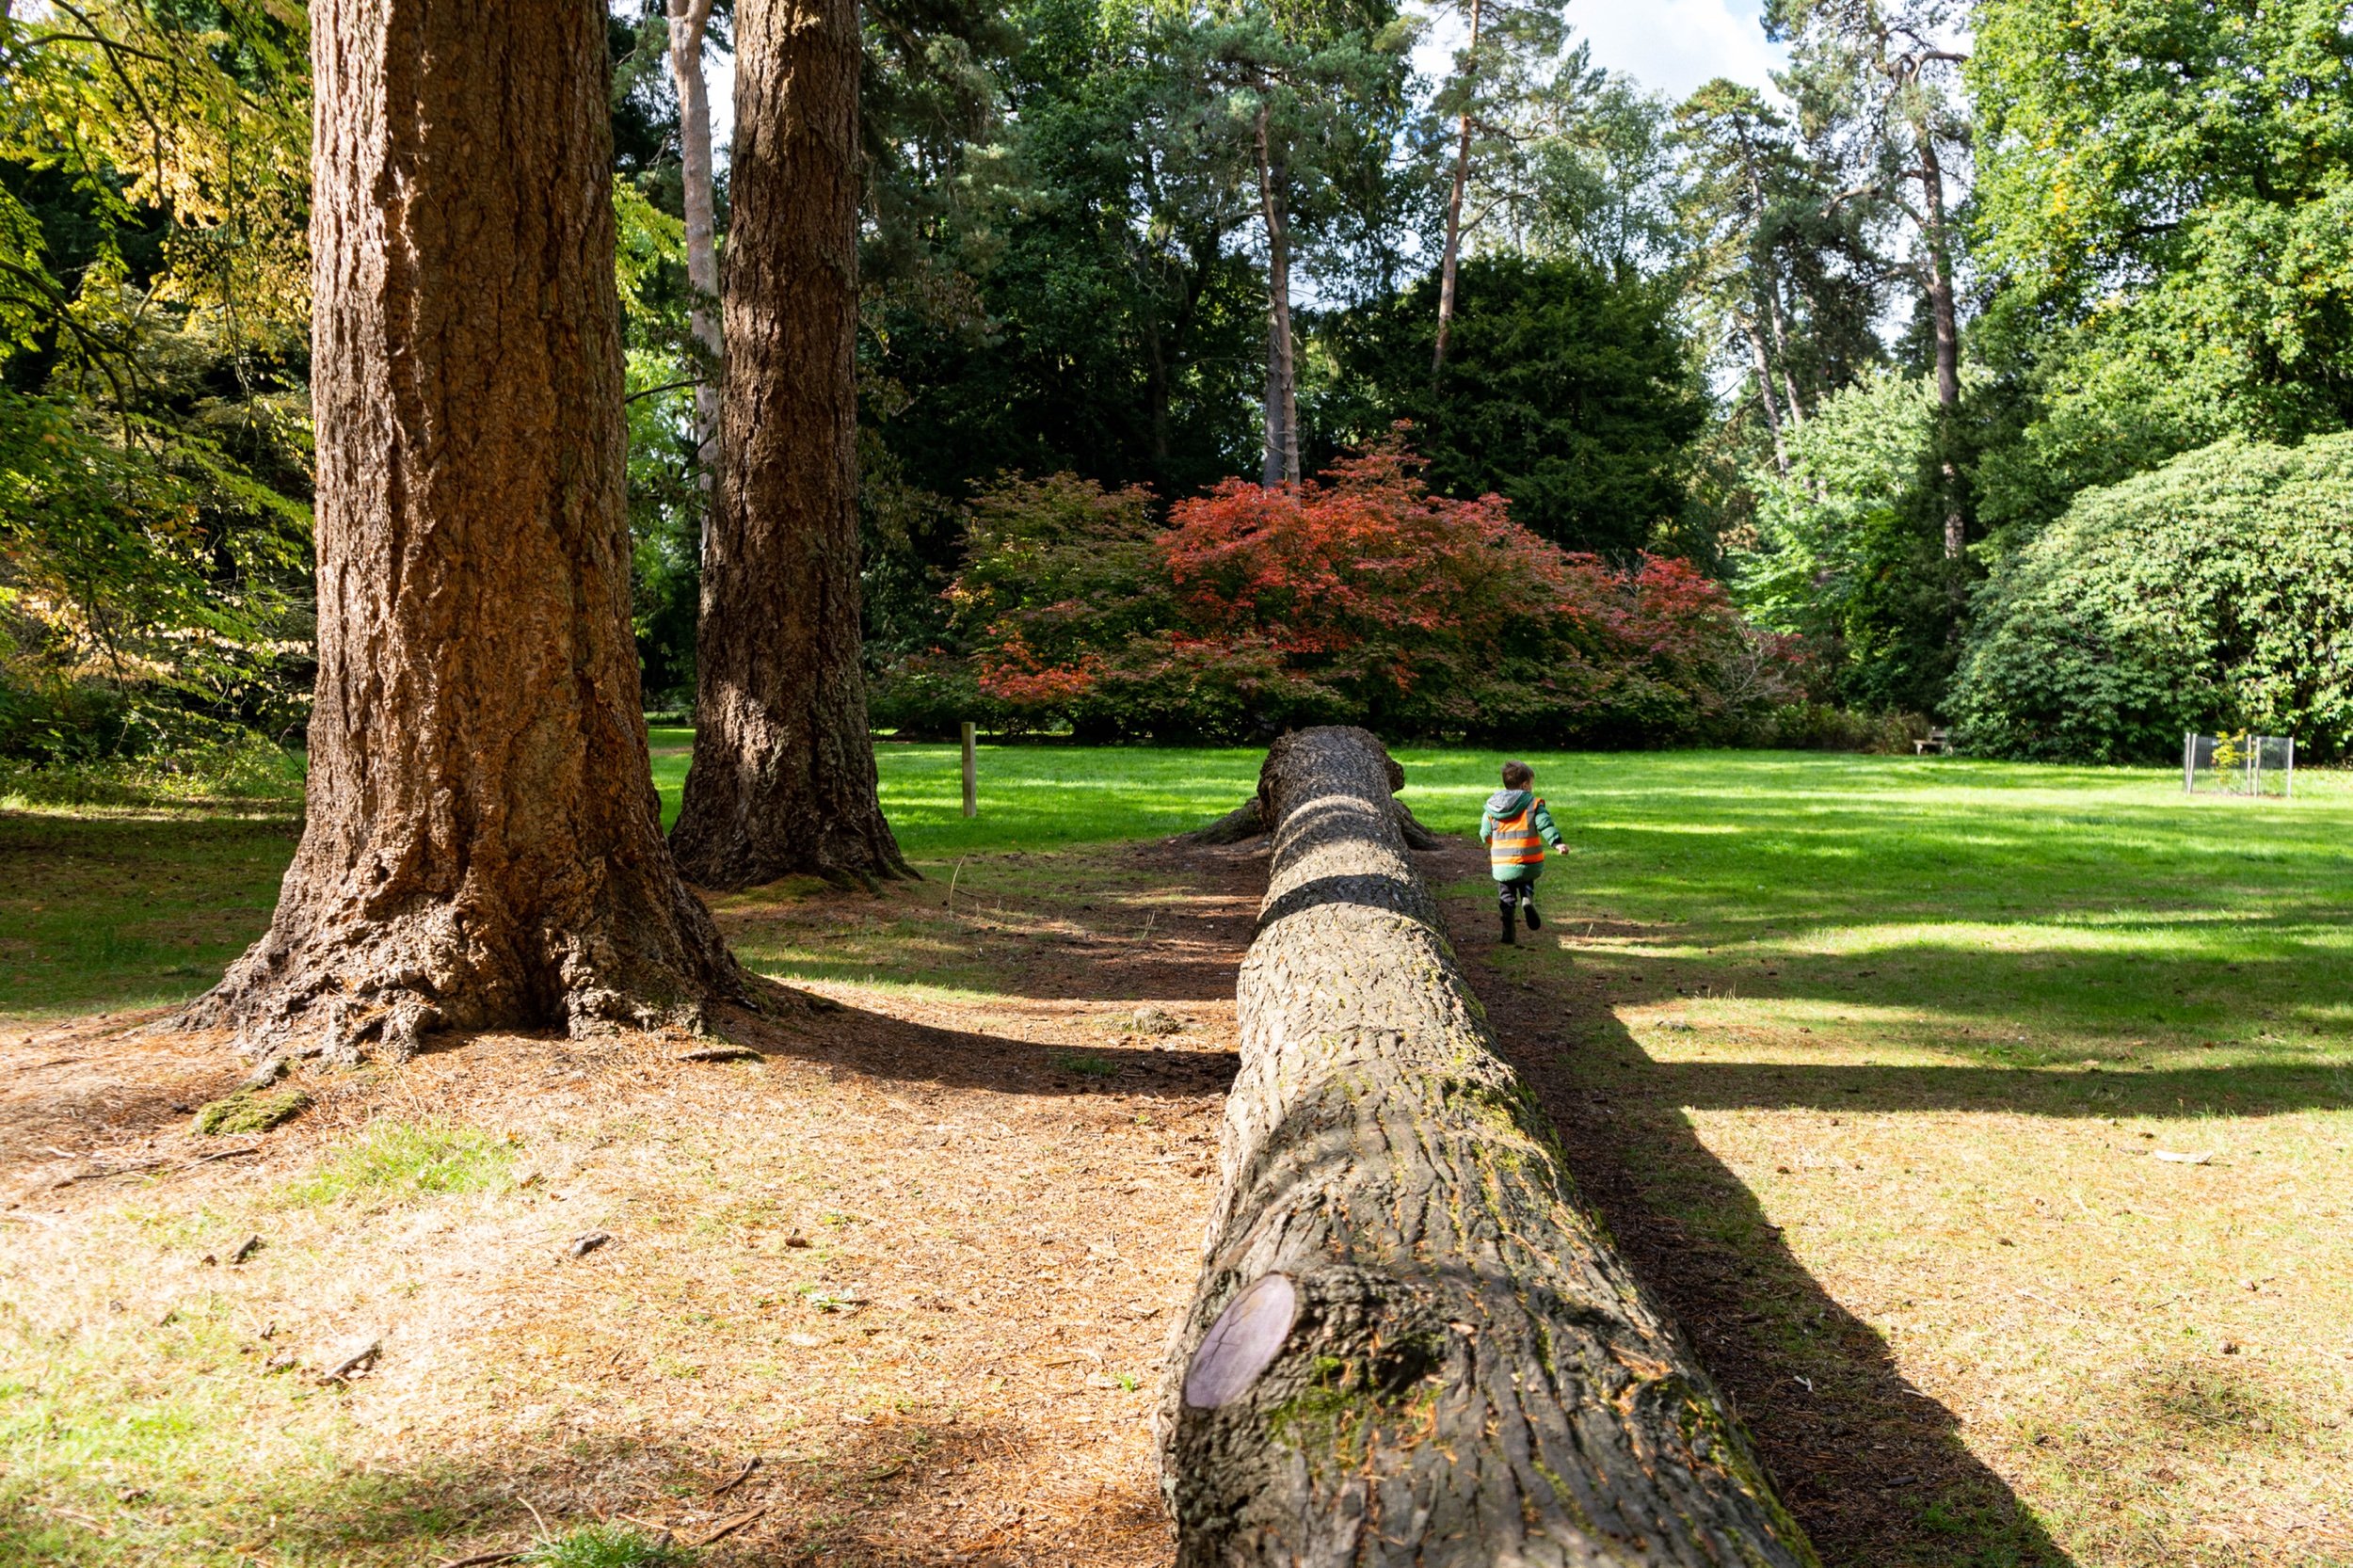
So what did we do at Westonbirt today? A little bit of everything and nothing at the same time.


Making your mark - FIVE simple ways to create artwork with Blackberries.


Mindful picking

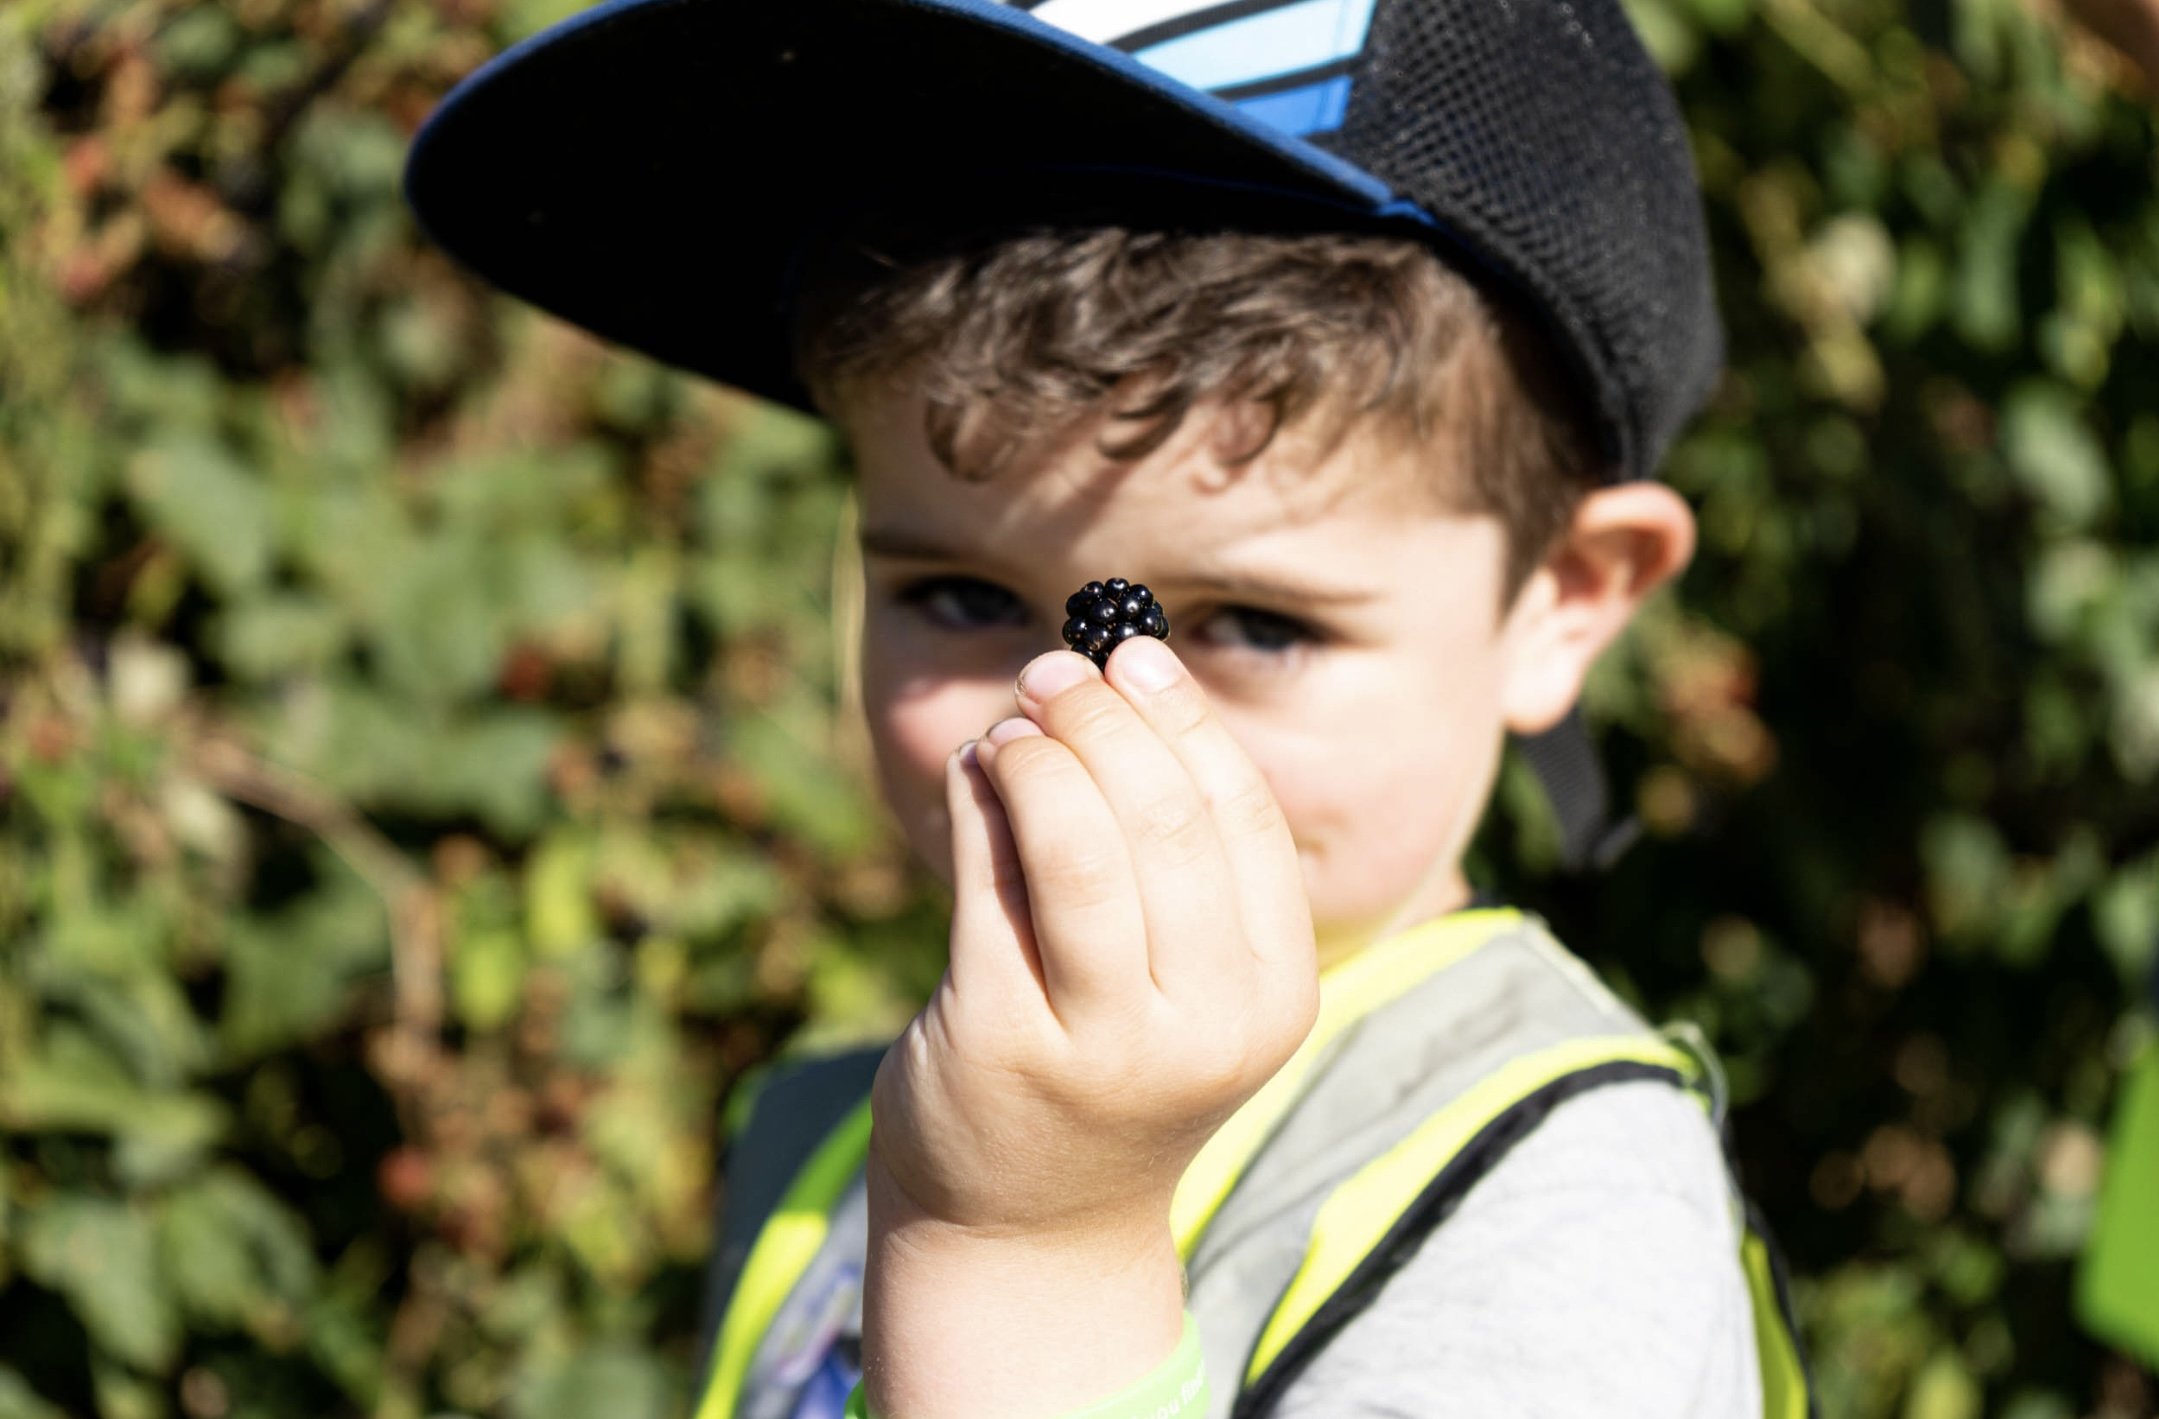

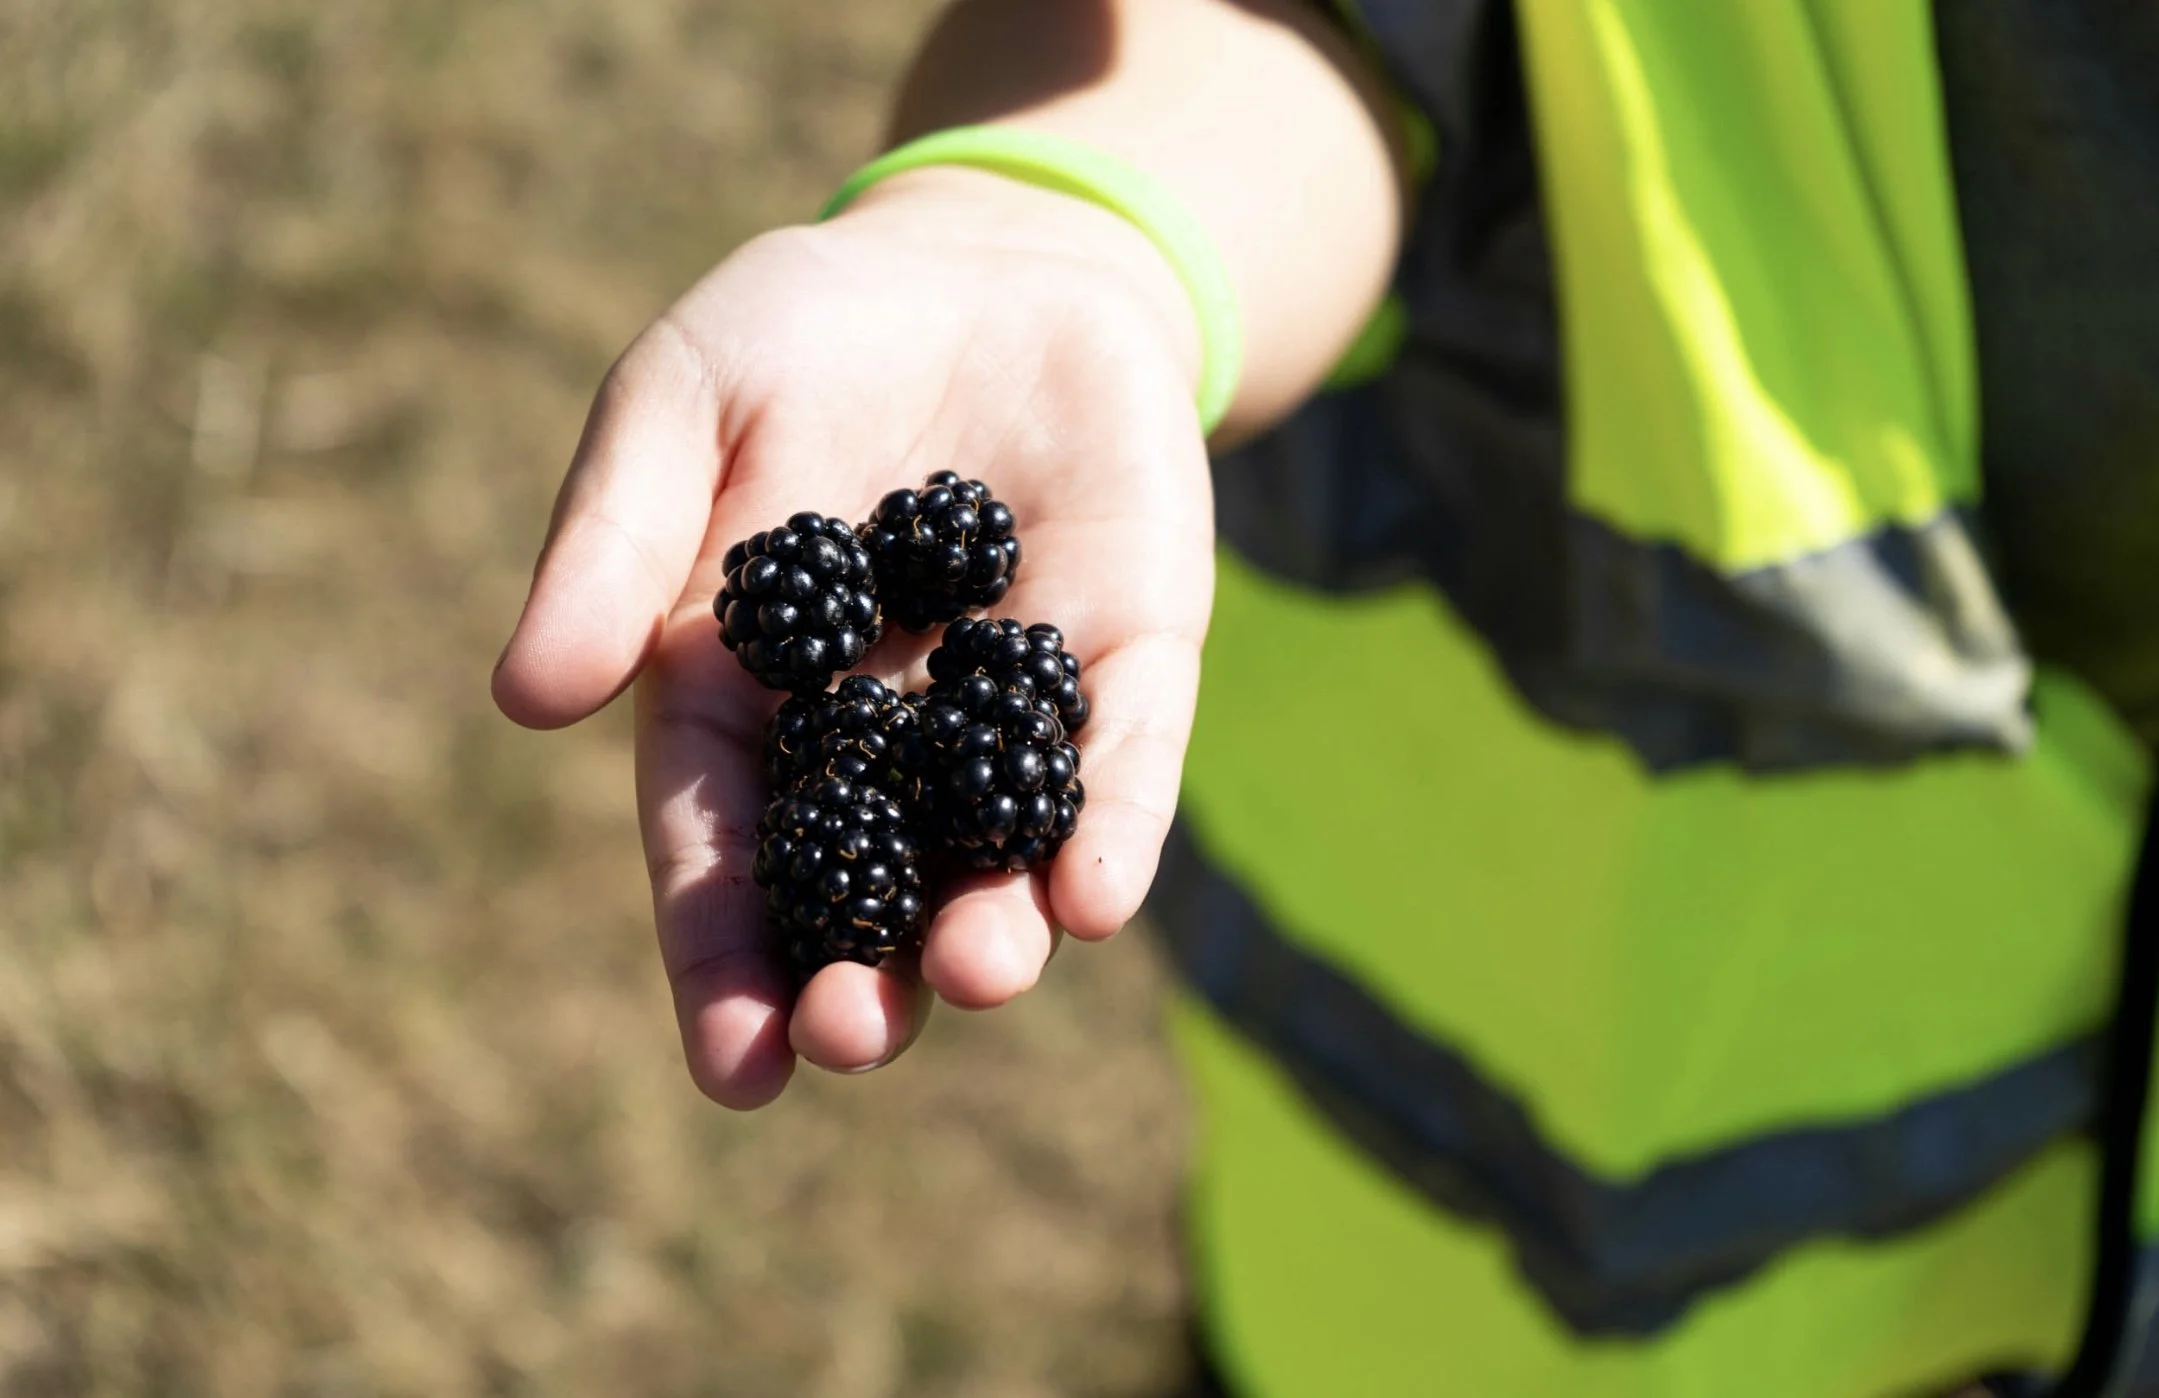
Brambles are all around us, in hedgerows, wild gardens, fields and country lanes, their tangled branches providing cover for burrows and nests and their blossom attracting bees and butterflies. It’s in late summer, though, when their shining, purple-black berries ripen in swathes, we humans suddenly become drawn to these humble plants. Along with the birds, we flock to the hedgerows to harvest this evocative fruit which heralds the turning of seasons from summer to golden, fruitful autumn.
Of course, the most obvious use for blackberries is to eat them, but they also give us endless opportunities to introduce seasonal experiences to our children. Blackberry picking is an activity that we have focused on this month. Local walks offer numerous different learning opportunities for children… but the temptation of picking and filling a bucket full of blackberries has been a very popular one.
Before each session we discuss the risks of blackberry picking: the thorns that line the bushes; the stinging nettles that may be around us; and the insects that may be feasting as we pick. Whilst we pick, we encourage independence (as it is a very fulfilling task) and for the children to ‘use your eyes’ as they identify the dangers as they go. We discuss ‘gentle picking’ and how, if the berry is ready to be picked, it will come away easily. After a number of picking sessions, the groups are well tuned to the risks, often identifying them for fellow picking friends. Joy fills their faces as they begin to compare filled pots and stained fingertips.
BLACKBERRY ICE
Making marks with ice is the perfect way to get messy whilst keeping cool on a hot summer’s day. Here we are combining an experience of blackberry picking with art and creating a keepsake.
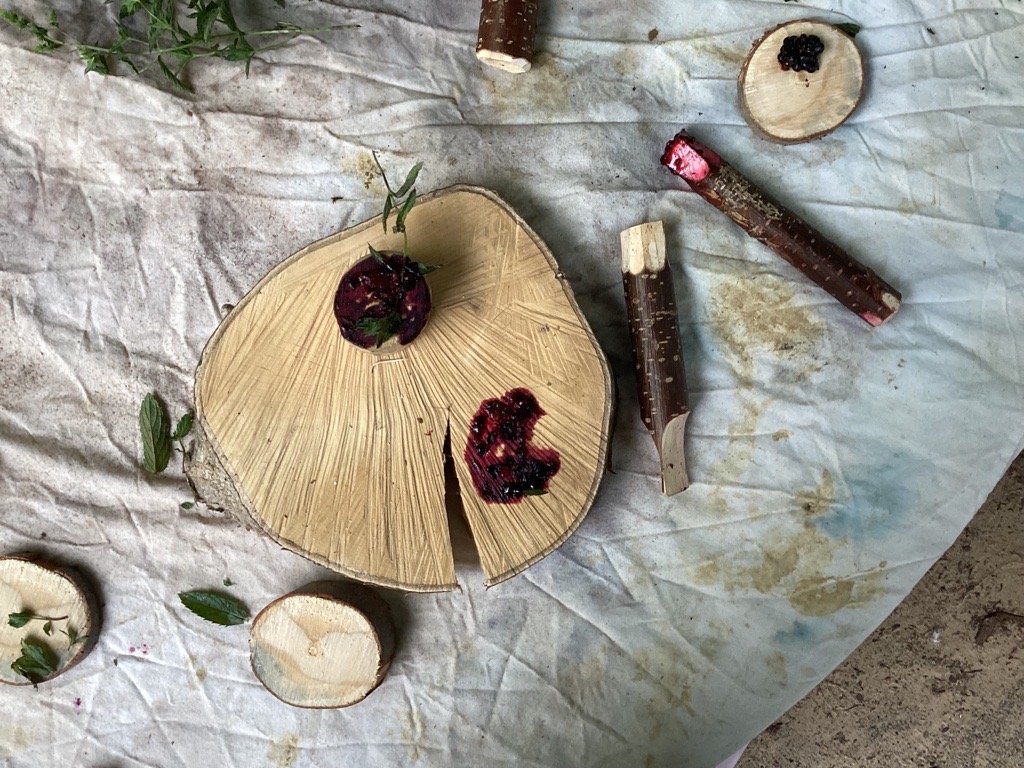
For this session, I used a shallow paint pallet tray, with a mixture of some mushed blackberries and water (yes, it is that simple), leaving it to freeze for a number of hours. To release the juice from the blackberries - or “mush” them - we used a palm hammer. These are great tools to use for all ages. To make your own you simply saw off a small section of a branch!

Making colourful marks whilst keeping cool
Depending on your child’s interest and skill level you may want to adapt a number of things:
Use a bigger Tupperware and fill with more water if you want the ice to last for longer.
If your child likes to break the ice into pieces, make lots of different shapes and sizes, perfect for a challenge!
Before freezing place a small stick in the top of the water, this way when frozen the child can make prints whilst holding the stick.

Freshly picked Blackberries, frozen into discs. Great for painting as they melt AND they are completely edible!
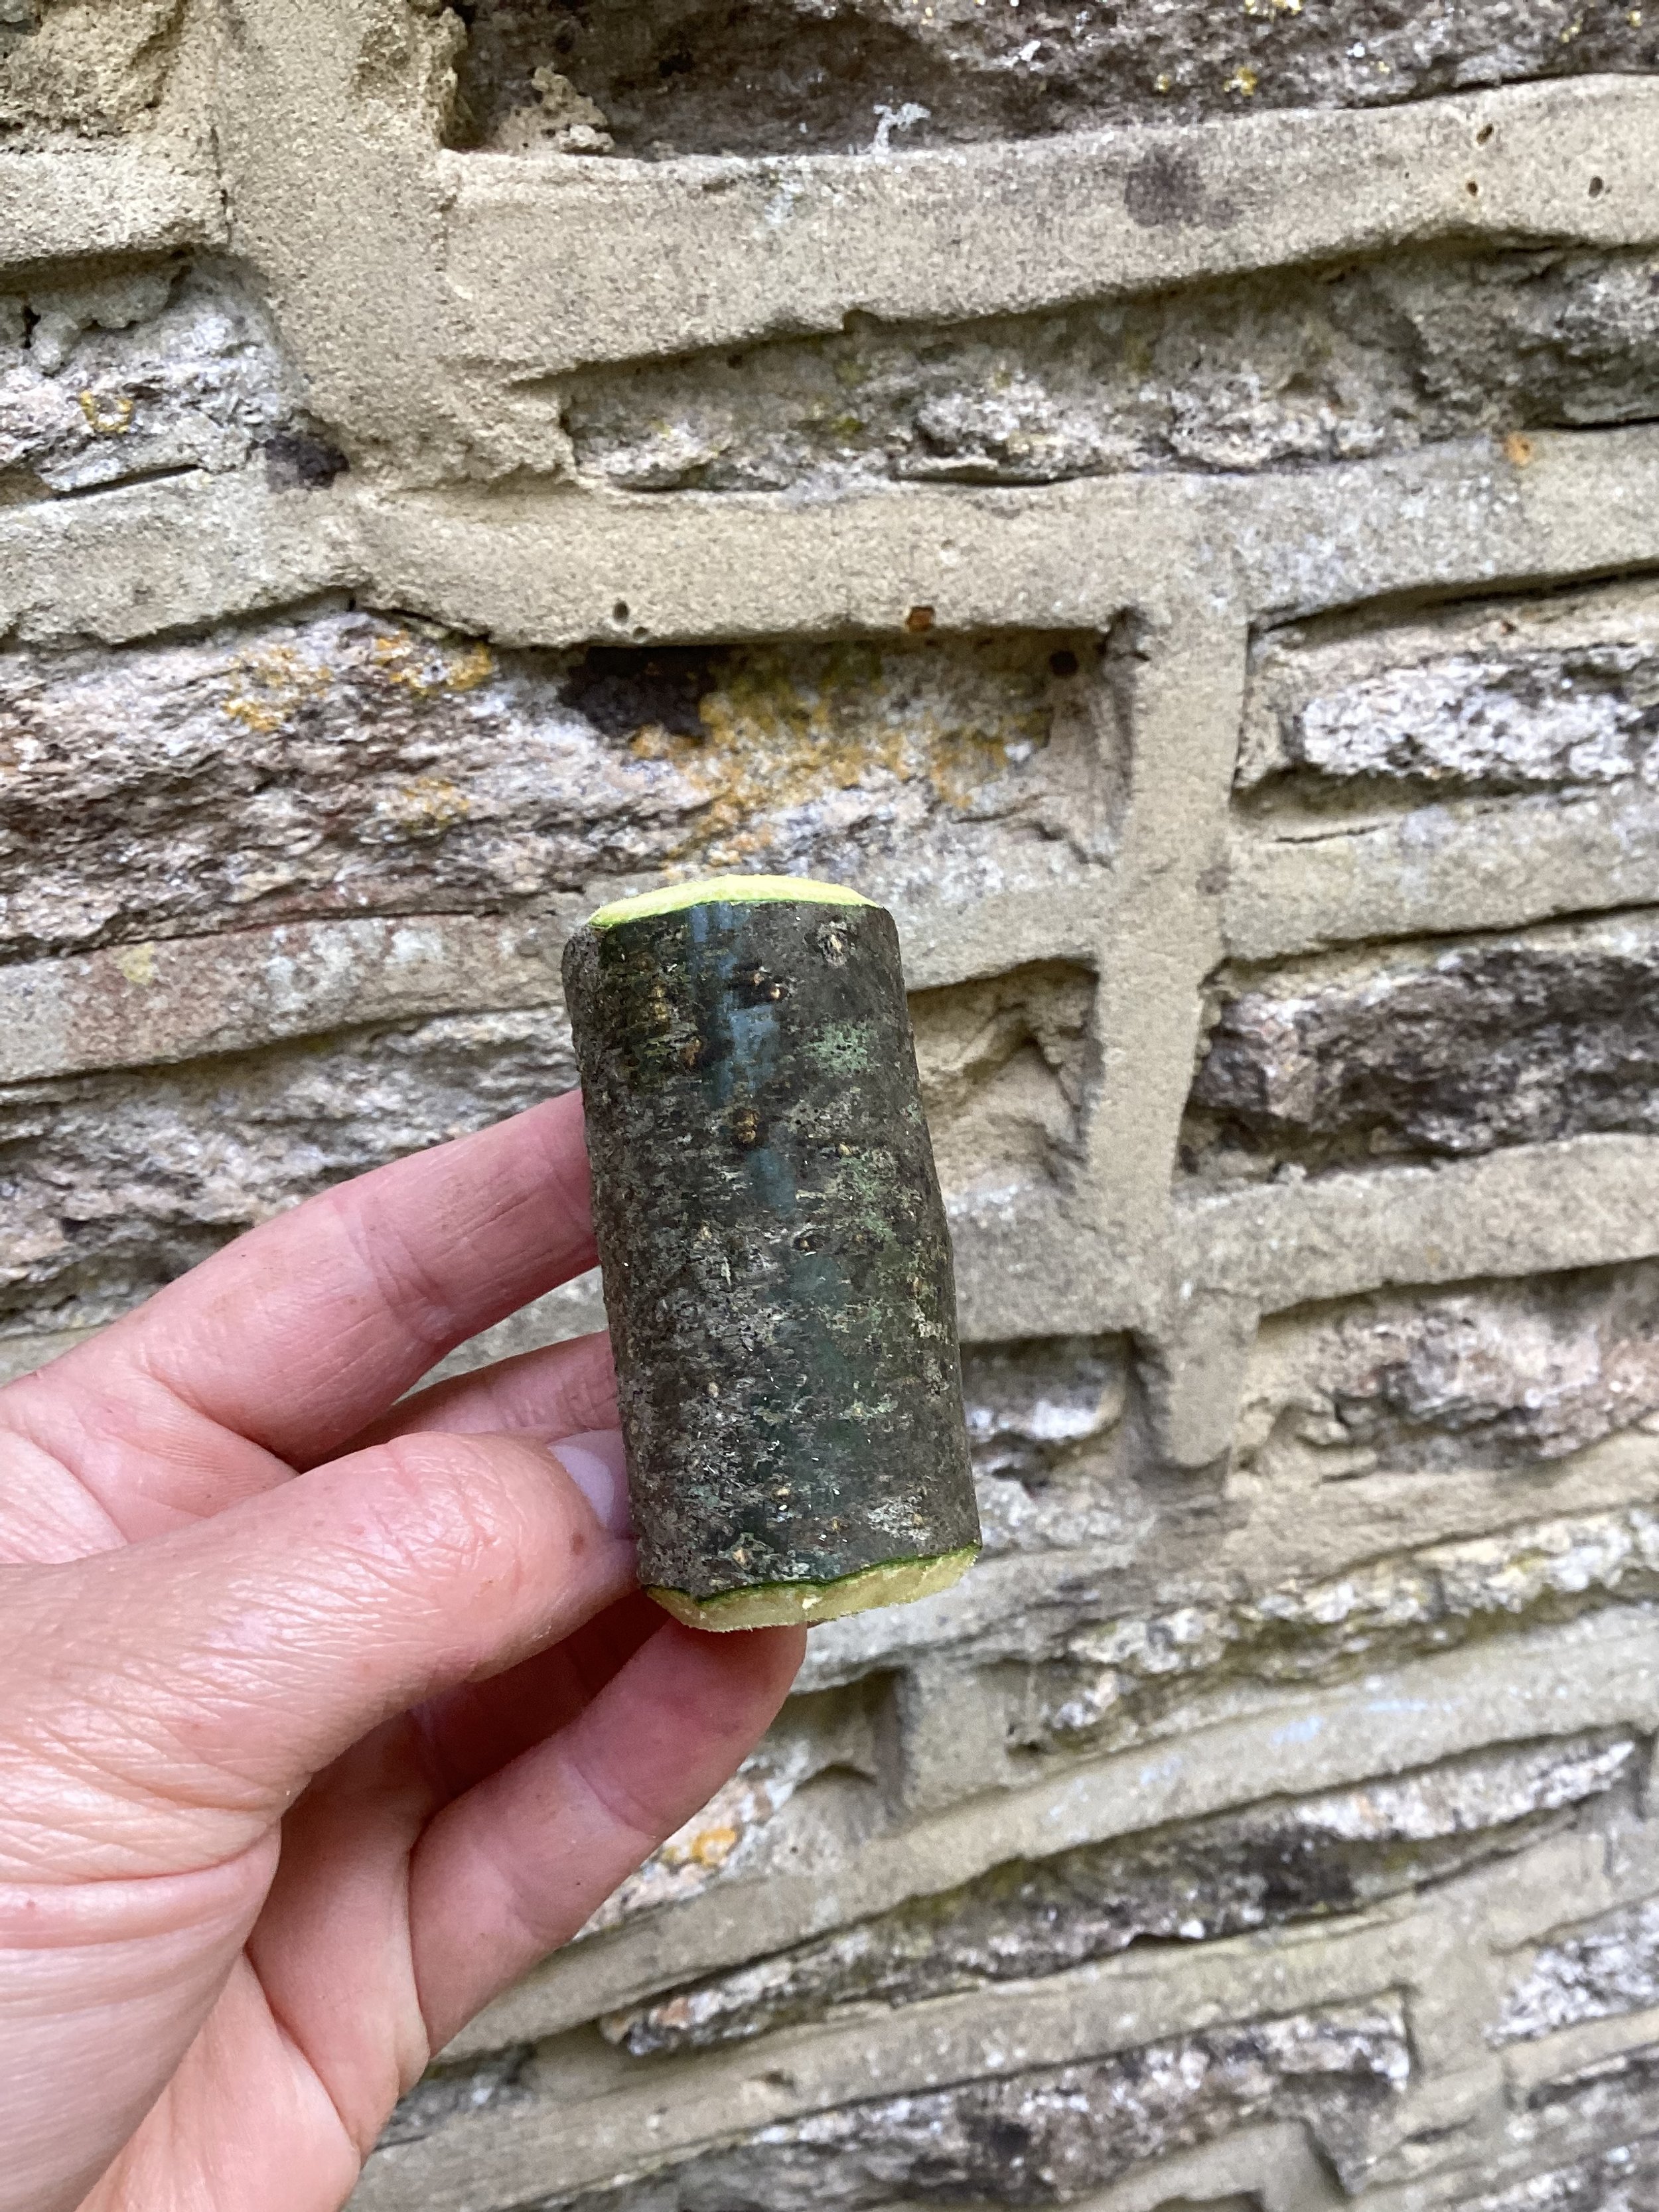
A simple palm hammer
Breaking the ice releases the colours
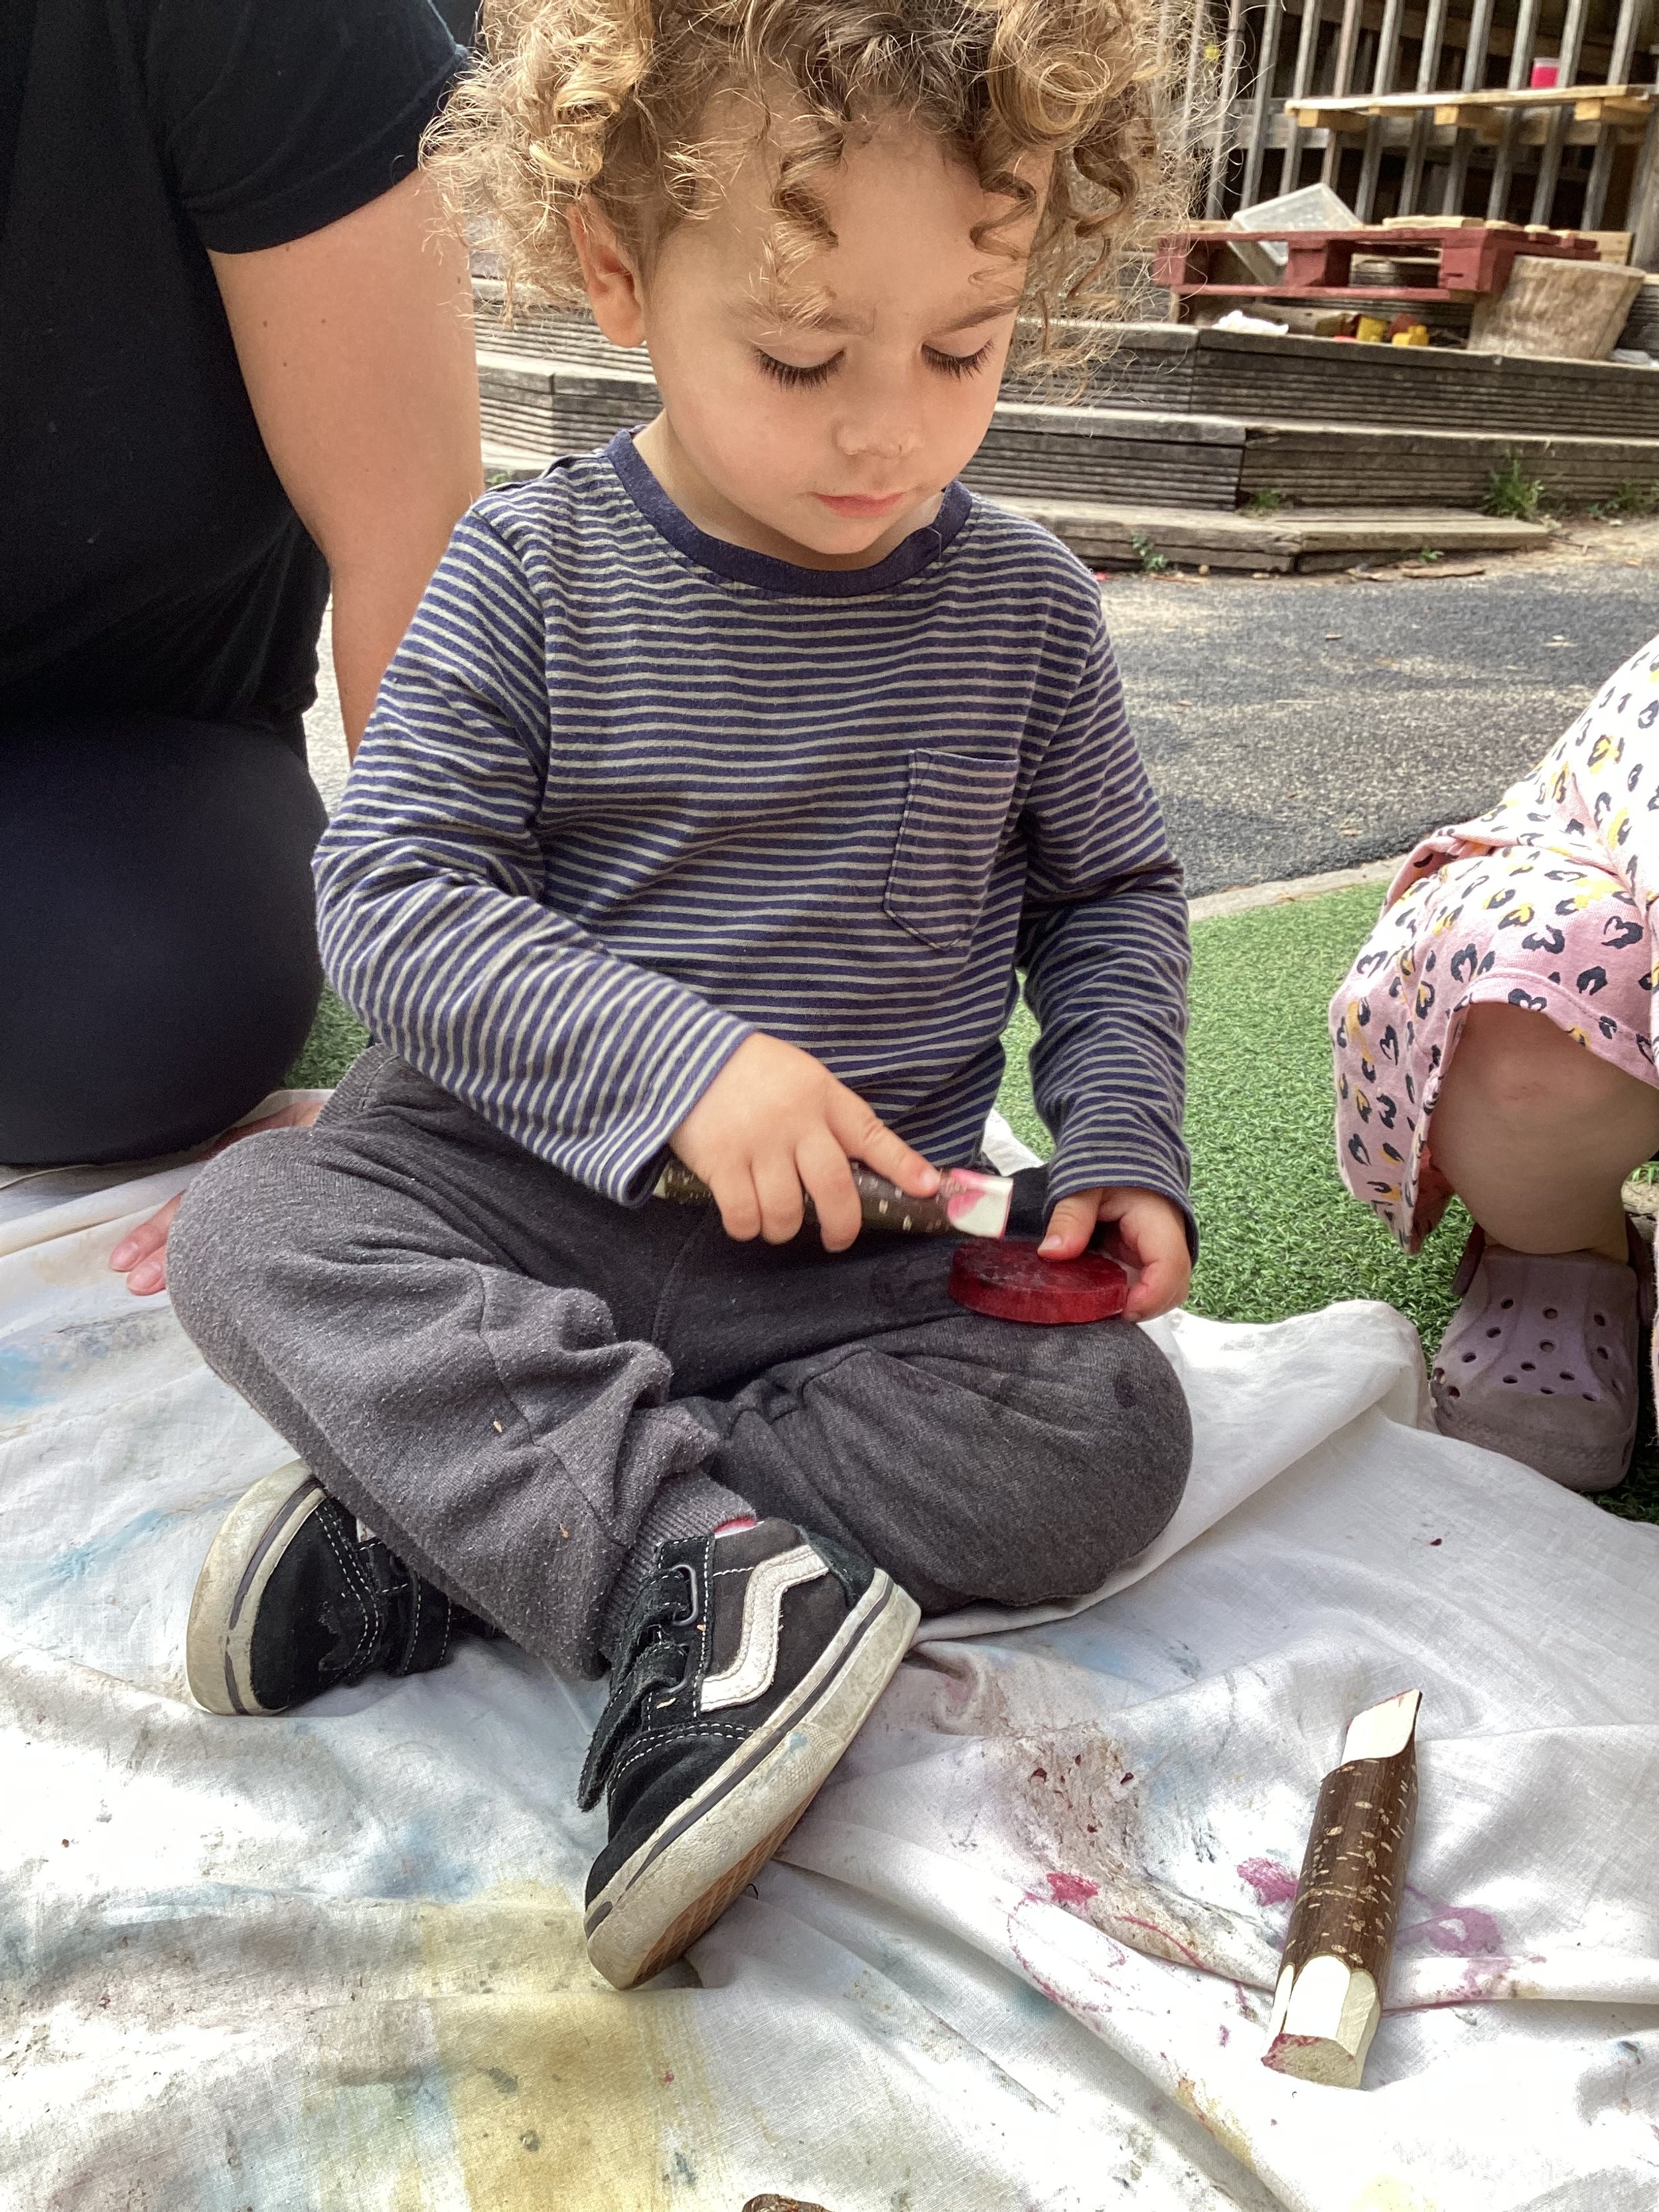
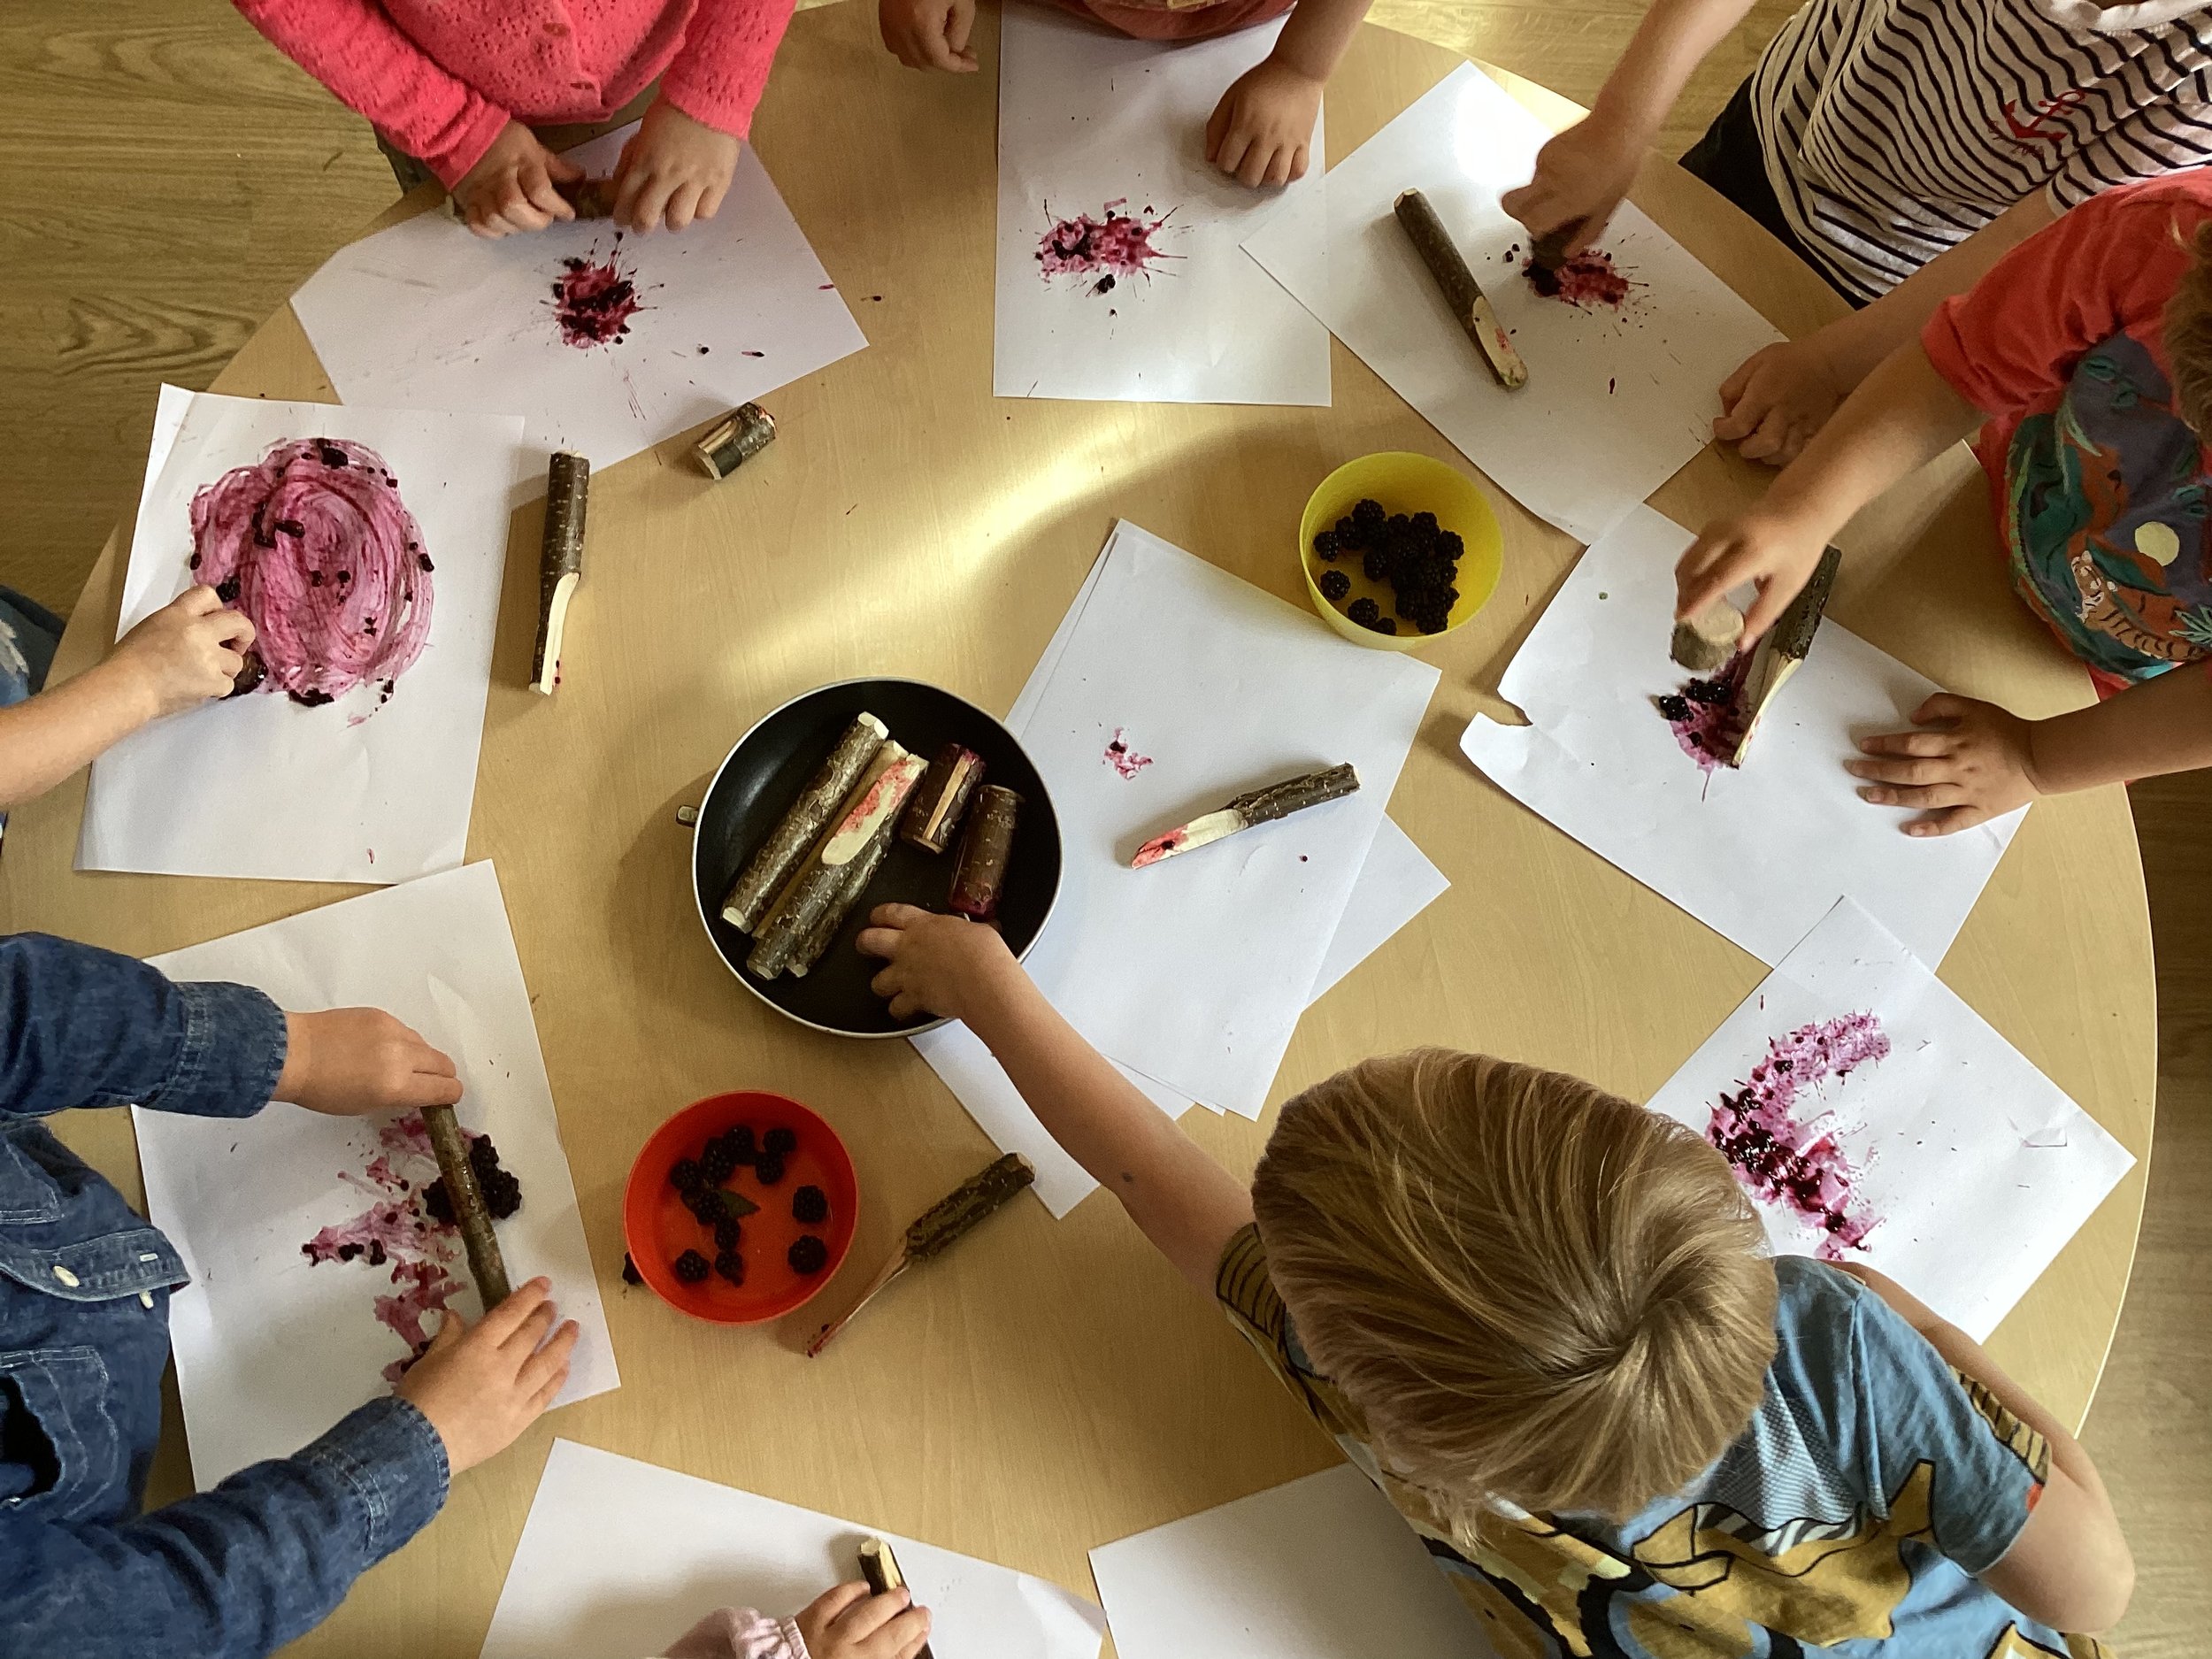
EDIBLE BLACKBERRY PAINT
When you squeeze, or eat a blackberry it leaves you with a vibrant deep red colour on your lips and hands. Transfer this idea to creating a piece of artwork and it will have the same striking effect. Creating the paint mix involves collecting a large bundle of juicy blackberries, muddle and squish in a tray using a stick or palm hammer and get messy!
Little hands finding different ways to make marks
To spread the paint you may want to use a number of resources, a paintbrush being the obvious choice. Let’s think about using more natural resources, maybe something you could pick in the garden, or a kitchen utensil. If you like a challenge, try and make your own paintbrush. Learn how to here
The blackberry paint will spread like normal paint, with a slightly different texture, this way a picture can be painted onto some paper. And remember, it is edible so don’t worry if you get some on your fingers or face, yum!
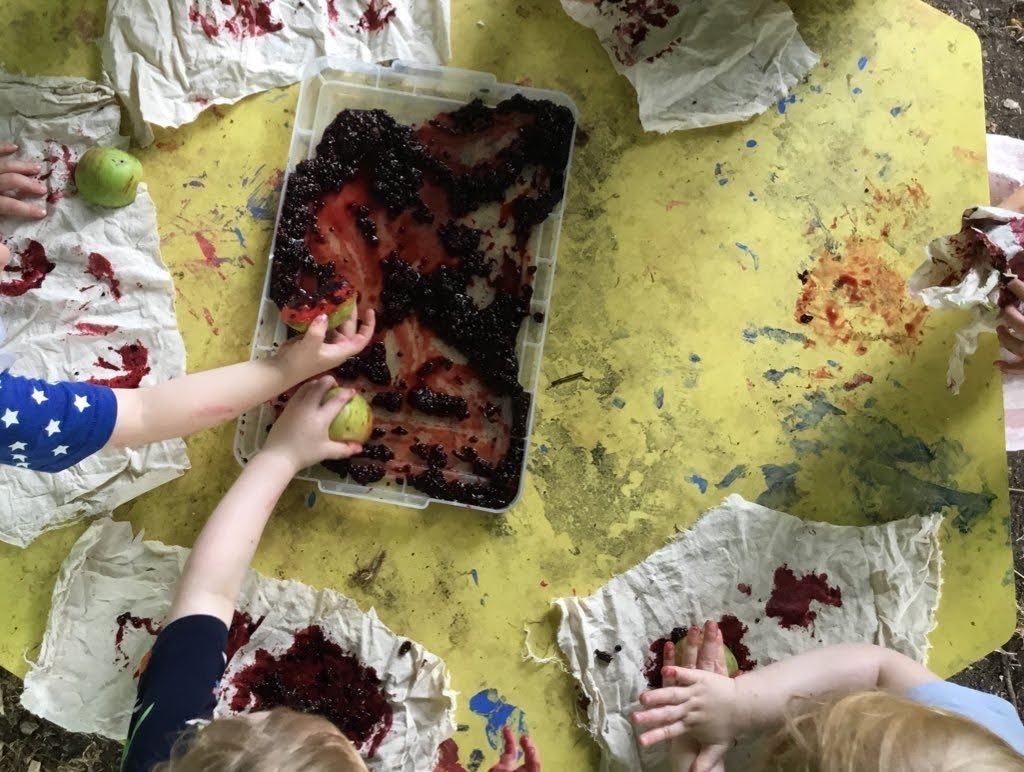
Blackberry paint can be made in advance (create lots as it gets used up very quickly) or make your own paint straight to the paper by squashing it up. The juices burst from the berry and make a ‘splat’ type of mark. Our children showed great interest in making the biggest splat!
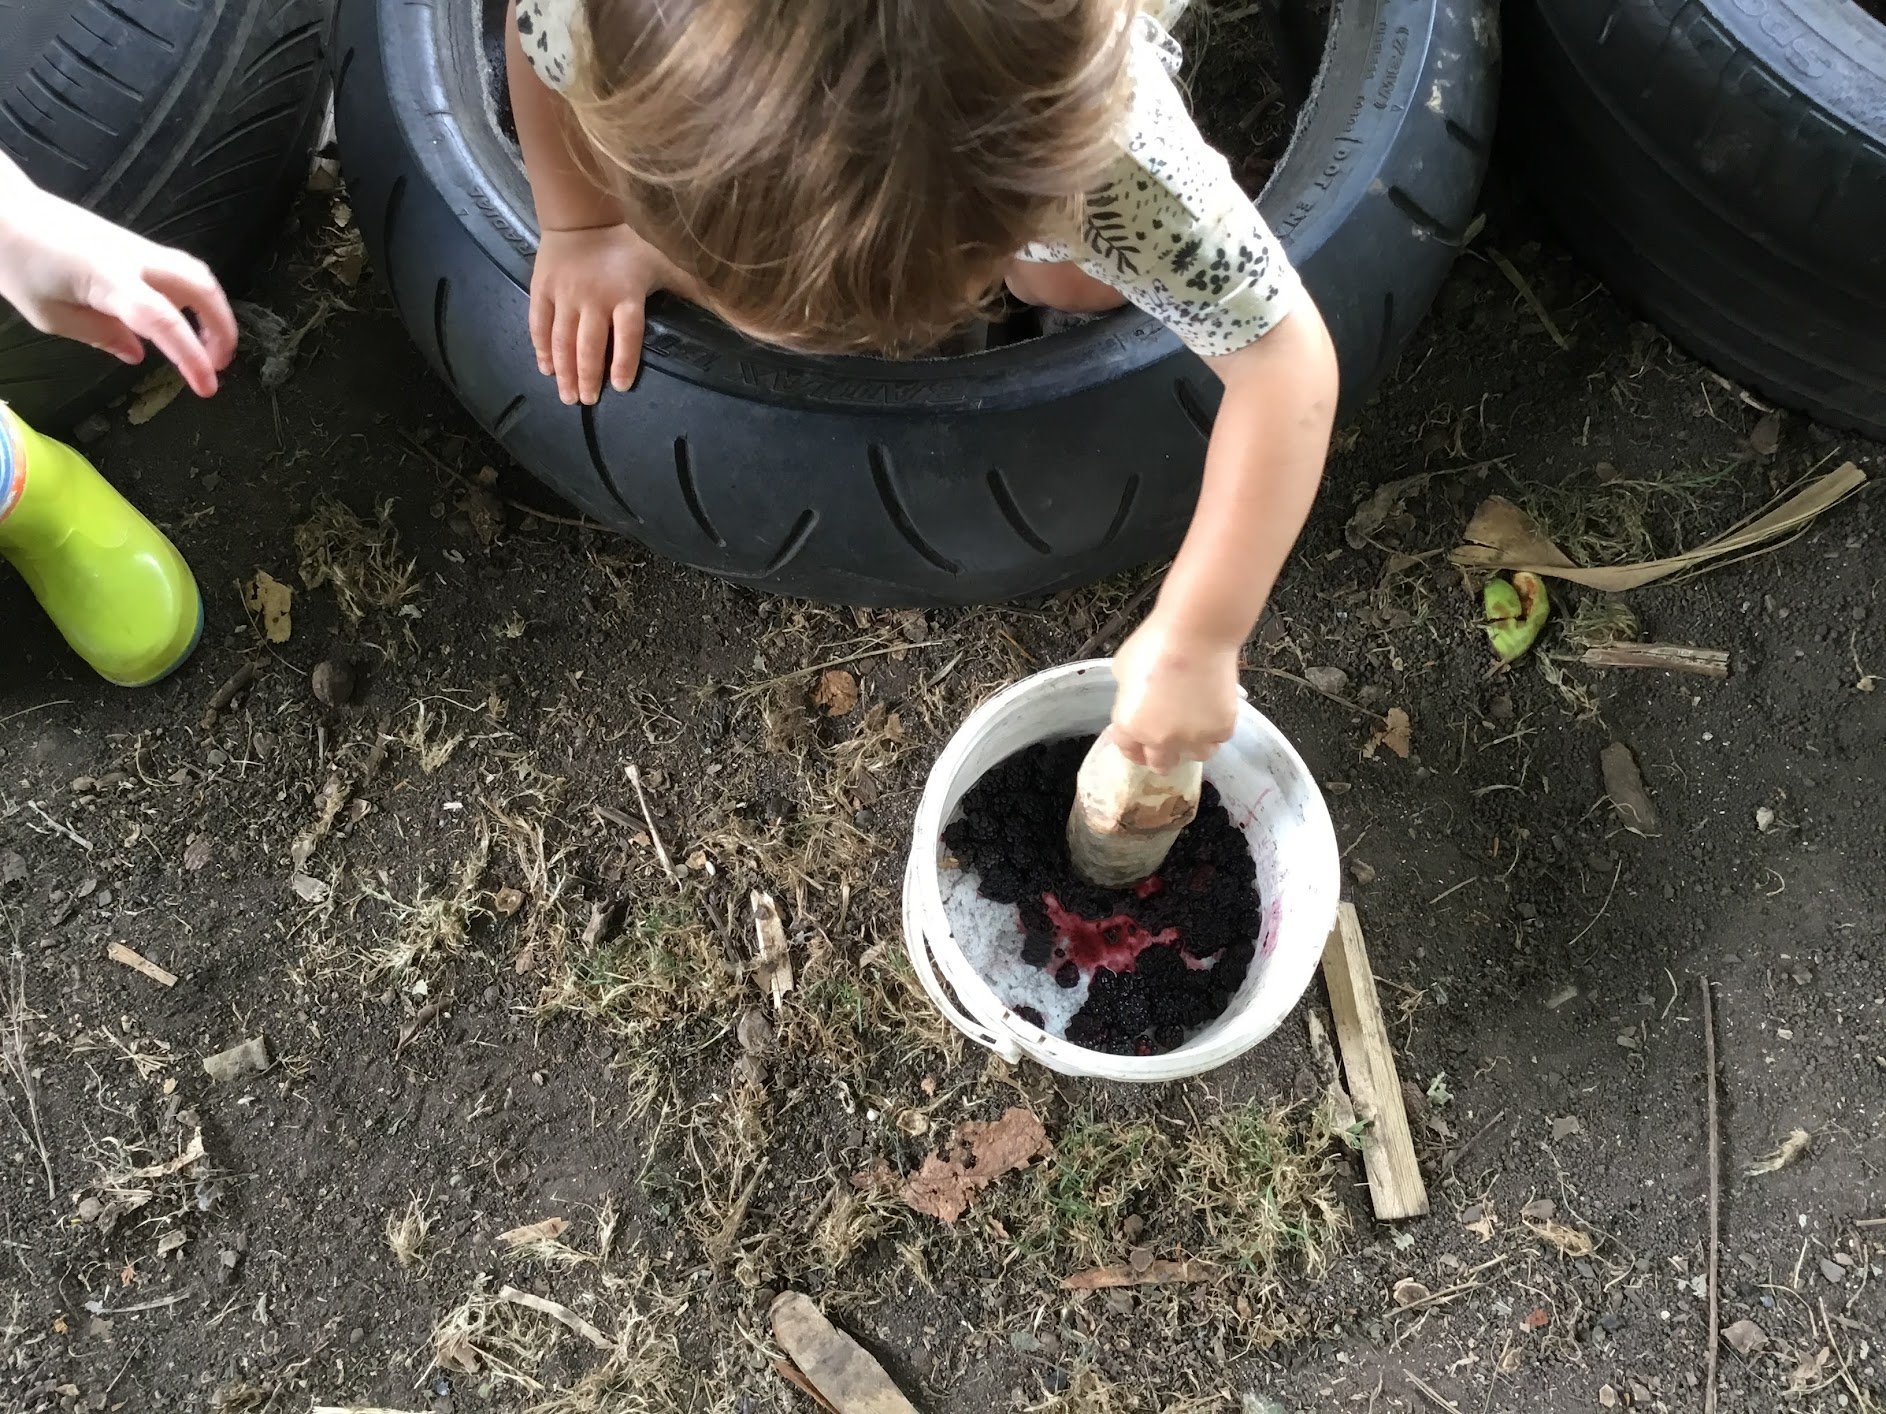
MUD PIES
Mud pies are a wonderful messy combination of mud and blackberries. We started off by creating a wet sloppy mud mix, slowly adding water as we mixed, the trick with this is to get the right consistency. Too much water and the blackberries won’t stick. Experimenting here is key so let your child find a good balance; more mud can always be added if it gets too runny. (mud pies are not edible!).
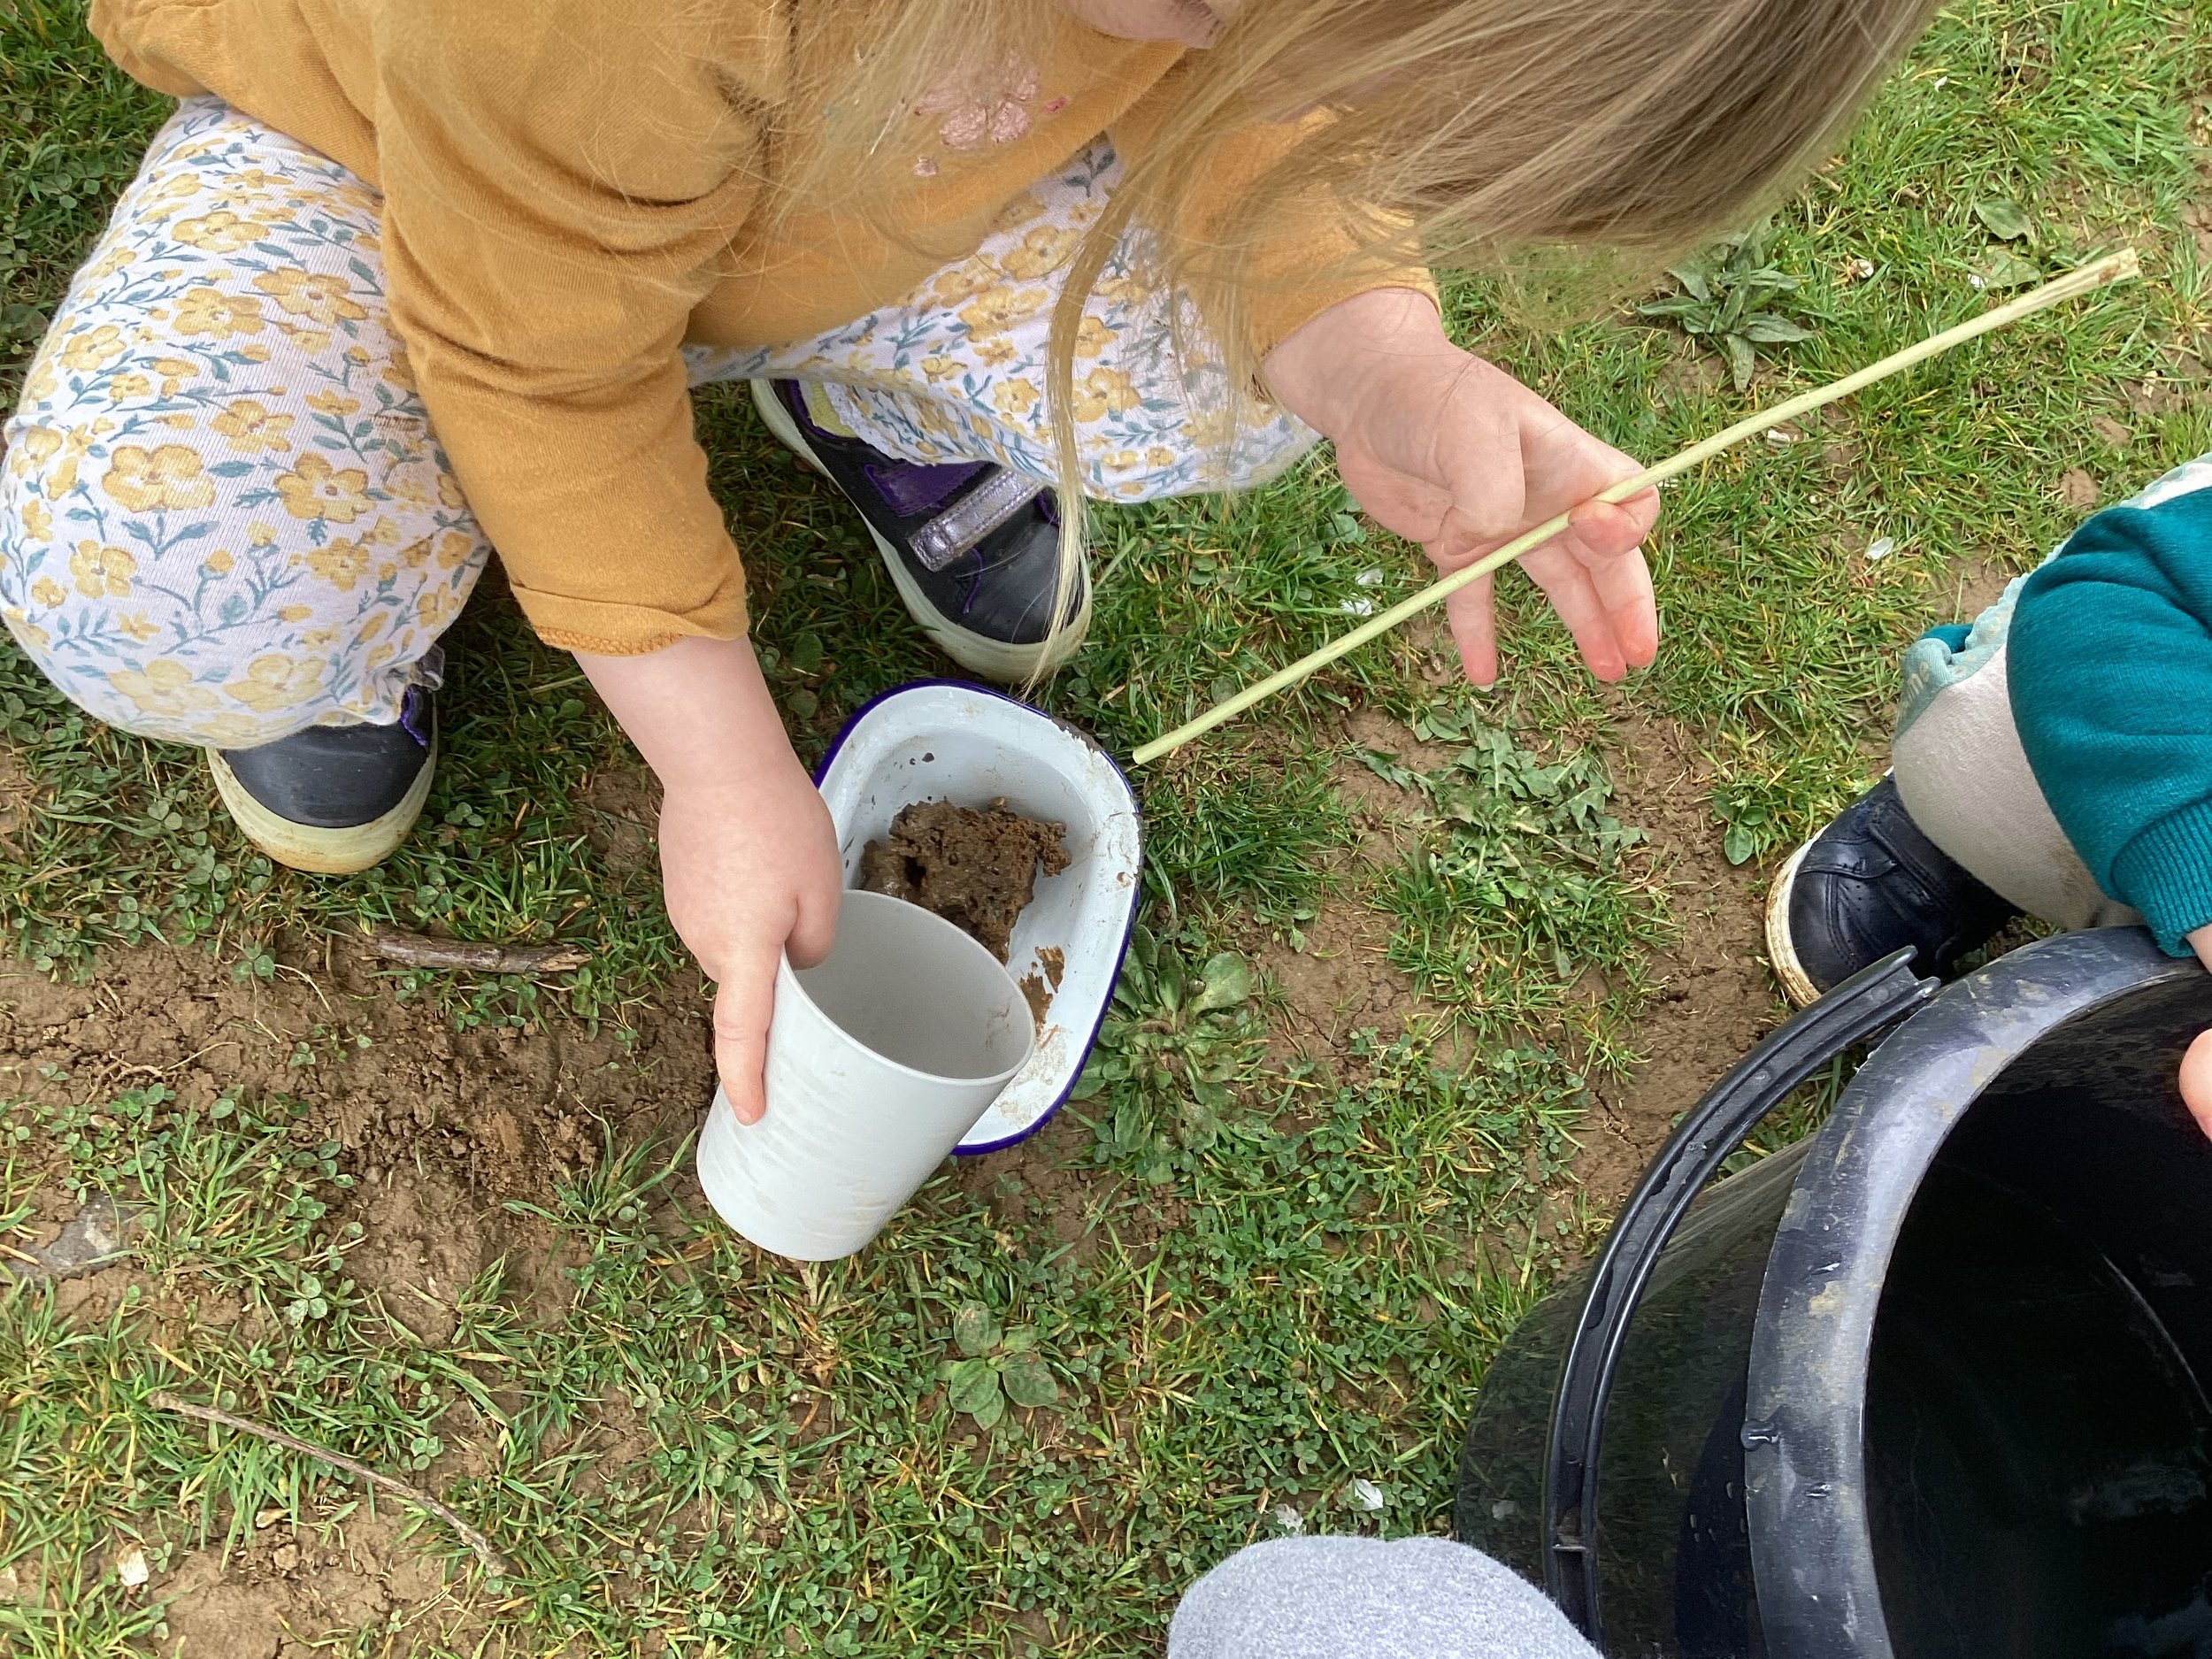
Slowly slowly adding water
Grab a handful of mud, a flat surface (I placed a piece of fabric underneath so that the pie was transferable to bring in to dry) and squash the mud down. If your child likes getting messy use hands, let them feel the texture in their fingers, or use a palm hammer or rolling pin to get the same effect. Once your child is happy with the shape of their mud, start adding blackberries by pressing them into the mud. Note: the blackberries will make the clay wet and sticky, but once left it will dry out.
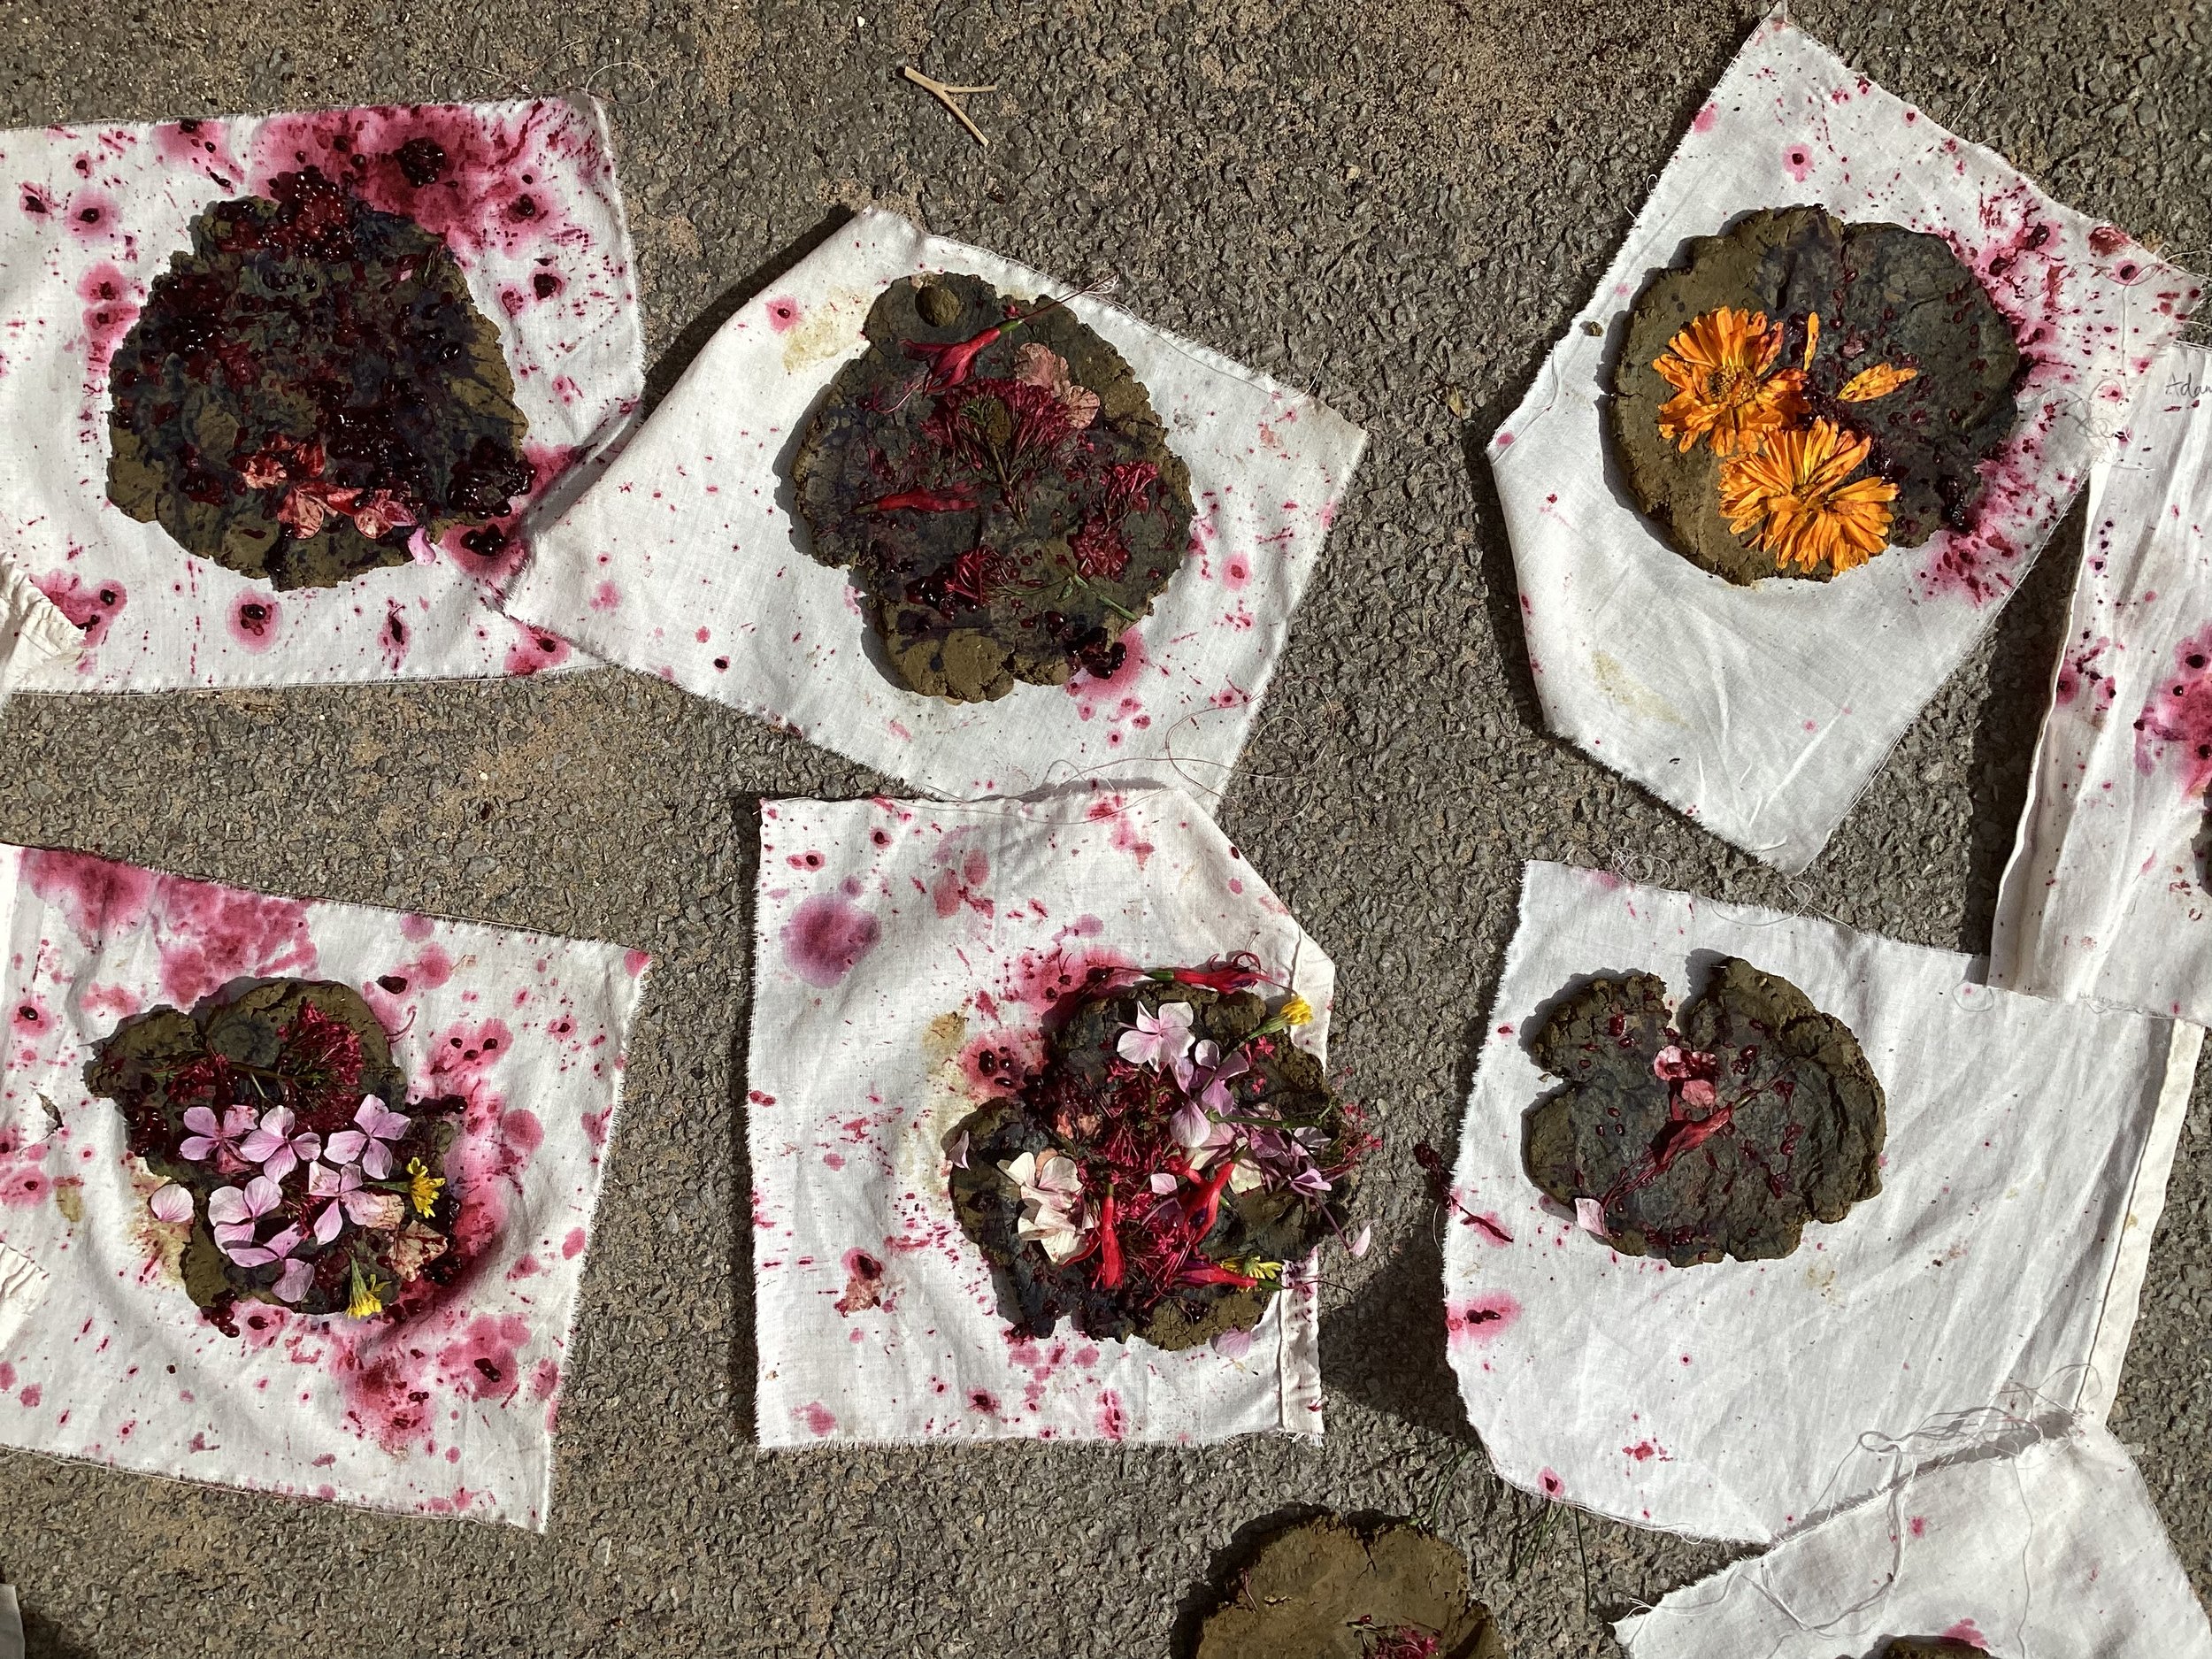
Additionally, we searched the garden for any wildflowers, herbs and items of interest to add to the pies.
Just remember - respect the environment that you are using. Please ensure you are not picking anything from other people’s gardens and that everything you pick has been identified and is safe to use.
‘Mud pie’ may have a different meaning to you. Absolutely it can be used in a different way. You may have pots and pans that have no more use indoors, so bring them outside and create a mud kitchen. Simply add water, mud and blackberries and see what they can make.
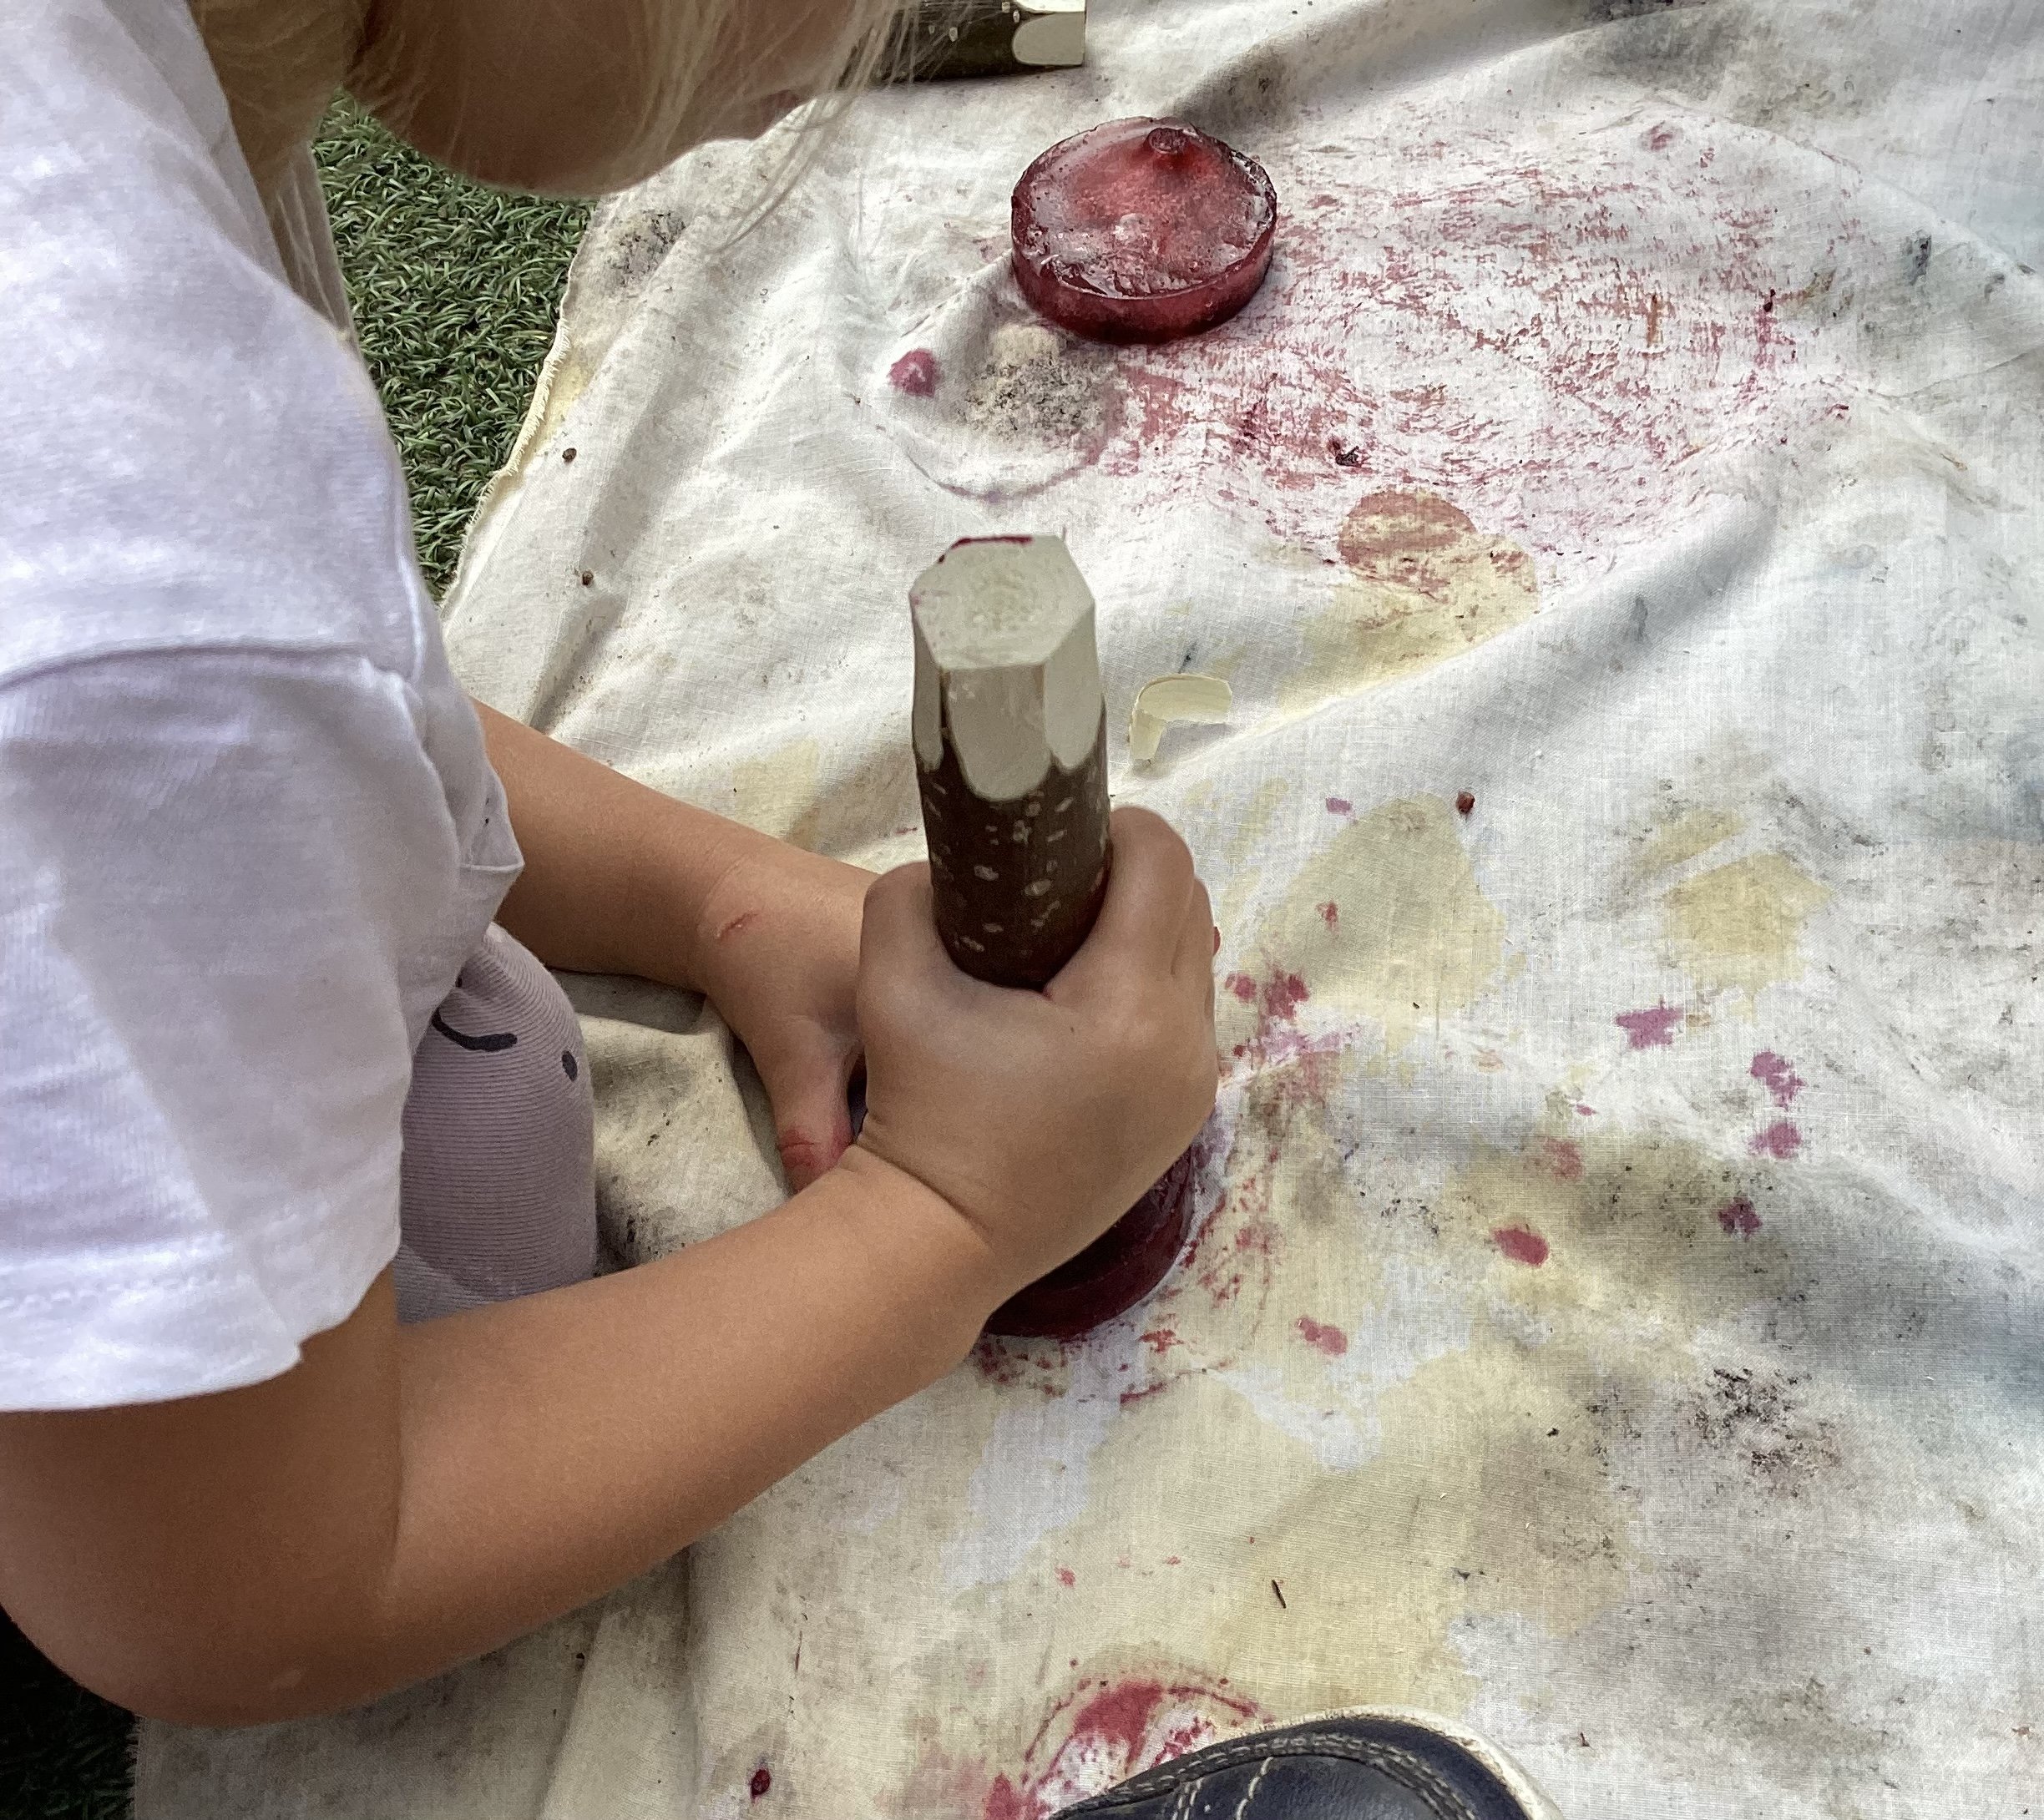
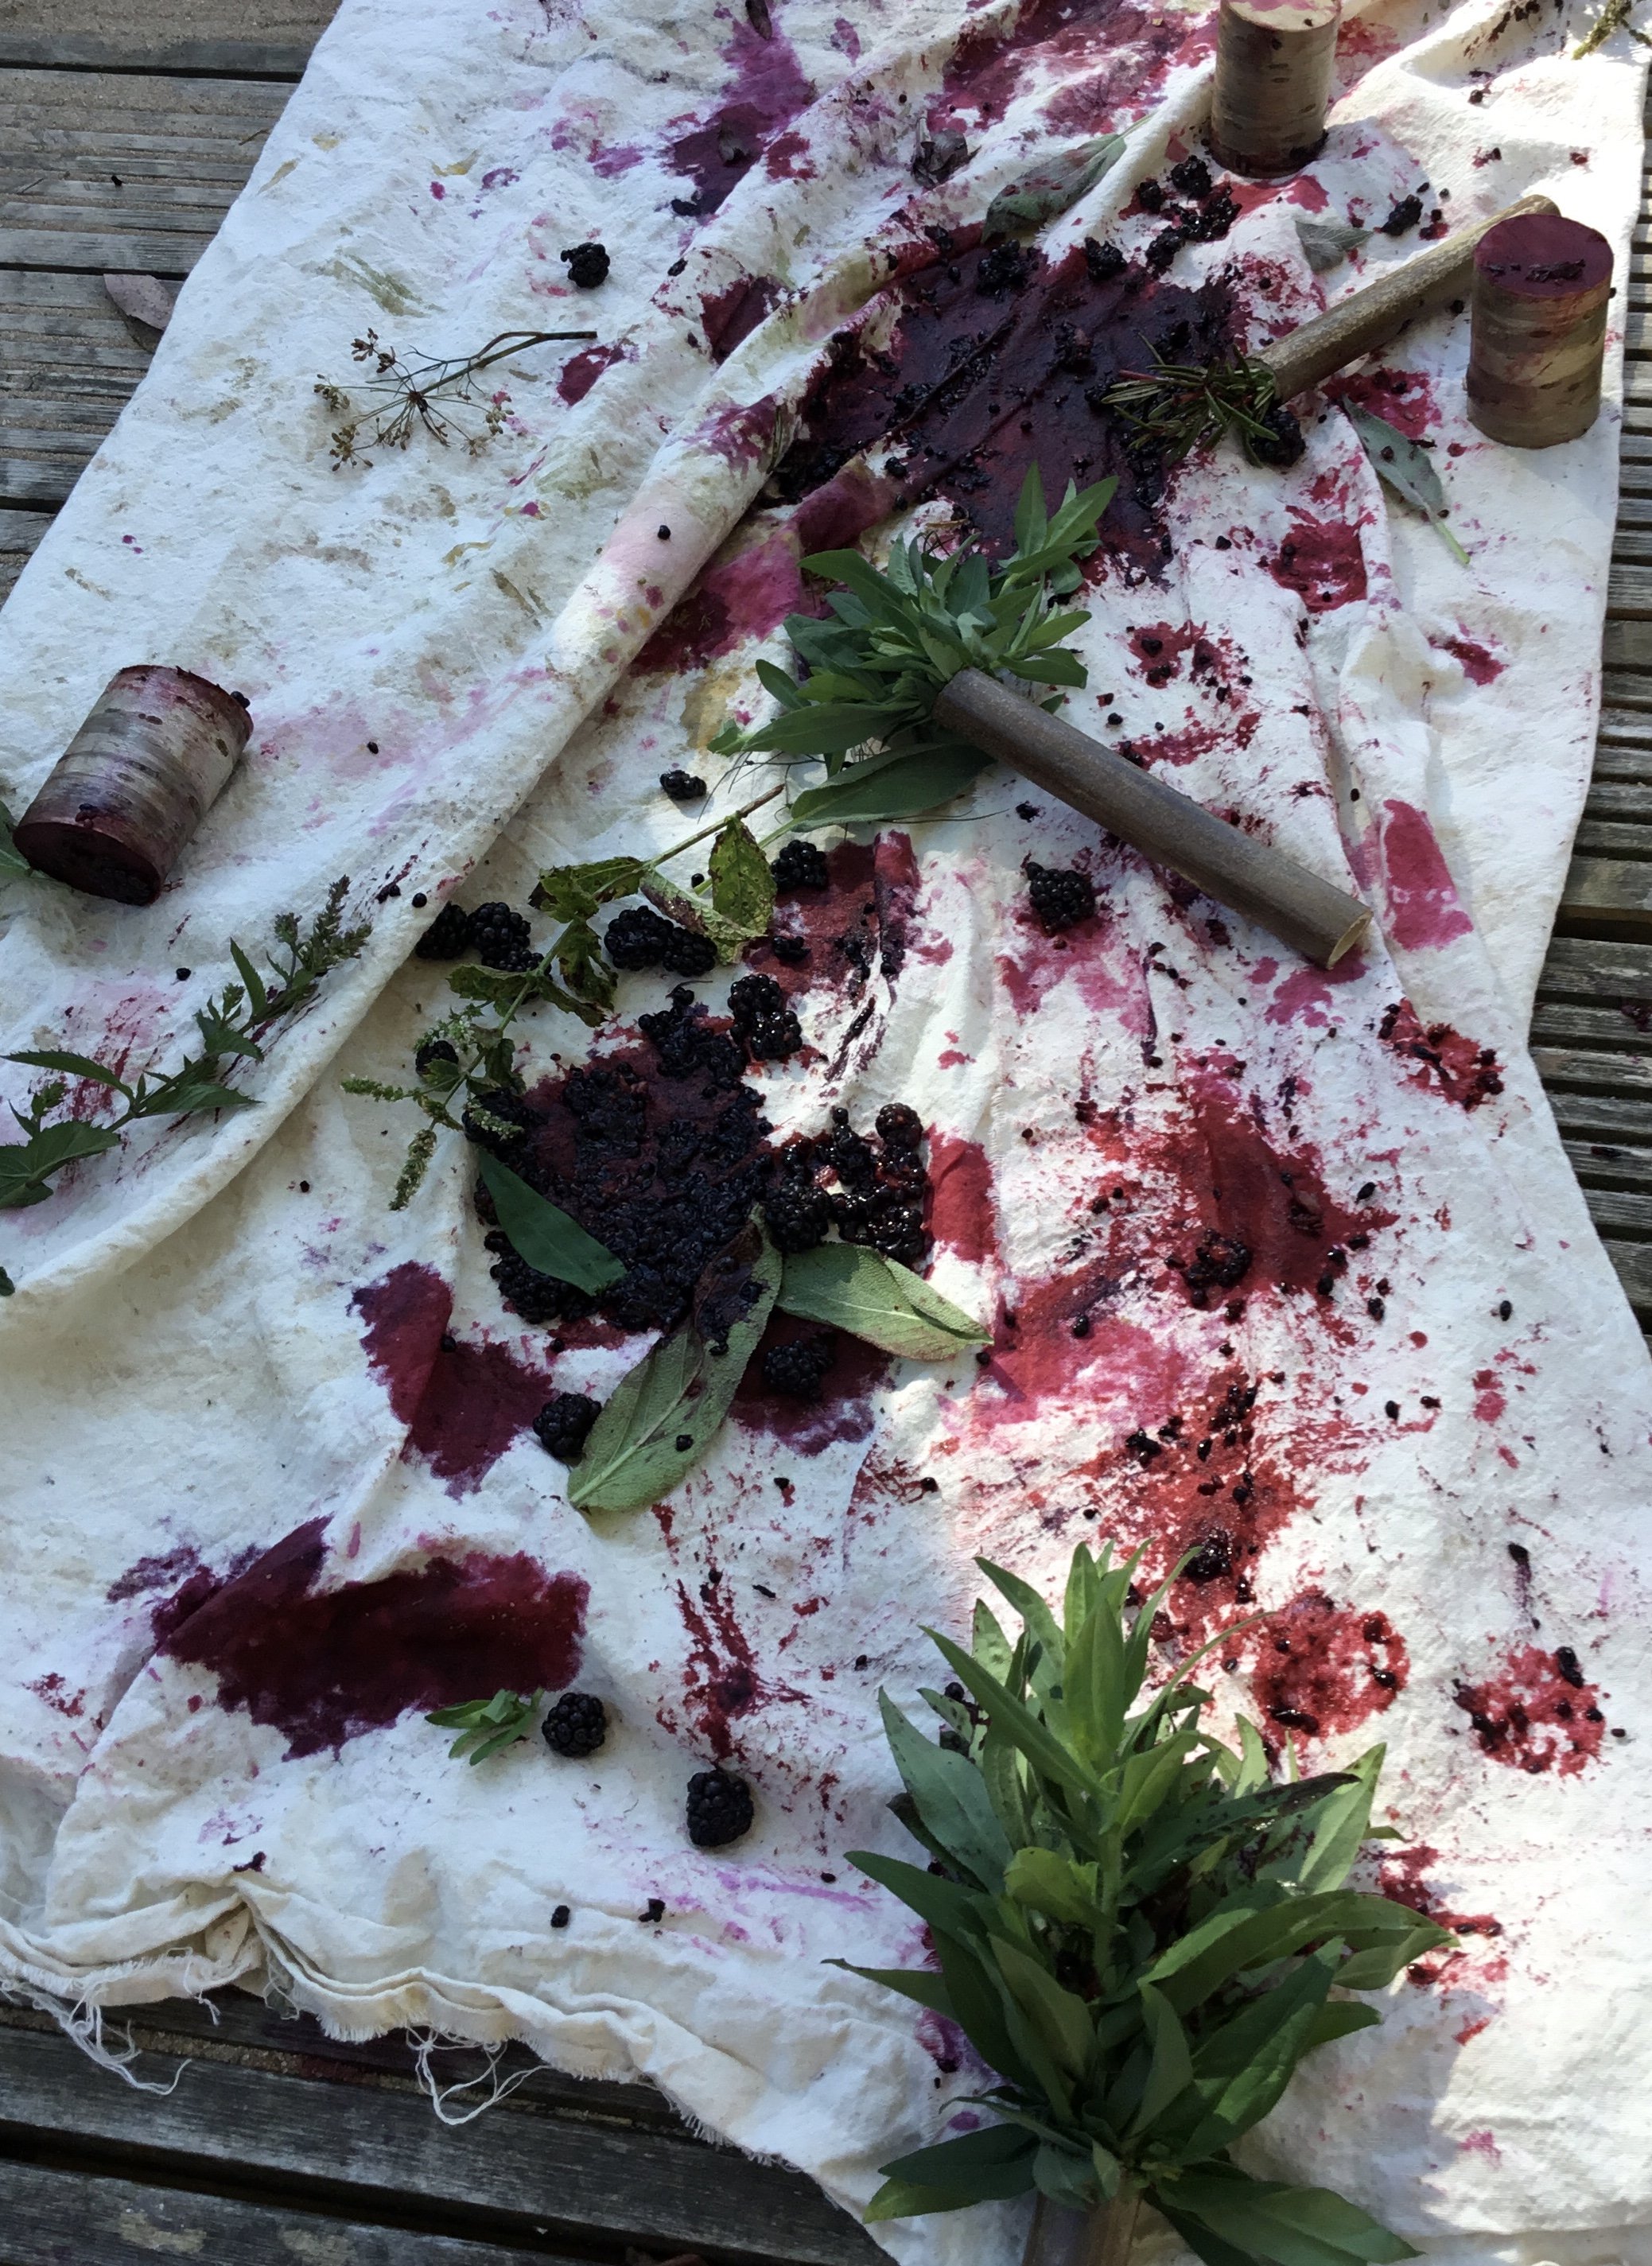
TIE-DYE FABRICS
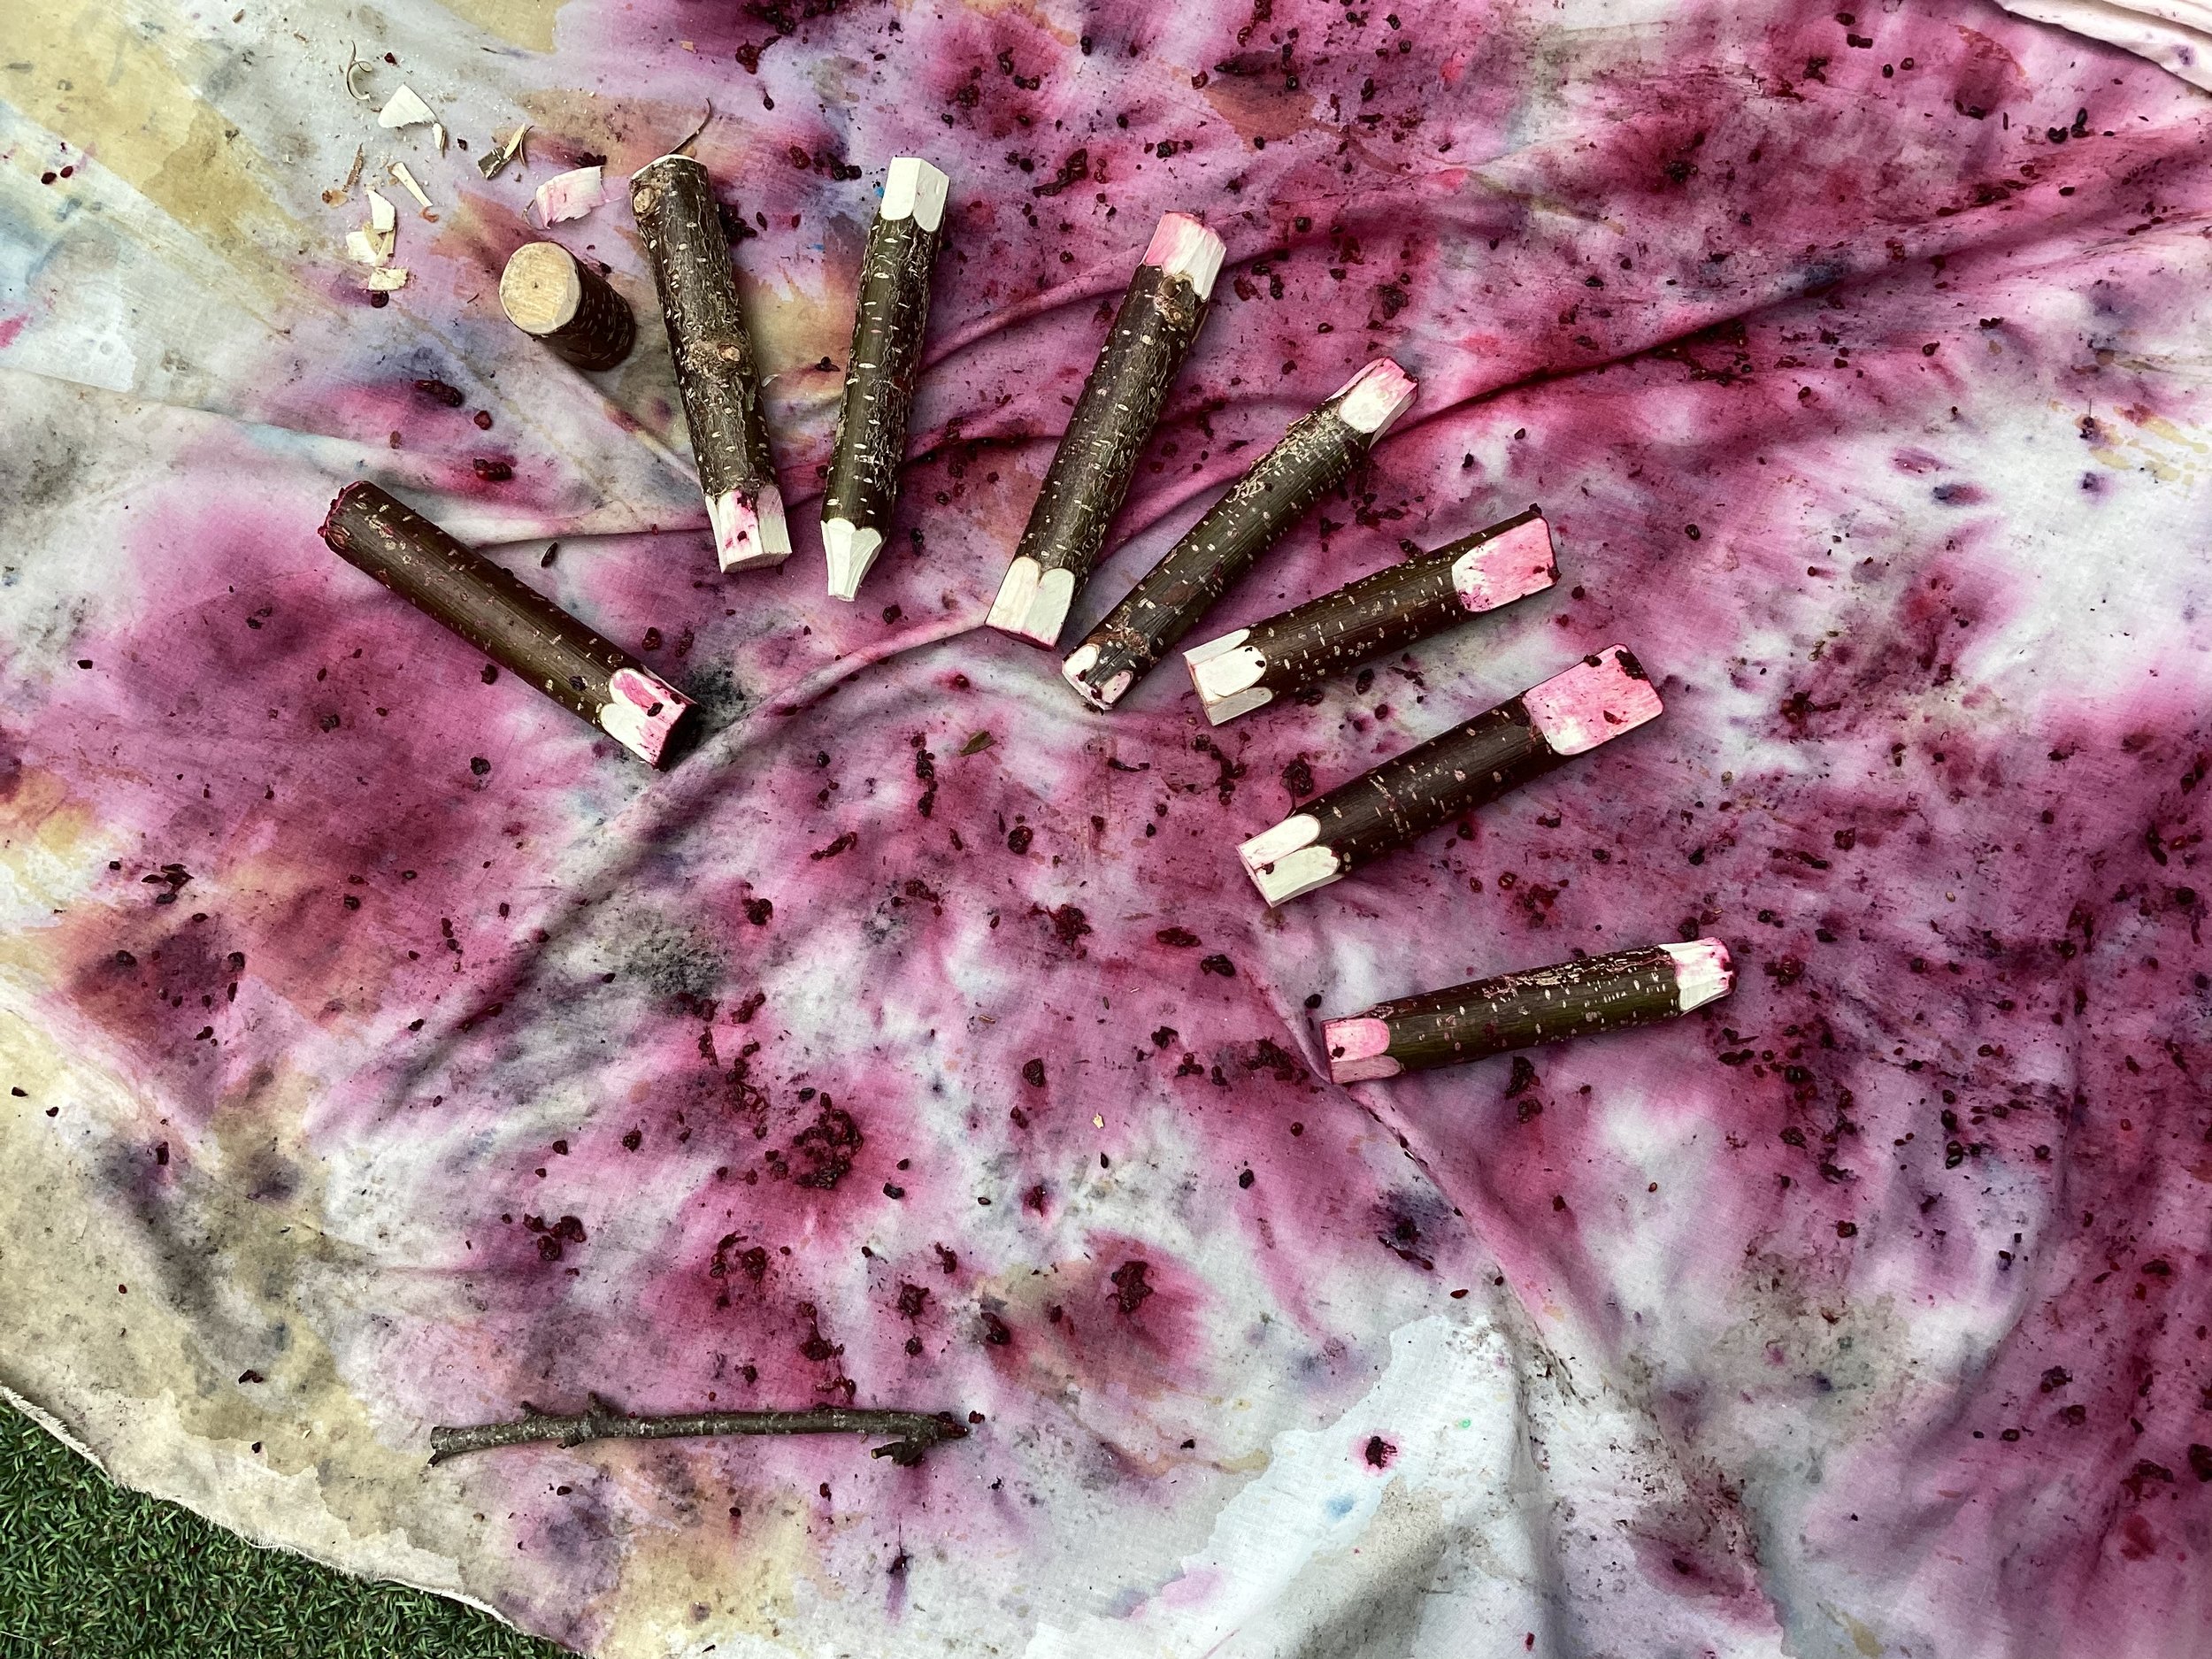
Imagine creating a piece of artwork that you can wear with pride or use to decorate a room in your house. Using the skills we have gained from the activities above, we have done plenty of experimenting with blackberry marks. It may not be the conventional way to tie-dye, but it works very well. All you will need is a large bundle of blackberries and white fabric - depending on what you want to make you may want to repurpose an old white T-shirt to print on or use an old bedsheet to create a row of colourful bunting. Hammer and mush away!
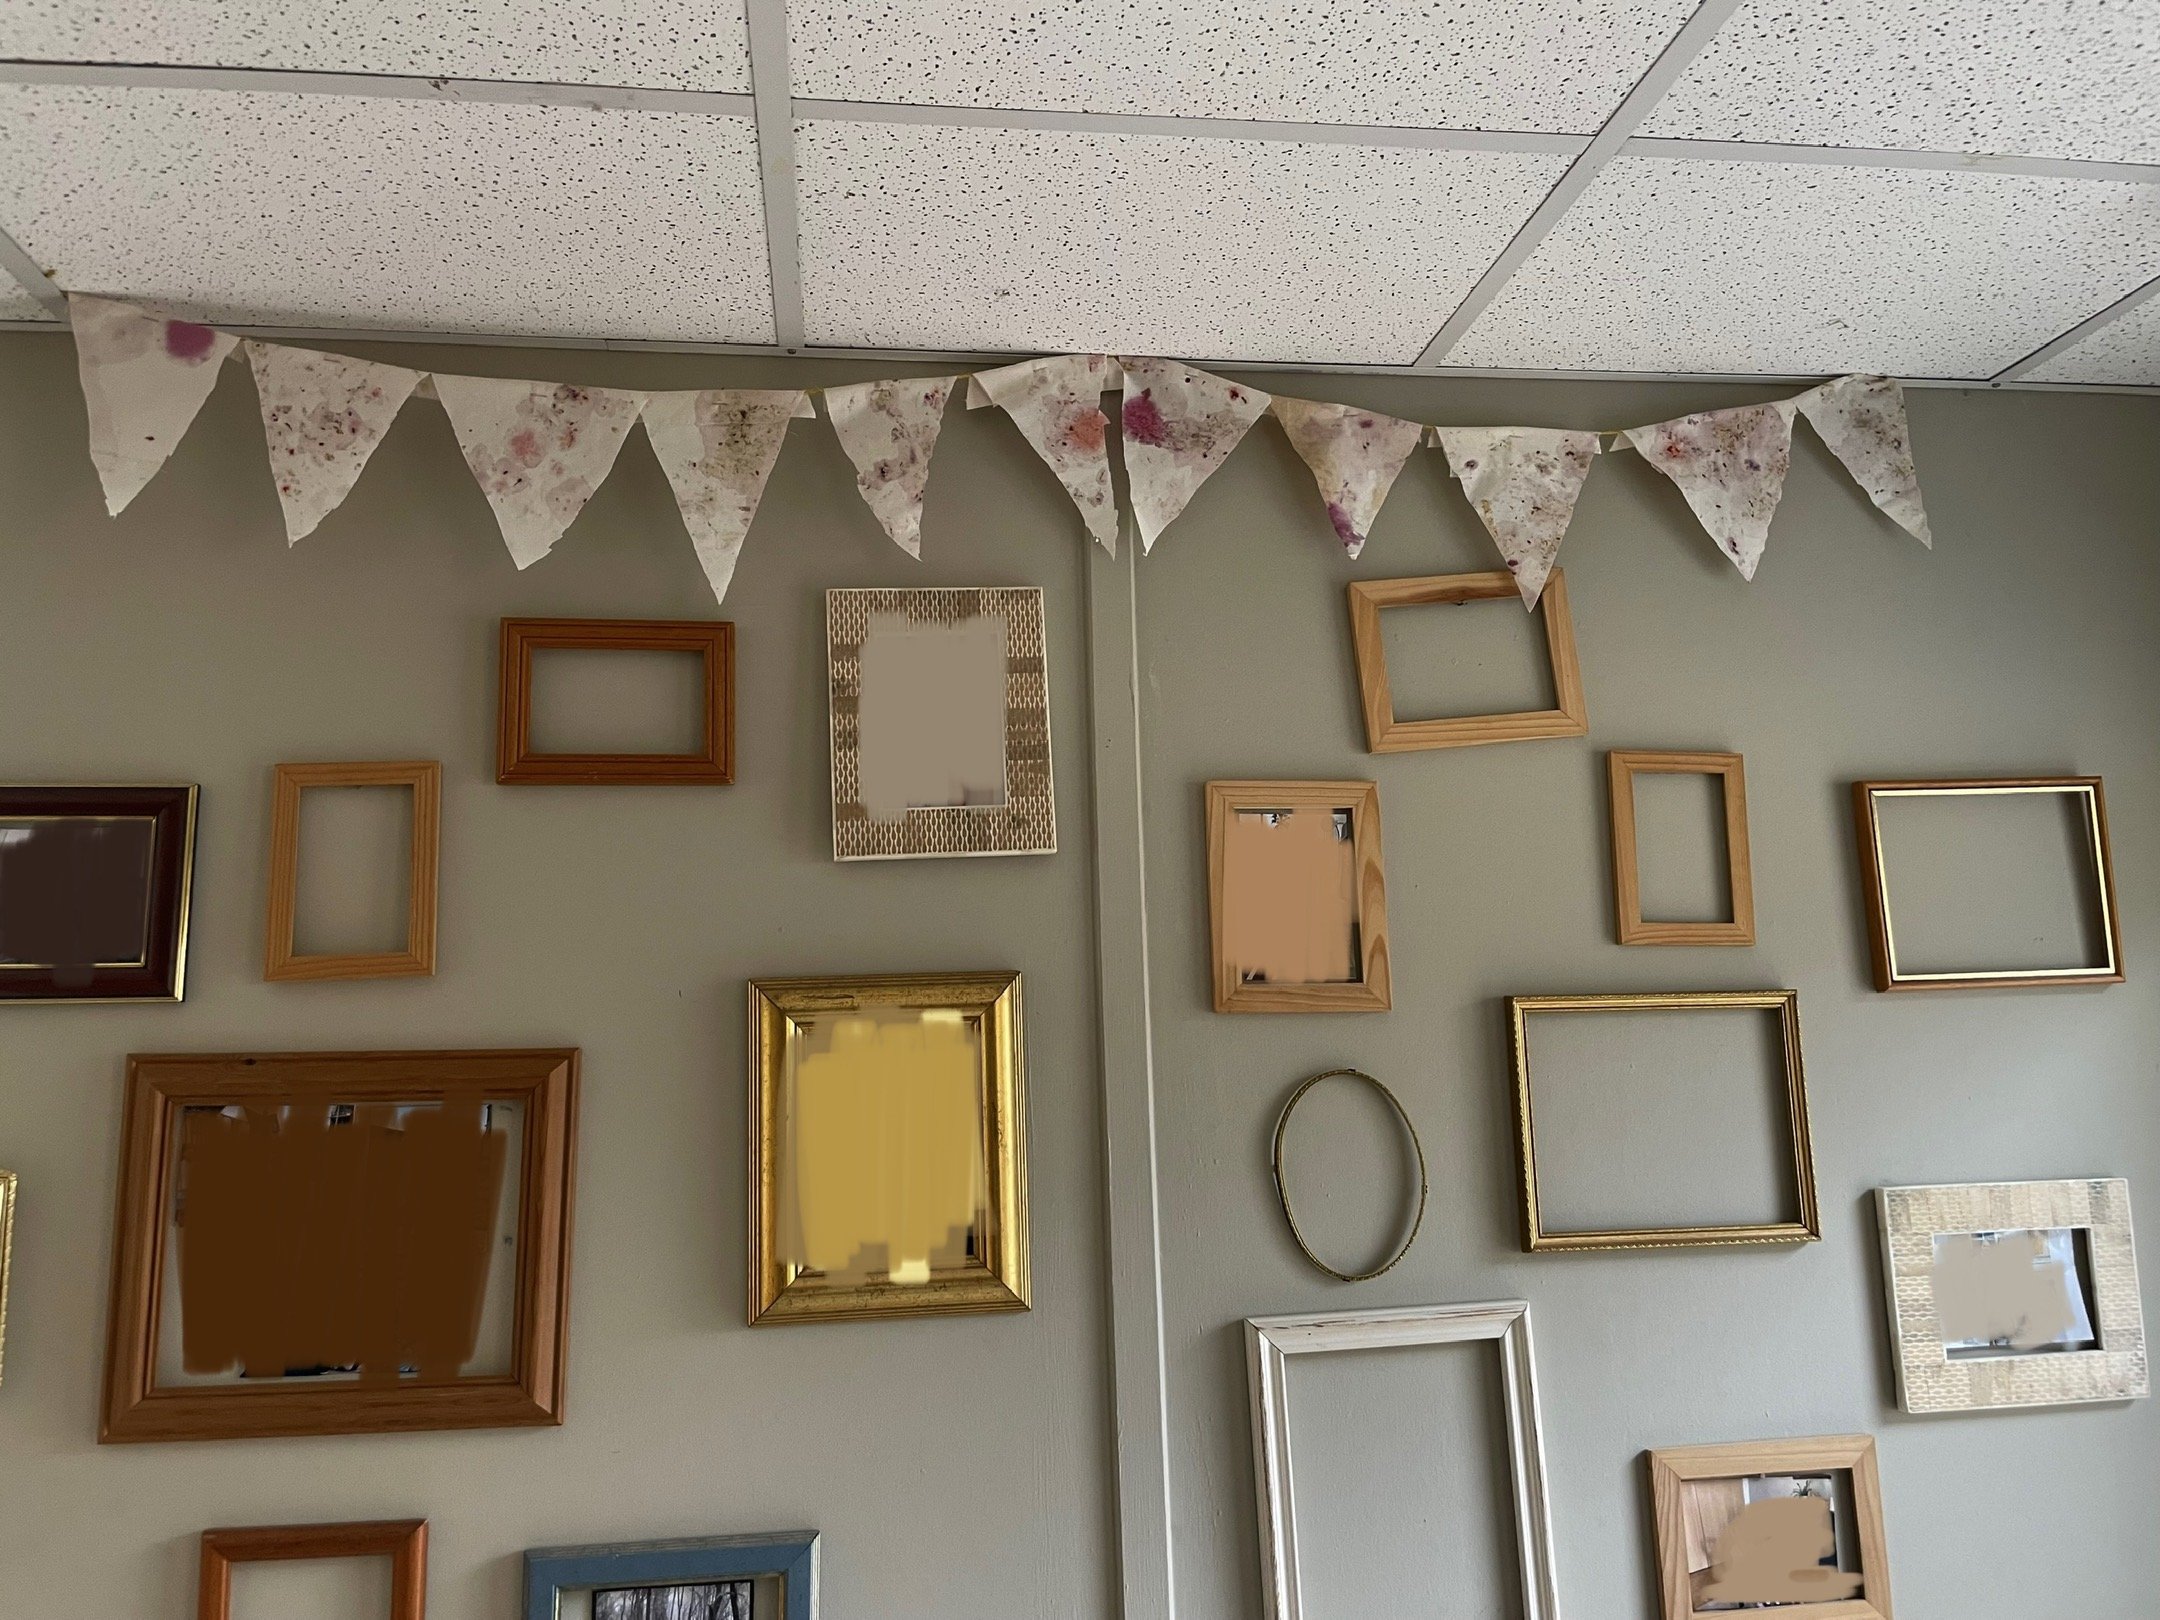
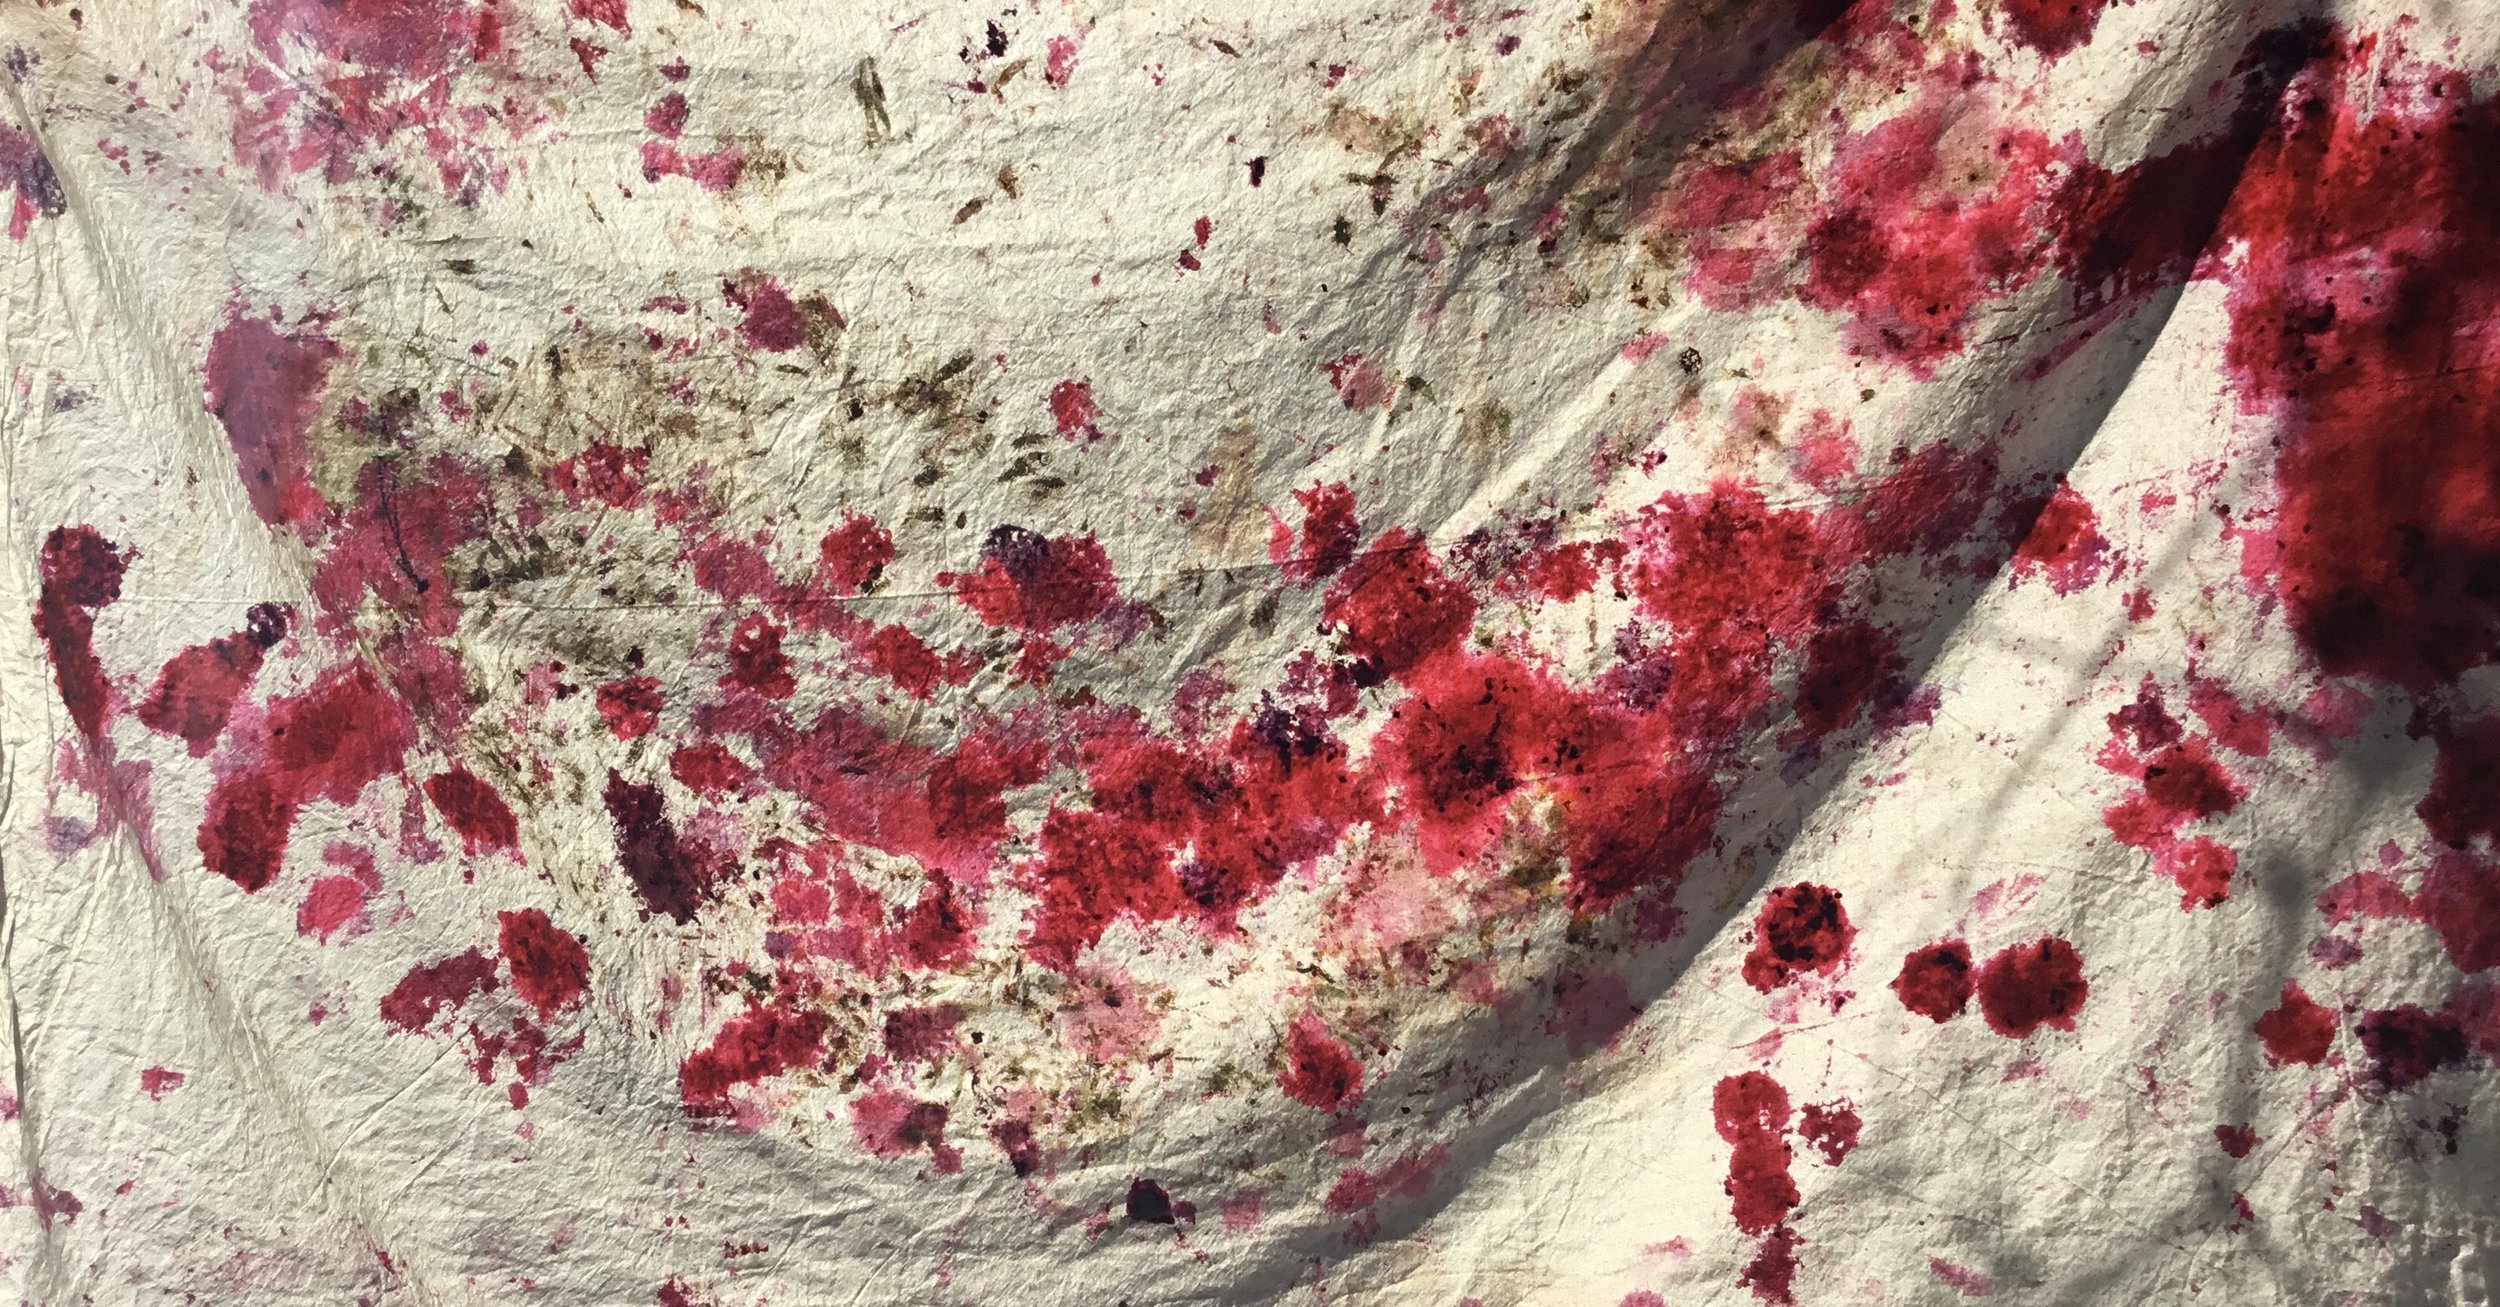
Proud prints that can decorate the room and put a smile on your face.
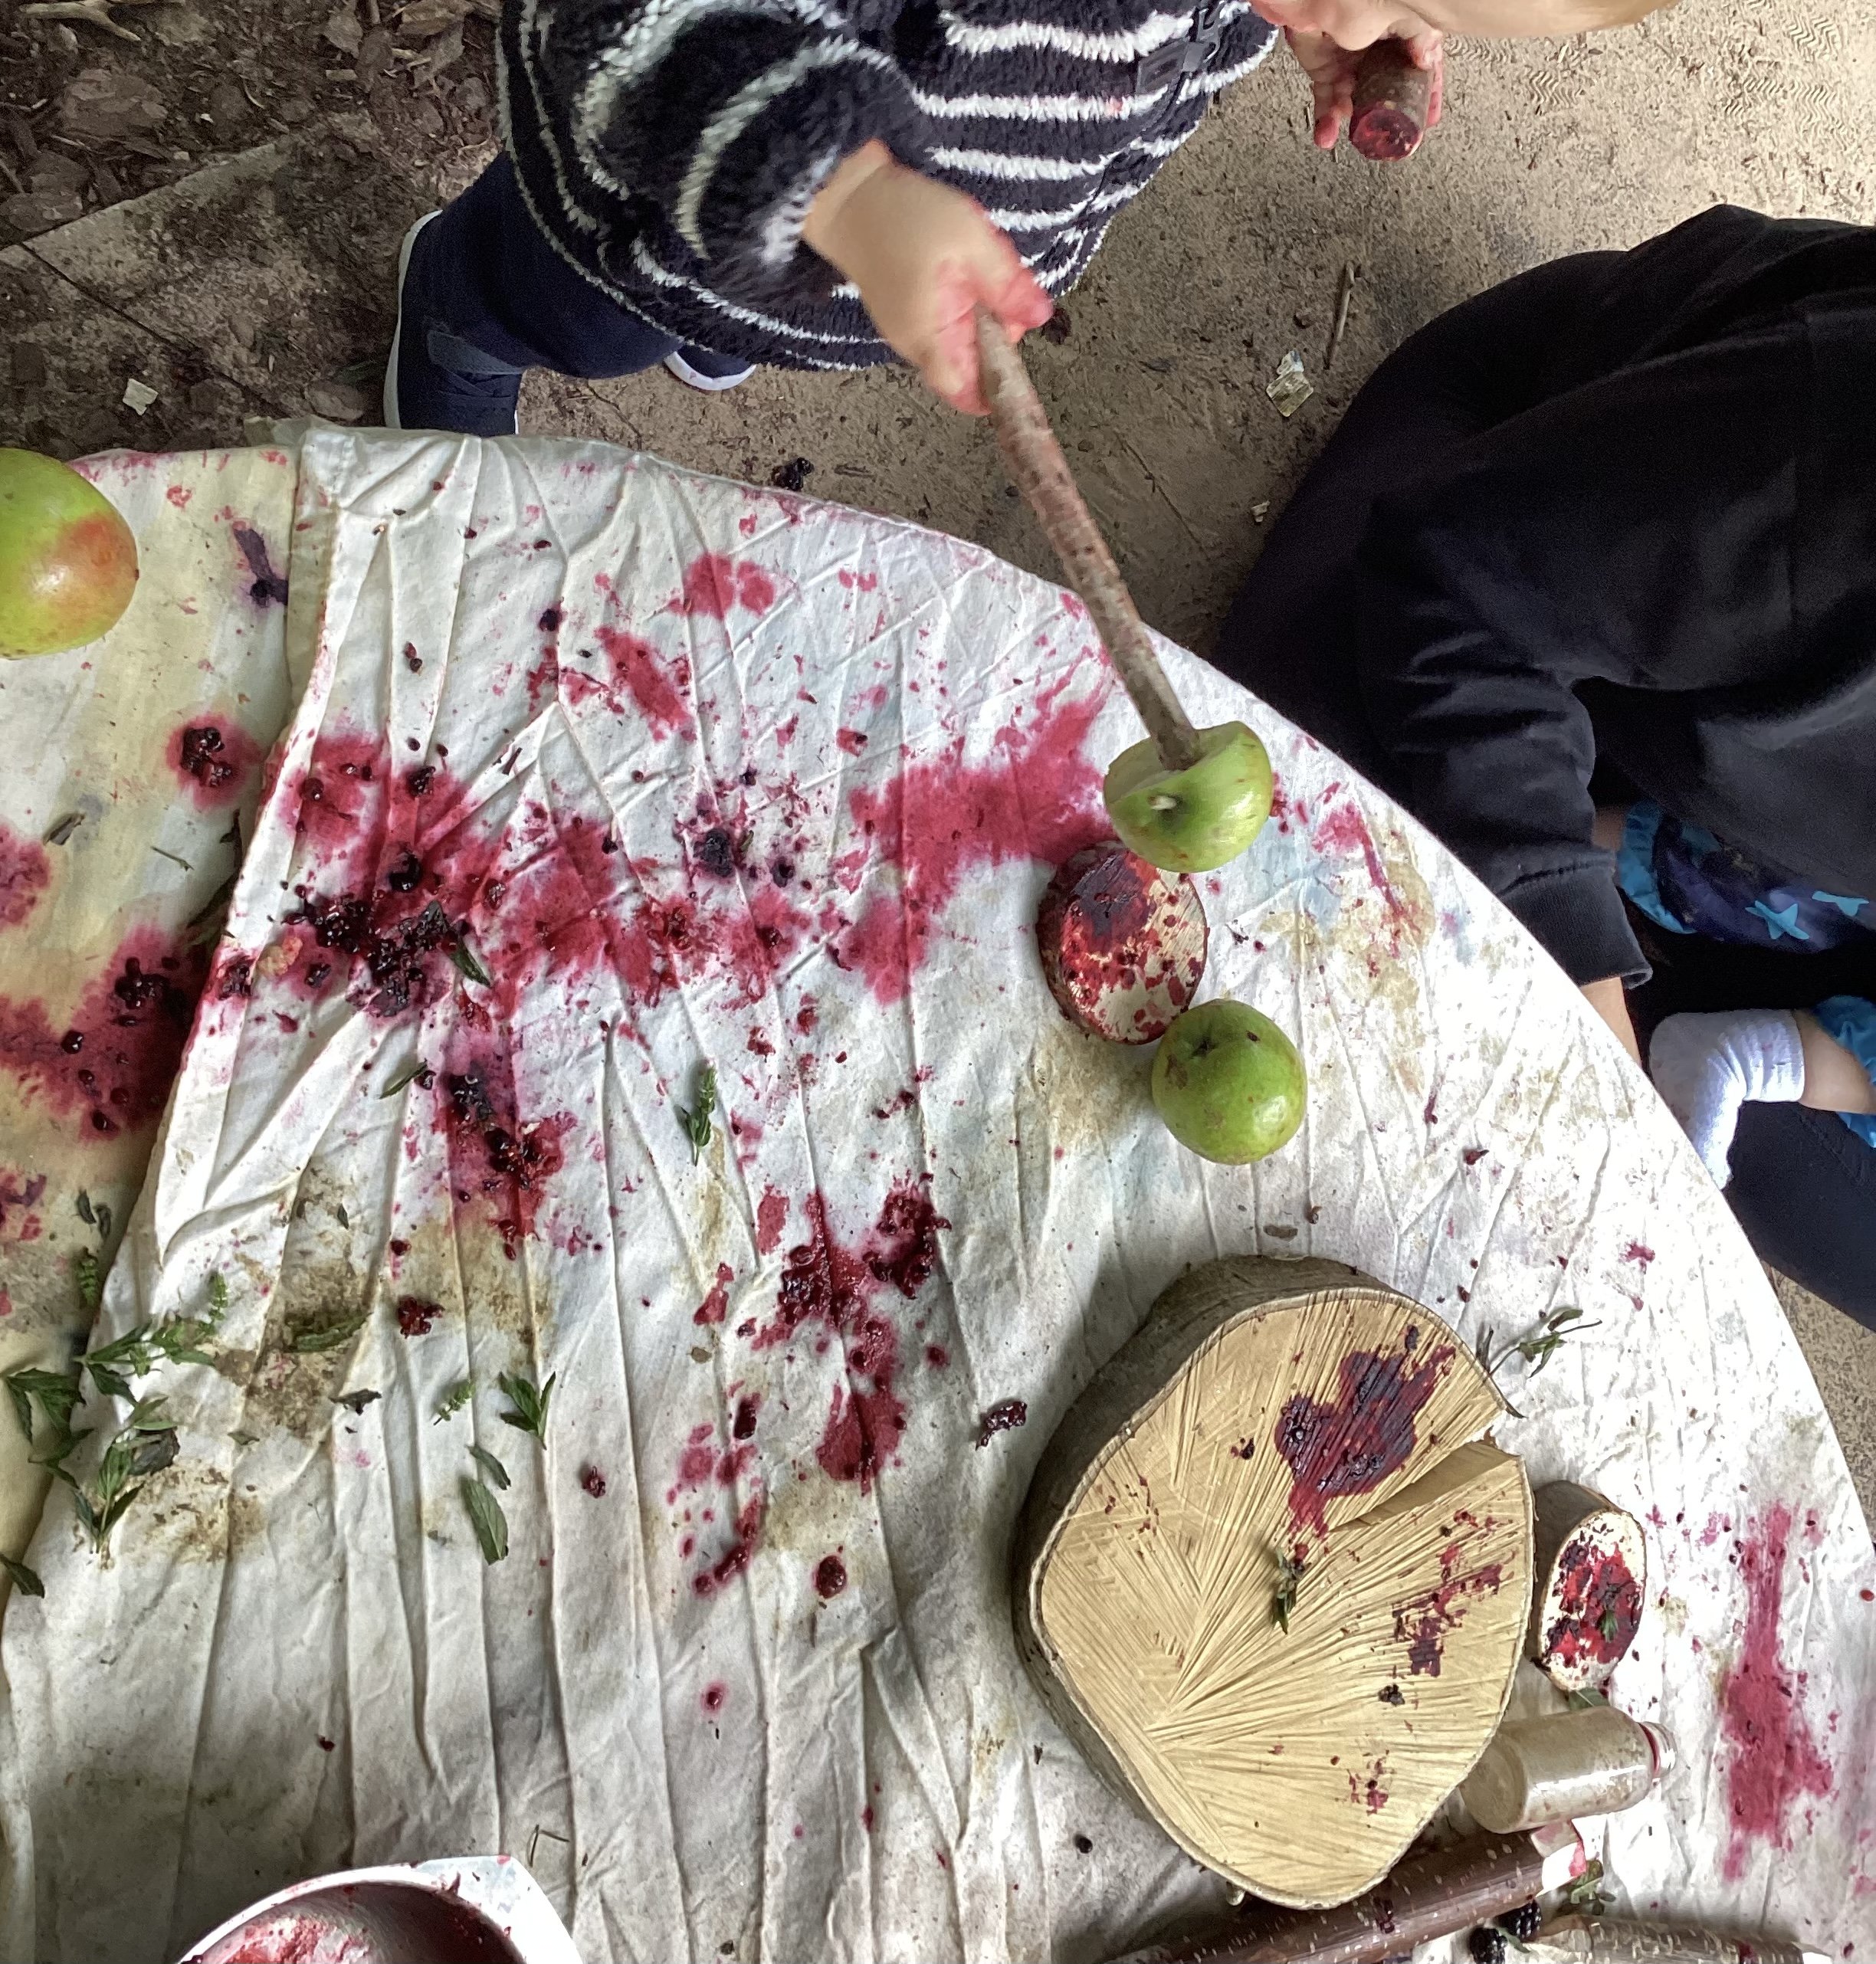
APPLE PRESS
Apples, delicious to eat, great in a warming crumble. Have you ever thought about using them to create art?
Just like in crumbles, apple windfalls pair wonderfully with blackberries and present us with the perfect opportunity to make artwork and get messy. When collecting apples for messy play we like to aim for the bruised ones, this way they are getting a second life, rather than being wasted - a perfect learning opportunity here too! Keep them whole, cut them up, or even push a stick into an apple to make a paintbrush. Lay out a sheet of fabric or paper, add some blackberries and squash away using your apples. Not only will the paper change colour, so will the apples!

Our afternoon just got booked solid
A local wander with a group of toddlers has almost endless possibilities, some that can be created and others that just flow your way at the right time.
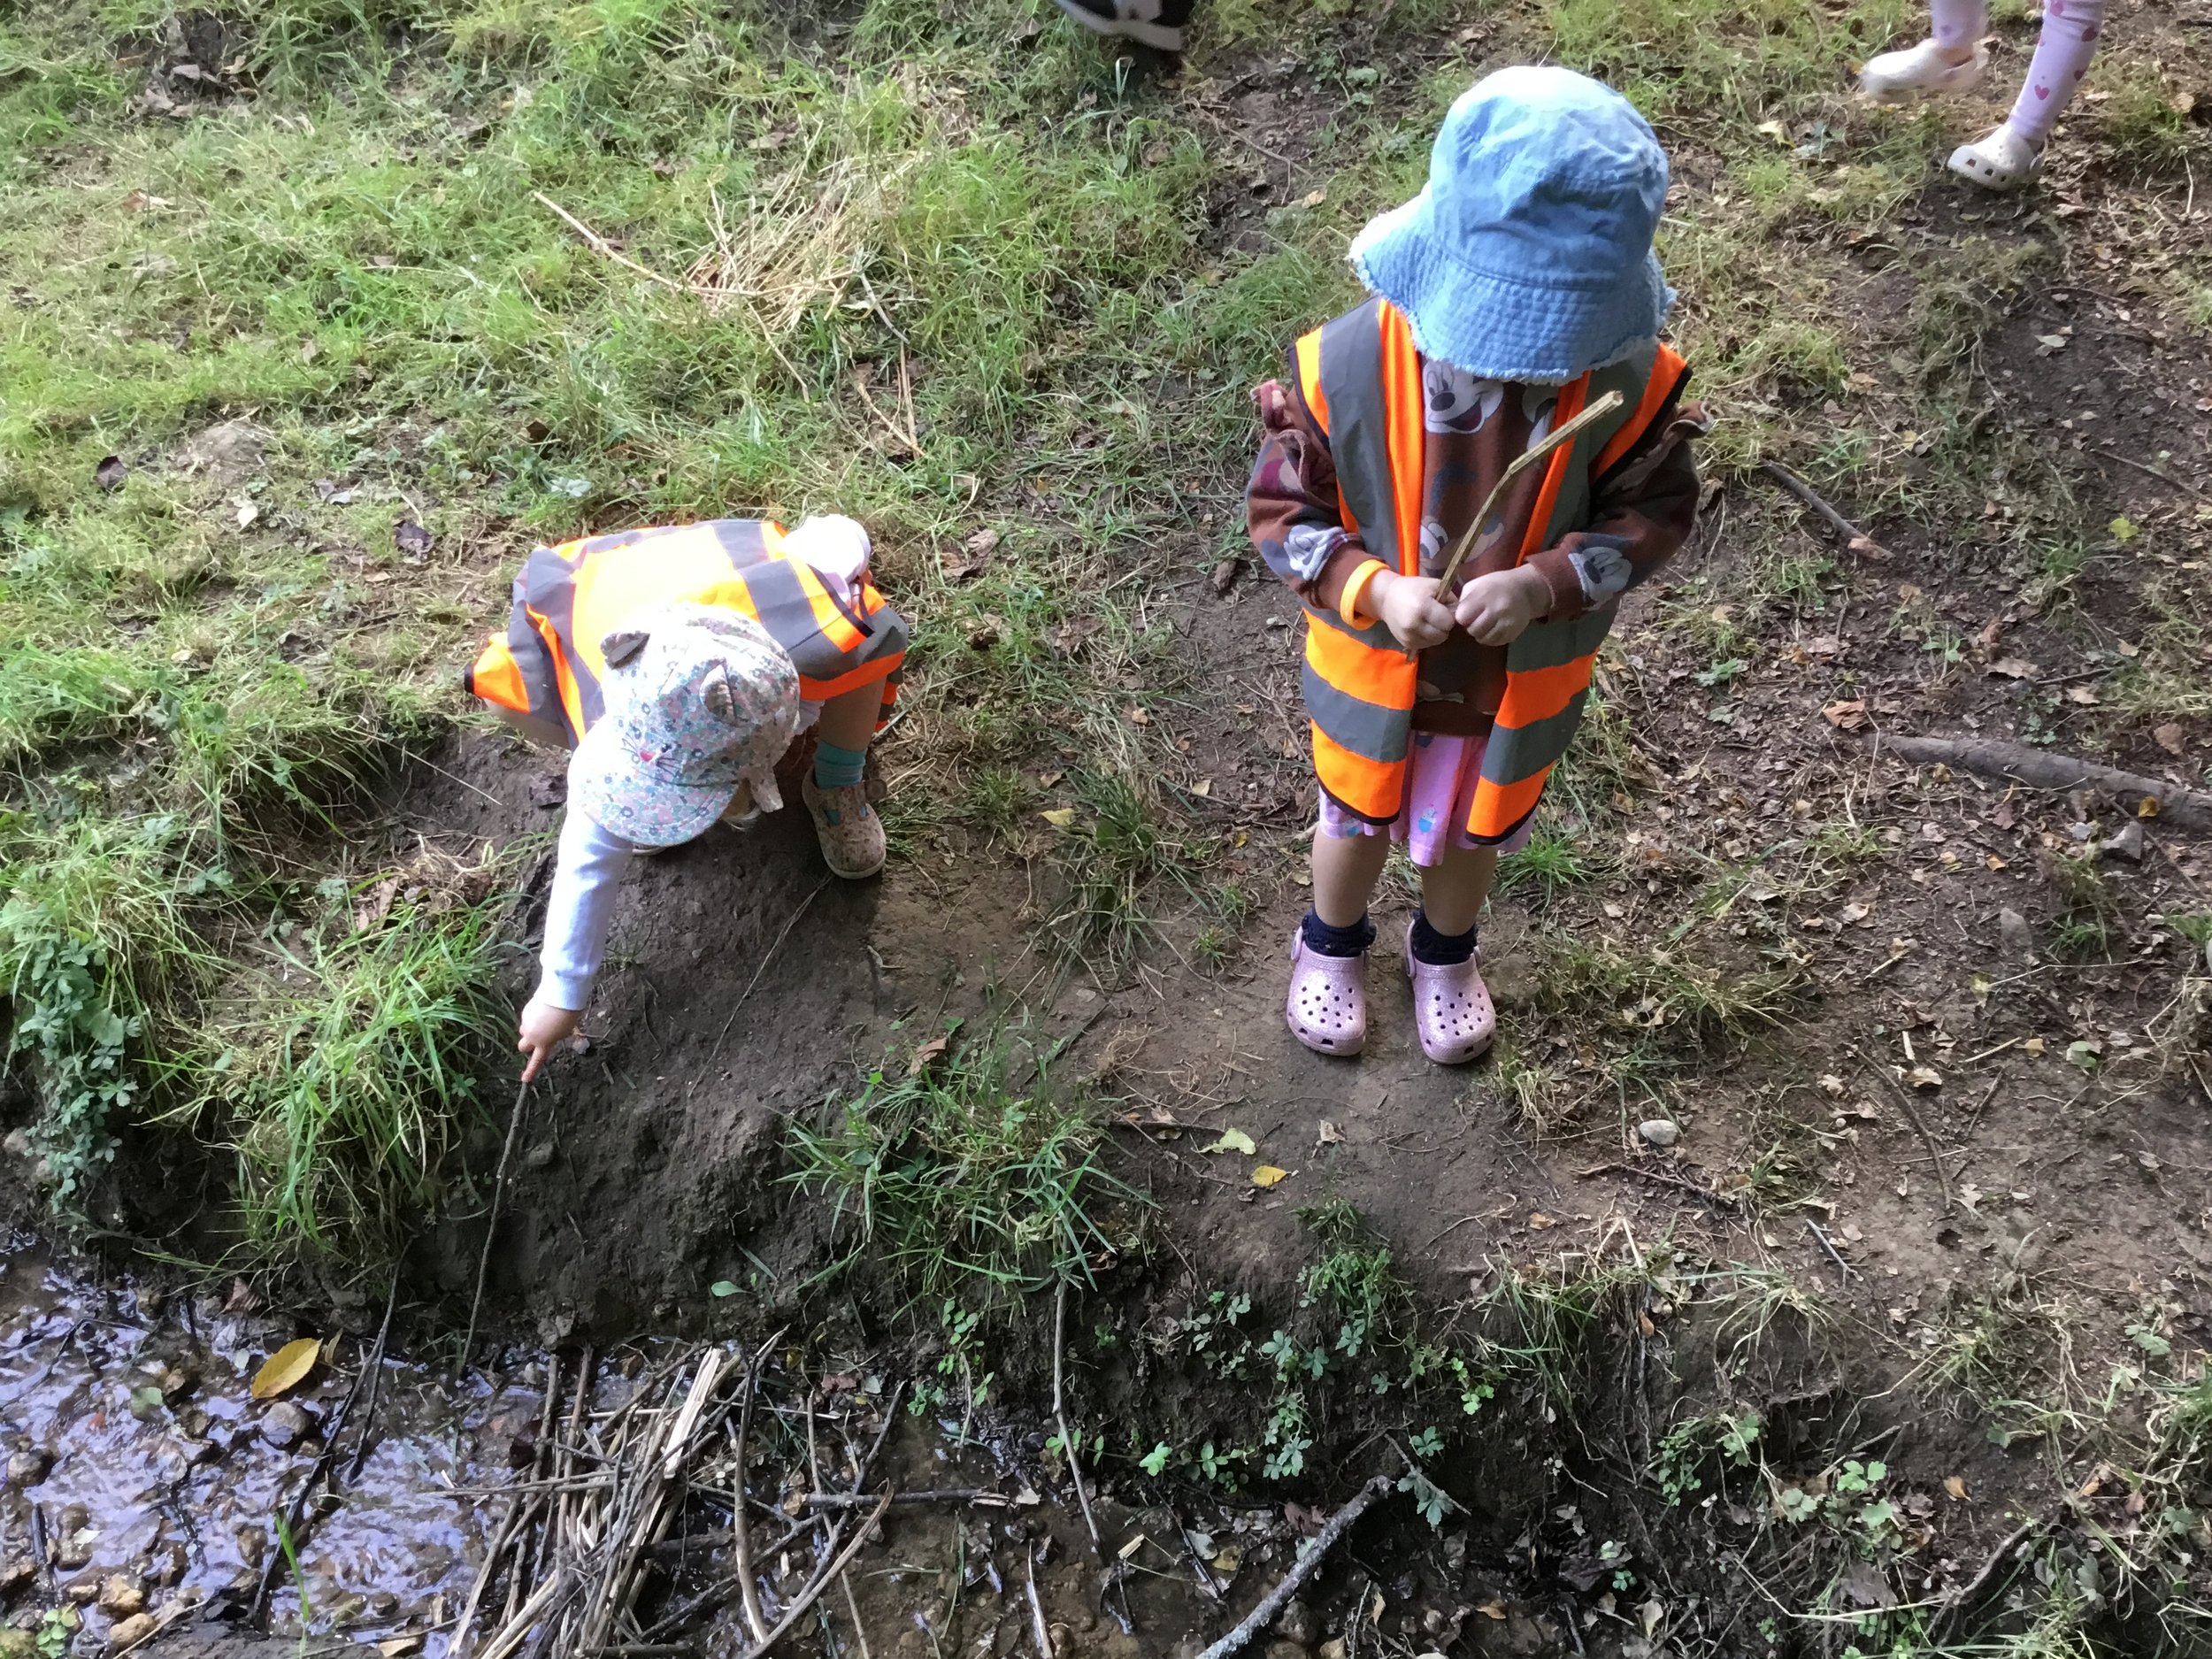
During a walk from Weston we had been finding out which leaves were soft and which were prickly, we had made a flag out of a stick and leaves, we had hunted for grasshoppers (heard but not seen) and we had been collecting plenty of sticks and seeds along the way. However as we passed a thicket of brambles and thorns there was a faint sound drifting towards us, the unmistakable sound of running water.
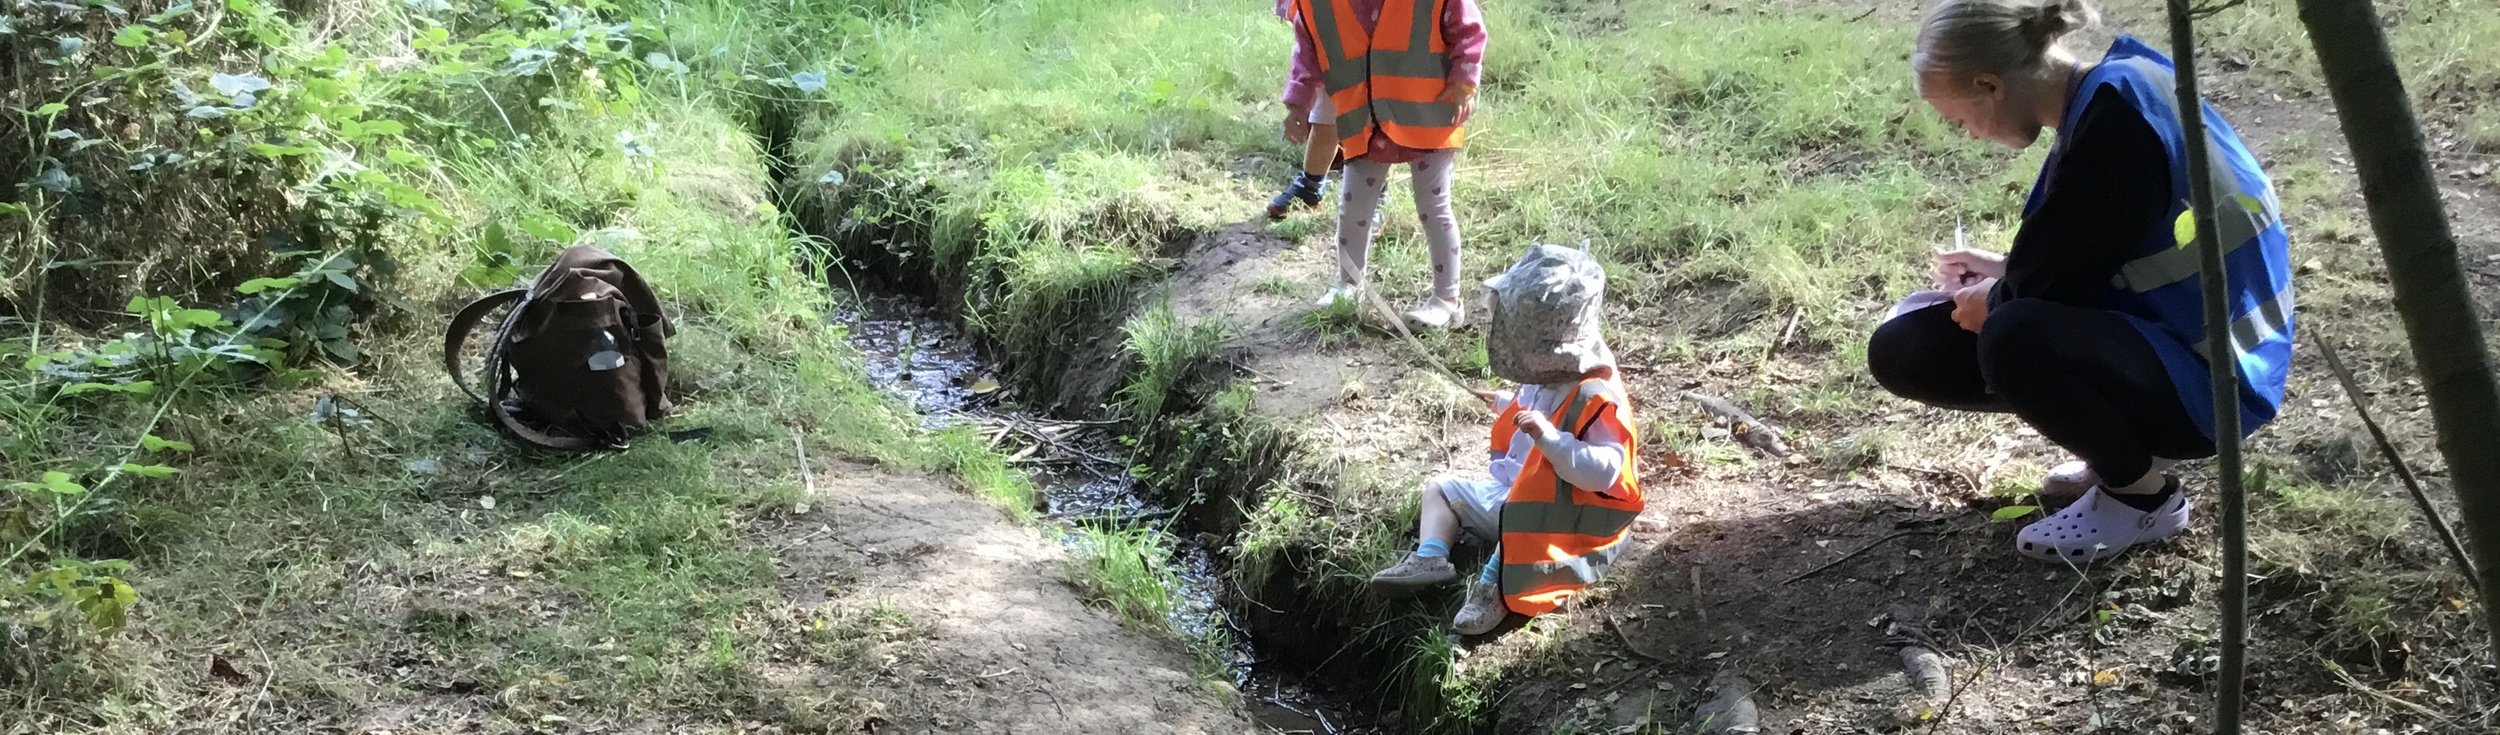
The energy during the walk had been very big with the children excited to be outdoors, roaming and exploring every which way but as we came to the stream (tributary, trickle) the energy became more focussed with children finding stones to drop in, sticks to build bridges with and even emptying the bucket that had been used for collecting blackberries so that water could be collected and poured instead. The sound changed as well as shouts became murmurs, conversations dropped away to wordless exchanges. We could have stayed all day.
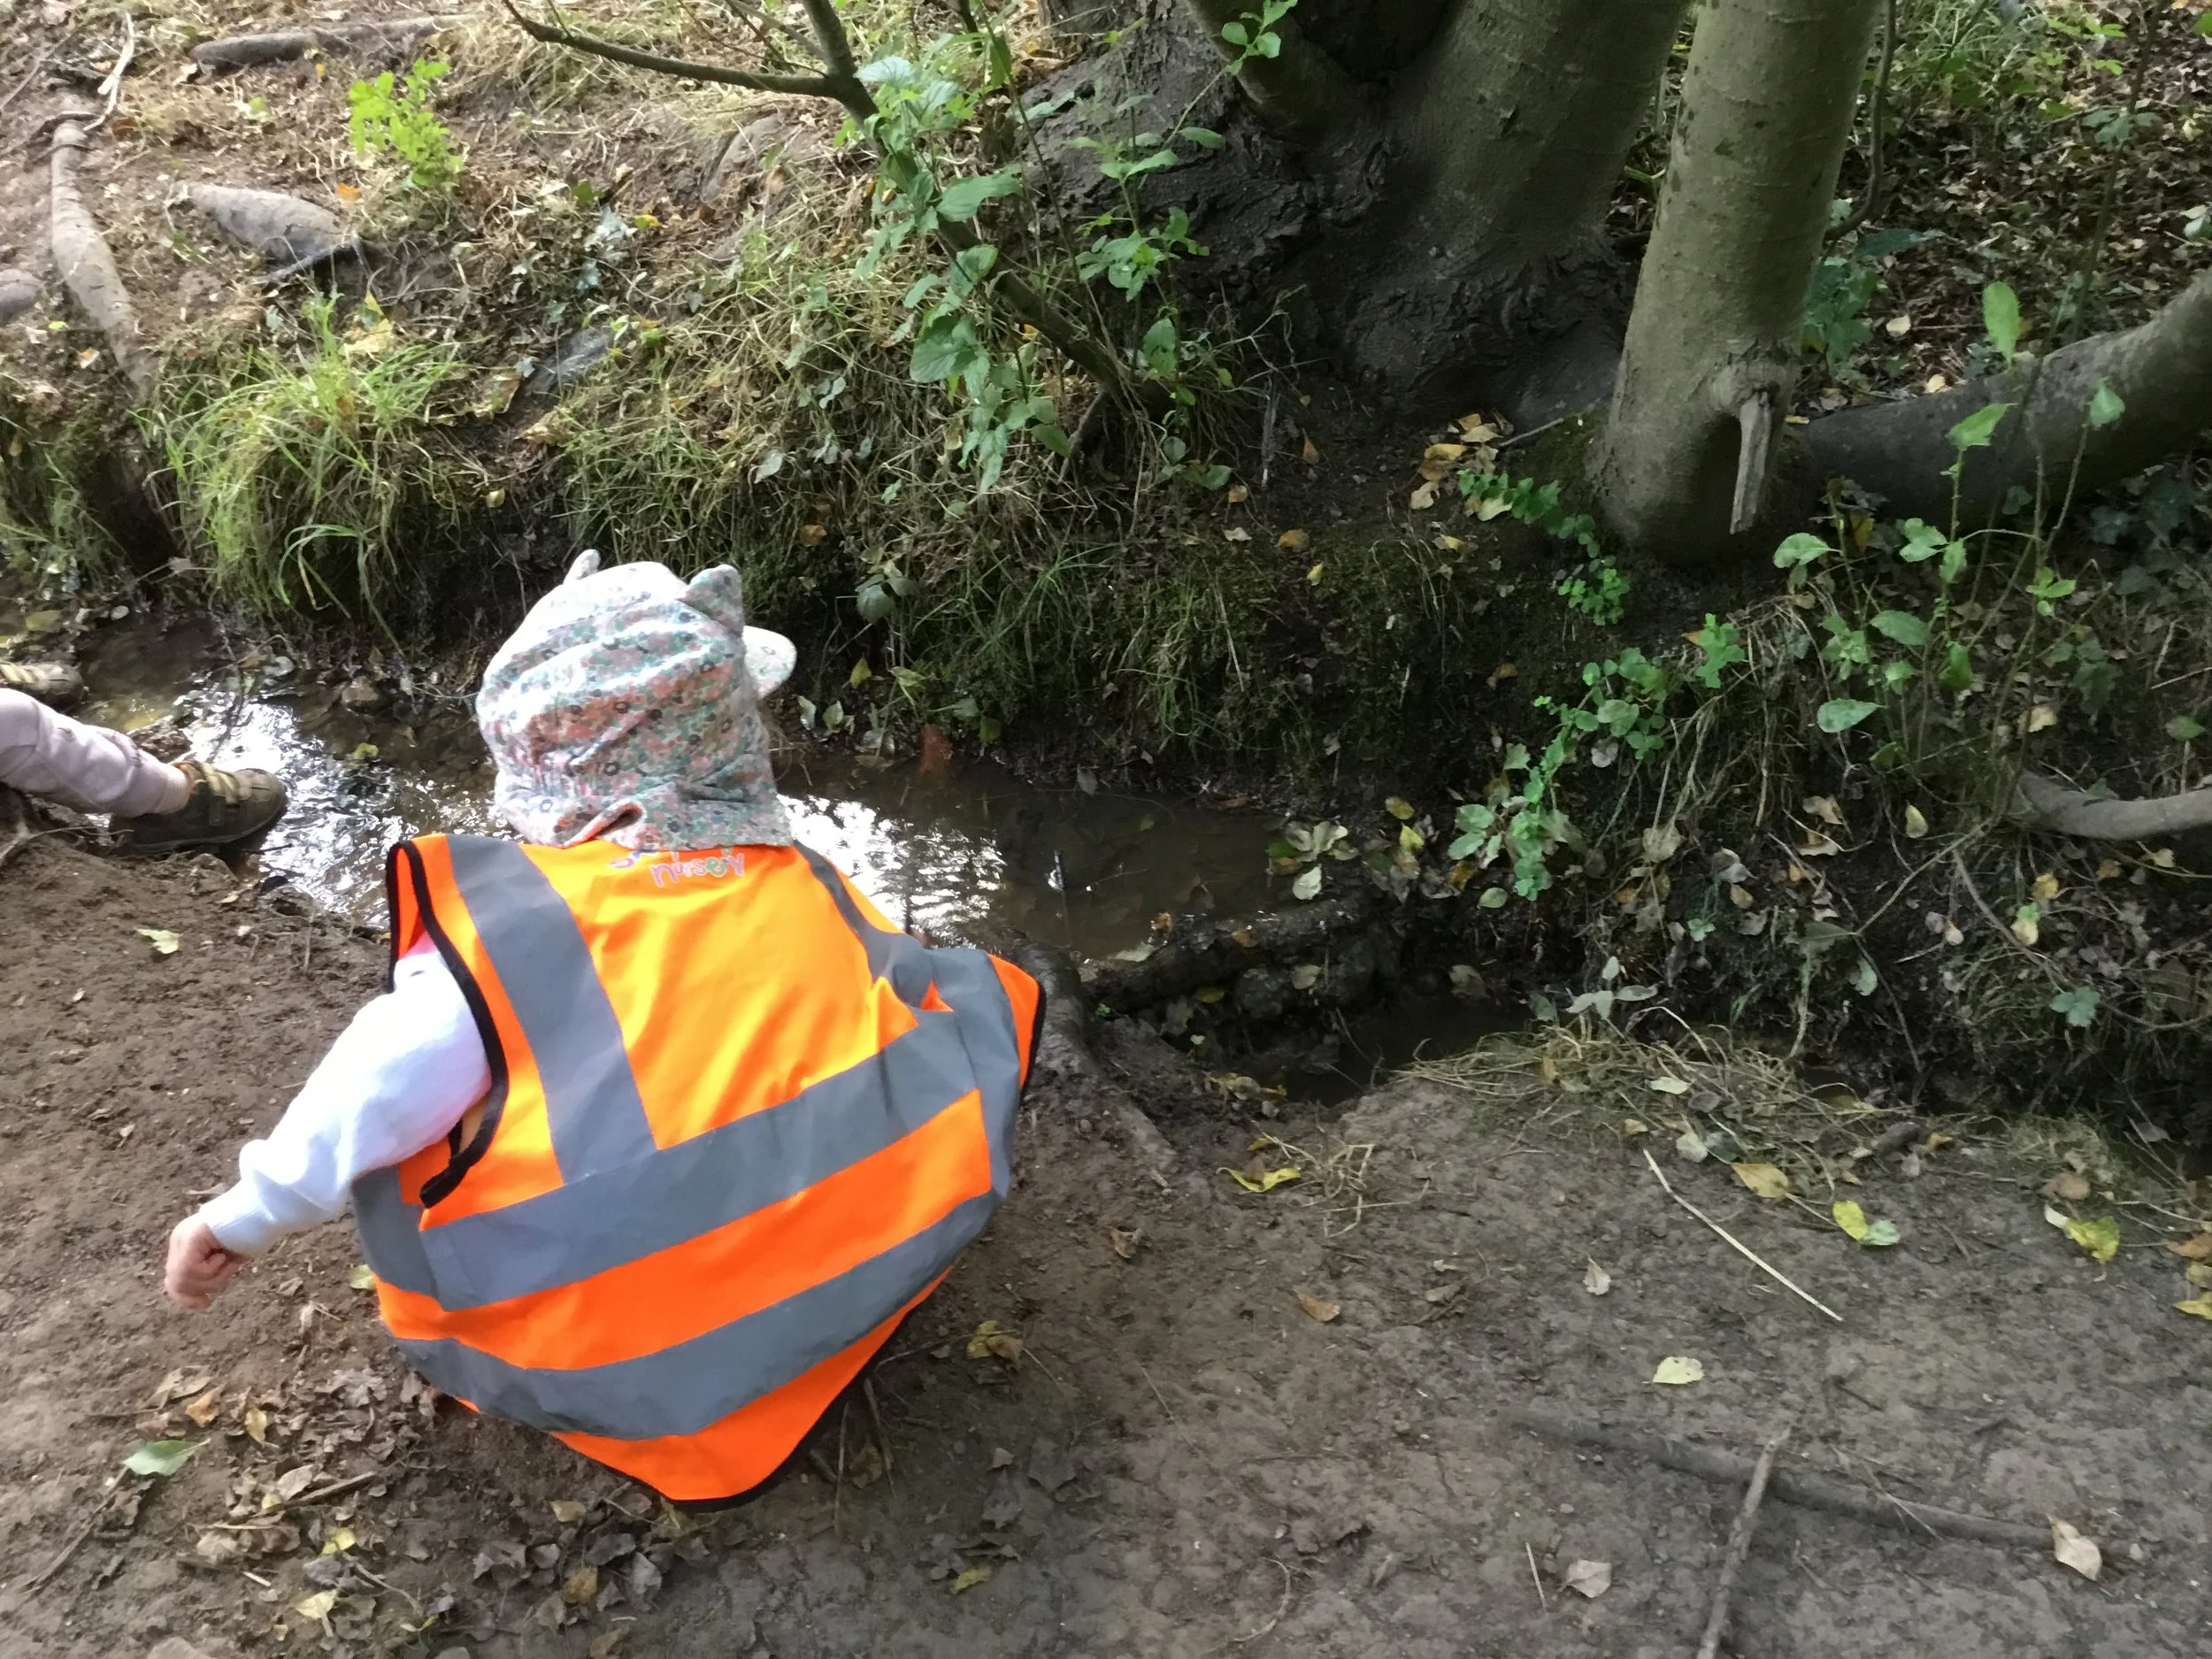
One of my biggest influences as I was growing up was a cartoon strip called Calvin and Hobbes which centred around a six year old boy and his stuffed (or possible very real) tiger. The narratives are all based around the trials and tribulations that Calvin faces but one thing that he always engages with is being outdoors. The title for this post comes from this short strip which captures the way that even just a trickle of water can capture the attention and provide almost endless opportunities for learning, we just need to pause and go with the flow.

Pick of the day - blackberries
Want to know what’s ready to pick out and about today? Read on to find out.

Blackberries at various stages of ripeness
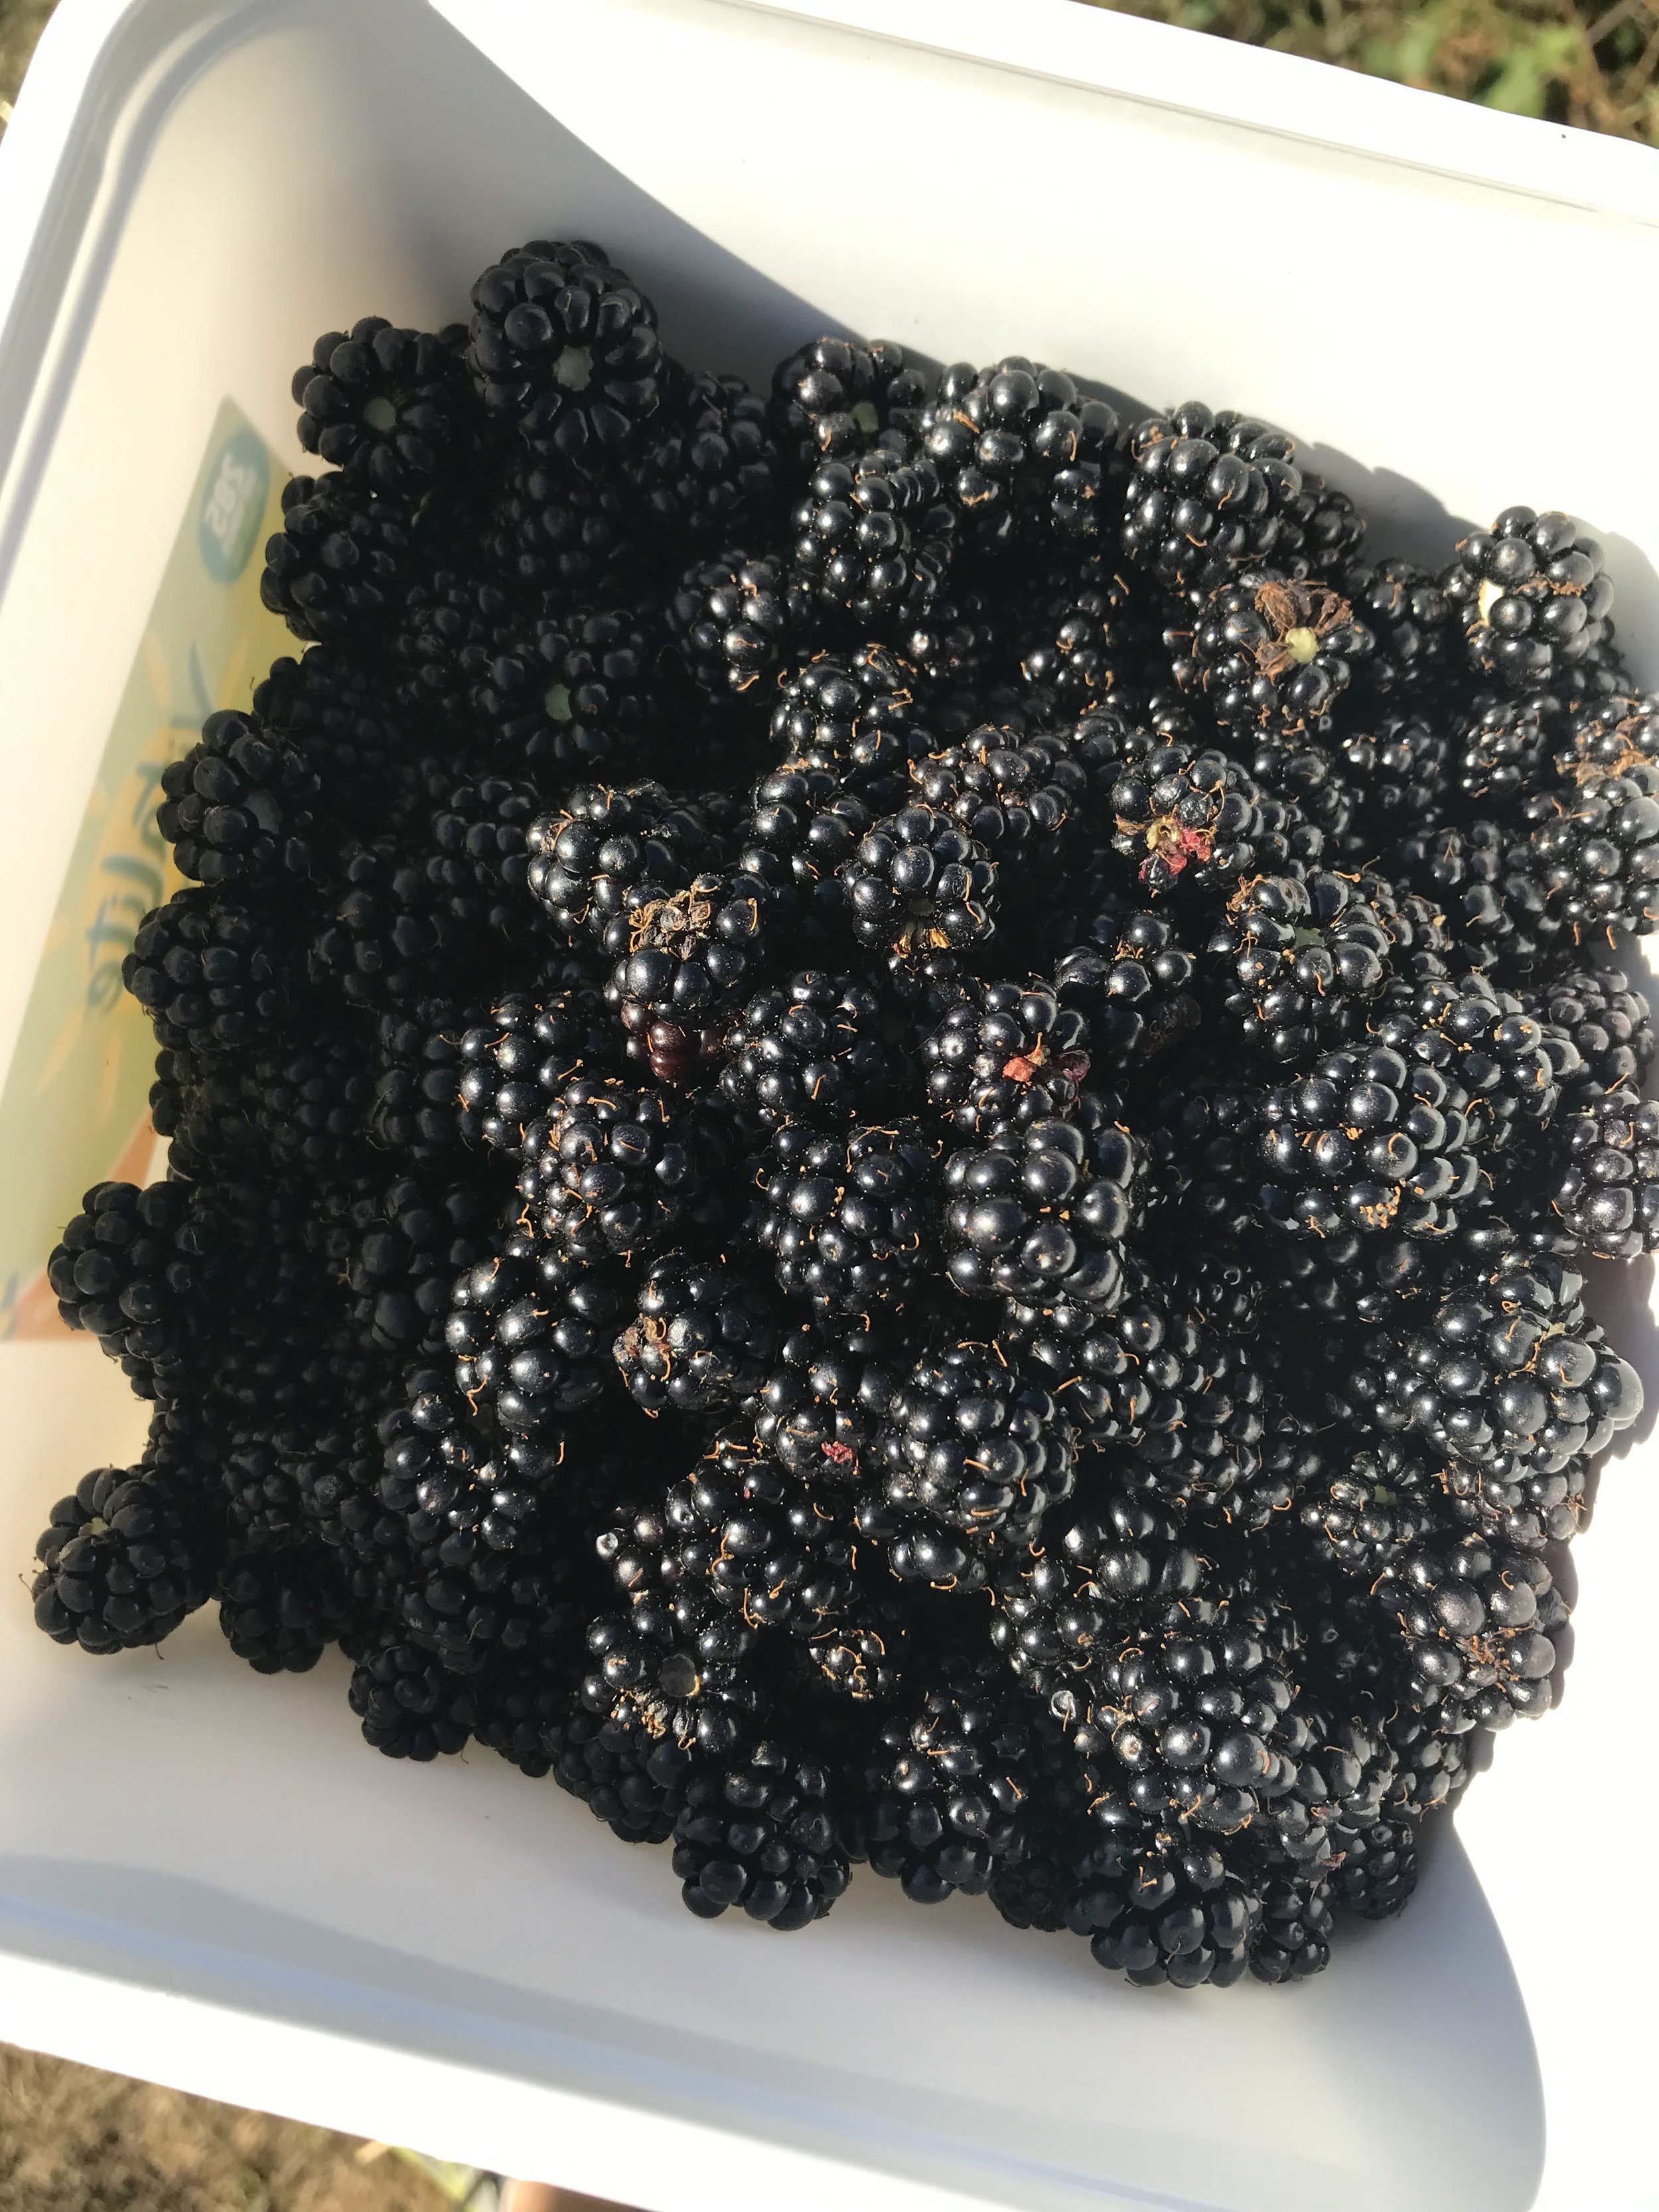
A punnet of ripe blackberries
Blackberries (Rubus Fruticosus) are a common fruit along borders, hedgerows and margins that ripen between August and October.
They grow on Brambles during their second year of growth. Bramble leaves are a key food source for the larvae of several butterfly and moth species and the fruits are eaten by several bird and mammal species including us!
Playing with mashed berries and paintbrushes made from bamboo and willowherb
When picking blackberries make sure the whole fruit has ripened and the fruit comes away easily. An extra check is the point where the fruit was joined to the stem. If the join is light green the fruit will be sharper and more sour, if it is purple the fruit will be sweeter.
Using blackberries
Eating
When you’ve picked a fresh, juicy blackberry it’s hard not to just pop it straight in your mouth but if you manage to get a few home they are perfect for pies, crumbles, cordials and sauces…. or you can just eat them (try to share with others!)
Art

Bright bursts of colour!
Try folding up a handful in a piece of material and hit it with a hammer and you will see the juice soak into the cloth turning it bright red. To extend it try mashing them in a pot and make a paintbrush to spread the colour around! Unripe blackberries will still make a colour but it will be lighter than those that are fully ripe.
To make a blackberry dye put the fruit in a saucepan, just cover with water and bring to a boil. Bring the water down to a simmer for thirty minutes then remove from the heat and allow the berries to steep for at least an hour. Strain the berries and reduce the liquid down by a third to make a stronger colour. This can now be used for drawing and painting with or for dyeing cloth.
Risks
The prickles that cover the length of a bramble stem can be a hazard for the careless picker, remember that these point back down the stem so don’t pull away if you get caught but ask someone to carefully push the stem back to unhook them.
Brambles can also be a convenient place for wasps to build their nests. When picking keep an eye out for sentry wasps that guard the nest and alert the other insects if there are intruders. If you see these or if the wasps are alerted then move quickly and calmly away from the area.
In folklore blackberries should not be picked after October 11th as the devil will have gotten into them. This superstition can help you out as many berries will be well passed there best and potentially mouldy by mid October. Always check the fruit you pick before you eat!
Blackberry art hung up in the sun.

The Wild Art Club
Activities designed to keep your children entertained at home - easy to achieve and fun to accomplish!
A big thank you to all the parents who came, saw and got messy with us. In this post, we want to write about the activities we did to keep you inspired at home.
Leaf hammering
Couldn’t be simpler, collect any leaves and flowers from around the garden or out on a walk (see our simple guide at the end for a few ideas), fold them into a square of fabric or absorbent paper and hammer away!
If you’re trying to find a good hammer, just grab a short branch and whack away. We also like to use palm hammers, you can make your own by sawing off a short section of a branch and rounding off the end with a knife.


Mud/charcoal paint
The trick here is to get the right mixture of the dry material (mud or ground up charcoal) and the water. Too much dry and the paint won’t flow, to much wet you’ve made a puddle which won’t leave a mark when the water has evaporated.
You’ll be surprised how little water you need but it’s really good to let your child experiment and find what works for them. Also mud varies in colour depending on the type of soil you’re on from almost black loam to light brown river bank clay to yellow or even red sand. Keep your eyes on the ground and see what you can find.
If the mud is really dry try grinding it up with a stone or palm hammer first, it will mix with the water more smoothly that way.
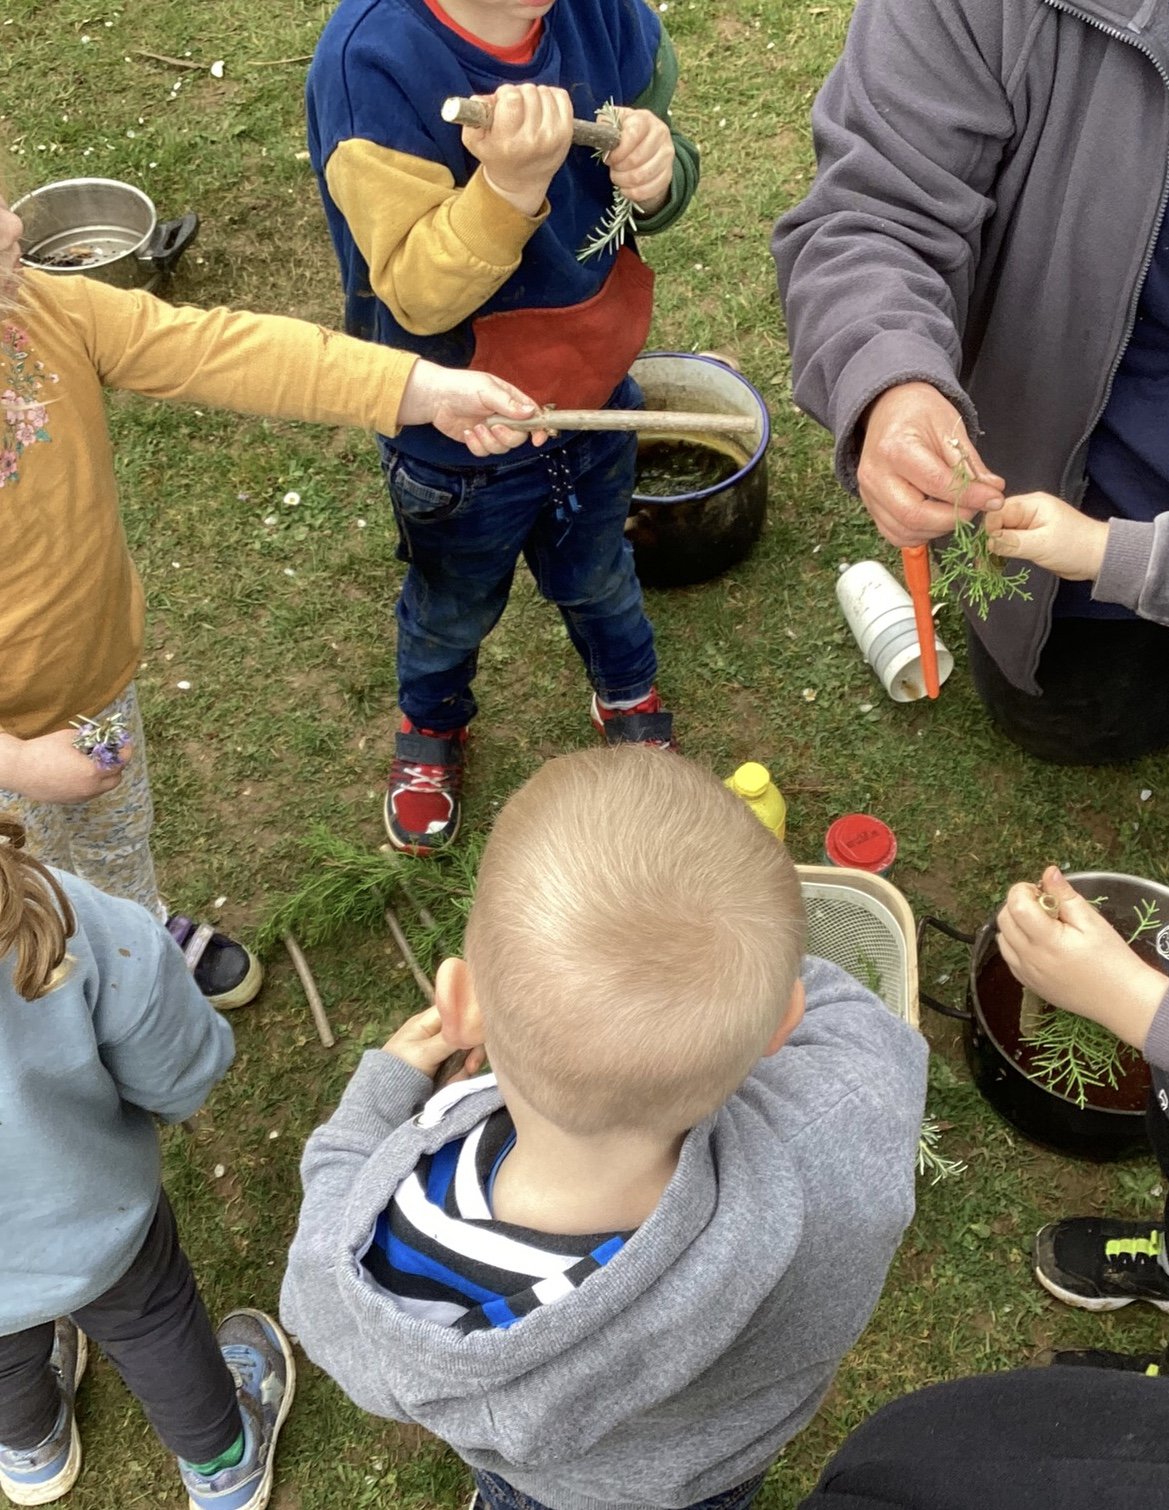
Plant dyes

At it’s simplest this is just making a really strong cup of tea with a plant (note: these are not to drink) Collect as much of one plant as possible, put it in a steel saucepan, barely cover with water then bring to the boil. Boil for a few minutes then leave to steep for as long as possible to extract the colour.
You can use any part of the plant to make a dye, the roots, leaves, flowers, fruit and even the bark of trees will make a slightly different colour so just have a play!
For extra points try adding either lemon juice or bicarbonate of soda to the dye to change the colour of the dye. This works best with flower dyes but it will have an effect on all of them.
Two ways of making a paintbrush
1. Hammered brush
To make this simple paintbrush all you will need are a pair of secateurs and a hammer.
Cut a few thin branches; hazel, willow and dogwood work really well. If you’re not sure what kind of tree you have try and find a few different trees and see which works best. Aim for branches that are as wide as your child’s little finger and as long as their hands.
Hold the branch flat against a hard surface
Hammer on the end of the branch until the fibres start to break apart
The more you hammer, the finer the fibres will be. These brushes are perfect for scooping up mud paint but won’t soak up the plant dyes as well, for those we recommend a filled fibre brush.
2. Filled brush
This type of brush will allow you to explore different materials and can be reused so you can find out which fibres work best.
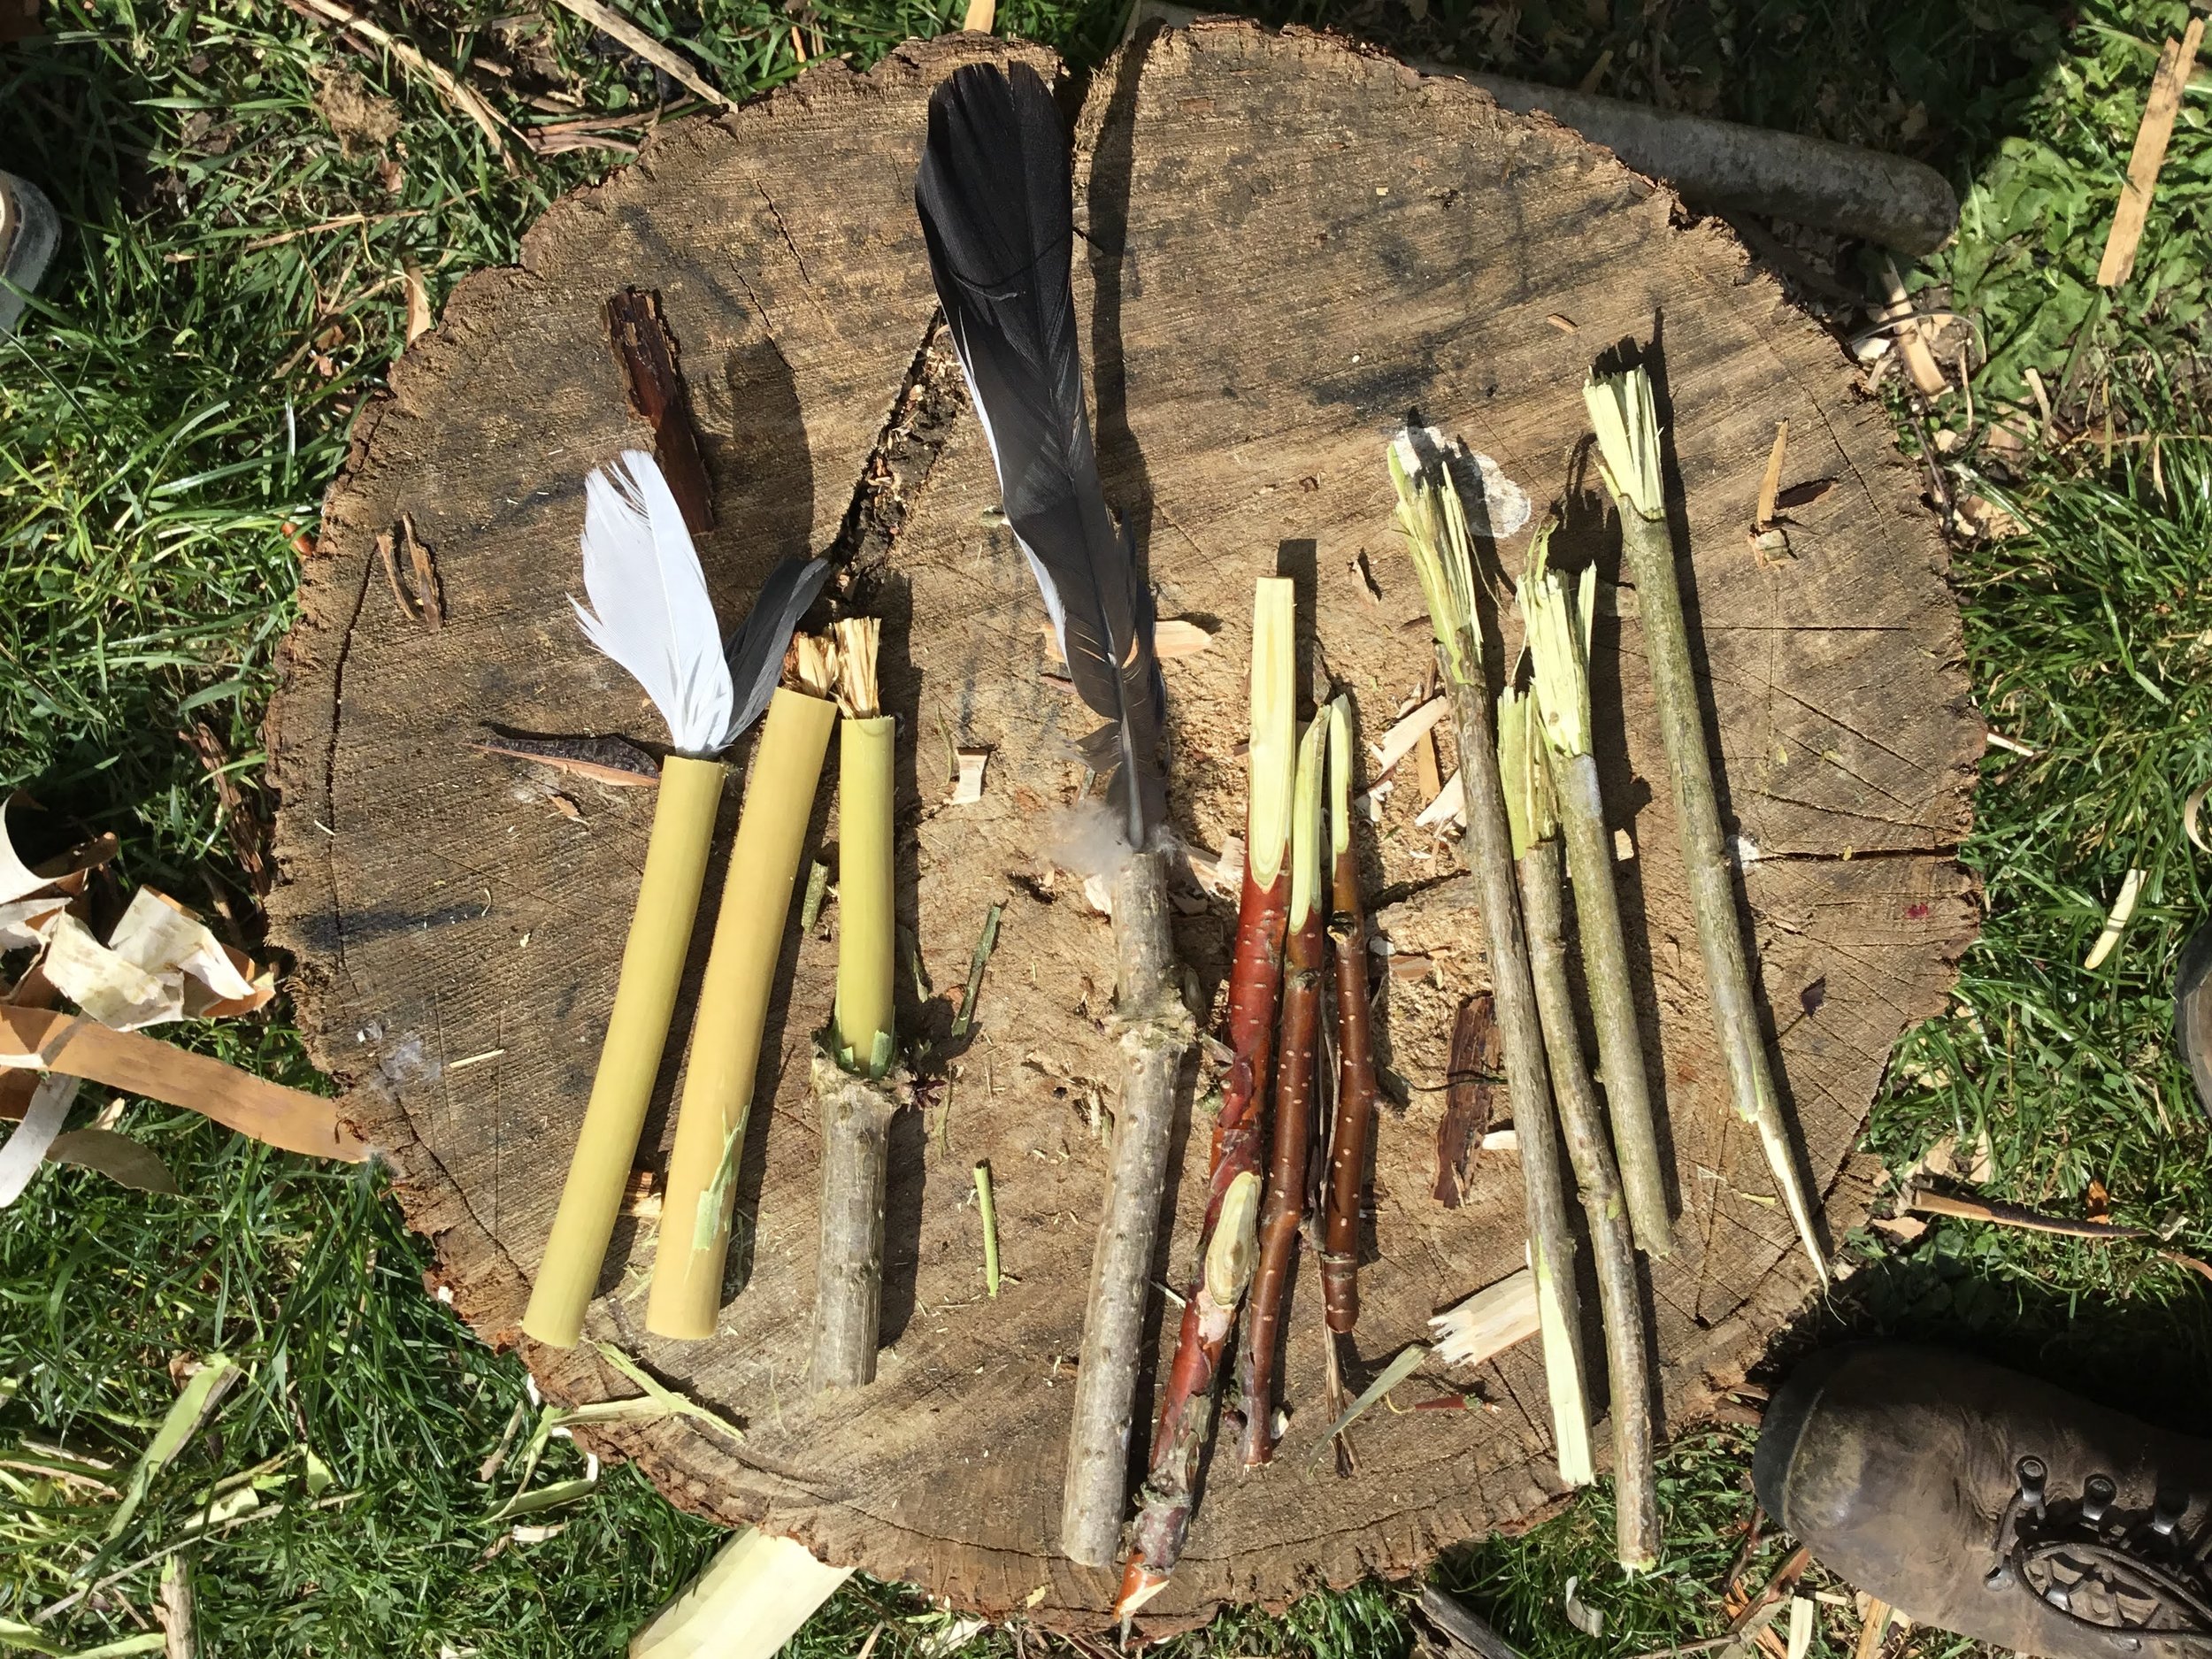
Find a tree with a large, soft pith (centre of the branch). Elder works well but raspberry canes are also a good substitute
Using a thin stick poke the pith into the branch to make a hollow in the branch.
Find fibres that will work as the bristles of the brush. Wool, feathers, moss, dried grass work well, experiment with different arrangements and if something doesn’t work just pull it out and replace with new fibres.
Rules for picking plants
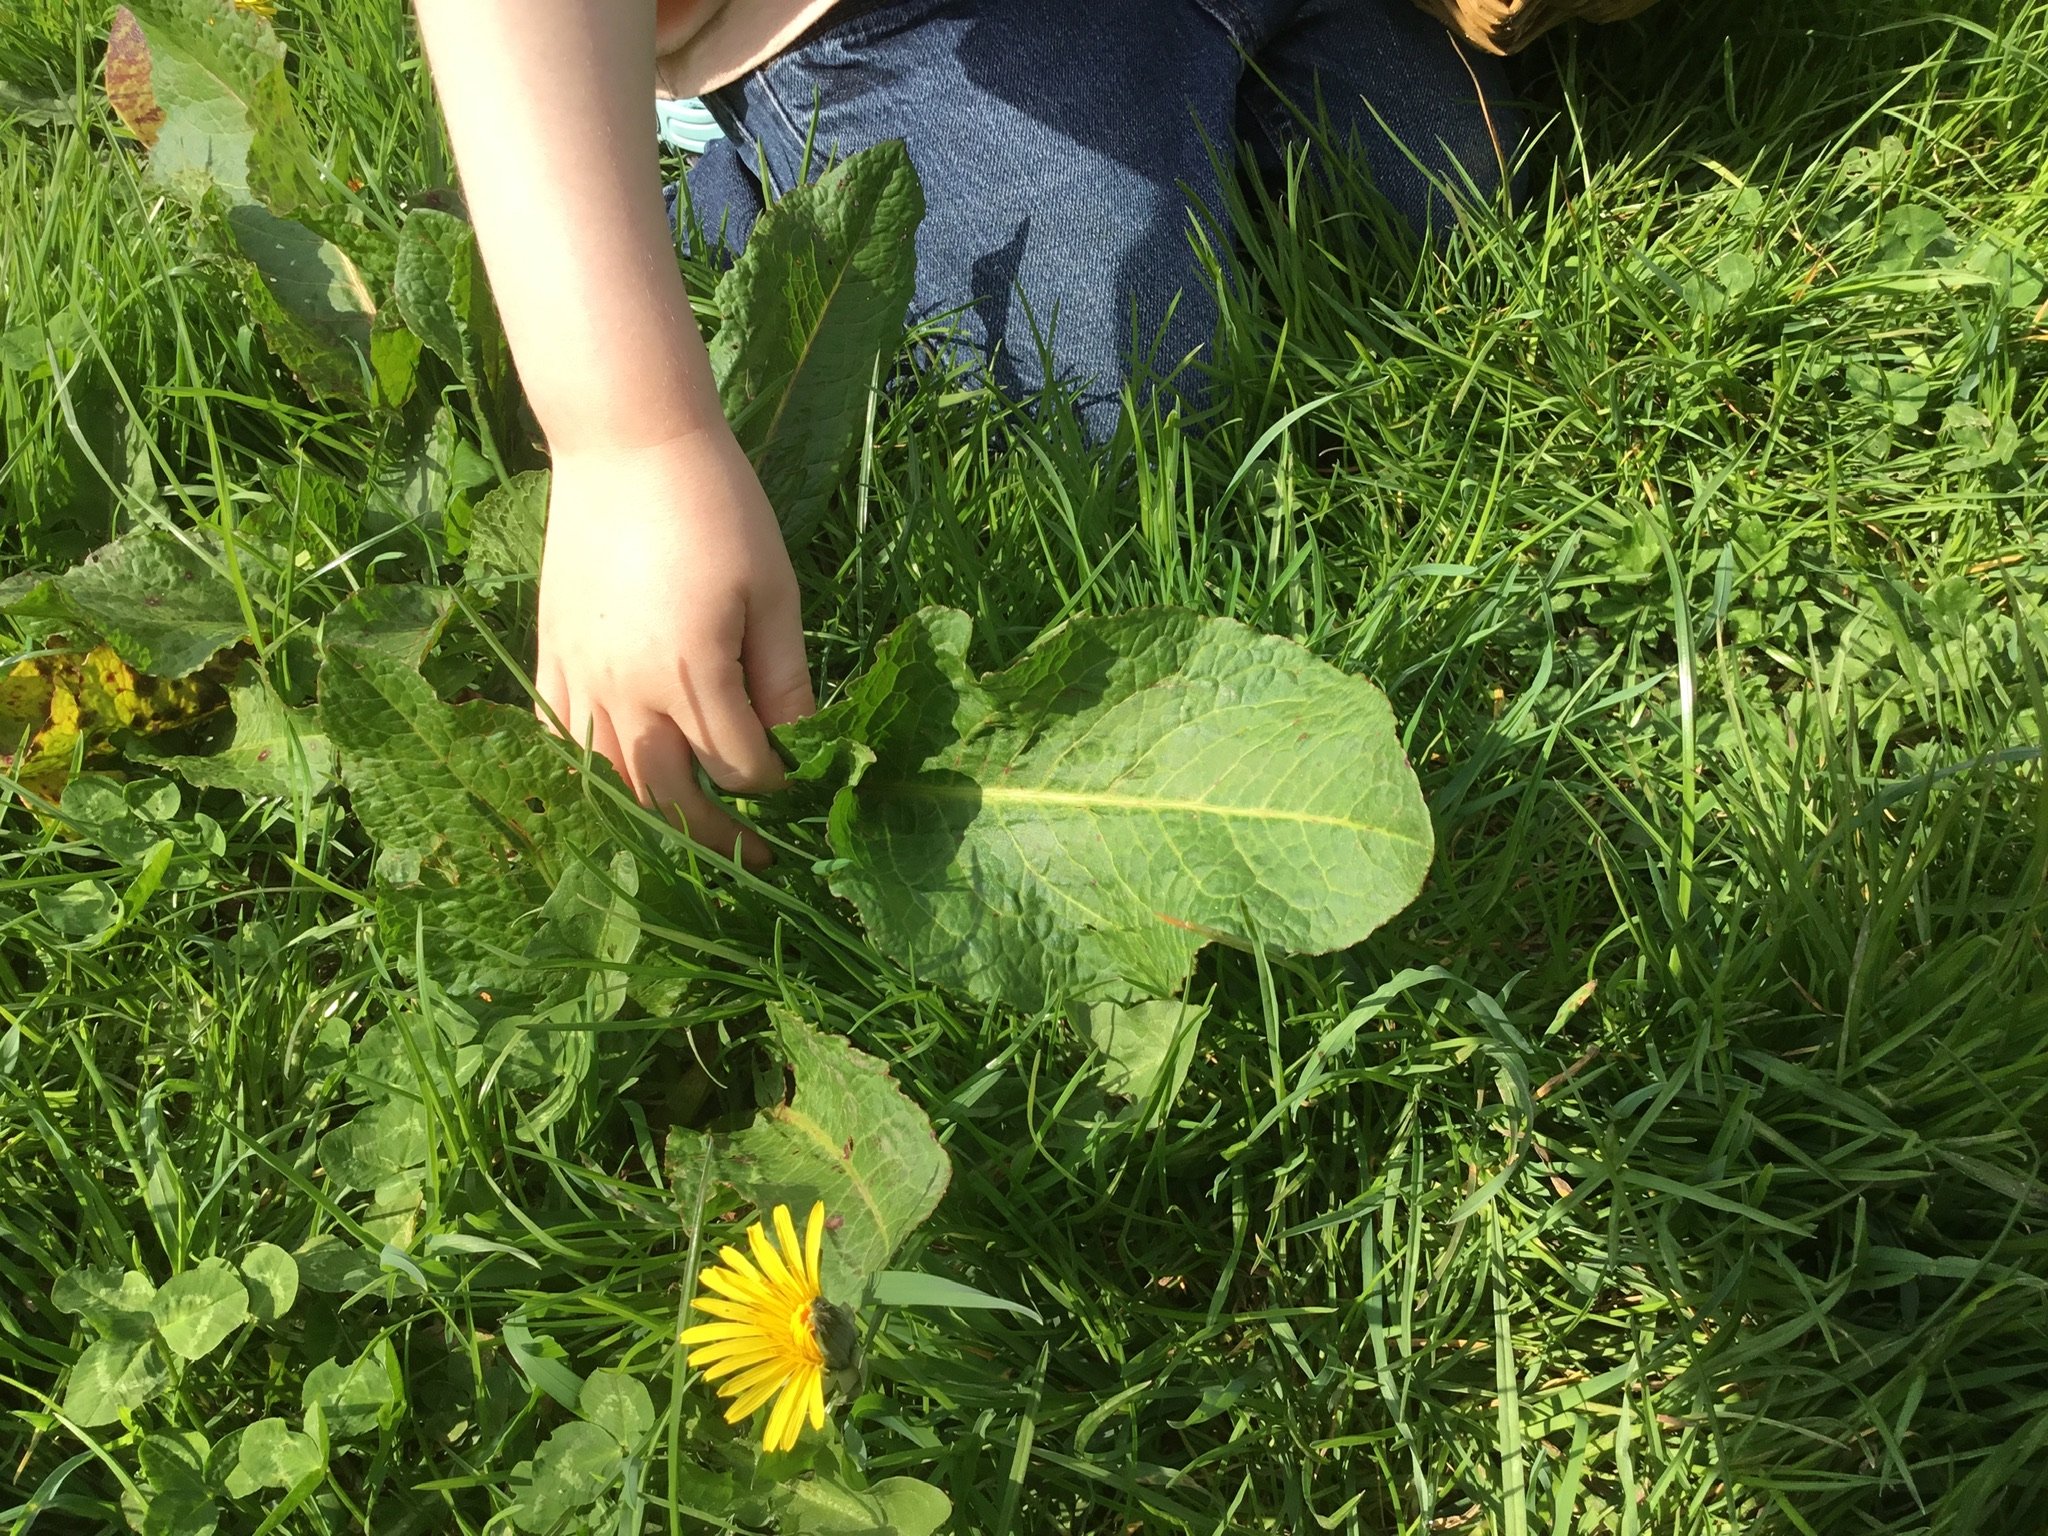
When using any natural materials it’s important to respect the environment and the land. Please don’t pick anything from other peoples gardens or root up any plants without permission. Please make sure that you have identified the plant beyond doubt before picking and using it. Also remember the foraging code:
Don’t pick the first plant you see
Don’t take the last one that’s there
Only take a maximum of a third of what’s there
For a basic list of plants that can be used see the resource list below.
Resources
When picking plants there’s nothing better than a good book to carry with you.
Foraging with Kids – 52 wild edibles. Adele Nozedar. Nourish books
Grow Forage and Make. Alys Fowler. Bloomsbury children’s books
The Thrifty Forager. Alys Fowler. Kyle books
The Forager’s Calendar. John Wright. Profile books
Food for free. Richard Mabey. Collins
Just searching the internet for a plant can provide mixed results, here are a few good websites to use.
Some natural art books and websites.
The Organic Artist. Nick Neddo. Quarry books
The Organic Artist for Kids. Nick Neddo. Quarry books
