Building a bench
It’s a strange day to be writing this as after nearly nine years working as the Leader of Outdoor Learning I am leaving Snapdragons. Over the last few months I have been considering the idea of longevity in my work. When I started out I loved using pallets for all my creations, they were cheap, easy to come by and simple to work with. However more recently I have wanted to work with woods and techniques that will last the test of time (and the use of many, many children) so my first step was to source some good quality wood to work with.
My search brought me to Varsten Timber whose saw mill is just a few minutes drive from our Wiltshire nurseries. They sell solid Oak offcuts for just £45… per quarter ton! I jumped into the minibus, prayed to the suspension gods and set out.
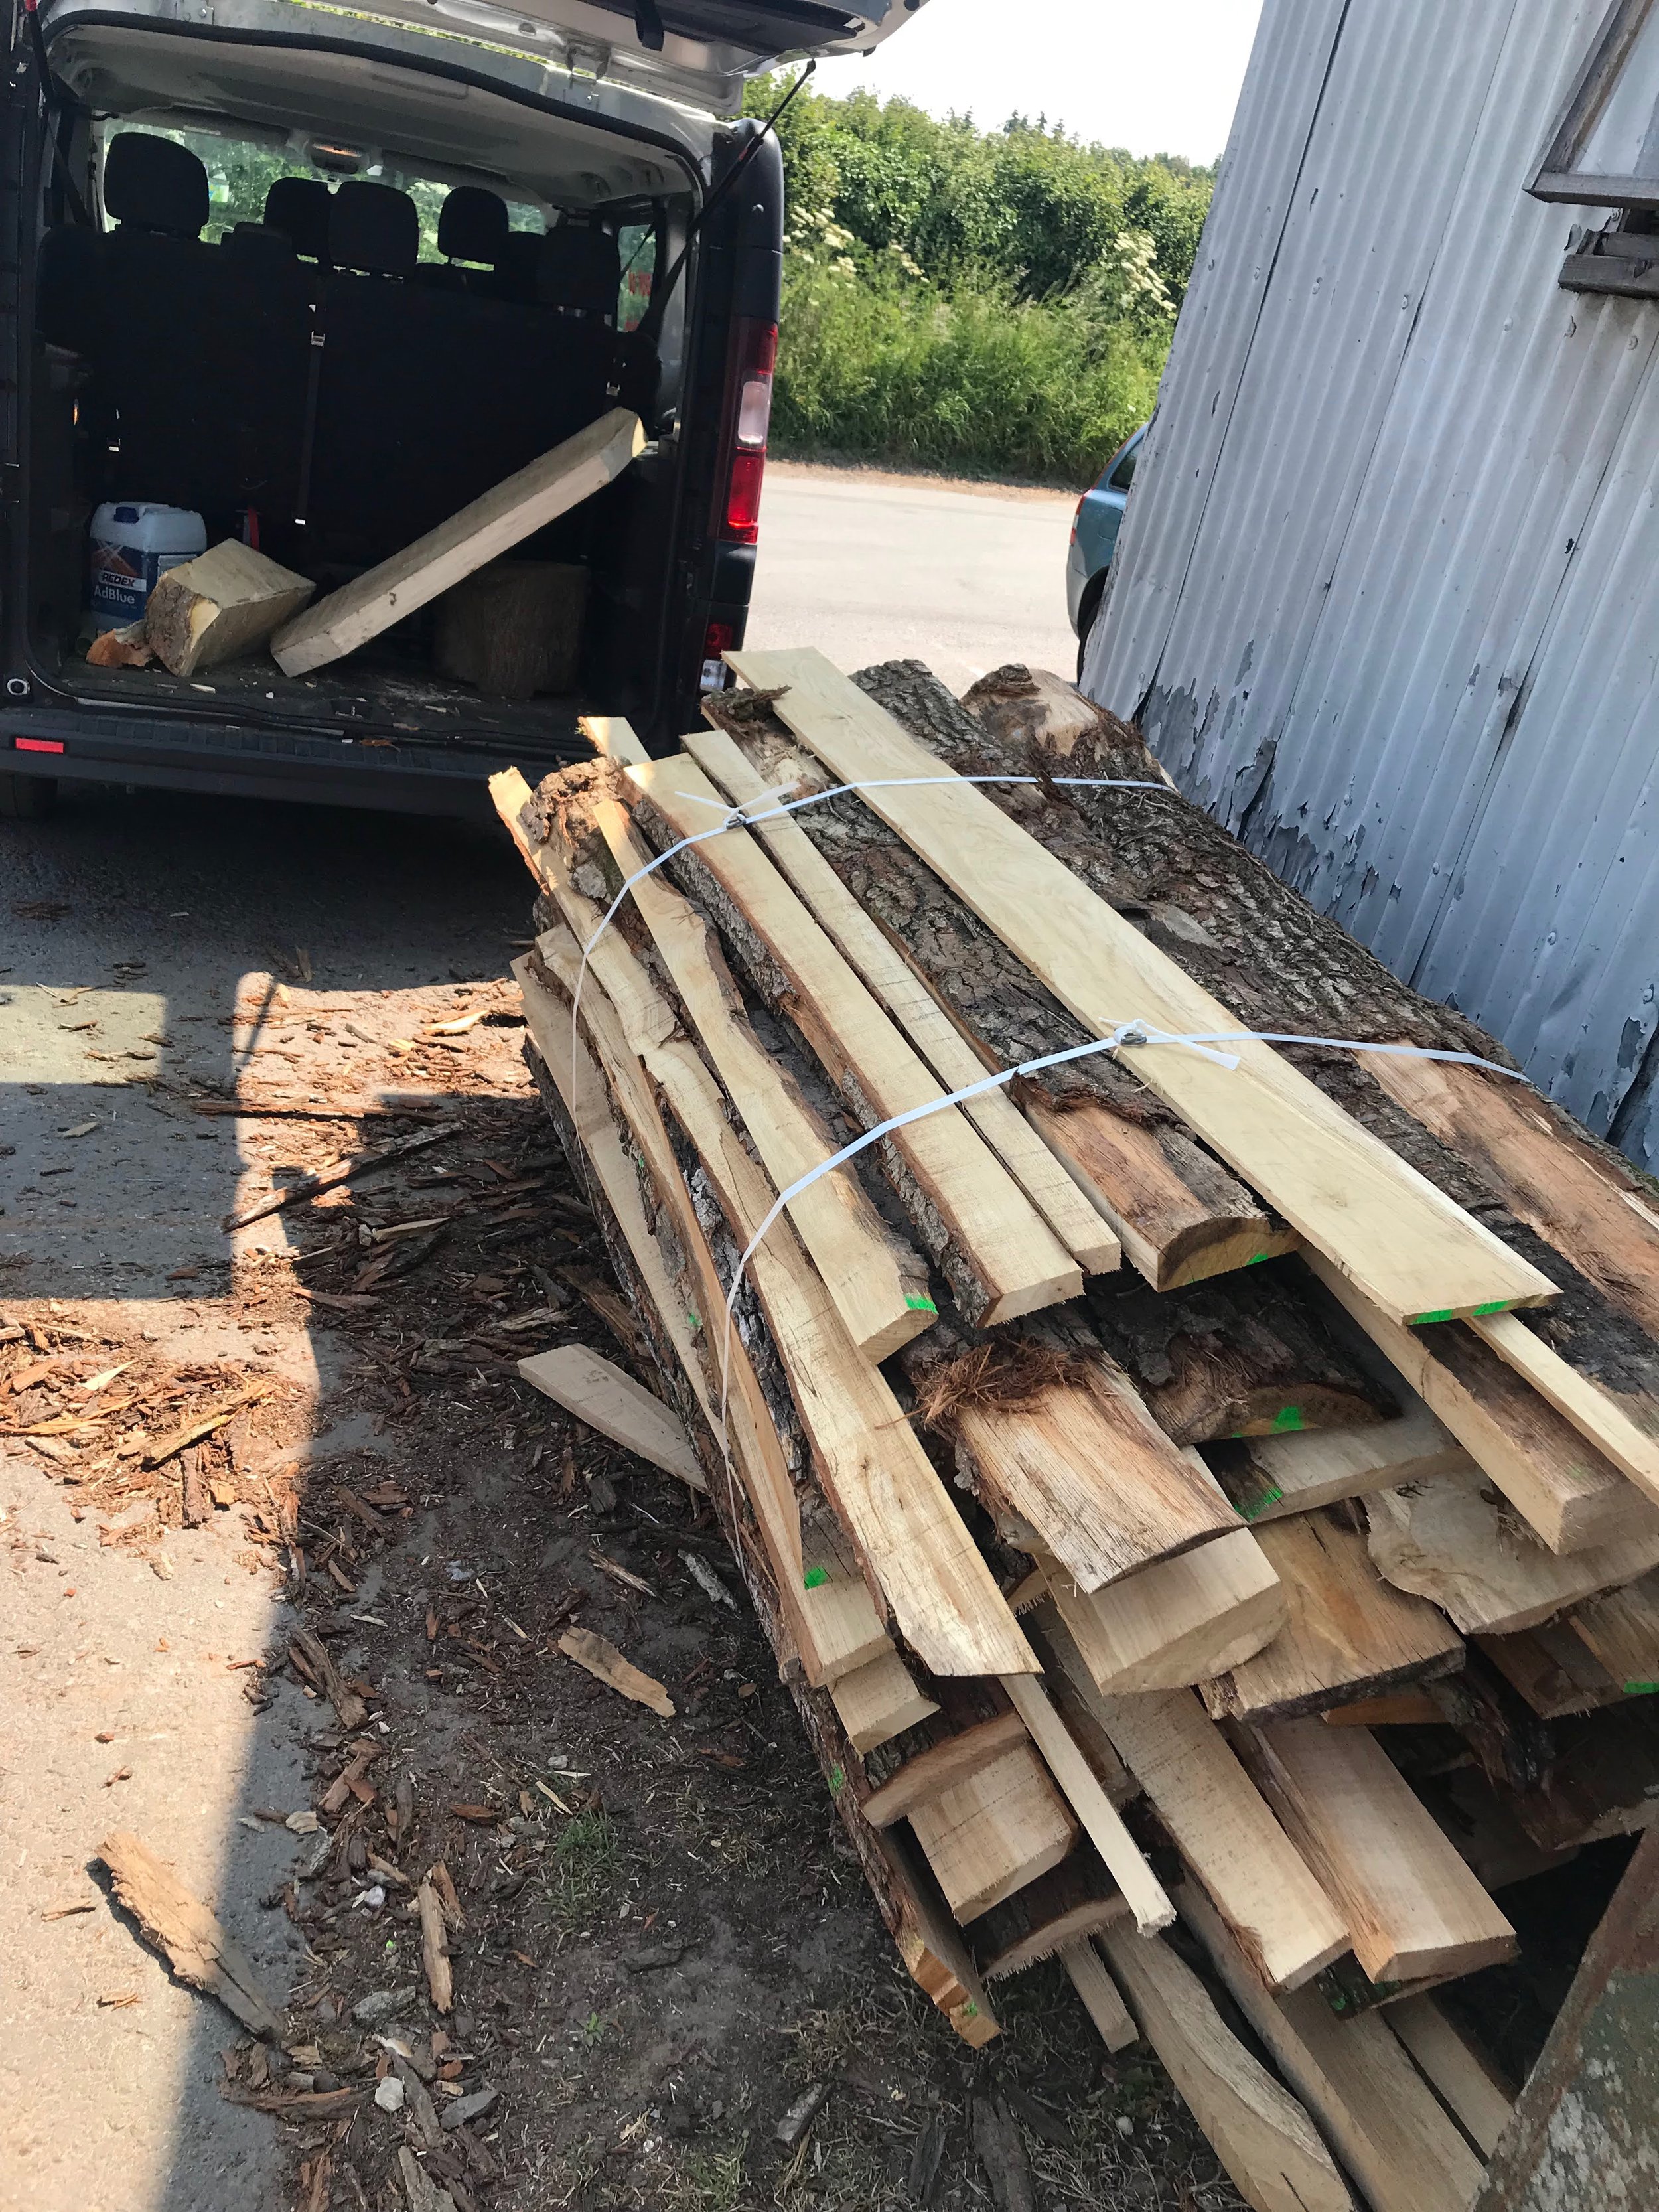
We’re going to need a bigger boot…
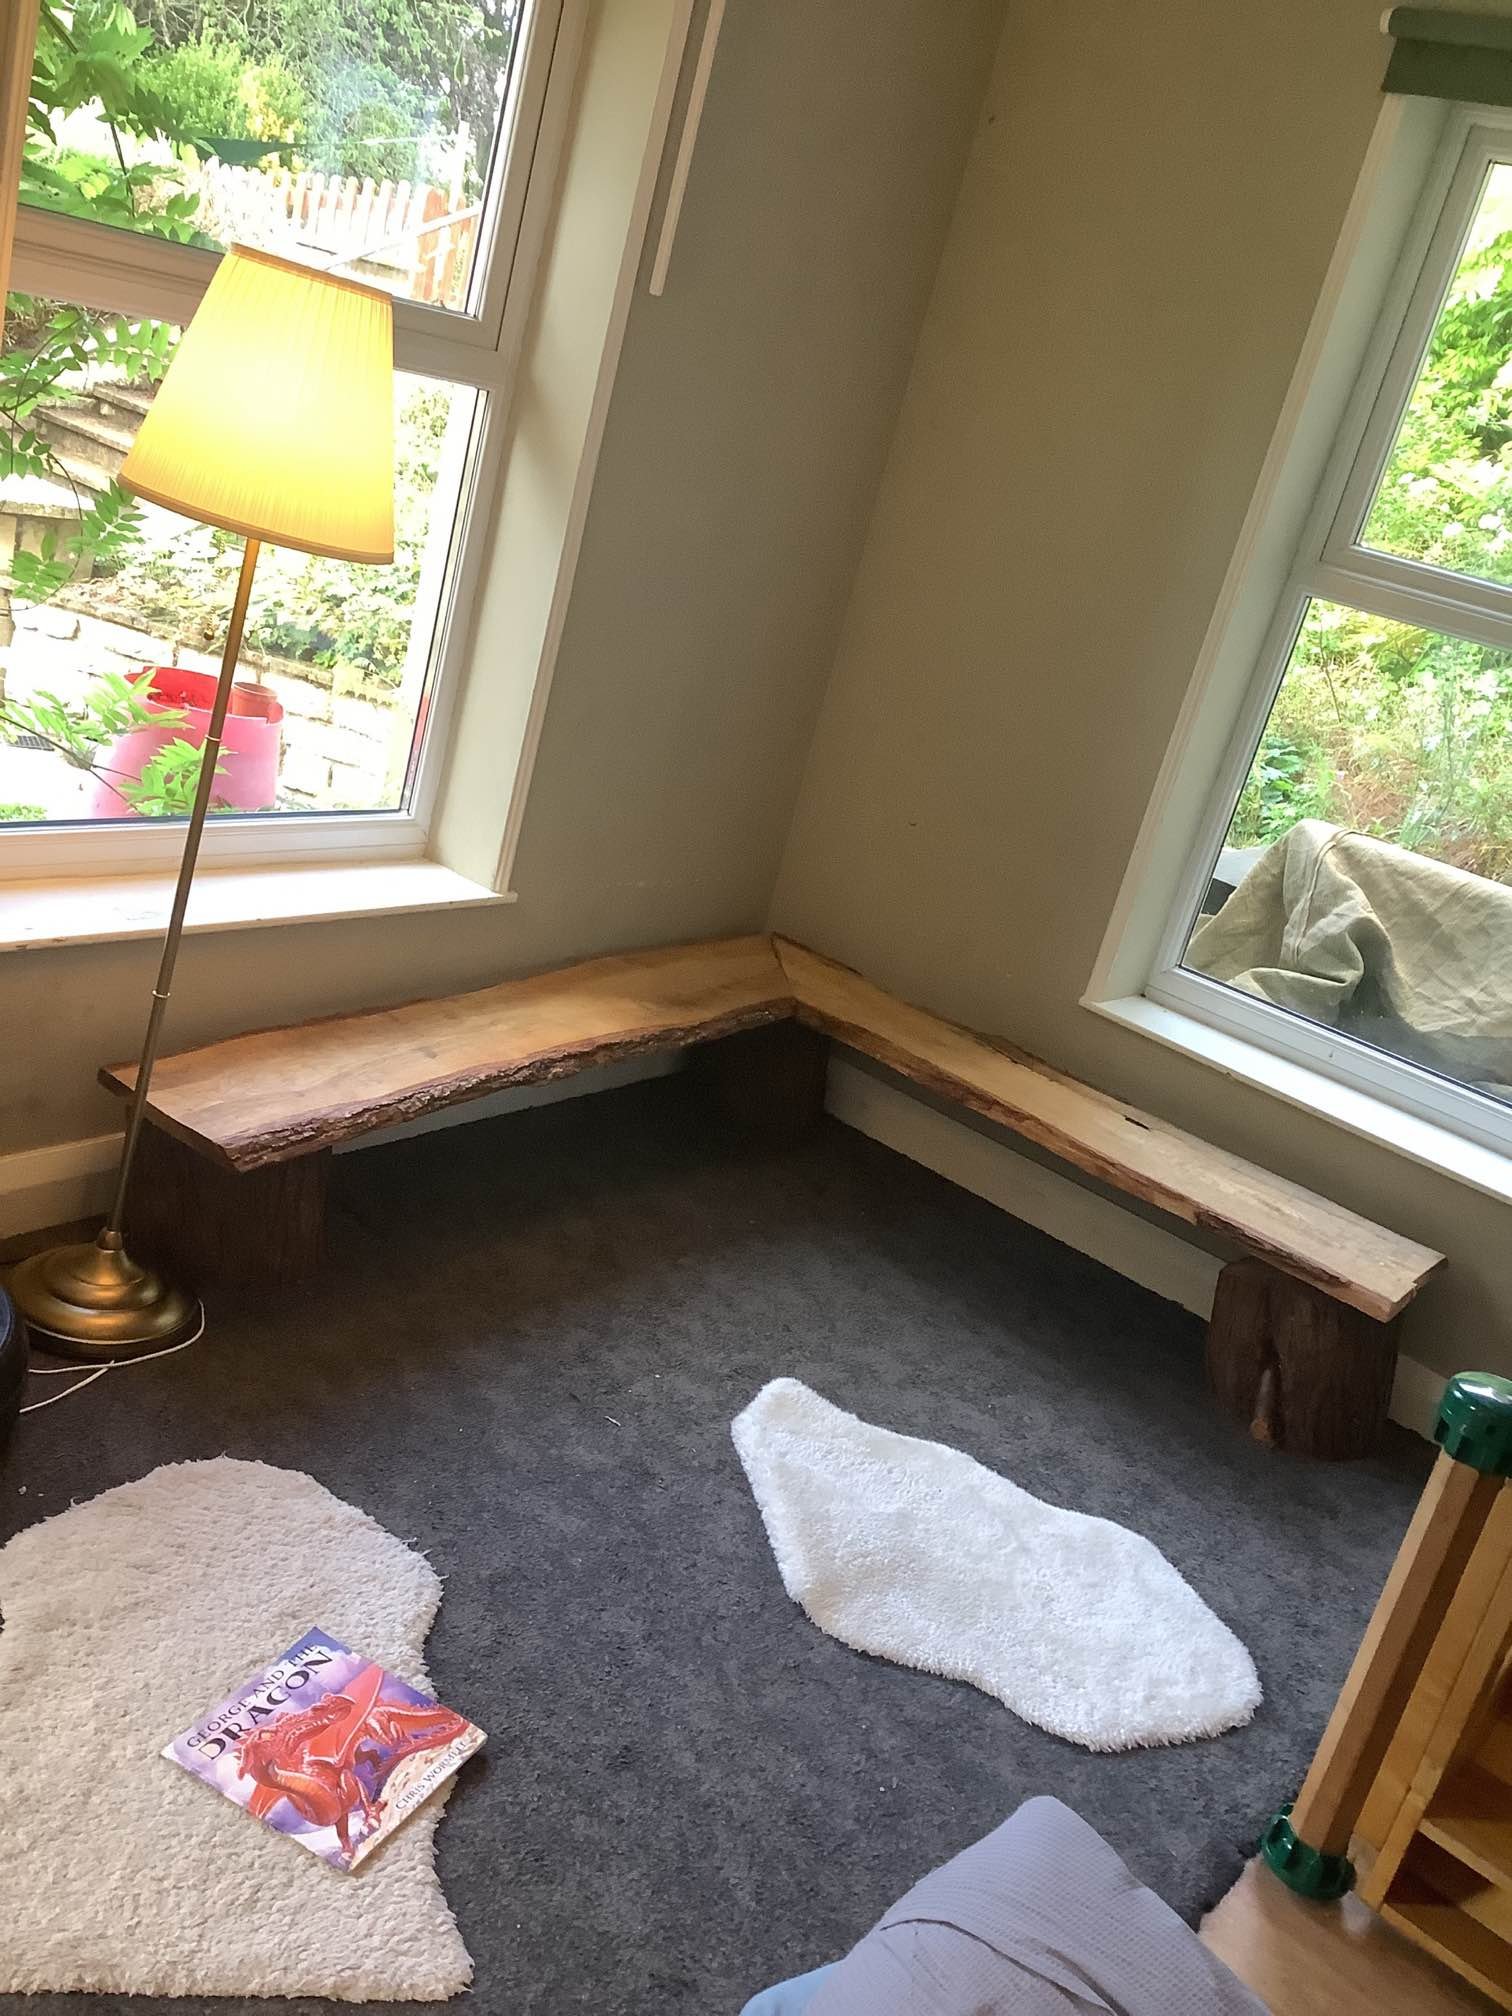
Well stocked with milled wood the challenge was to come up with as many activities to use as much of it as possible. At the bottom of this post there are some of the various ideas that we came up with but I want to focus on one in particular, a bench for Atworth’s garden.
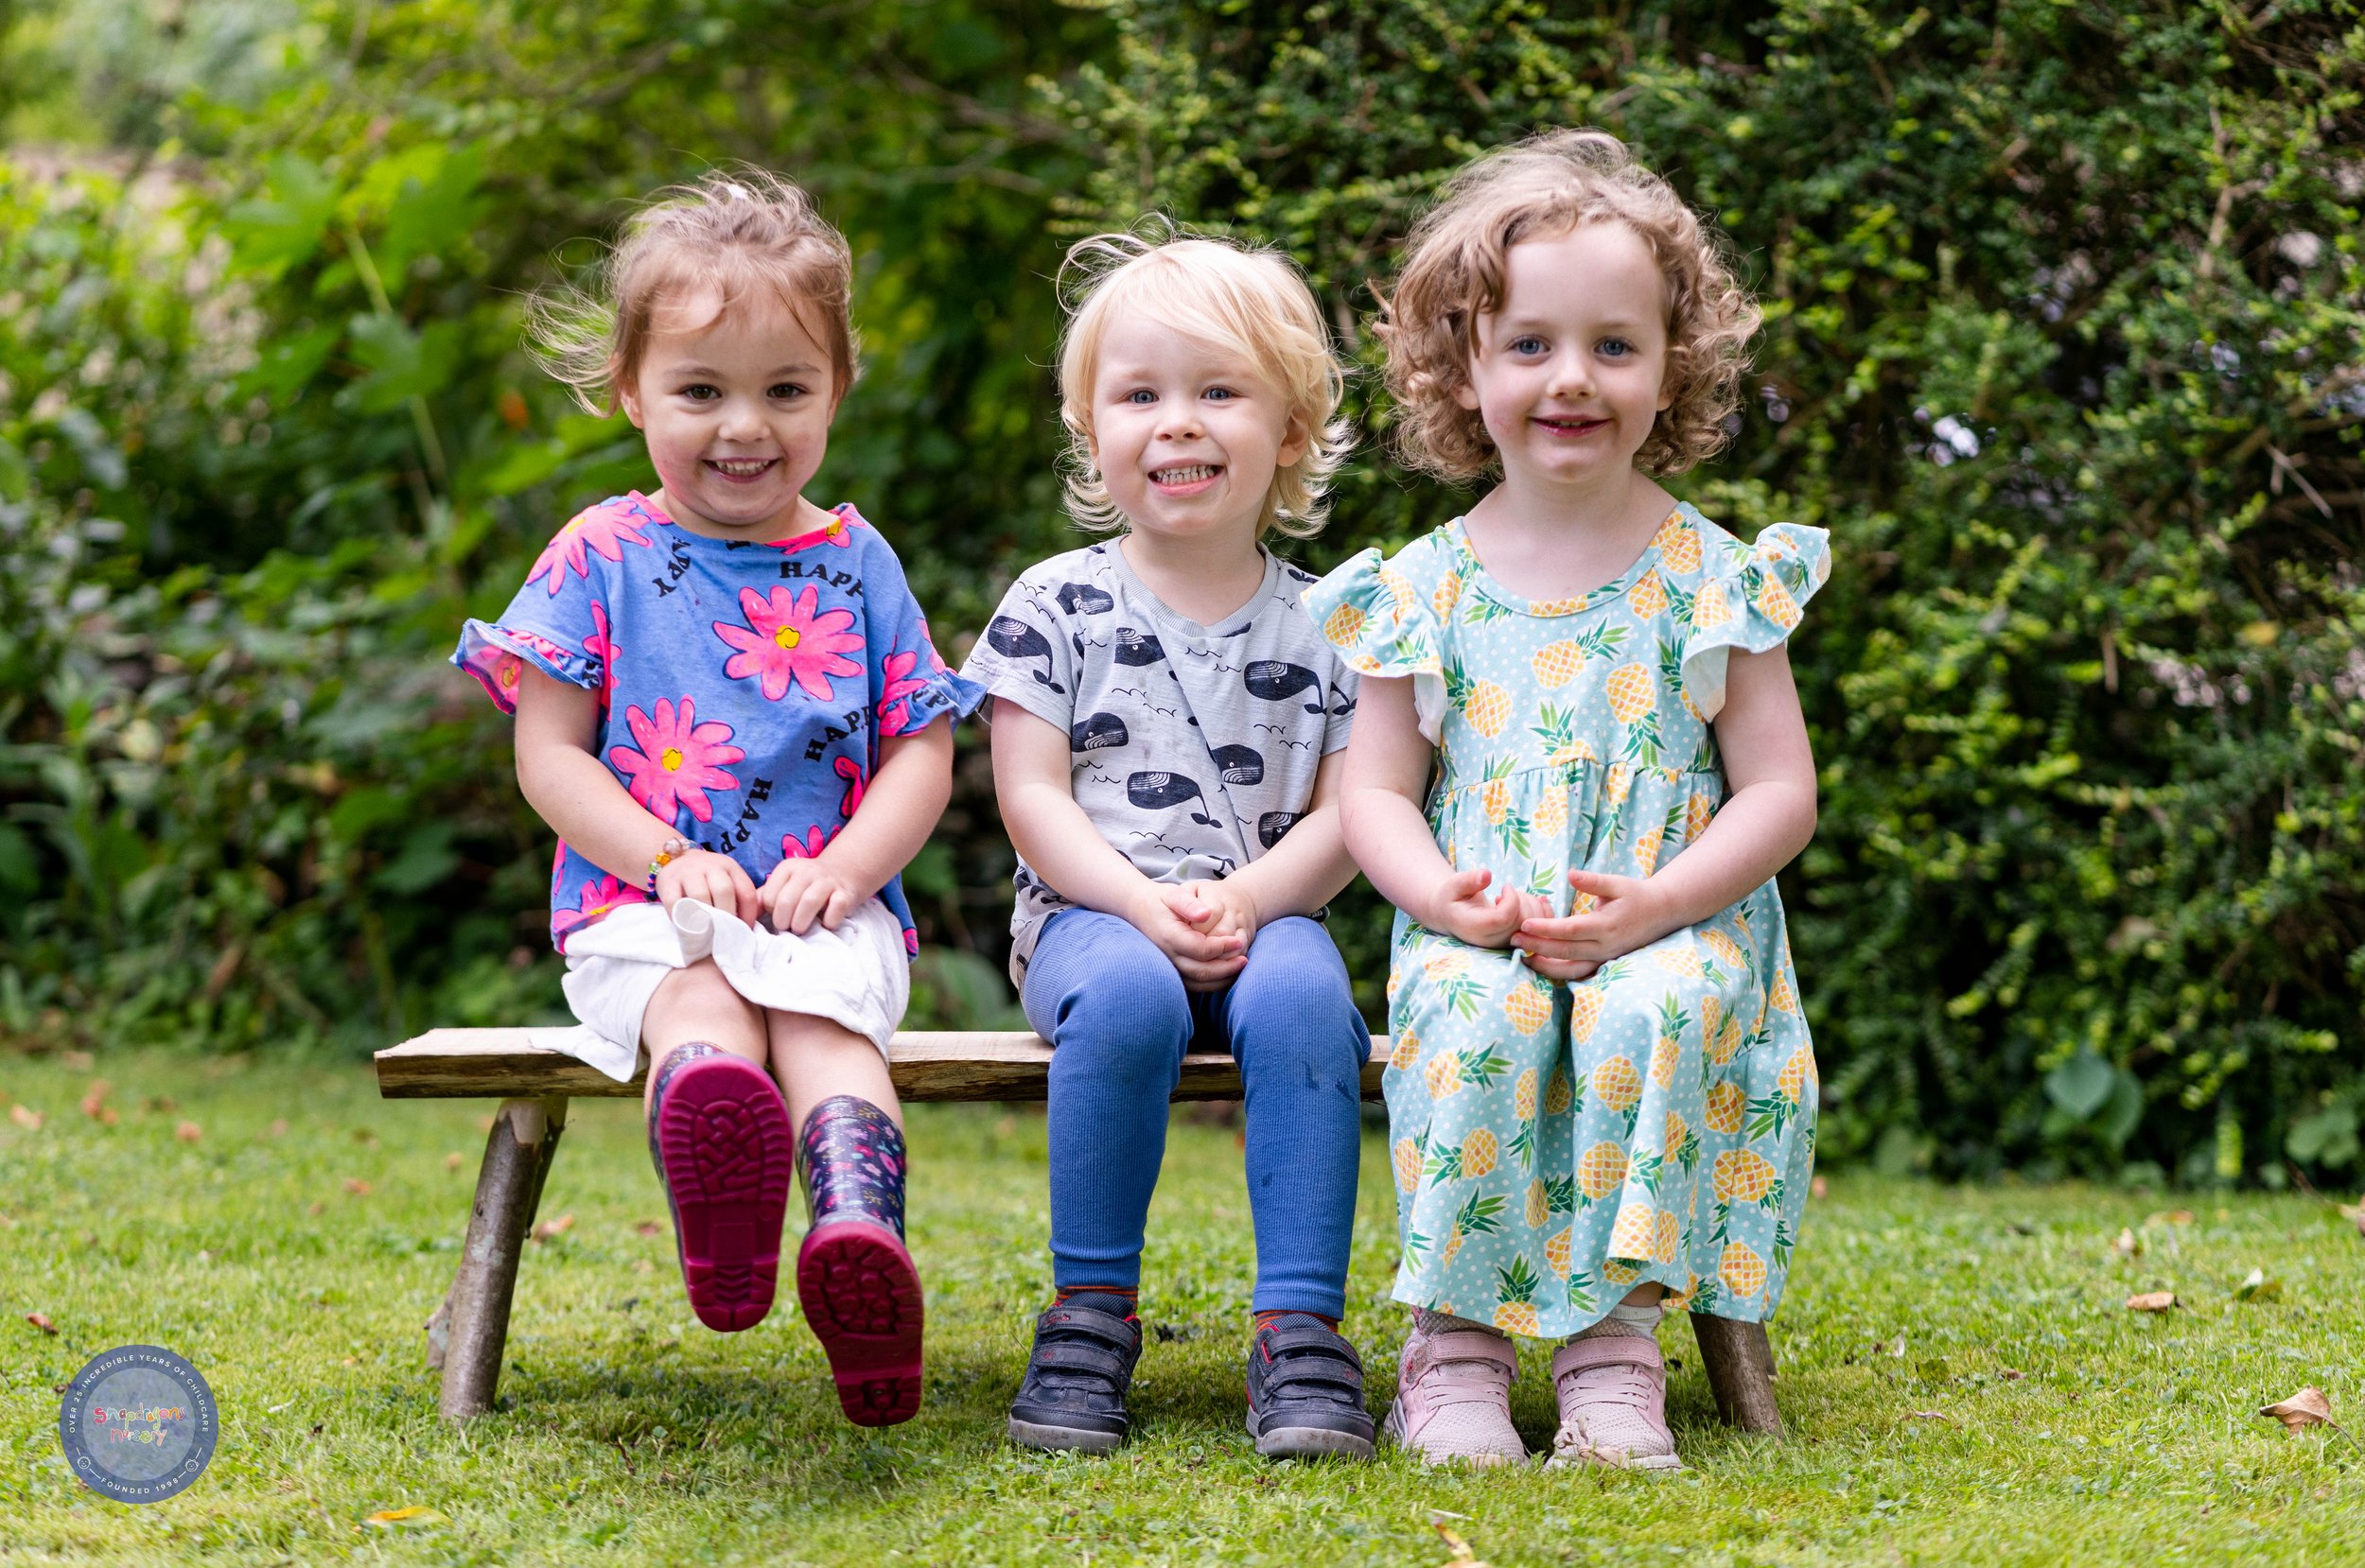
The inspiration for the bench came from Sebastian Cox and his Underwood collection. Cox uses British hardwoods with a focus on sustainable woodland management and a deep respect for the material that he harvests and uses. One of the elements of the benches that drew my attention was the way that the coppiced Hazel legs on the benches are used in the round to produce a simple and stable piece. Using these benches as an inspiration and with a willing group of preschoolers to help we set to work.
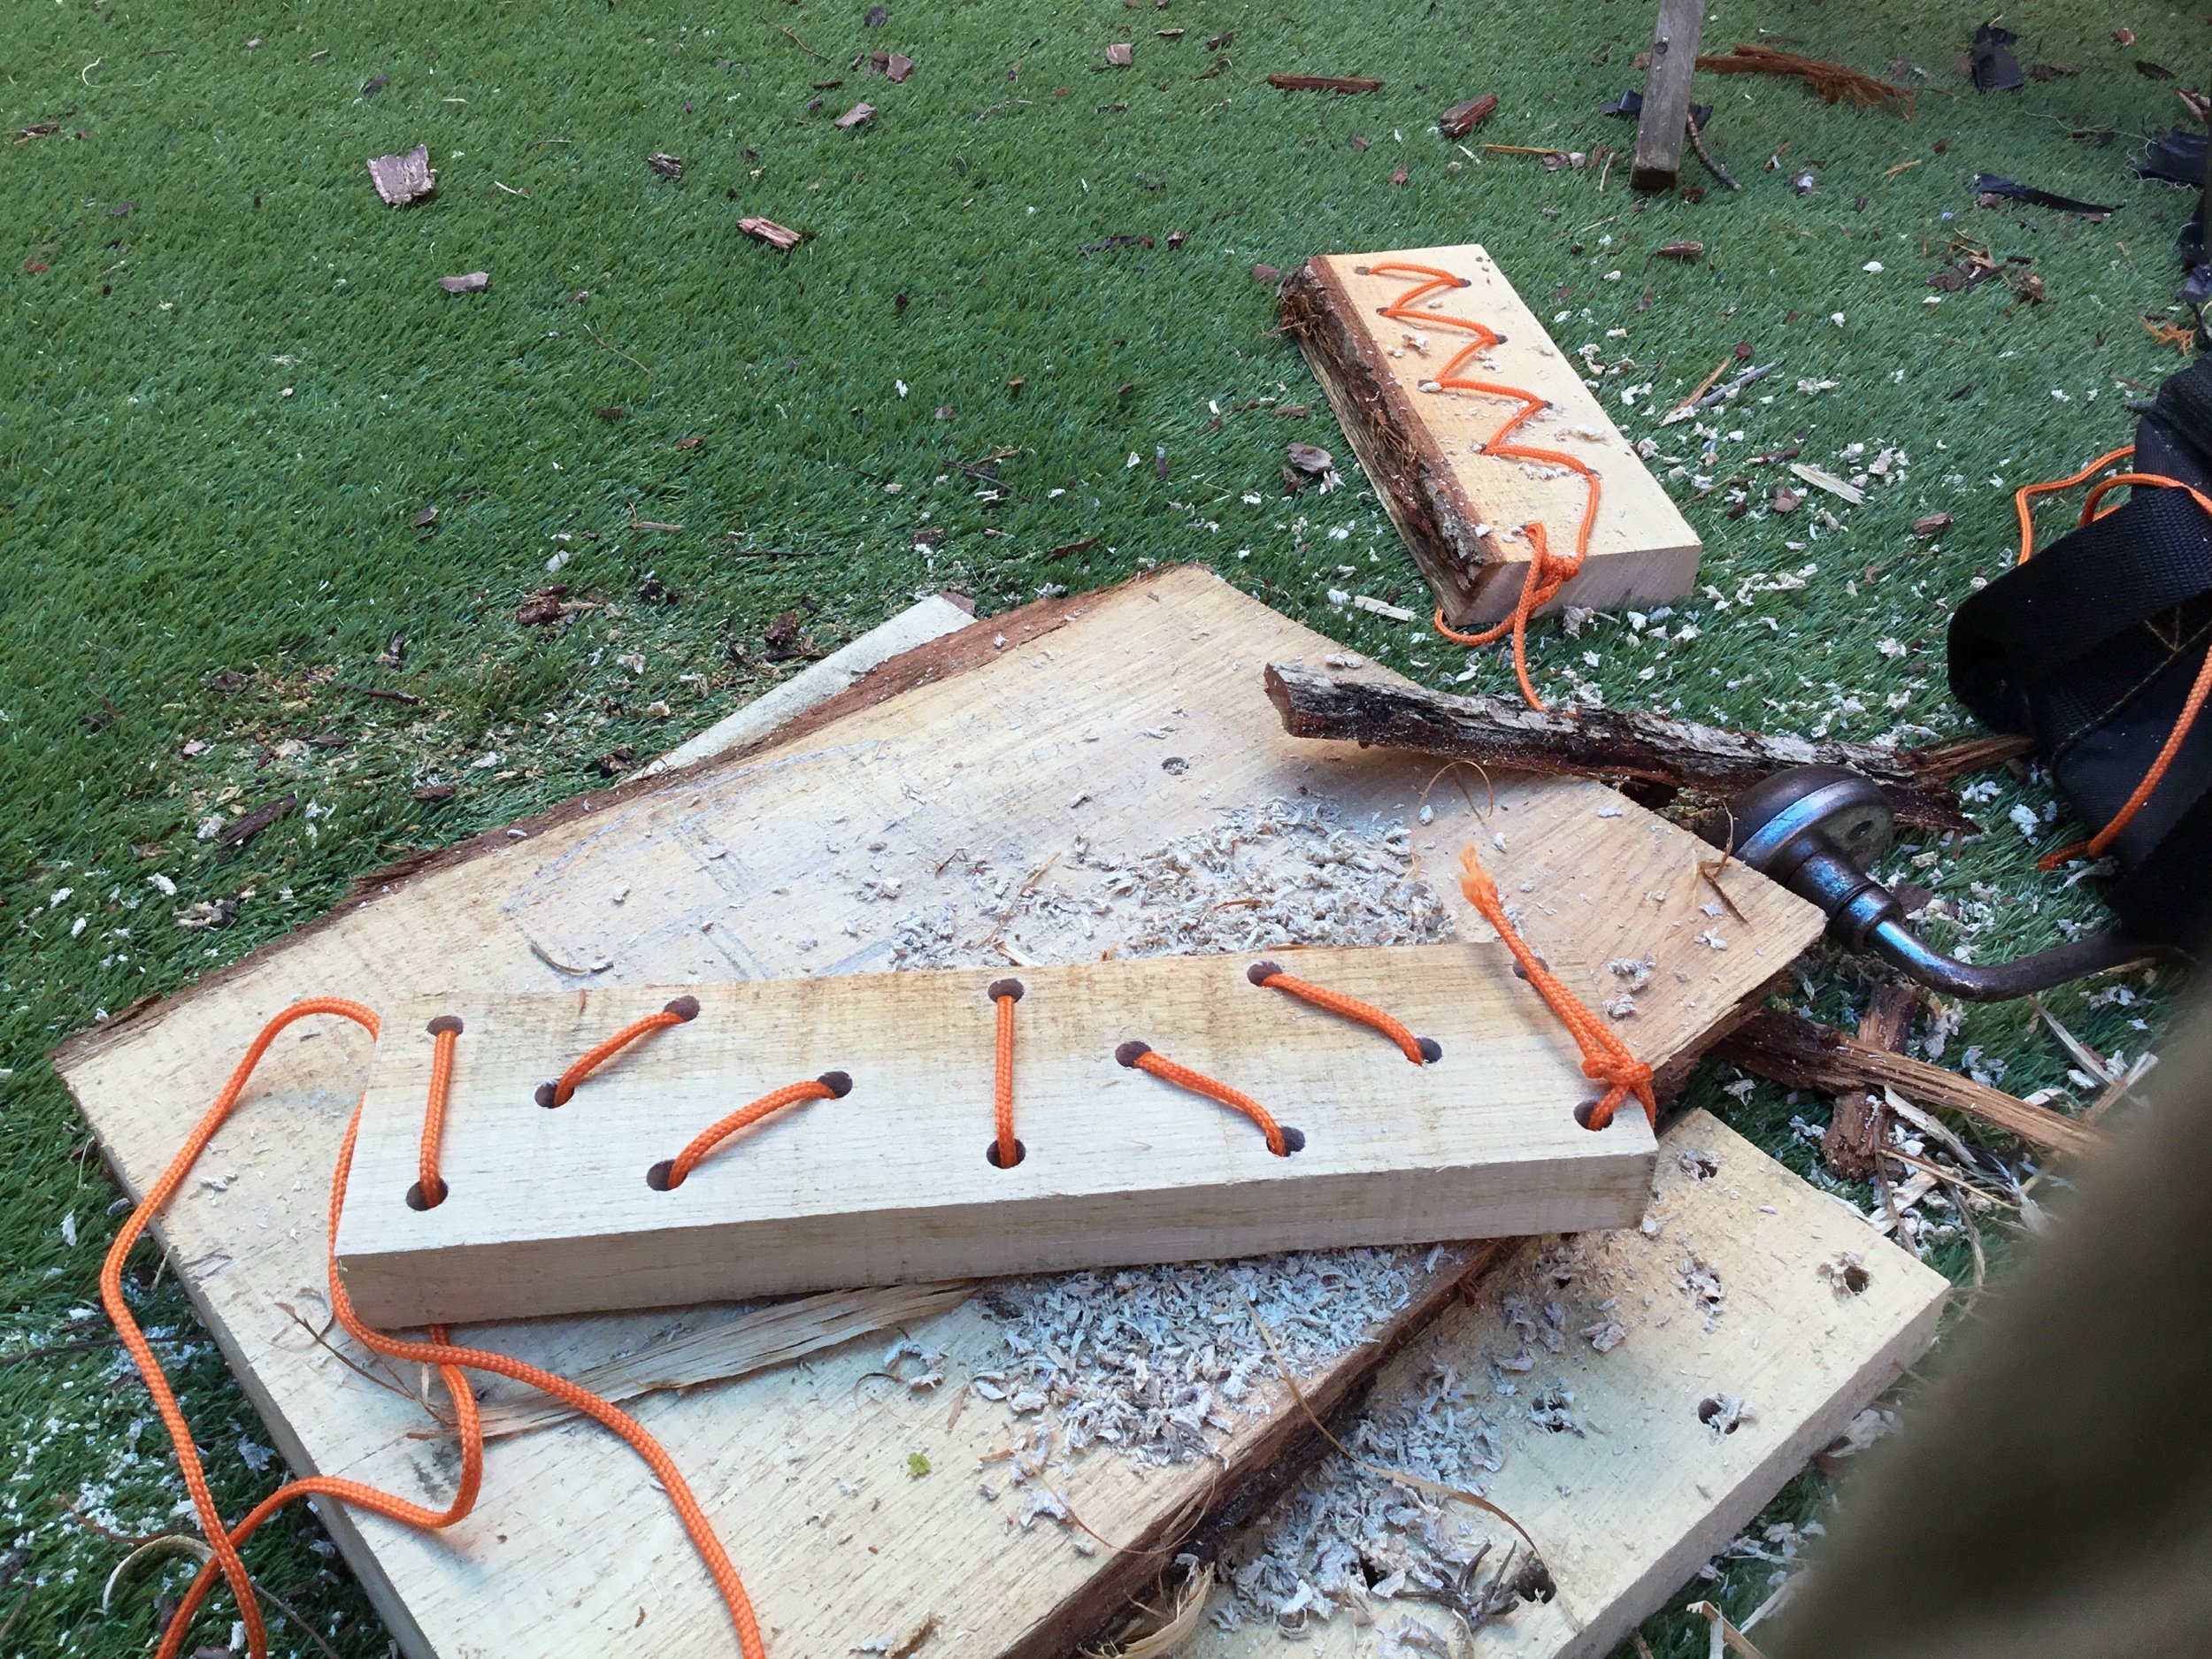
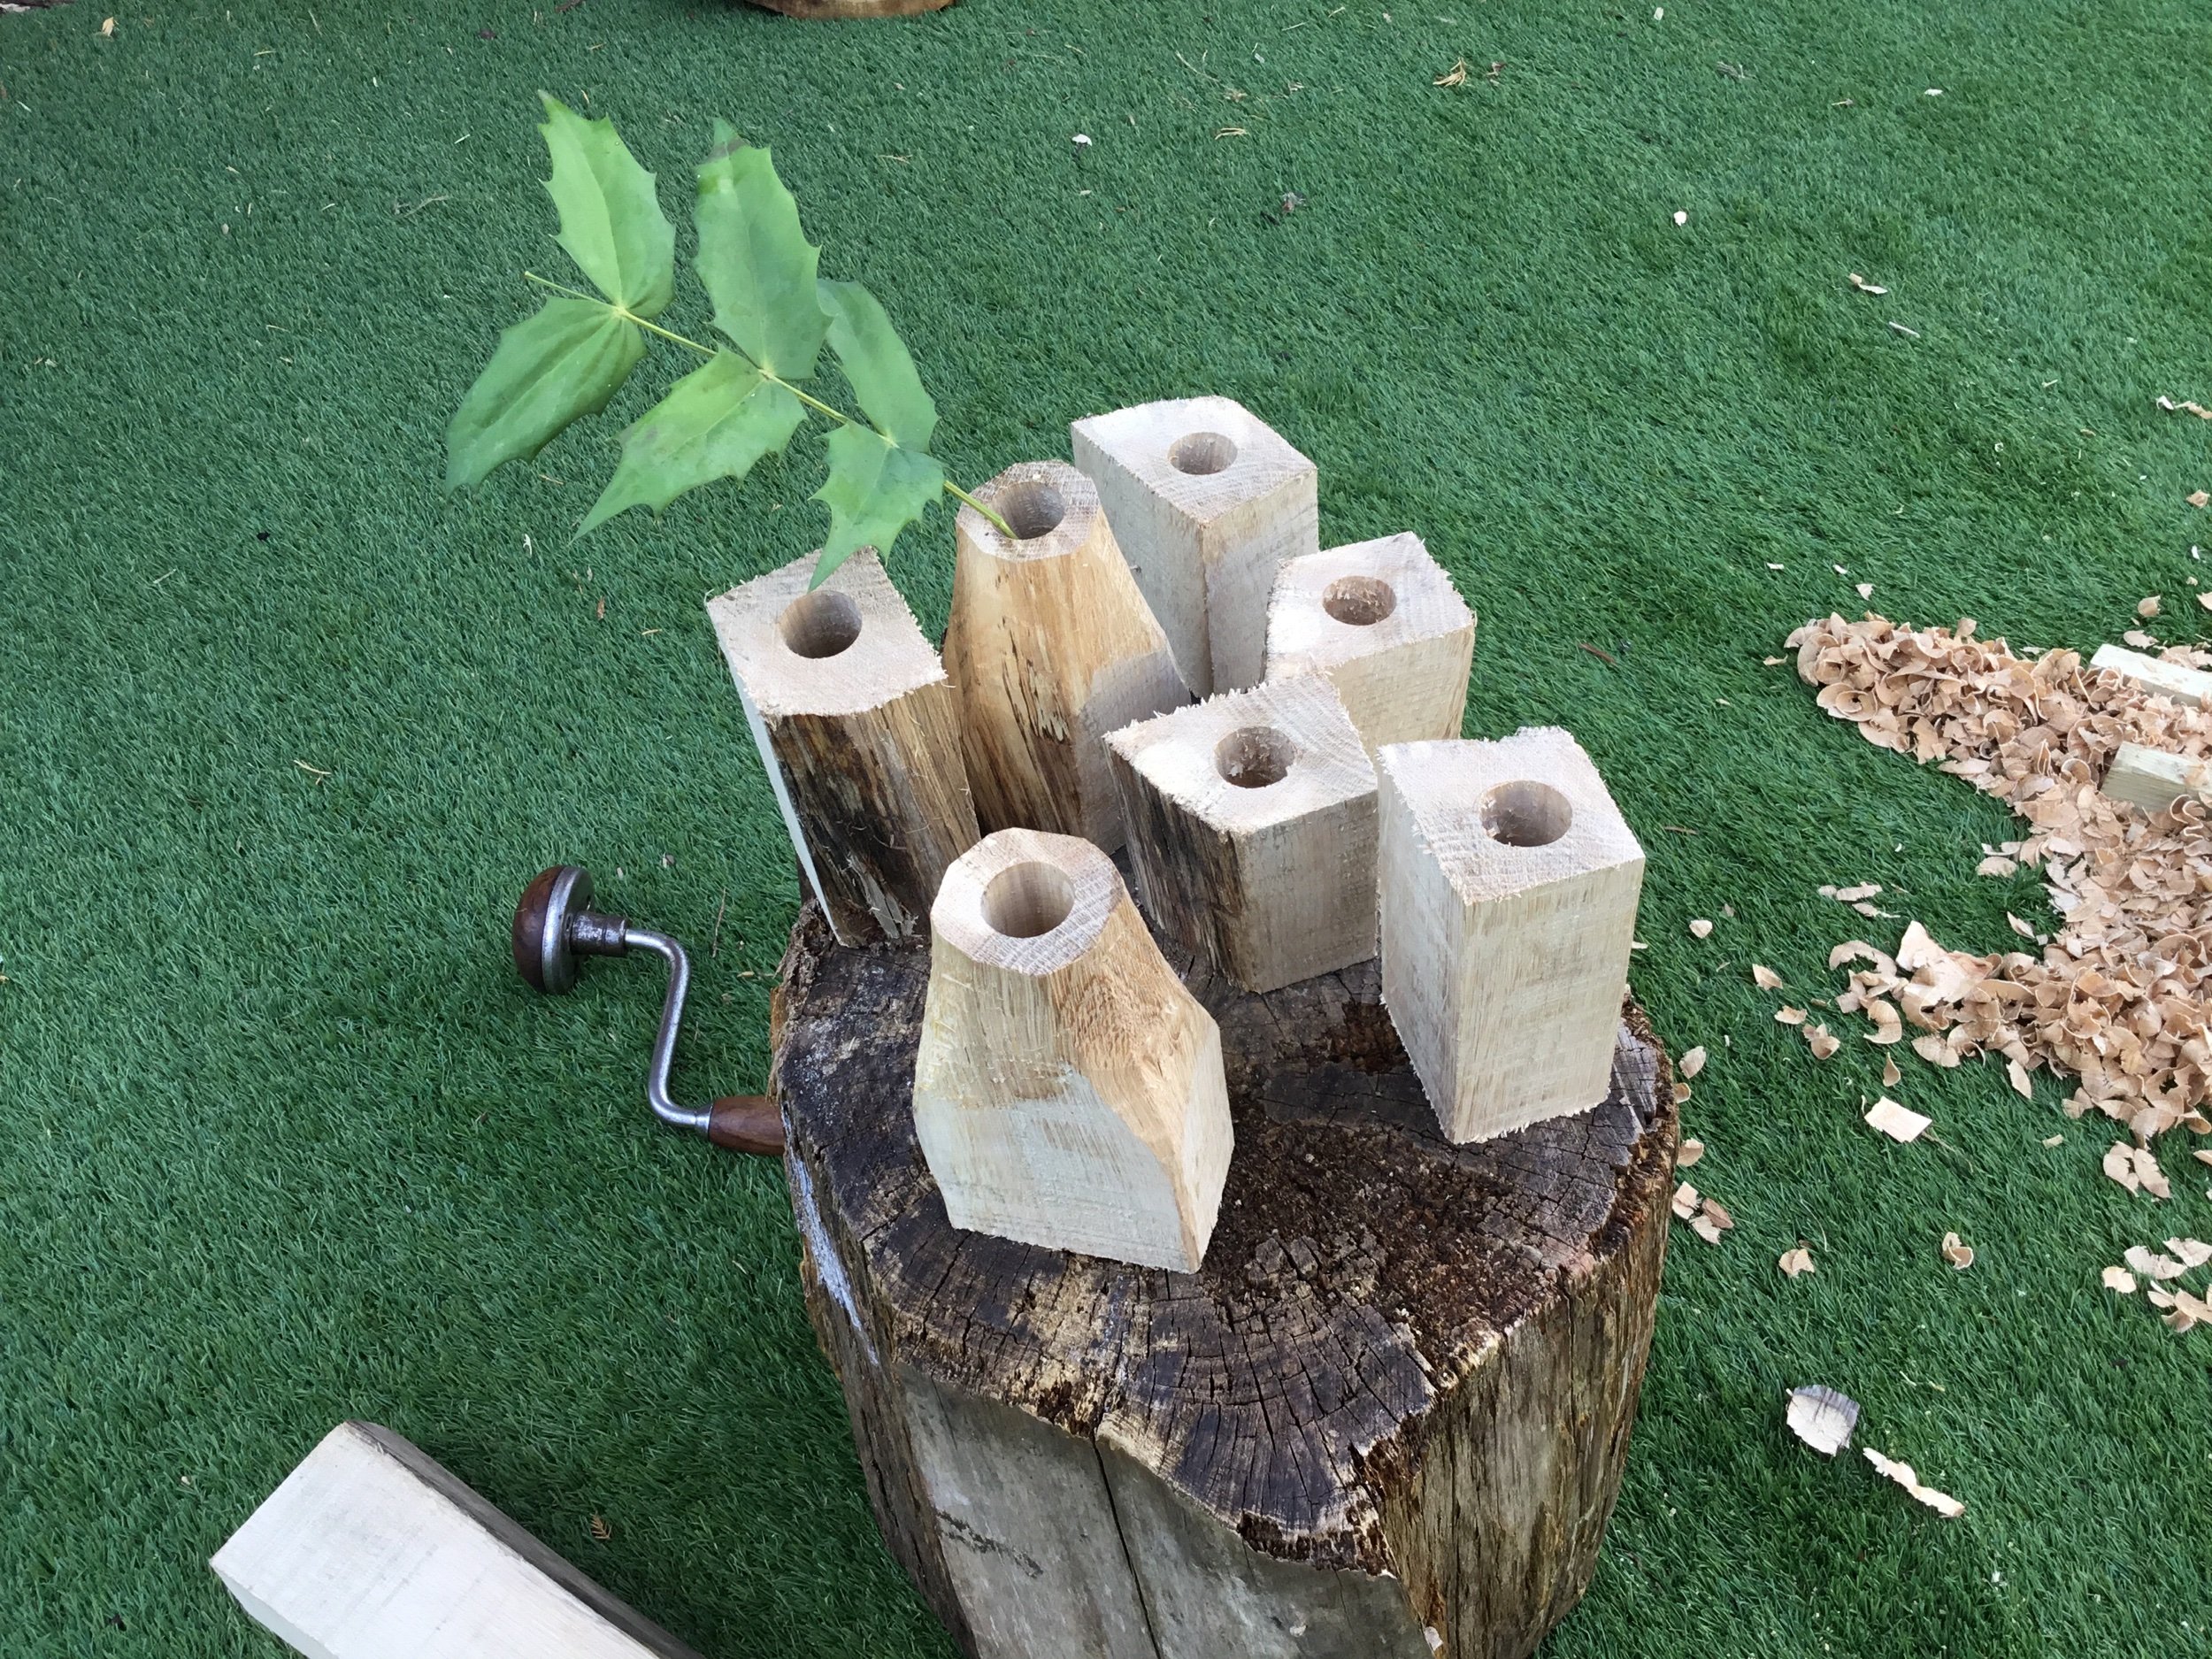
First step was to drill the holes in the seat, to do this I used a WoodOwl auger bit, it cuts cleanly and when used with a power drill takes just a few seconds per hole. I’ve made a few benches and the trick is to get the angles correct so that the bench won’t tip if children stand on it or sit right on the edge. I found this blog useful to help me angle the drill correctly


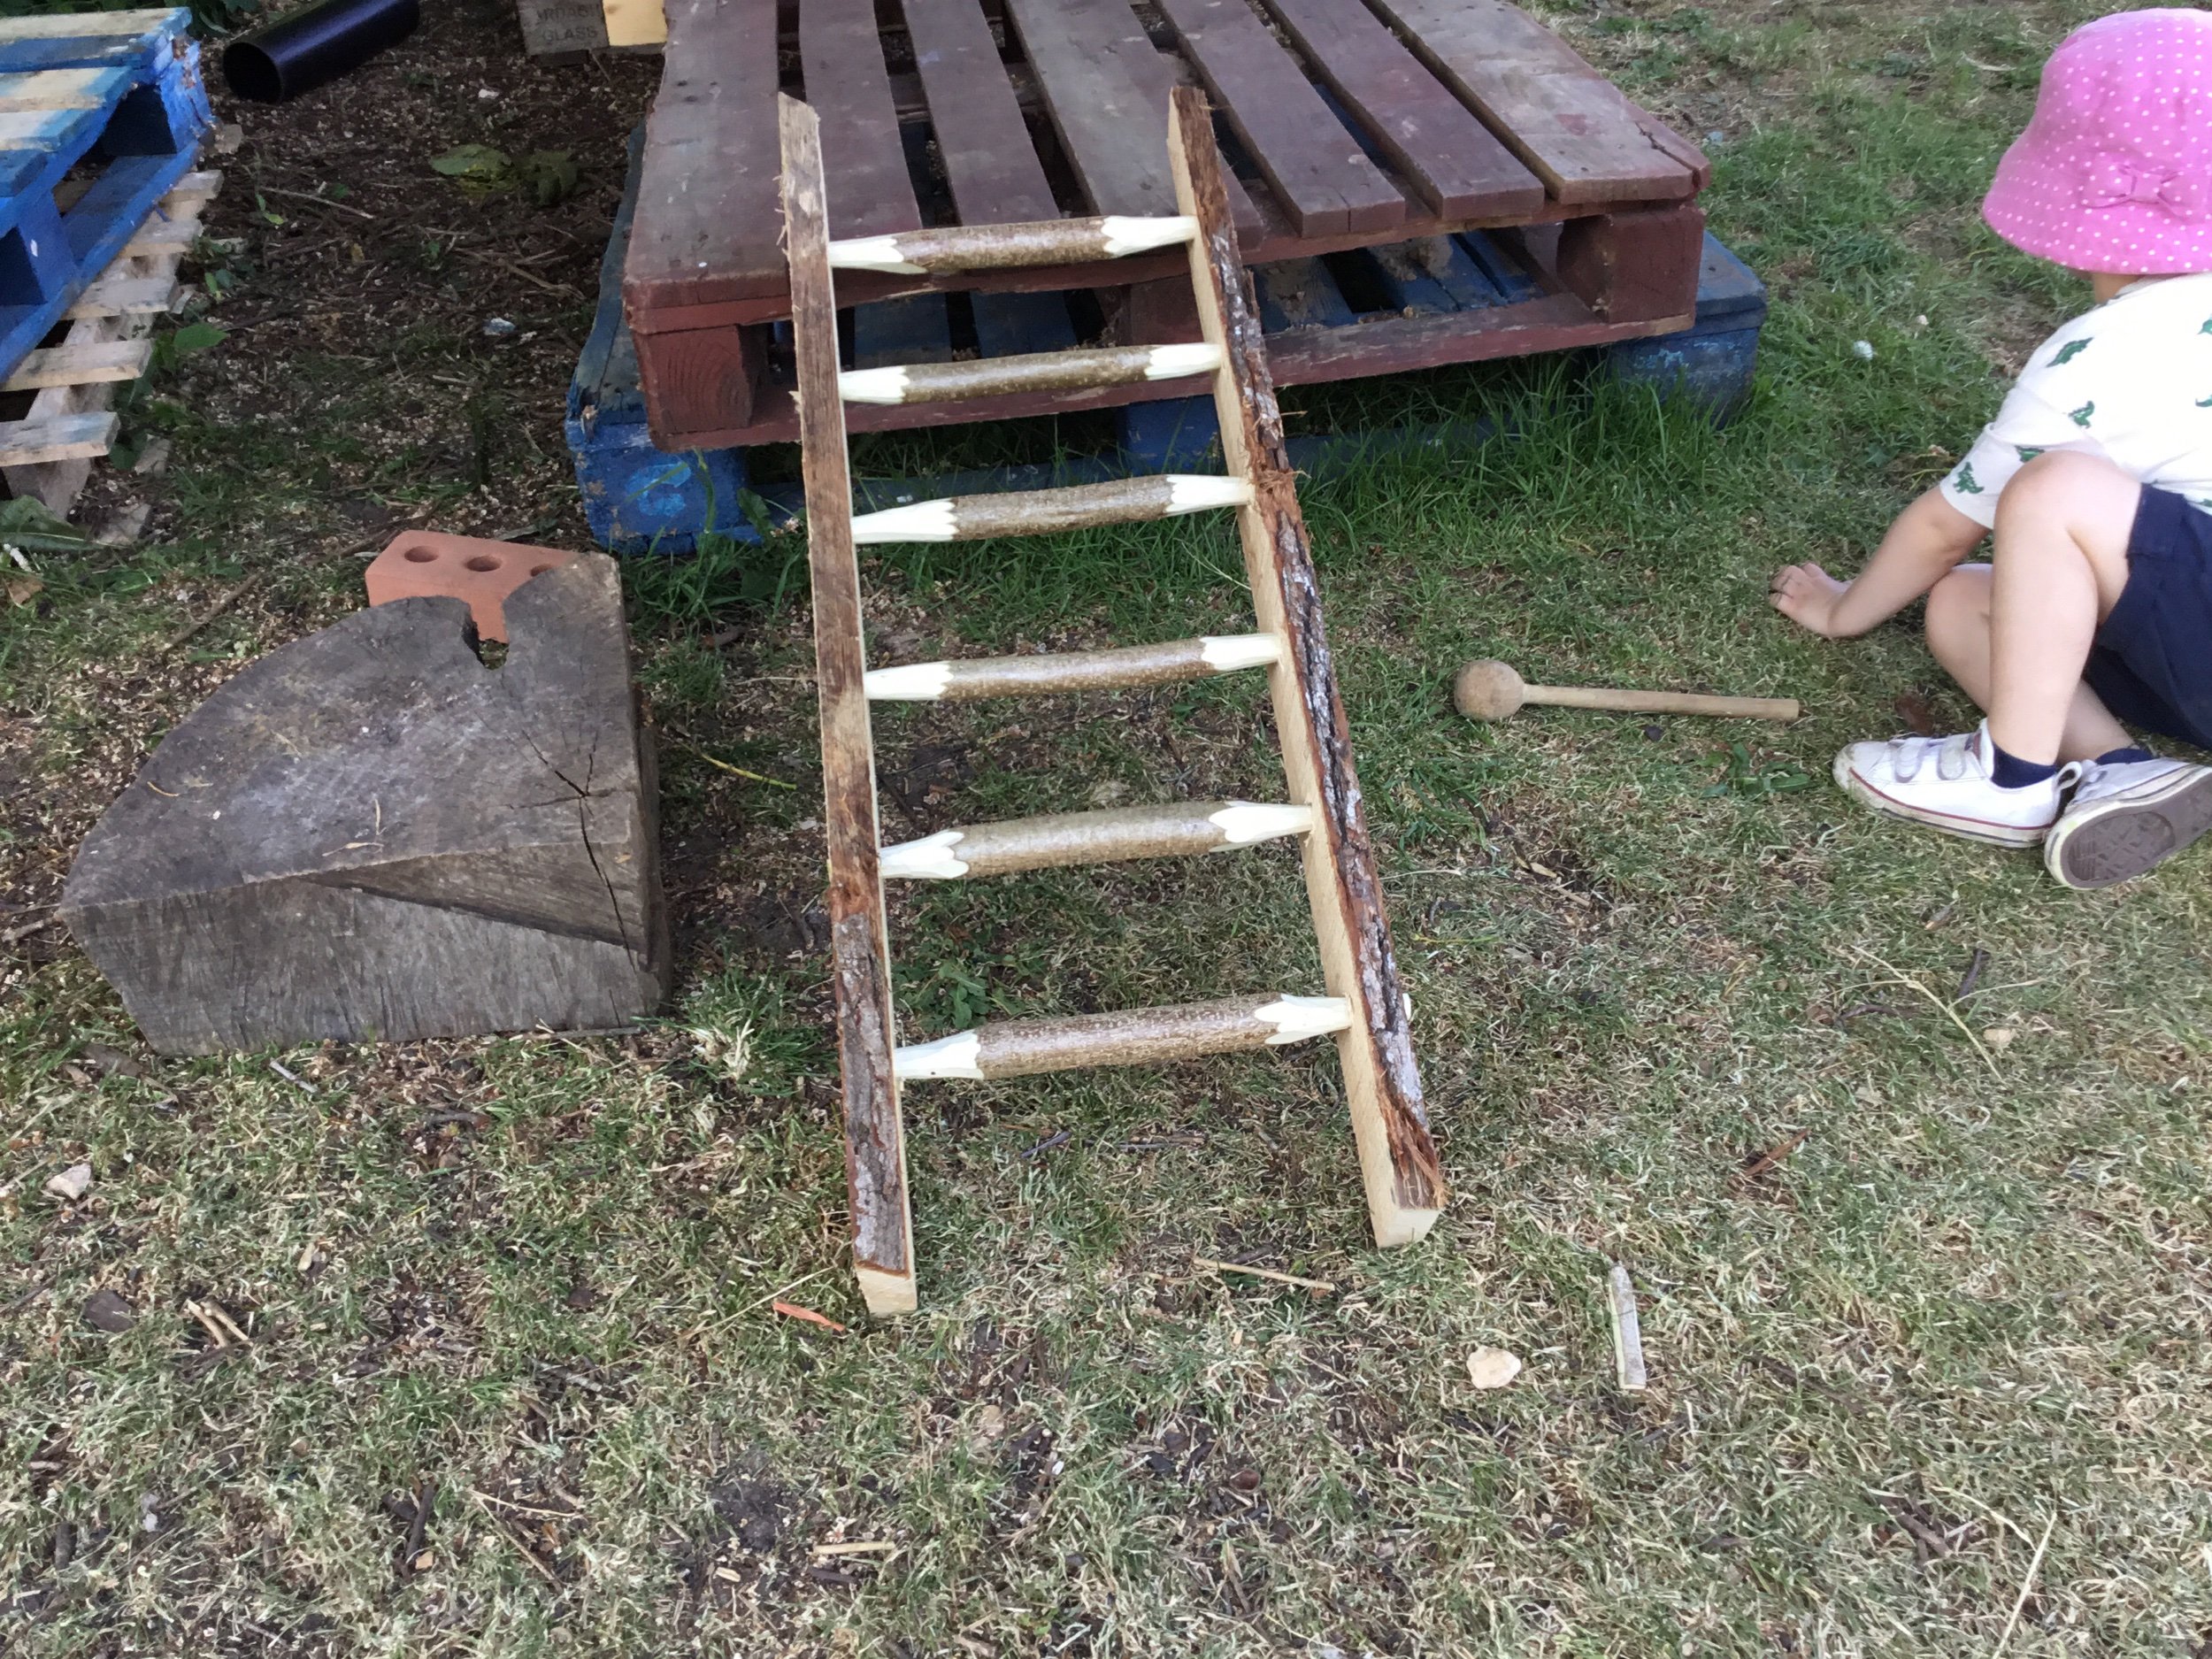
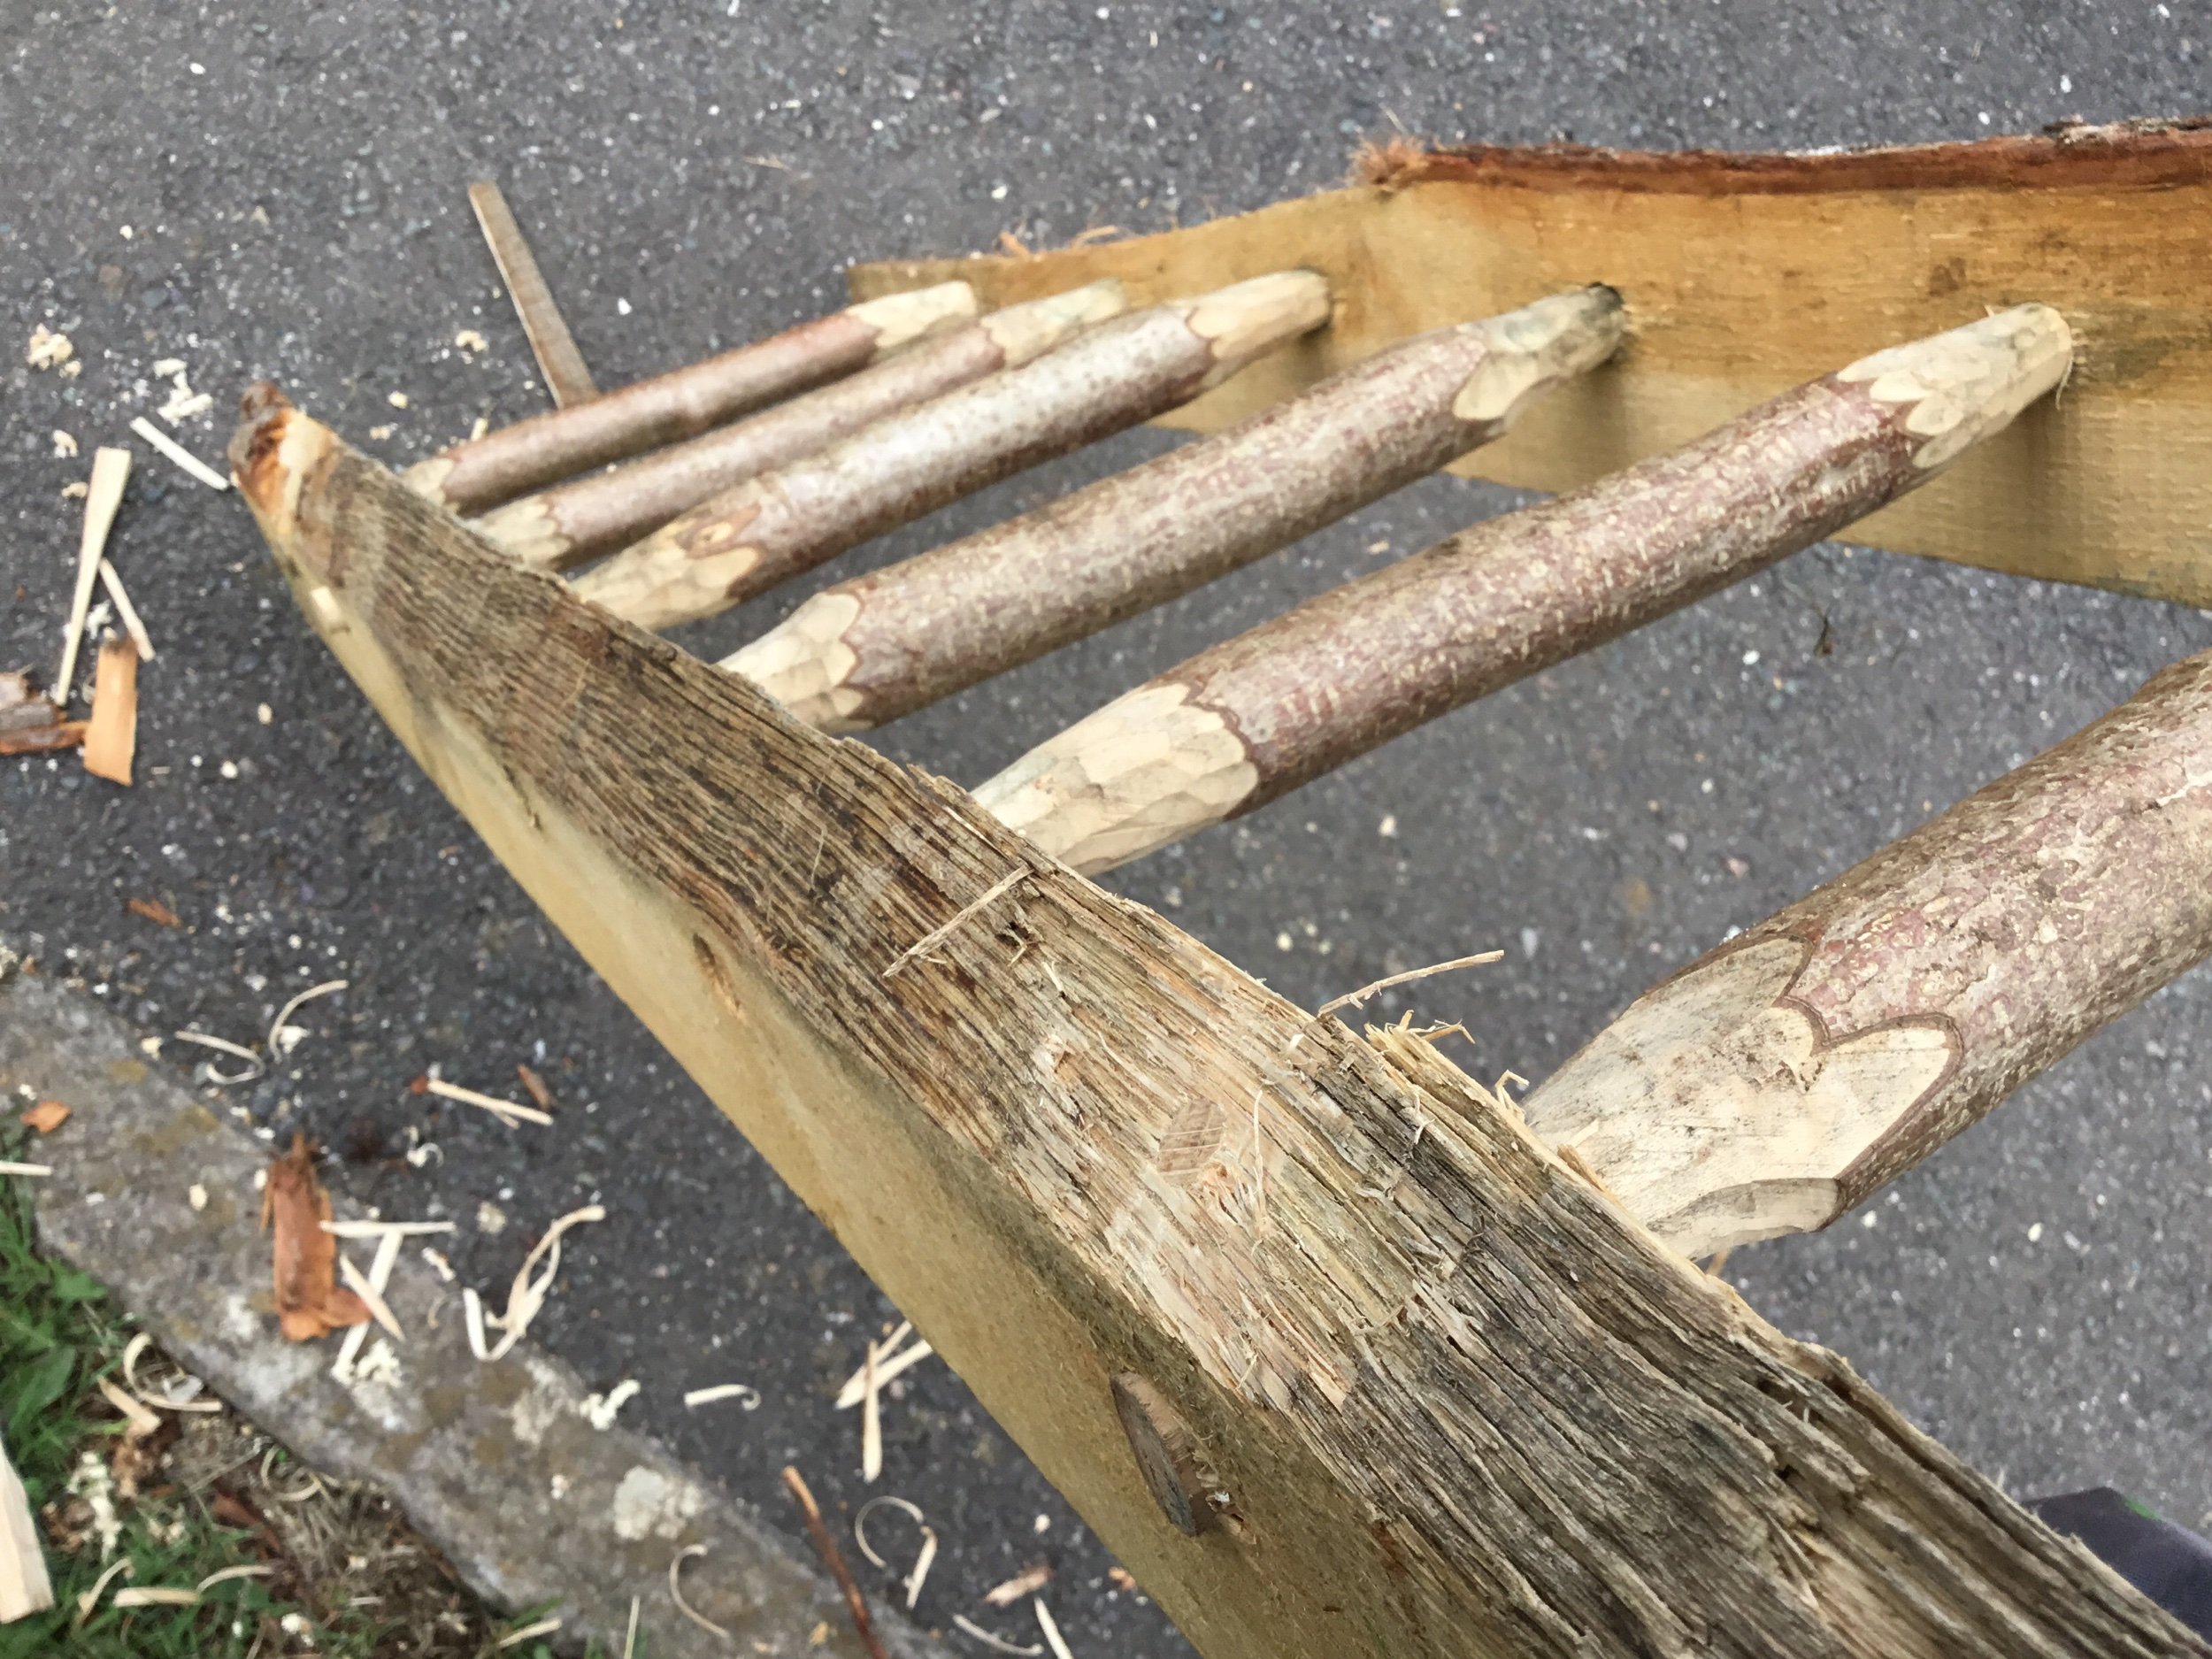
Once the holes were drilled it was time to saw the legs and taper the end to fit. This could be done with an axe or knife but my primary focus when developing these activities is for the children to feel each process so I used one of my favourite tools: a rounding plane. This tool acts like a giant pencil sharpener, spinning around the wood and shaving it down to a tapering end. The children can hold the handles and really get a sense of using the tool and the way it moves across the wood without having to hold it near the blade.


The final steps to finish the bench is to wedge the legs in place. To do this we made a controlled split into the top of each leg before they had glue applied, were fitted and had wedges hammered in. The wedges push the top of the leg outwards, pressing it on to the edges of the hole and holding the leg firm.


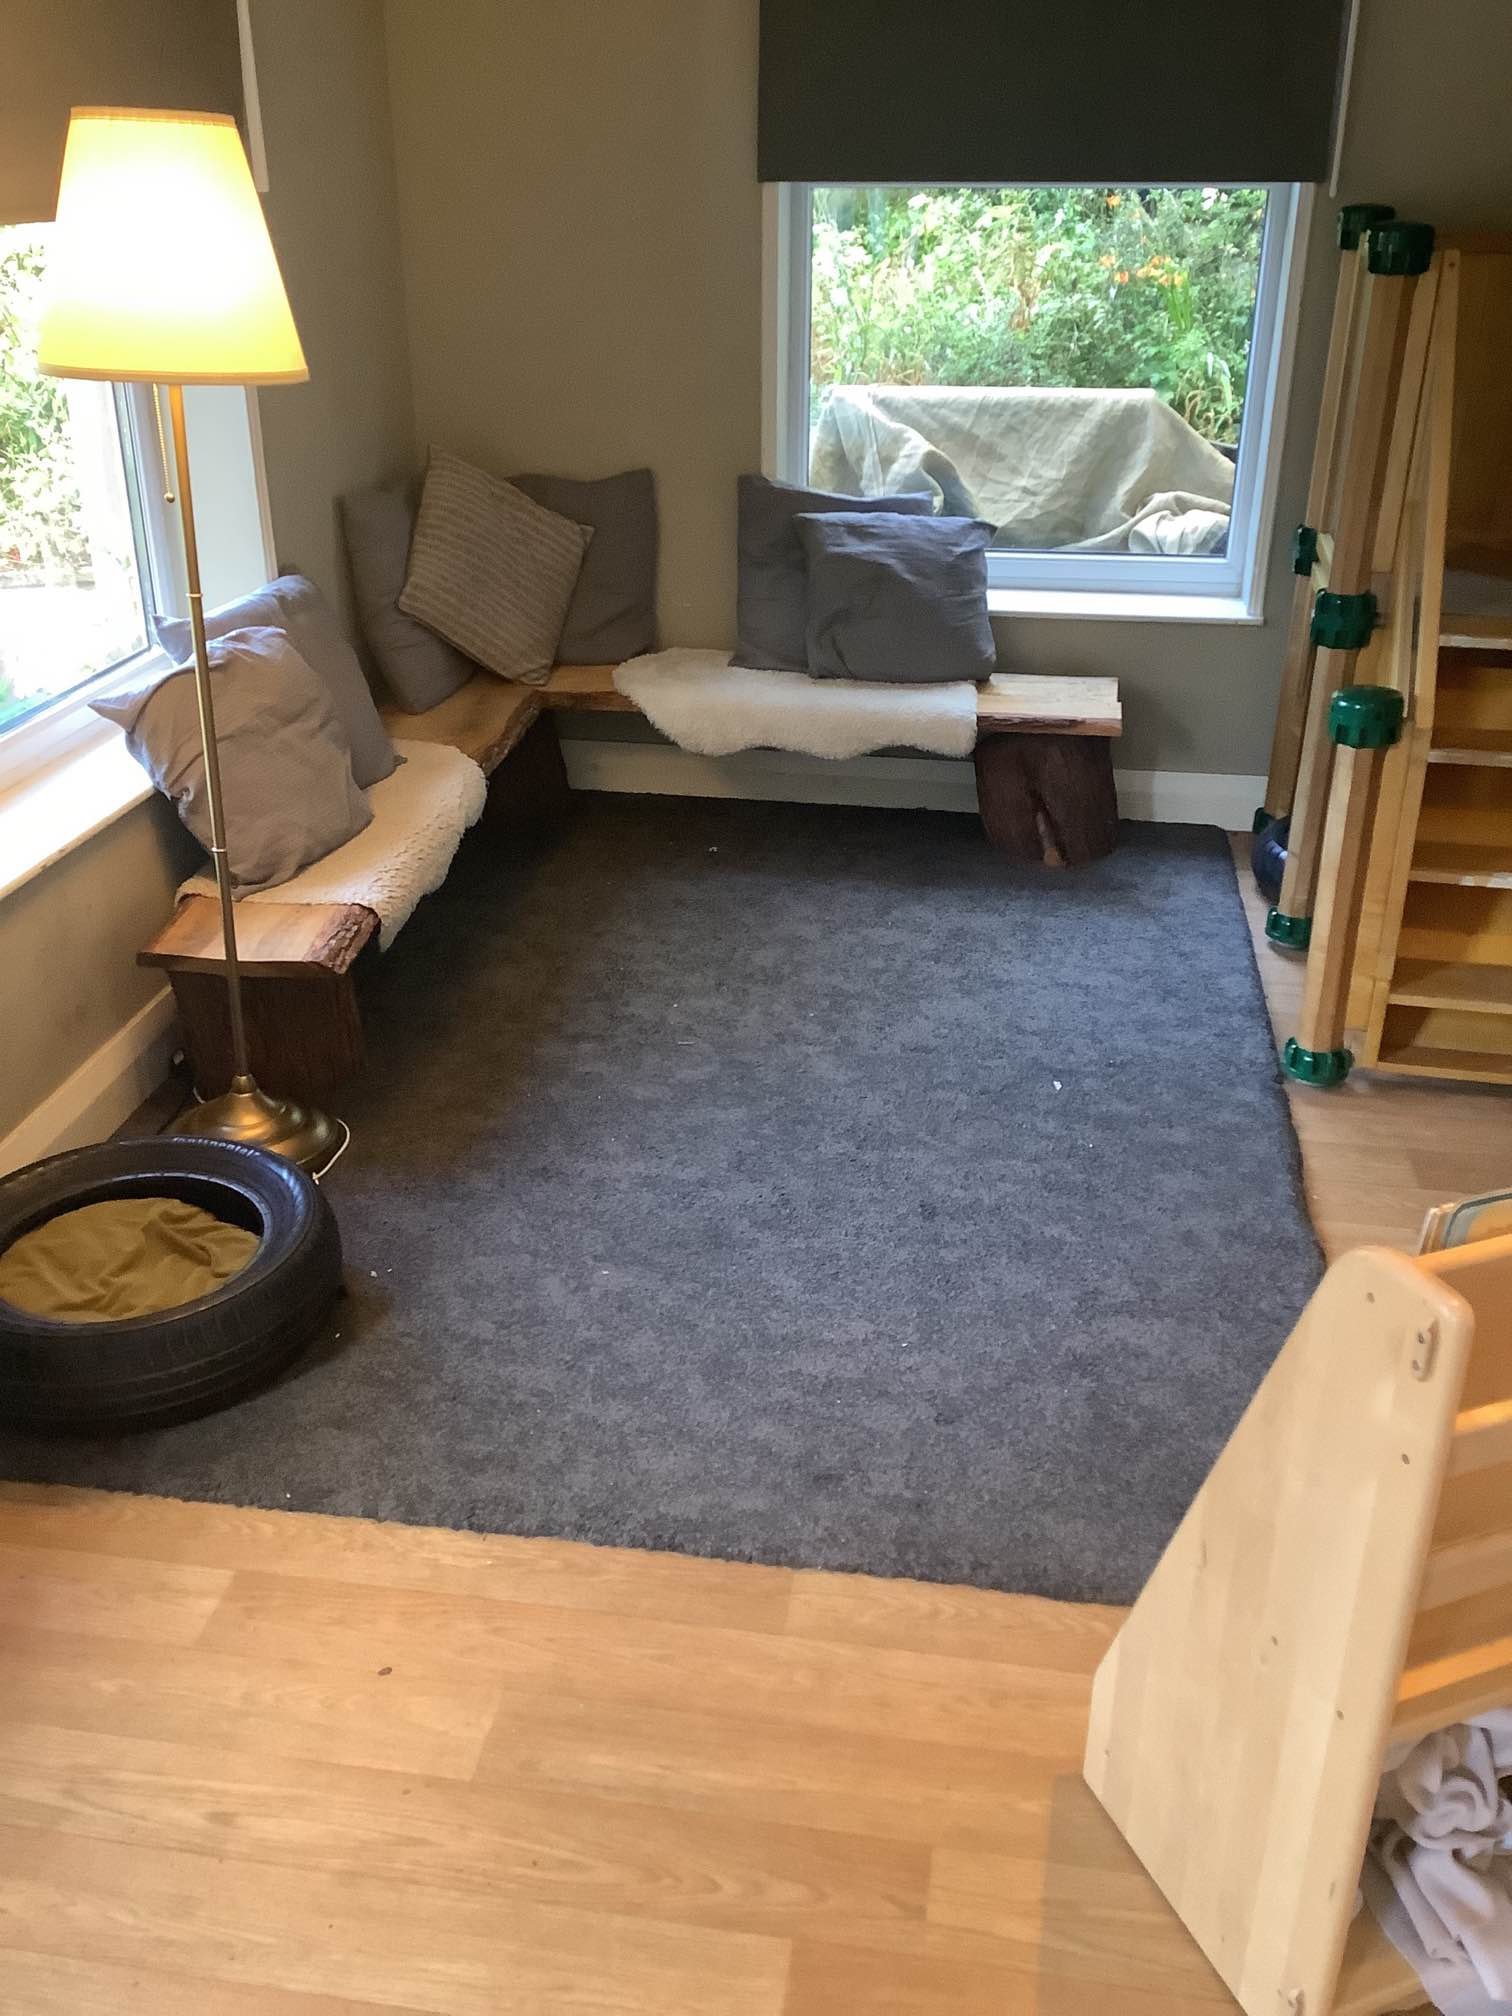
And there we have it, the finished bench! Ready for a couple of coats of hard wax oil before starting a new life in the nursery garden.

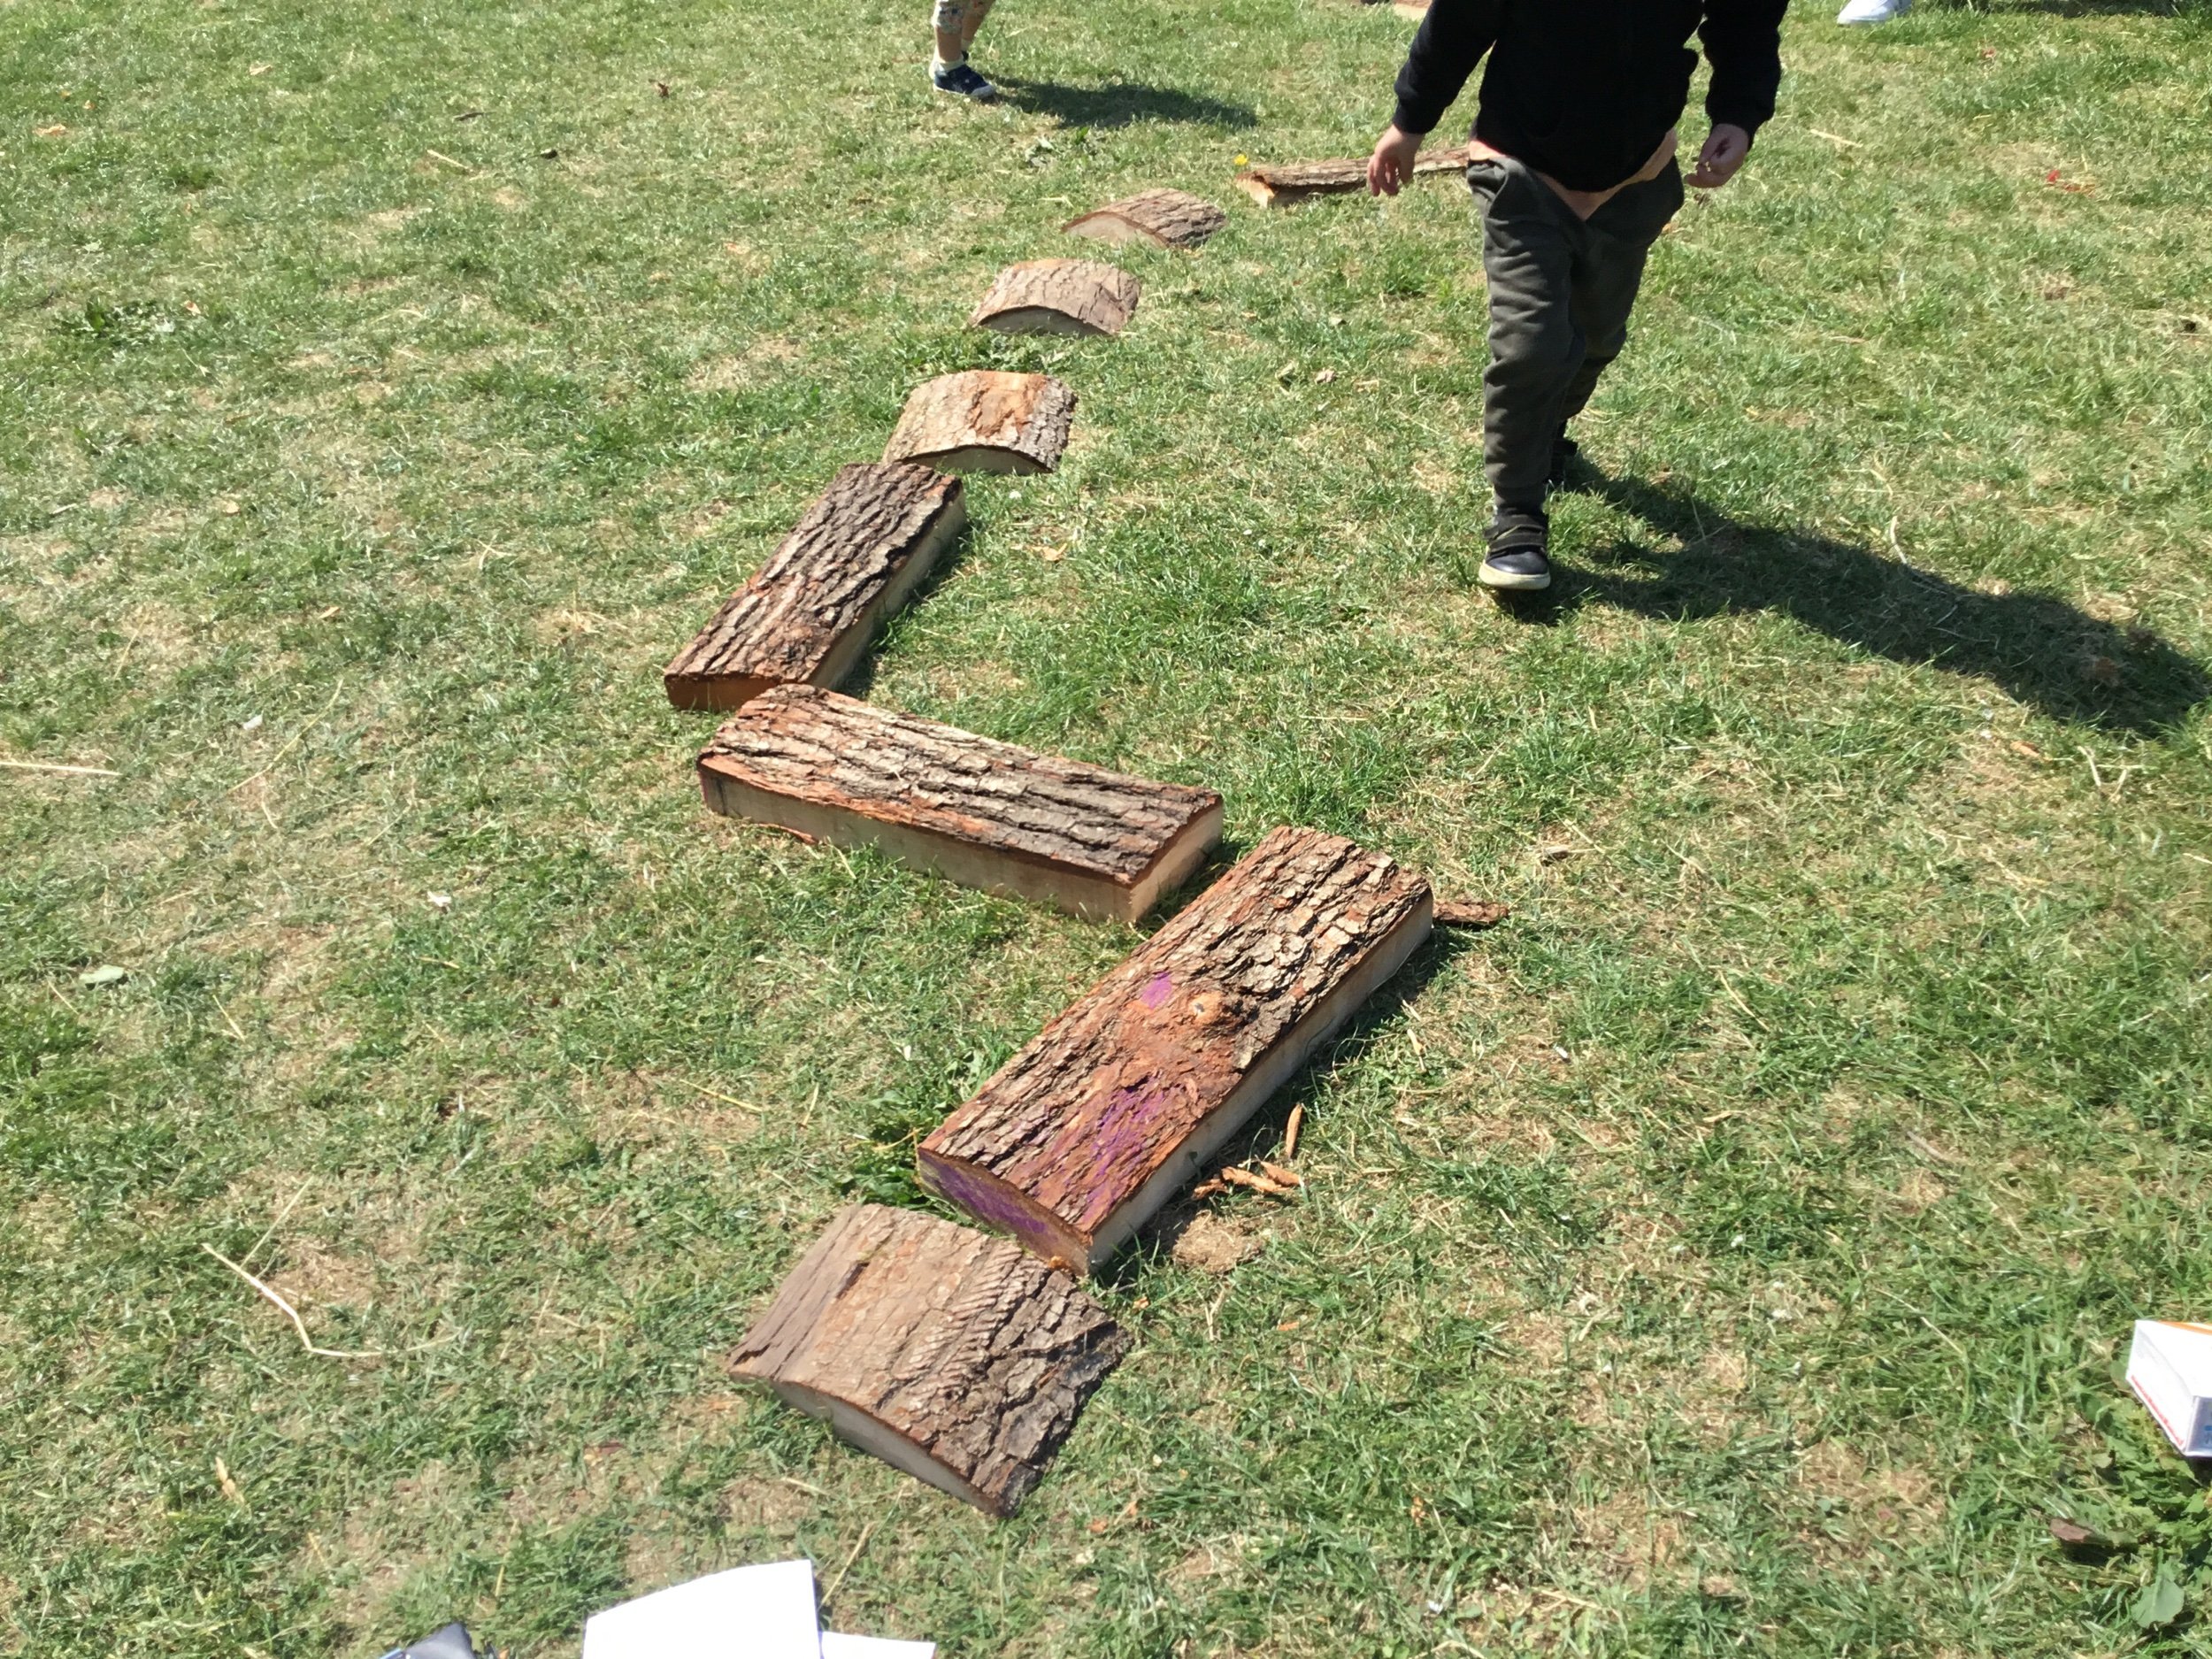
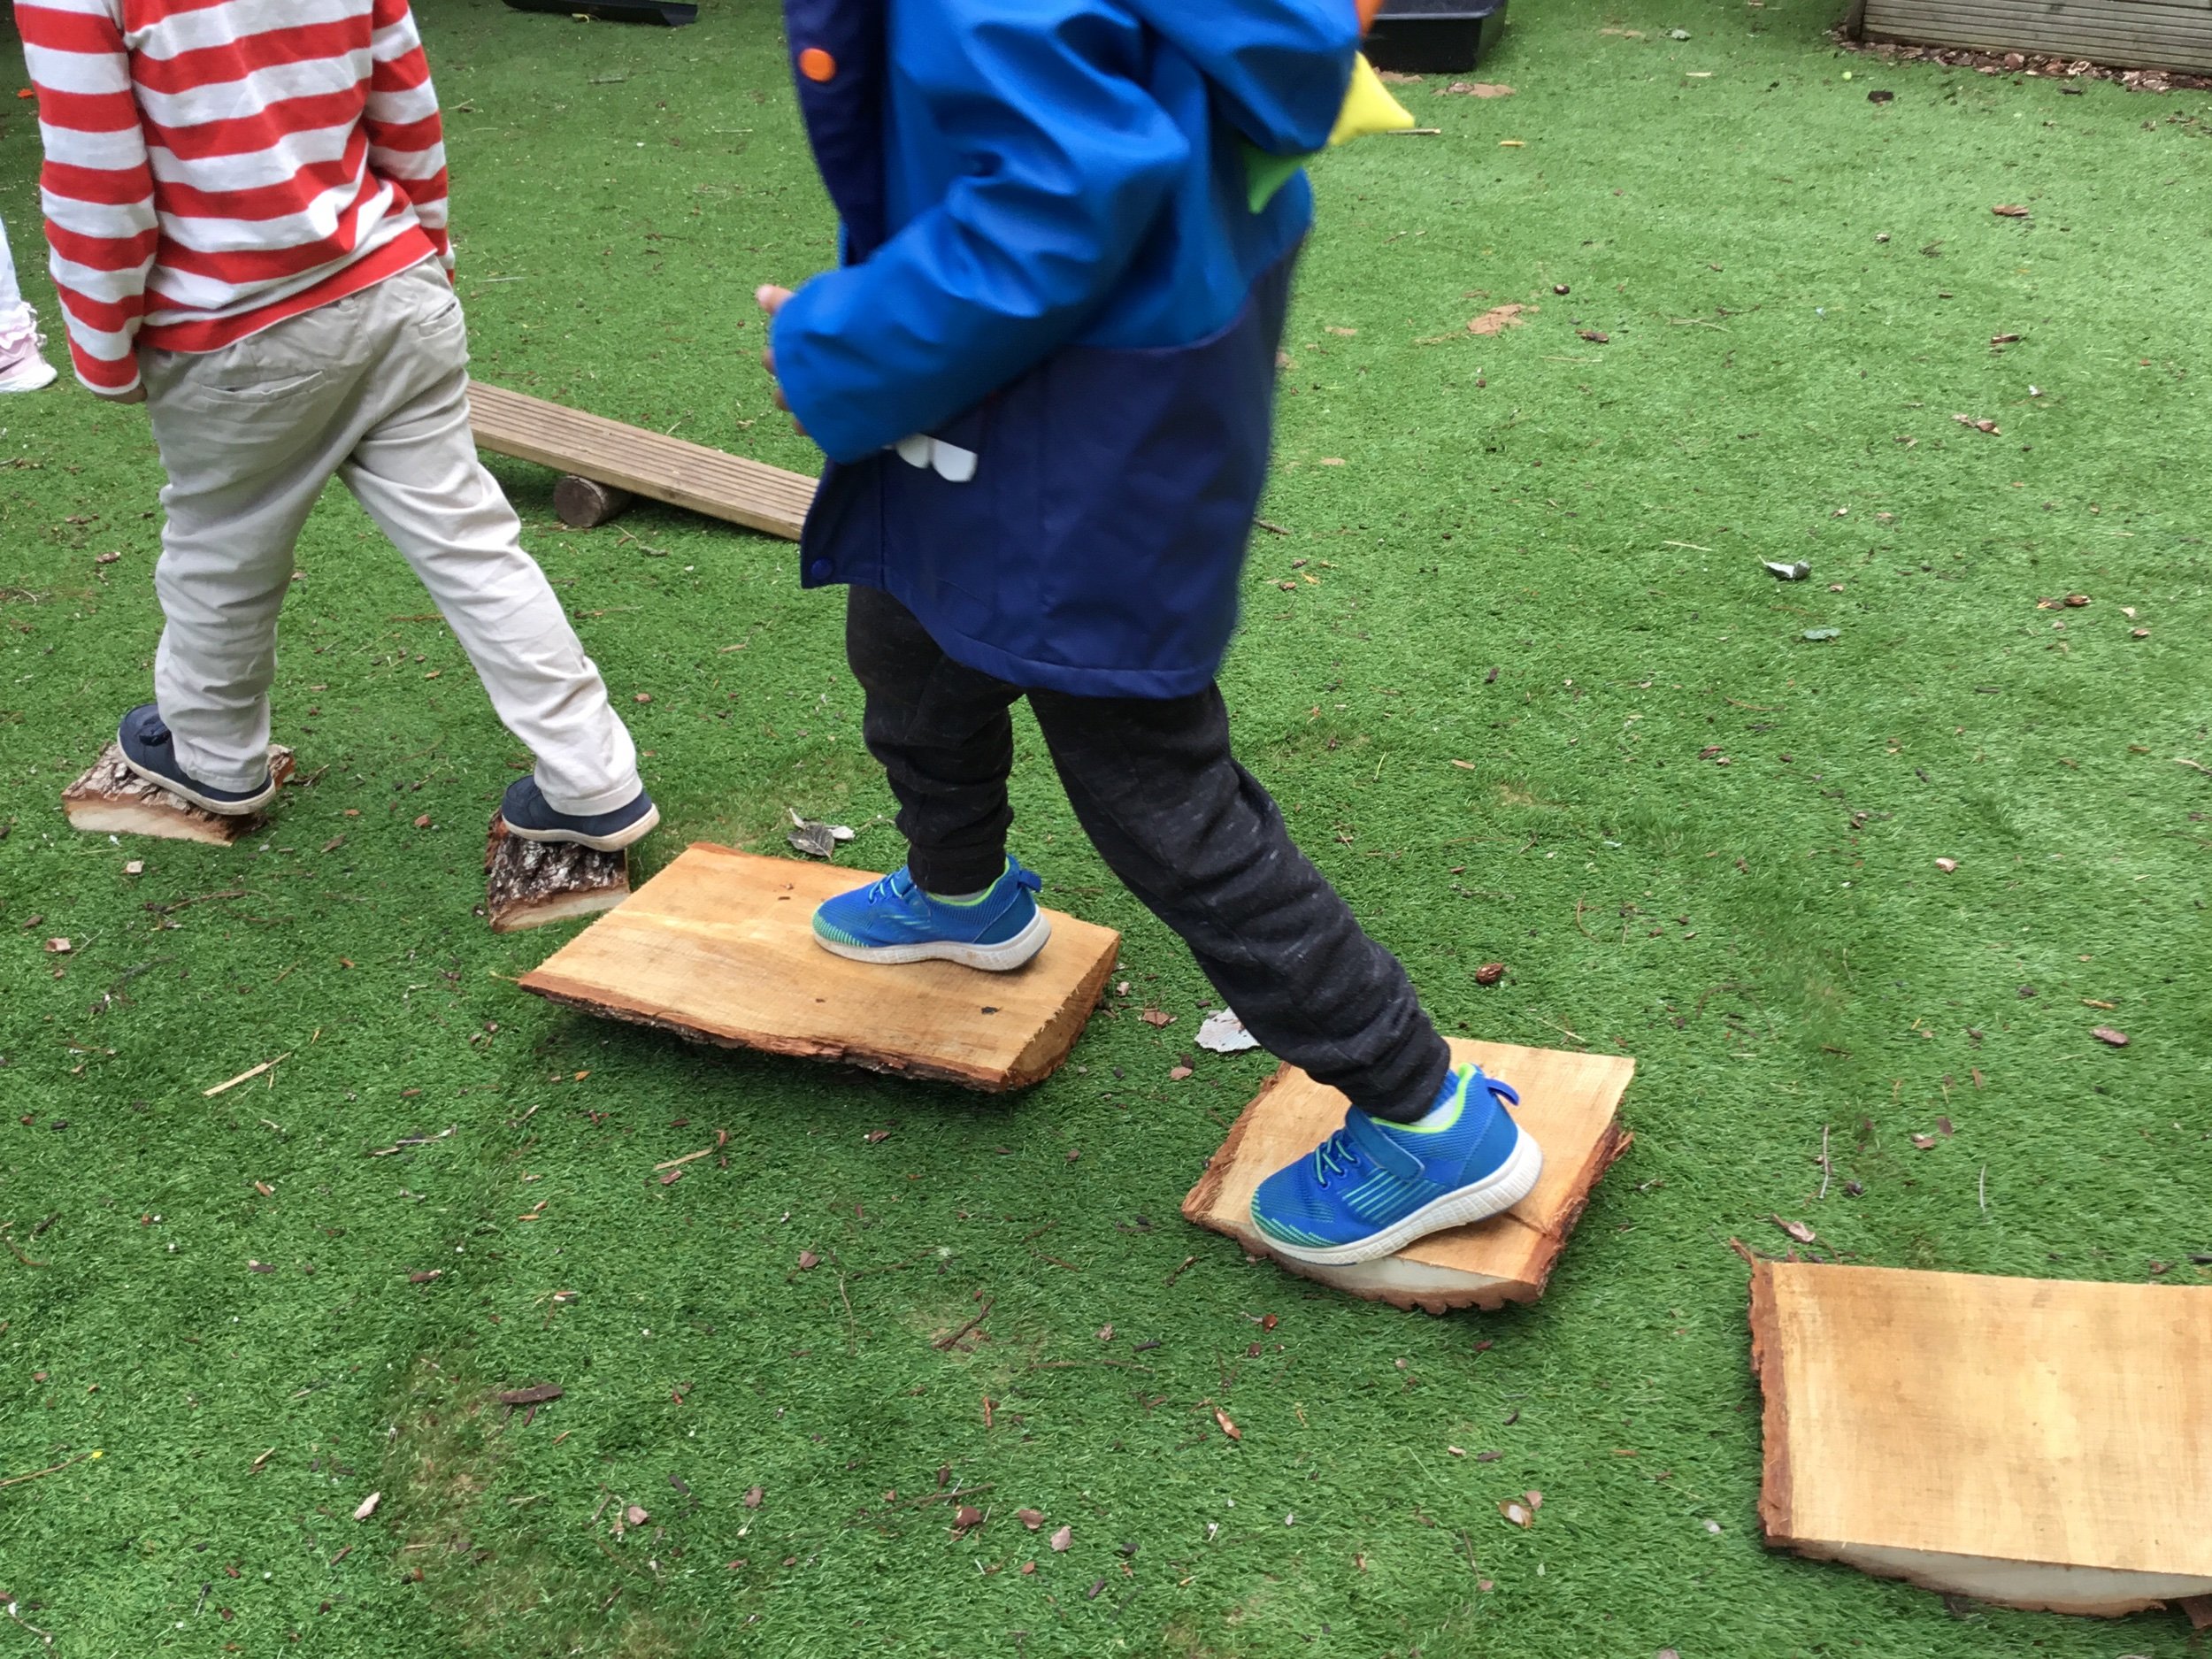
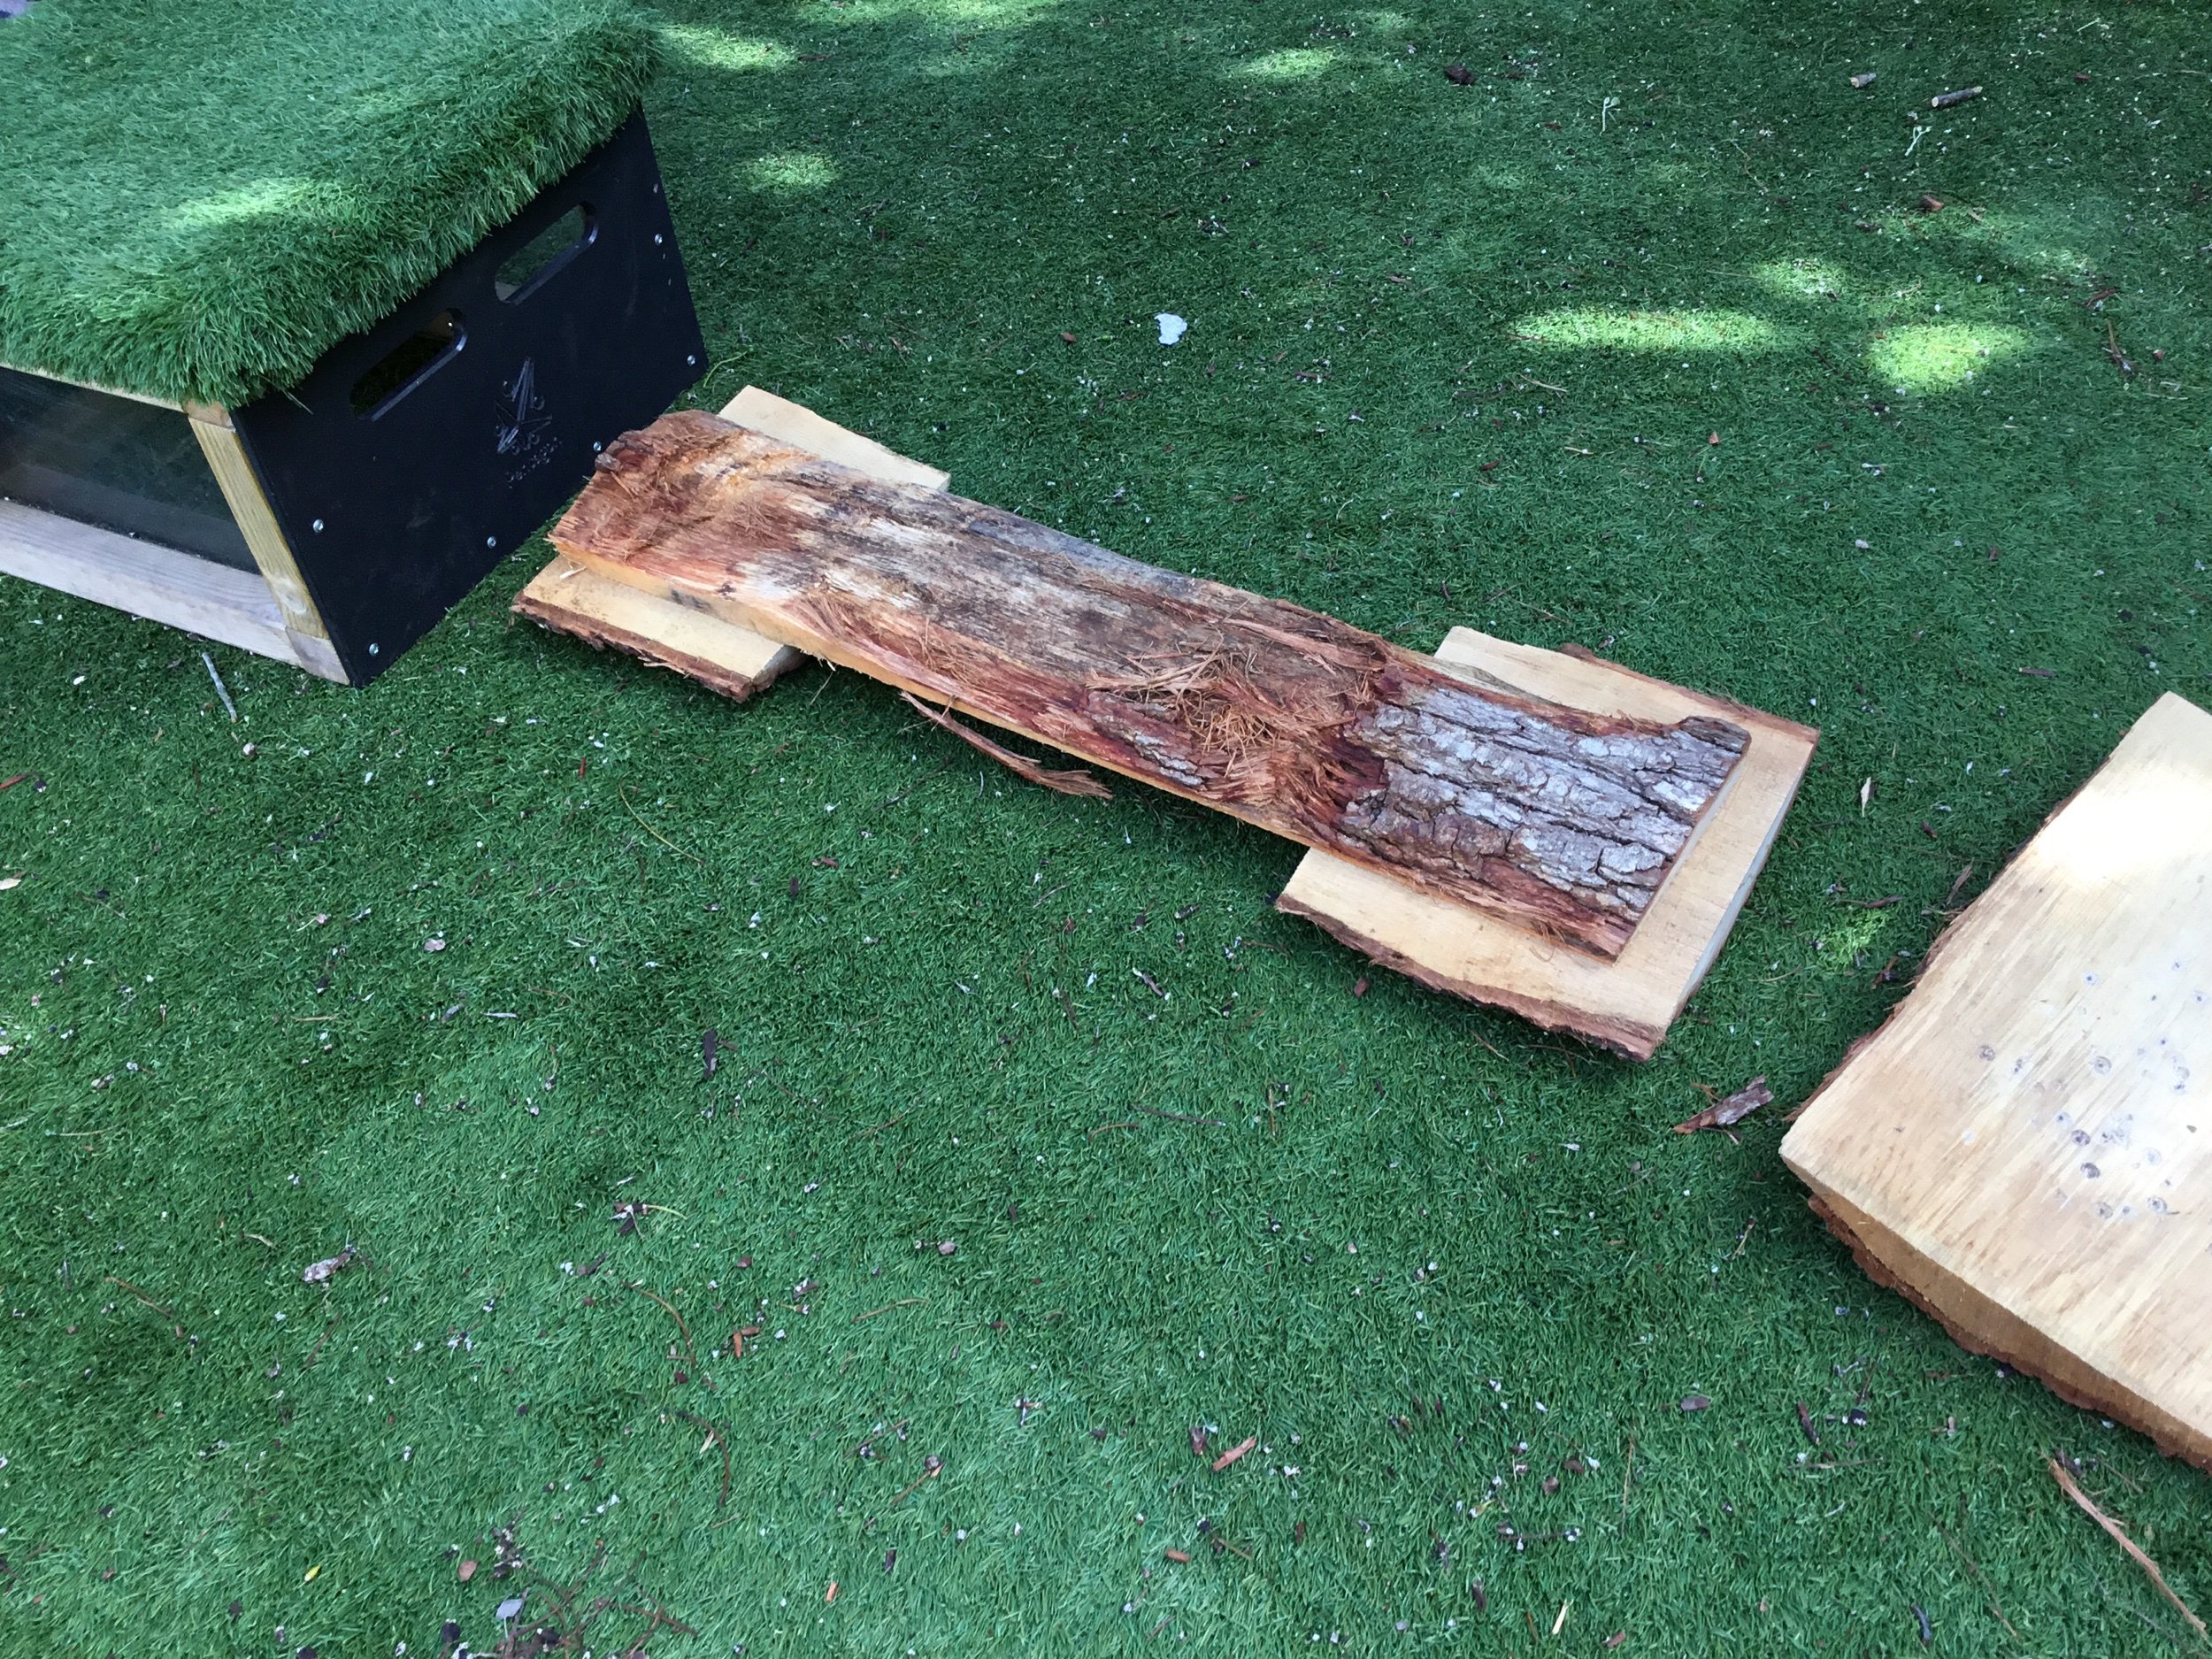
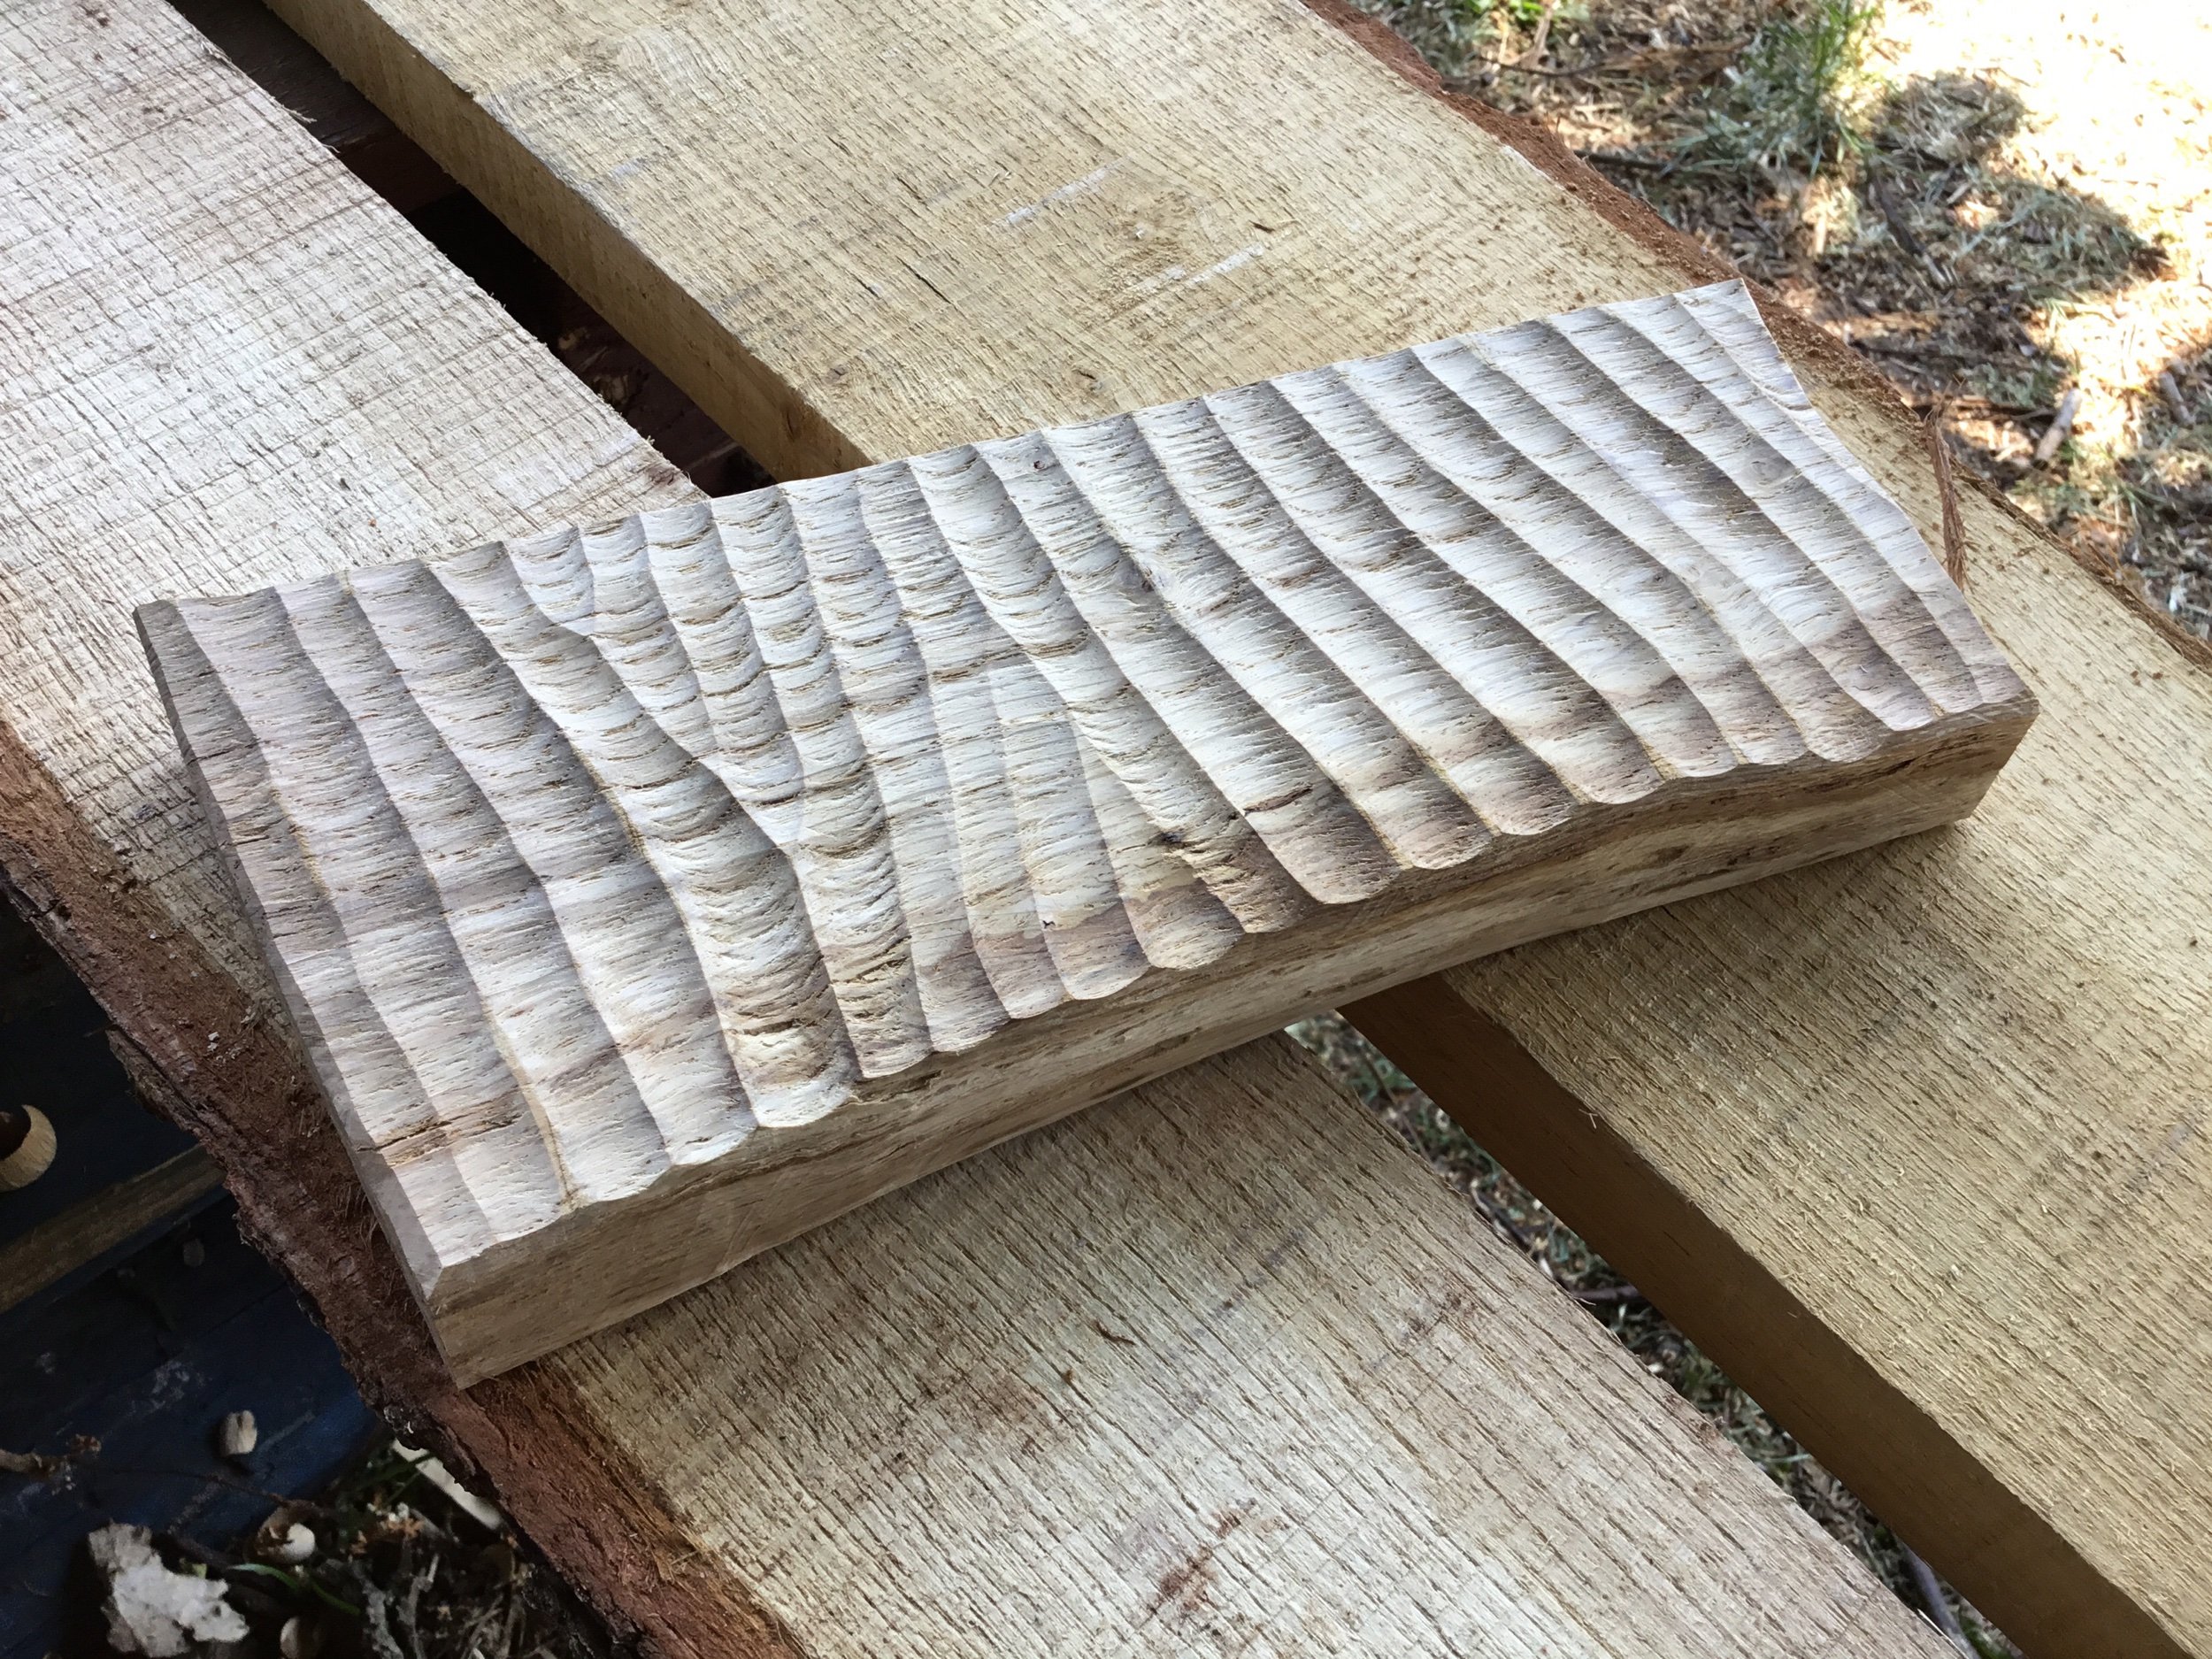
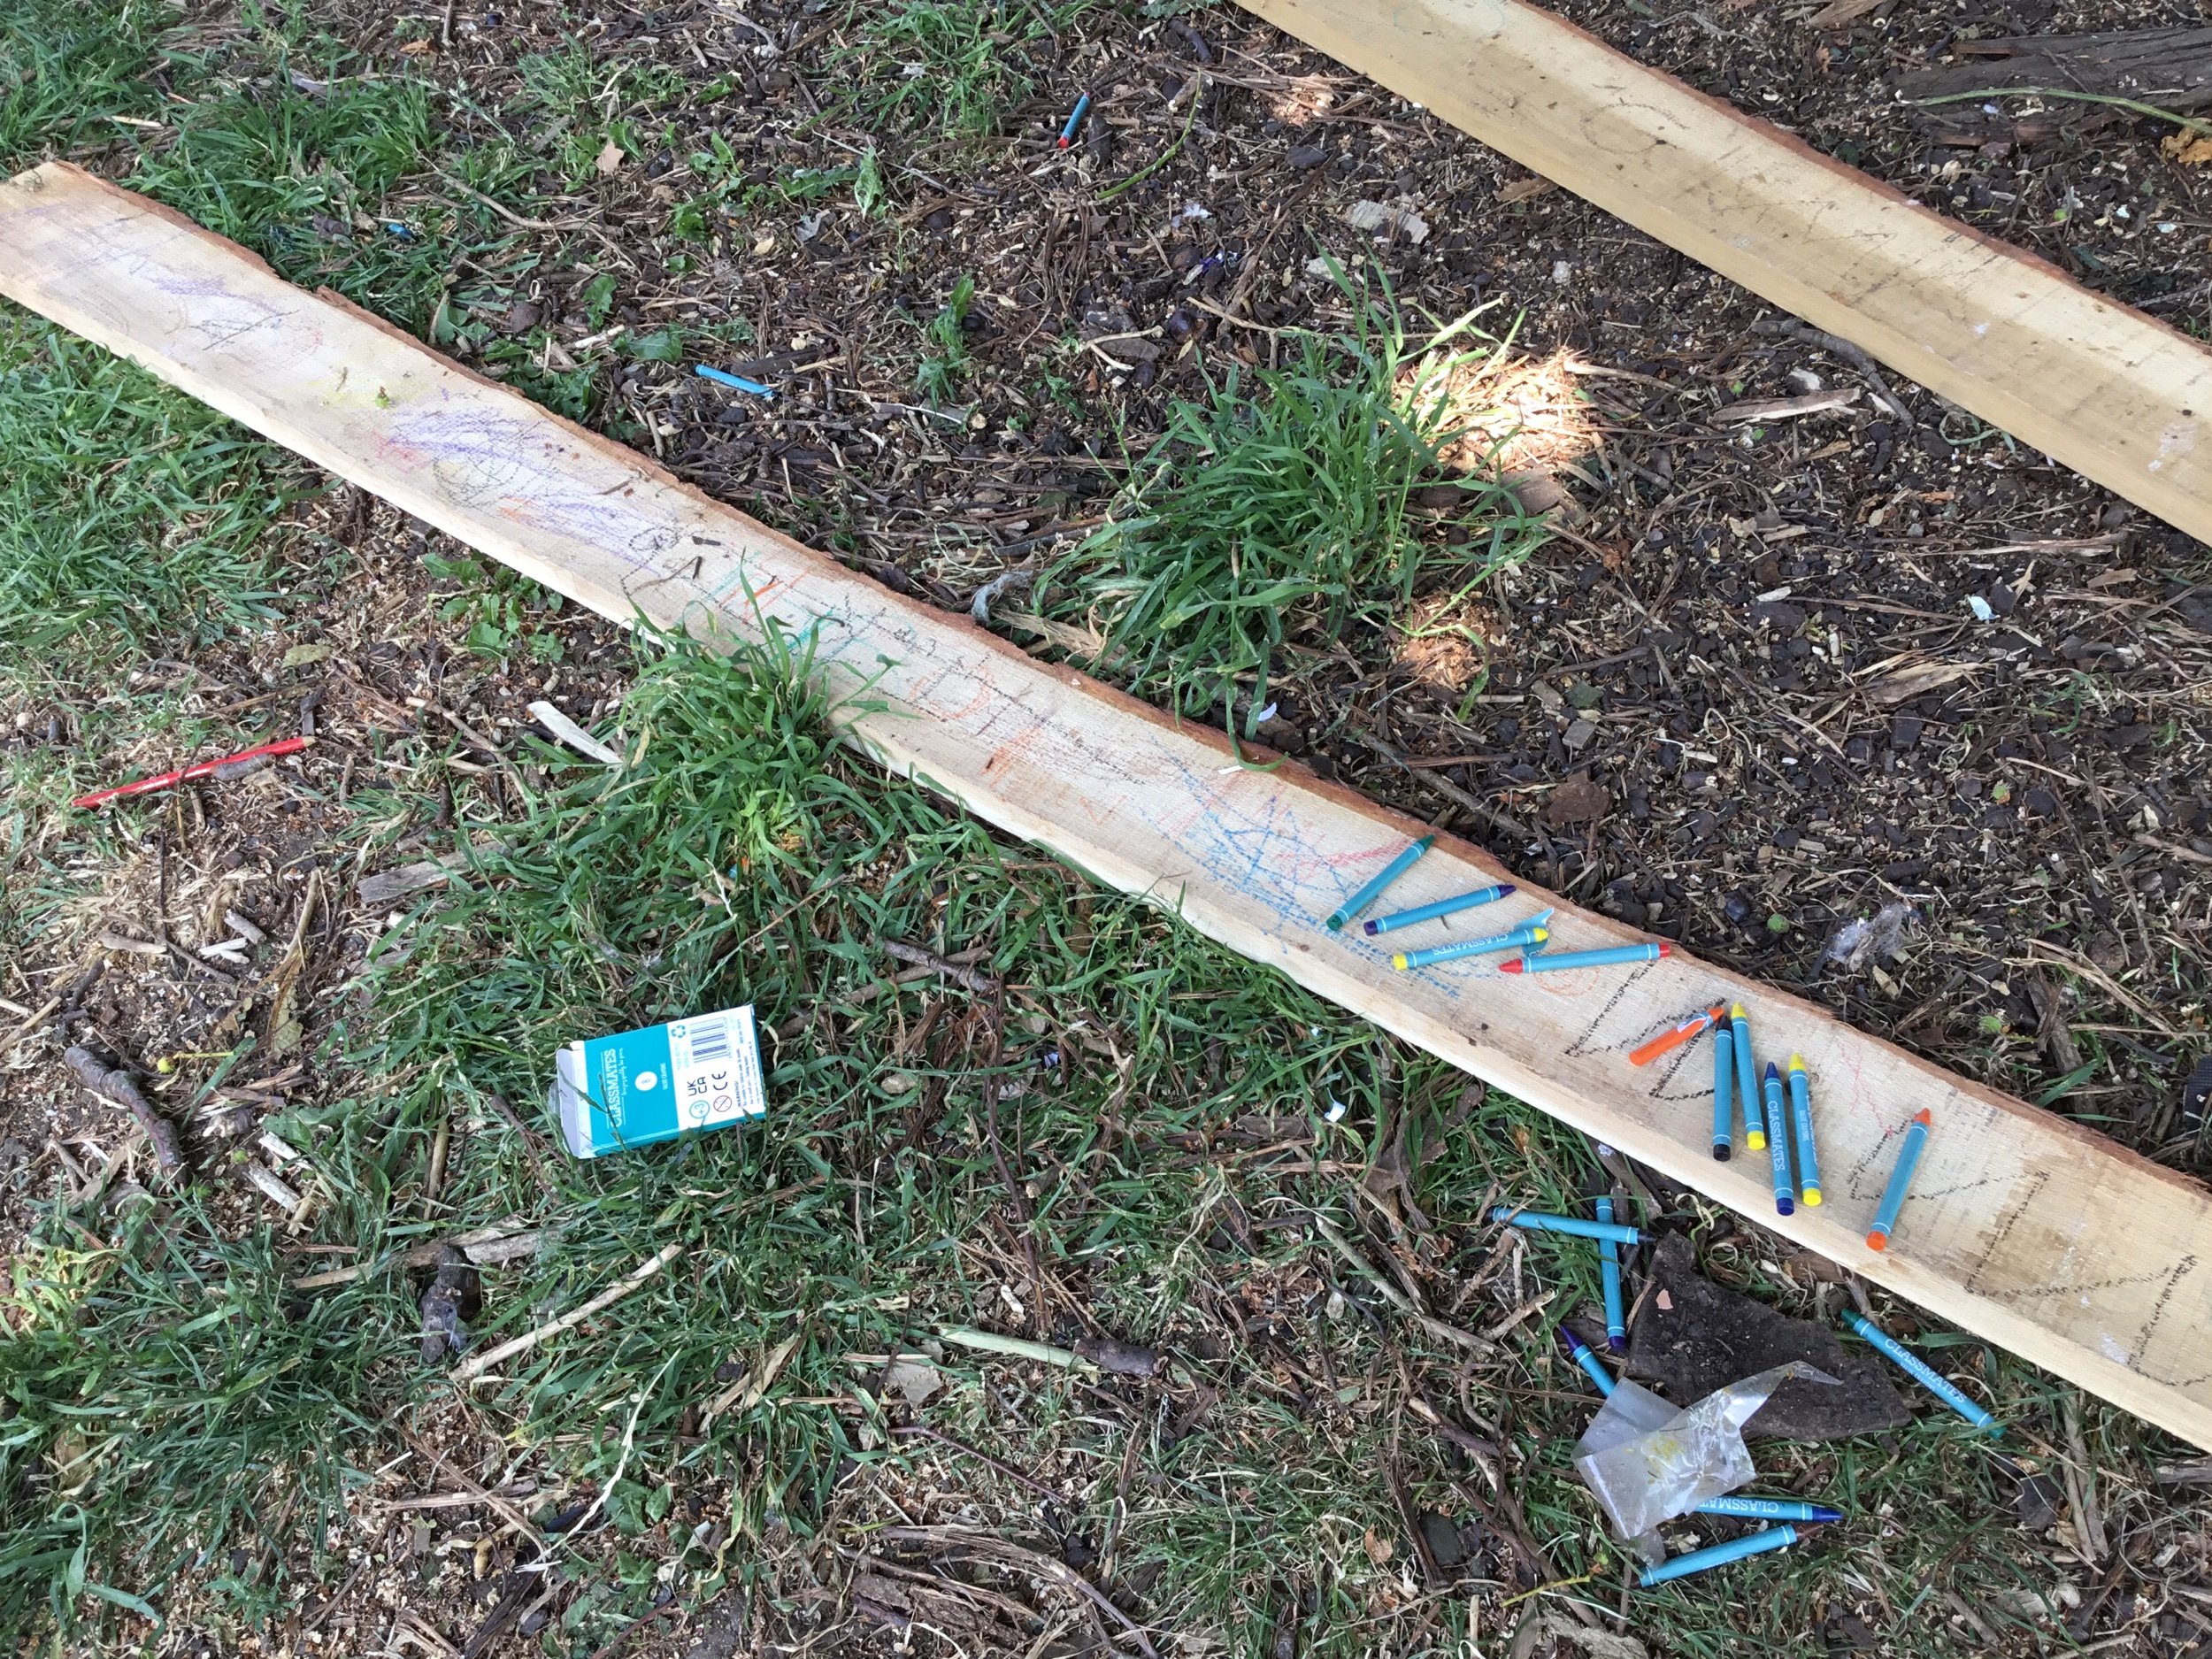
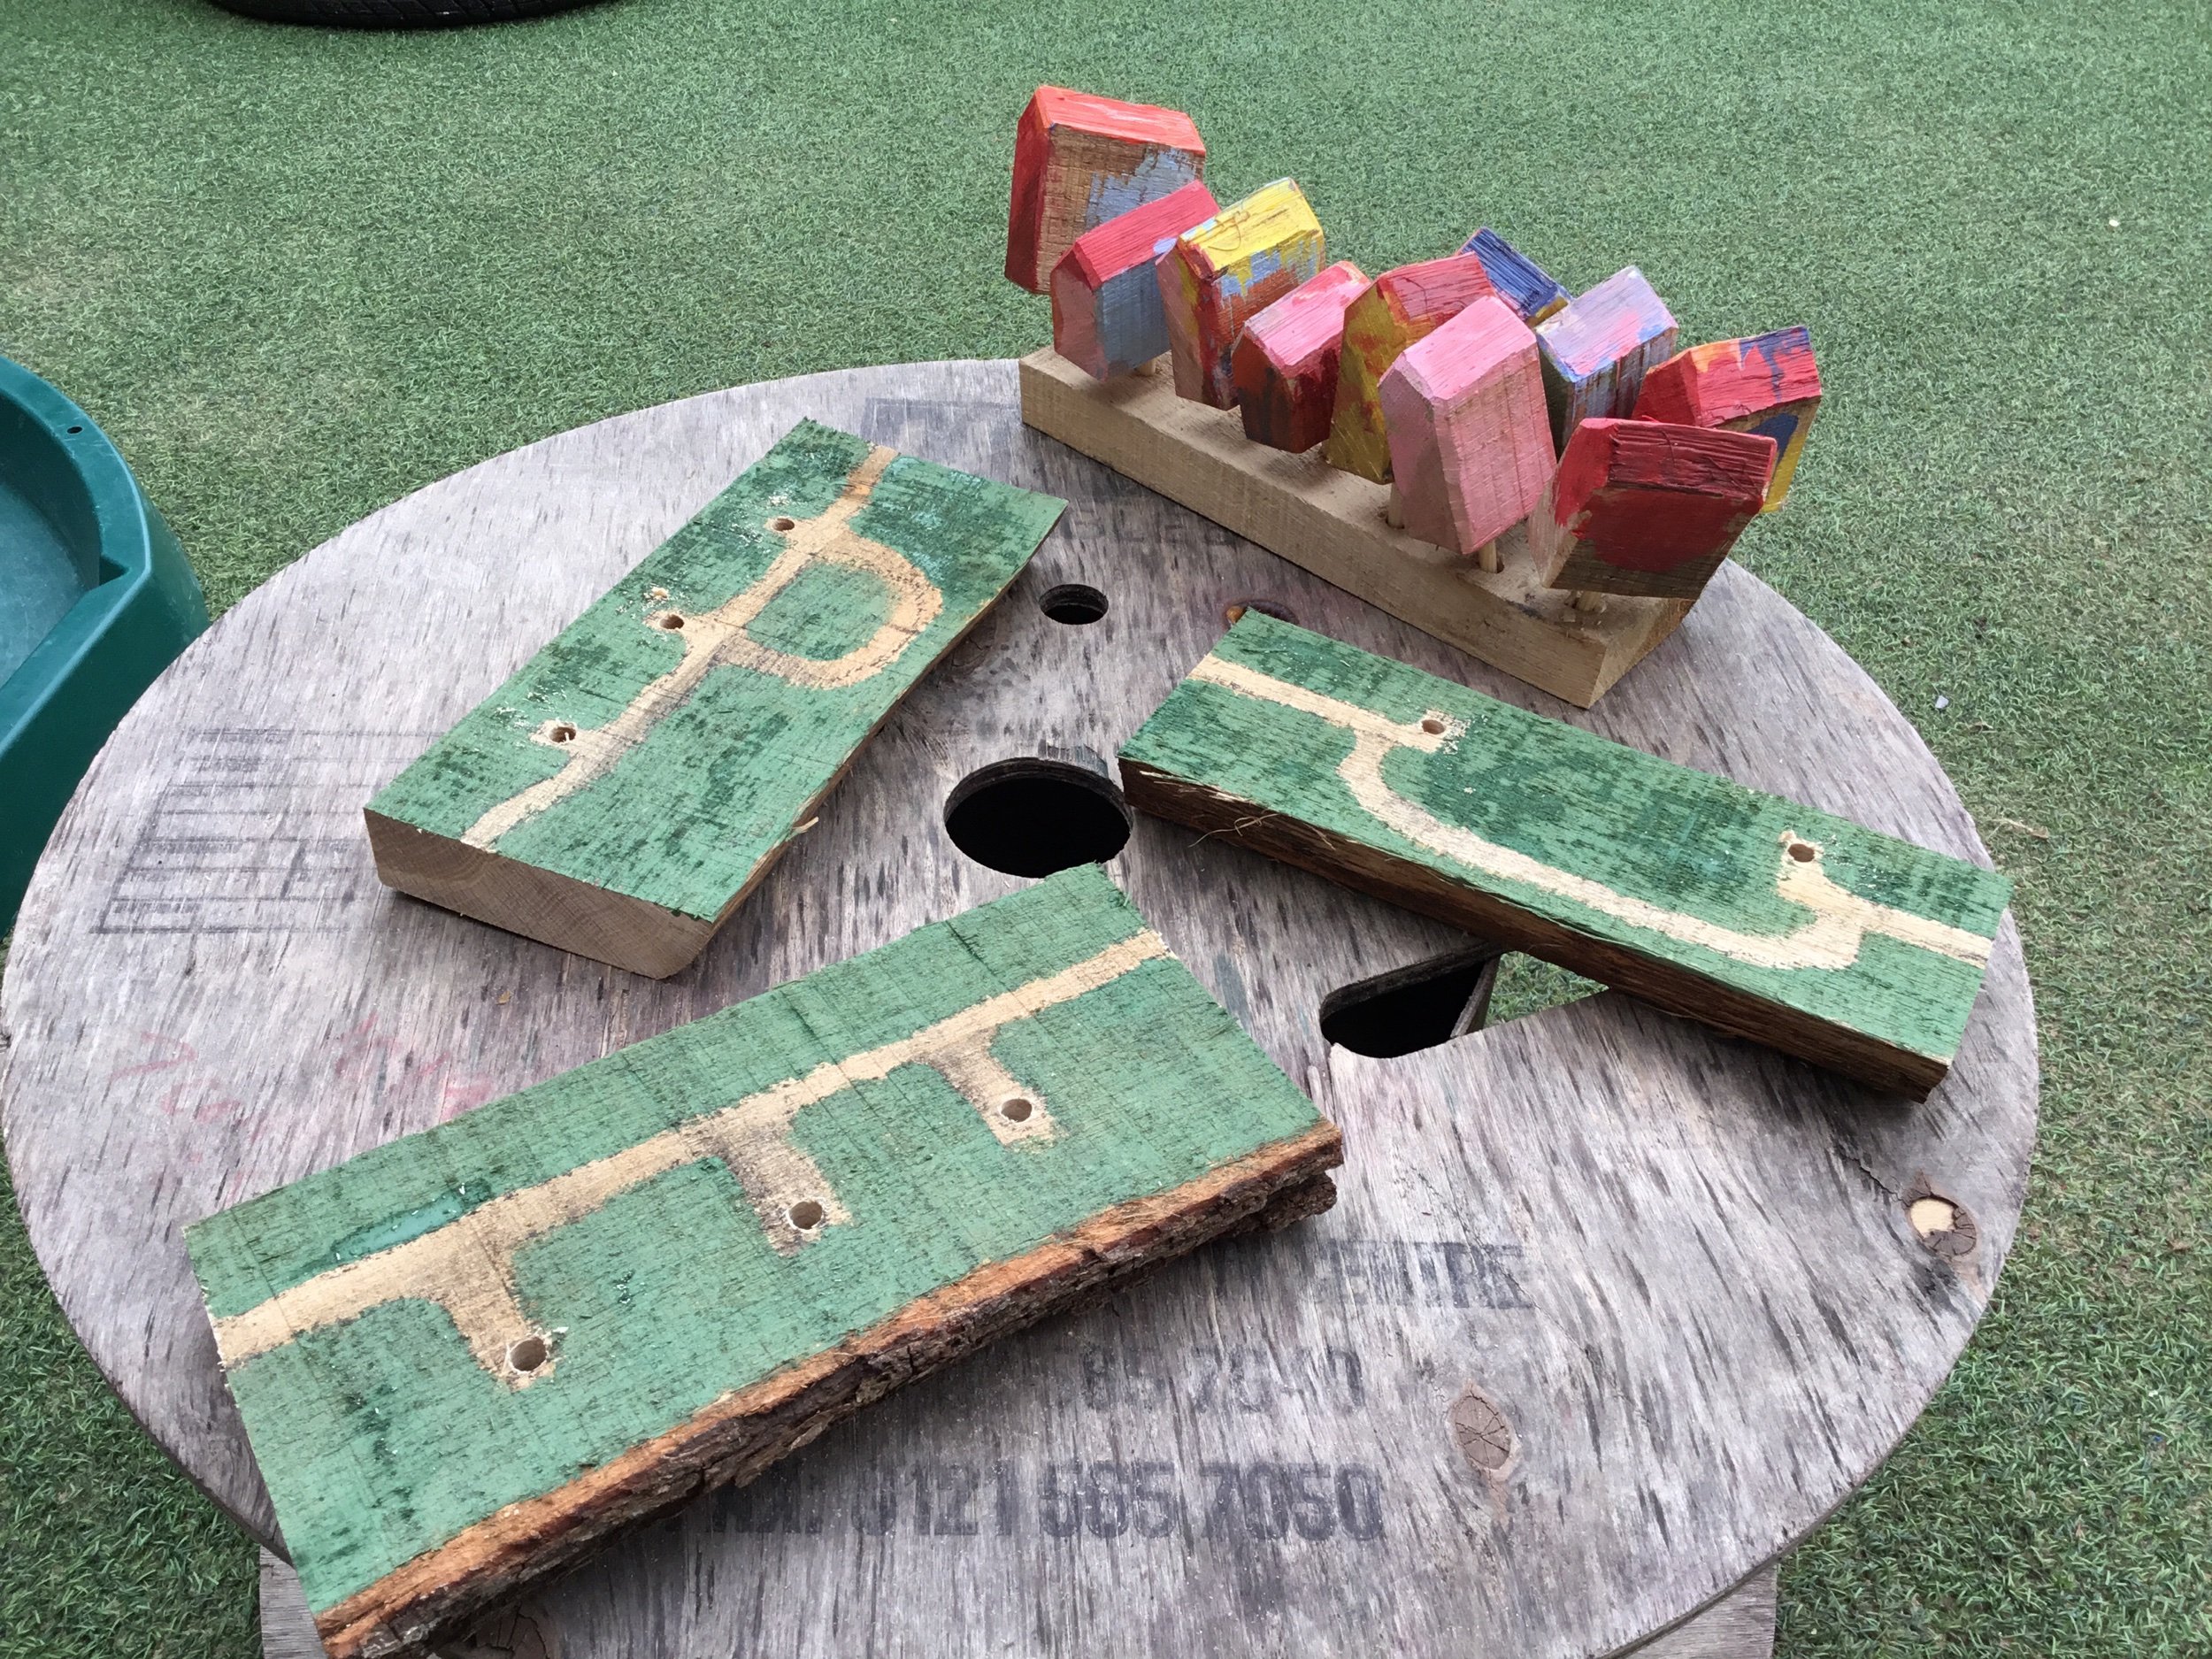
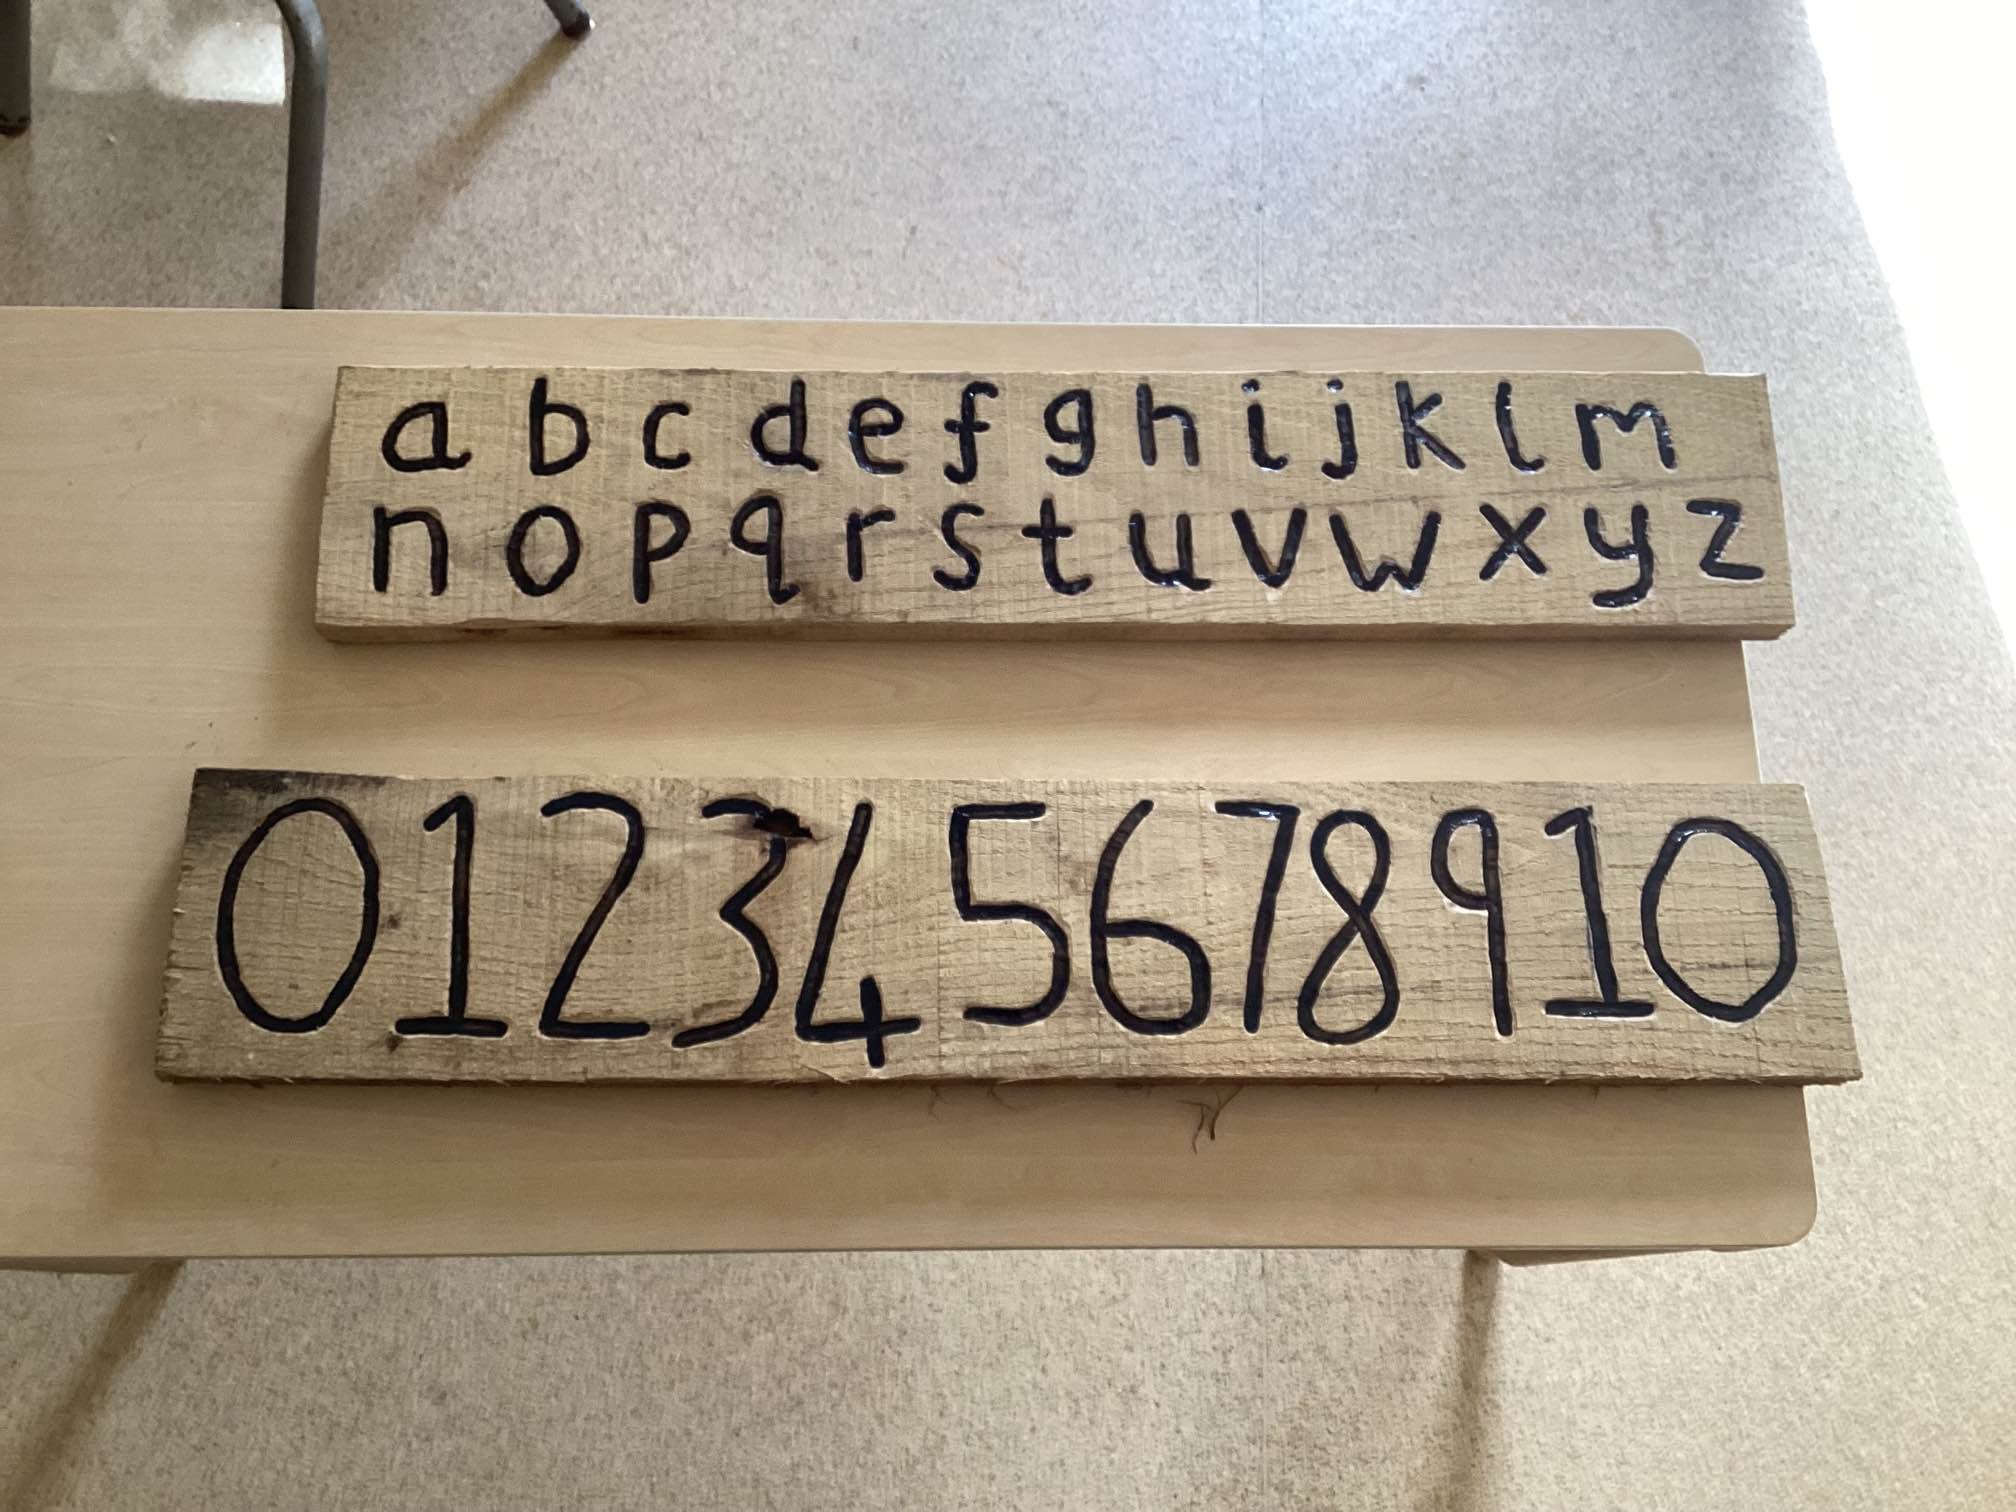
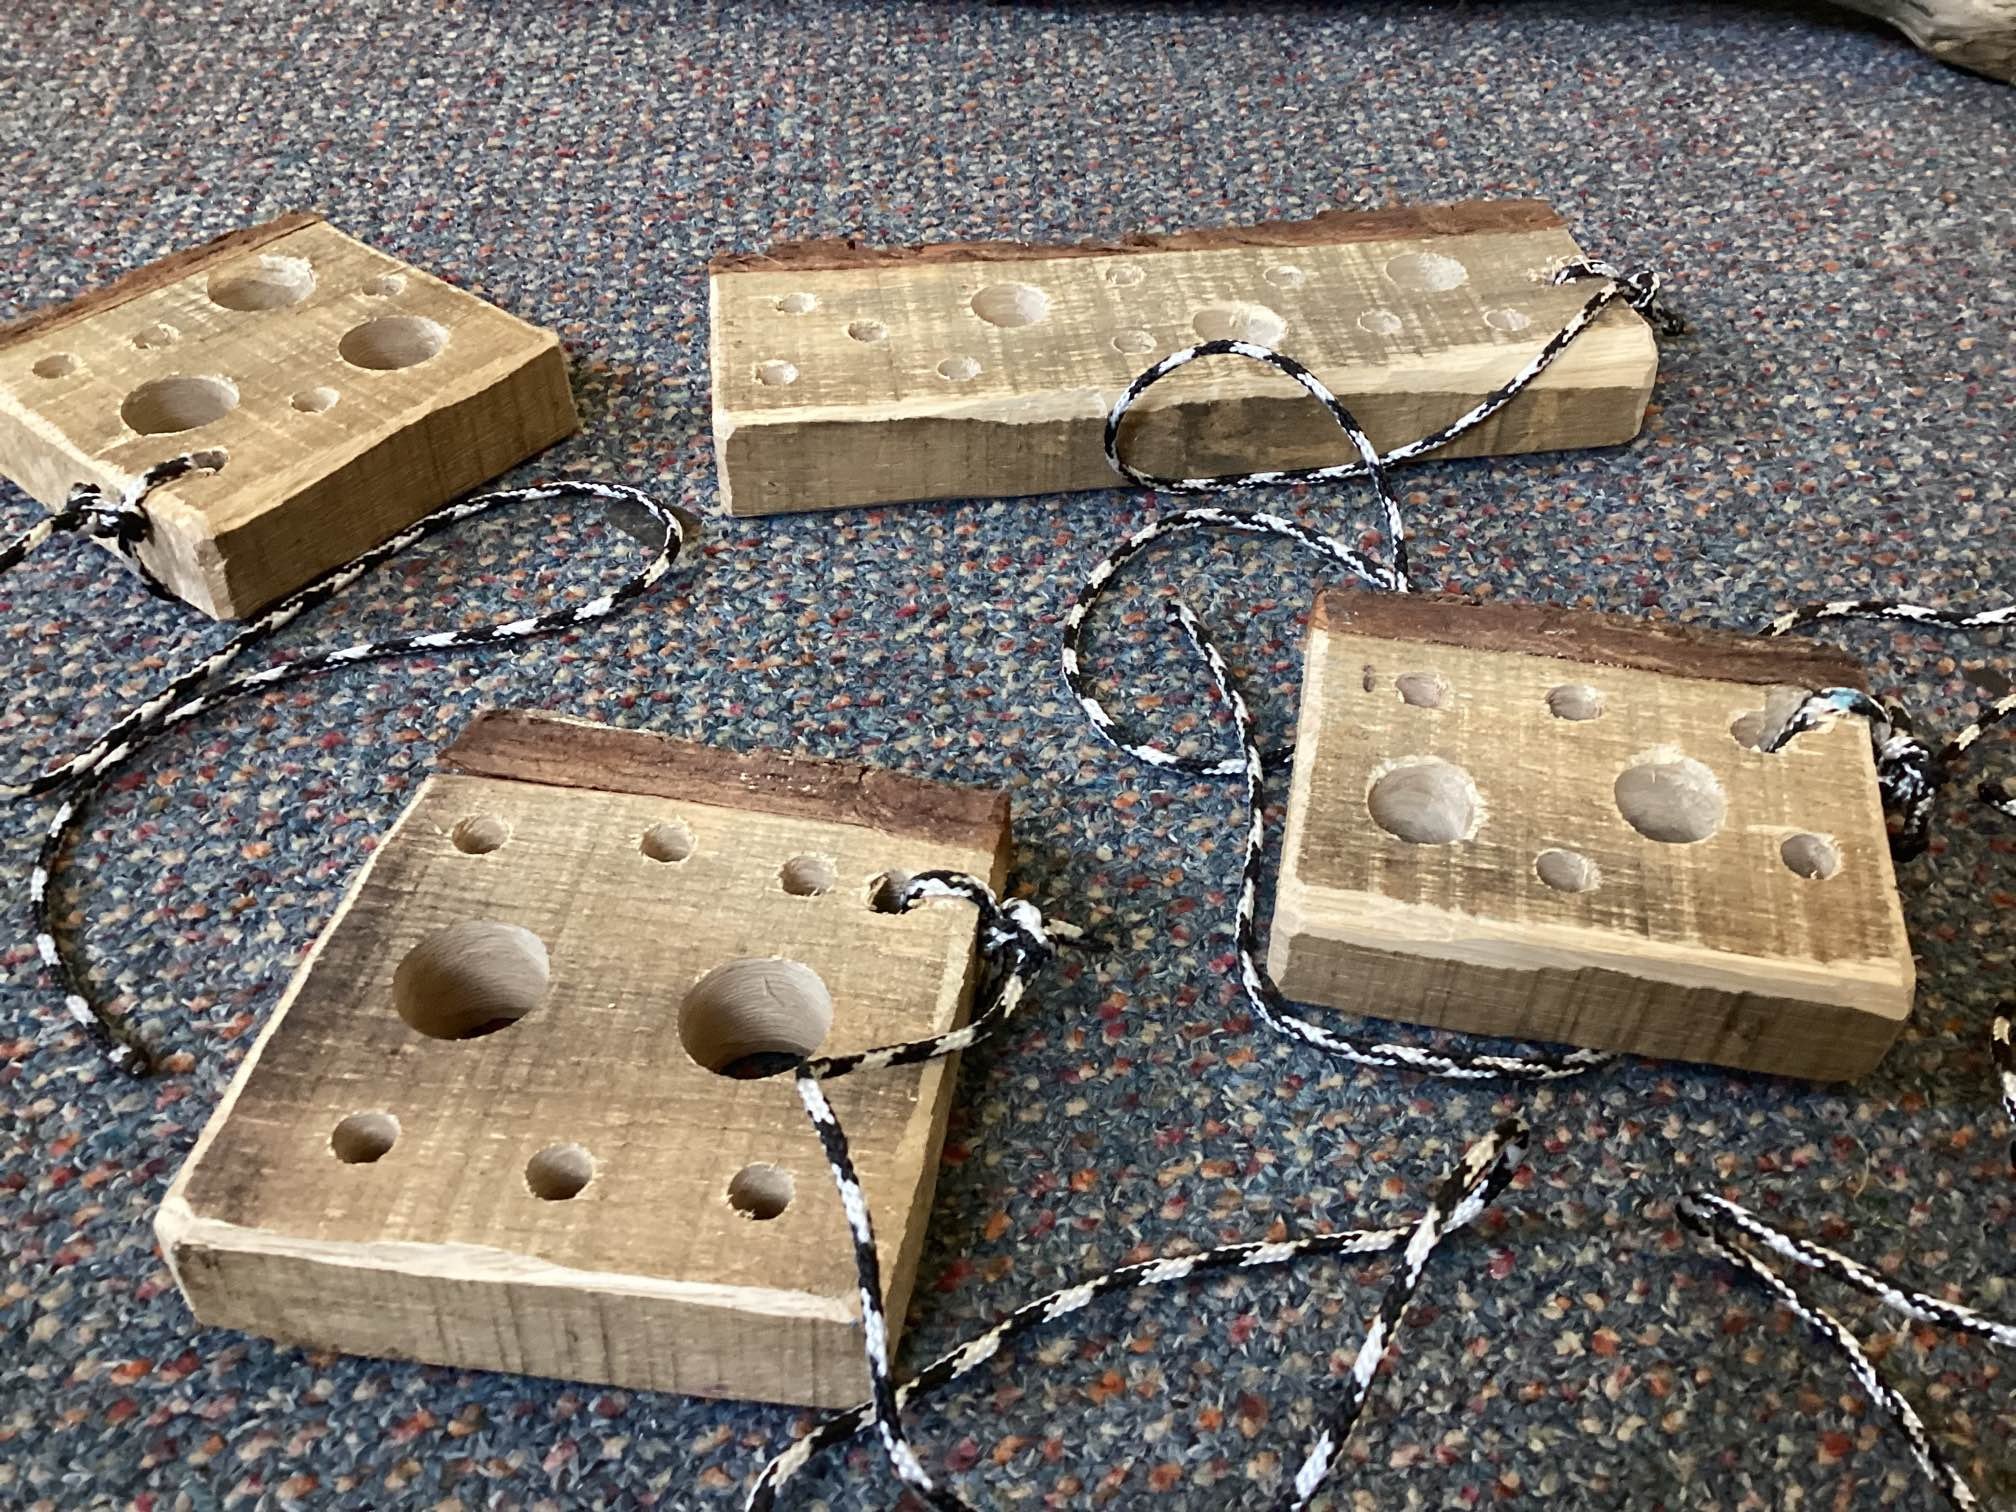
Thank you for reading, below are a few more makings from the Oak (we still have a few boards left!).